You can view detailed instructions on how to create/edit Email/SMS Delivery Channels (ESPs). These need to be set up in order to create a campaign.
Email Campaign Delivery Channel
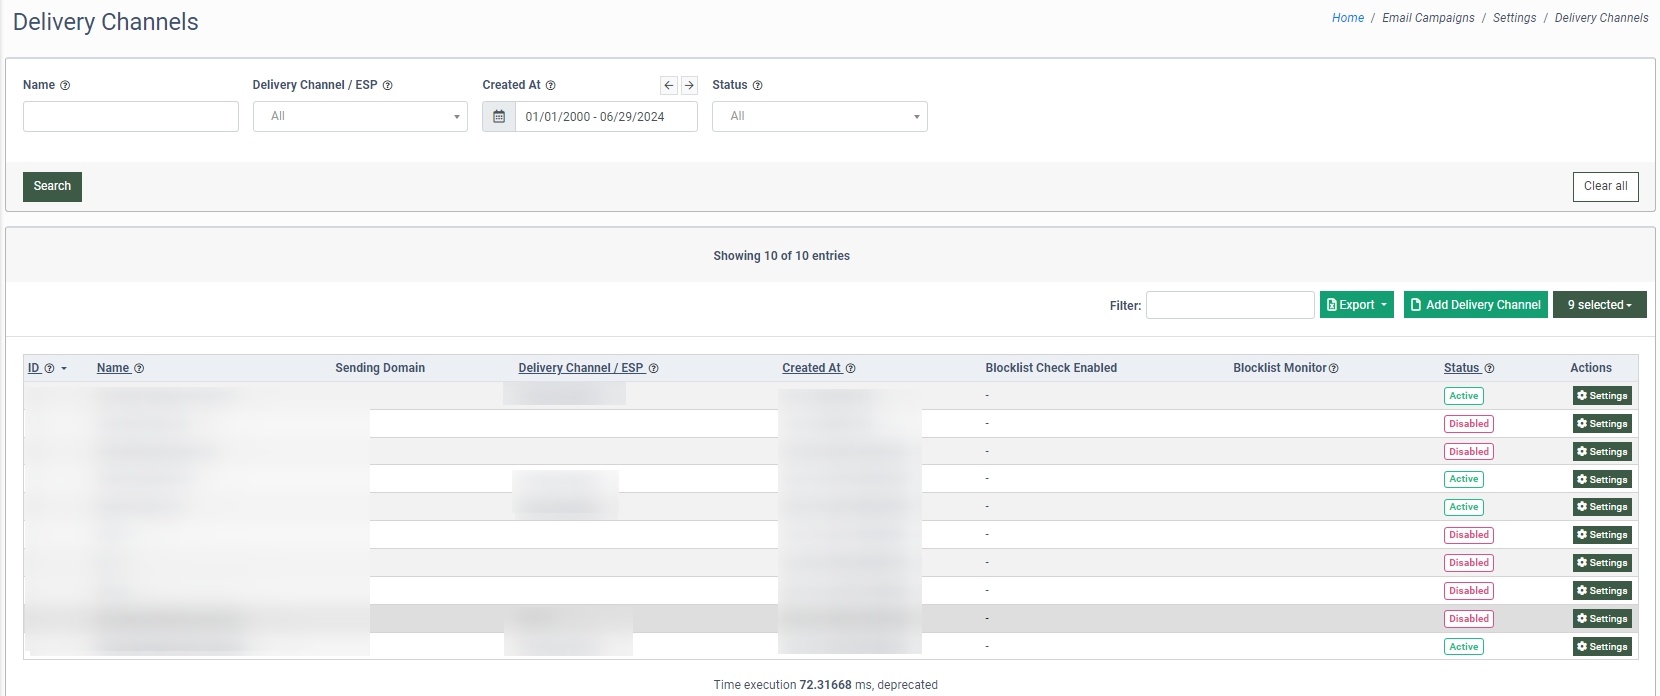
1. To create an email delivery Channel, go to the Email Campaigns > Delivery Channels section. Click the “Add Delivery Channel’’ button.
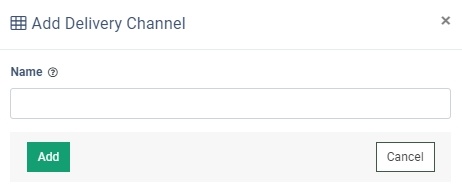
2. In the “Add Delivery Channel” pop-up window, enter the name of the delivery Channel in the “Name” field. Click the “Add” button to confirm.
3. To activate and configure a new Channel, click the “Settings” button in the “Actions” column for the selected Channel.
Note: The Channel will be in “Disabled” status until the settings are completed and validated.
Read more about all the Channel settings in this Knowledge Base article.
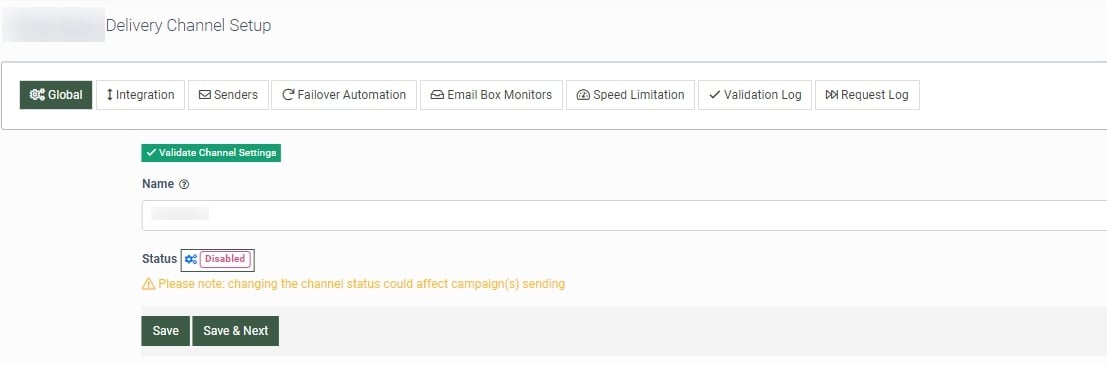
4. Once the channel is configured, select the “Global” tab and click the “Validate Channel Settings” button to re-confirm the settings. To check if all required tabs are configured, click the “Validate Channel Settings” button.
5. Click the “Save” button to confirm the changes.
SMS Campaign Delivery Channel
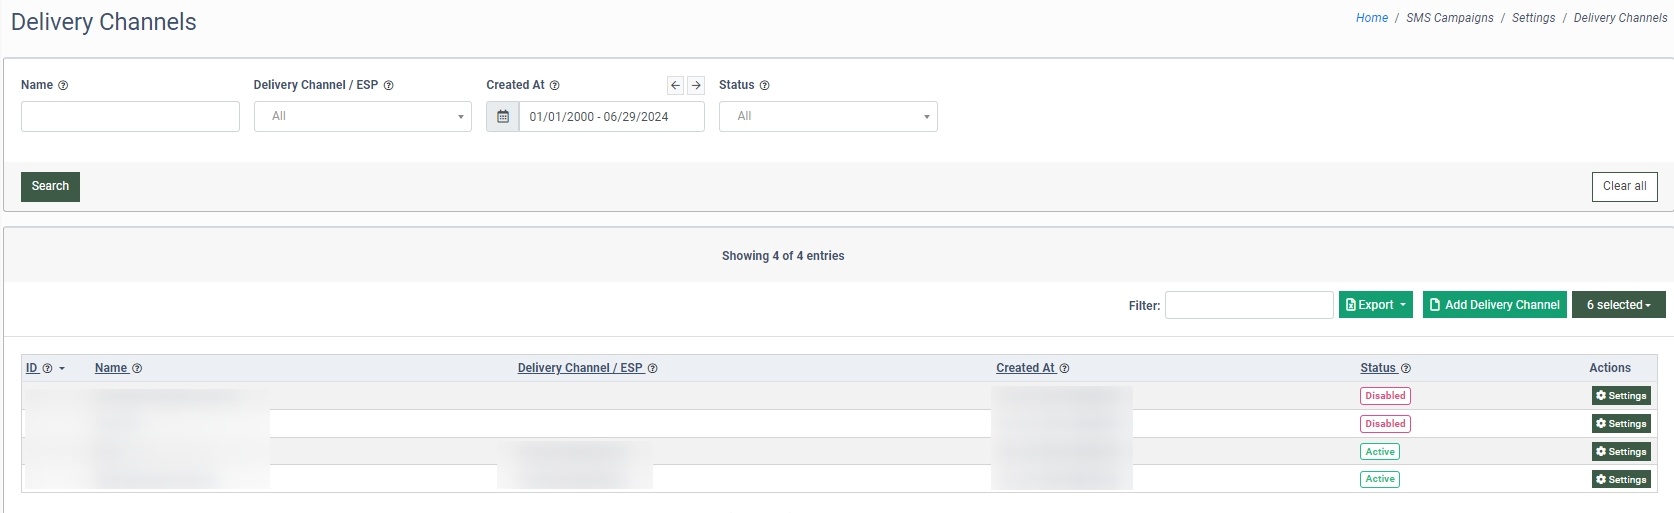
1. To create an SMS delivery Channel, go to the SMS Campaigns > Settings > Delivery Channels section and click the “Add Delivery Channel” button.
2. In the “Add Delivery Channel” pop-up window, enter the name of the SMS delivery Channel in the “Name” field. Click the “Add” button to confirm.
3. Select the created Channel from the Delivery Channels list and click the “Settings” button in the “Actions” column to activate and configure a new SMS Channel.
Note: The Channel status will be “Disabled” until the settings are completed and validated.
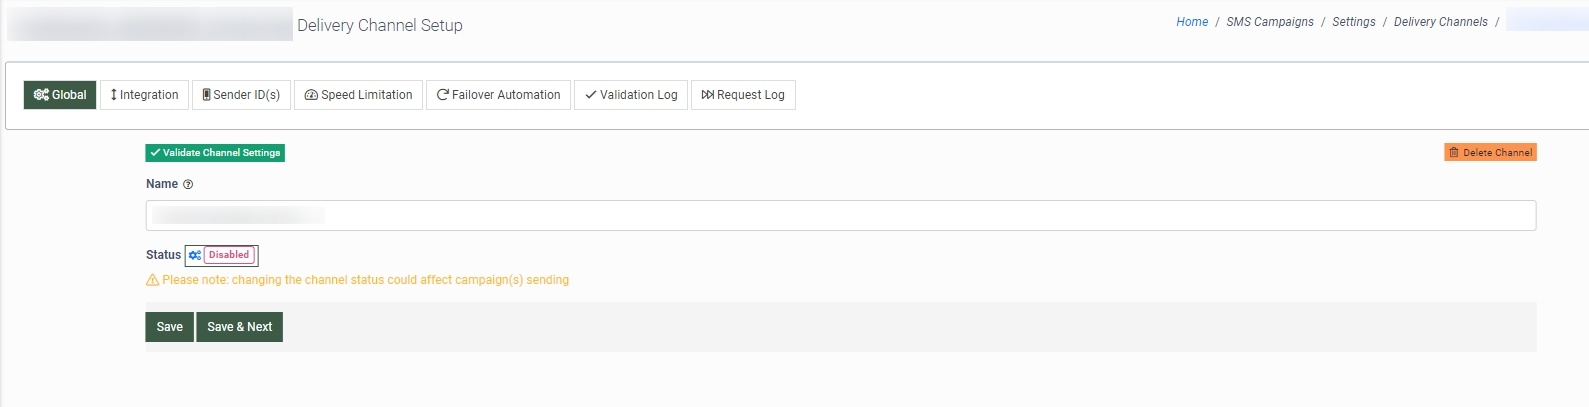 4. Once you access the Channel configuration page, switch the tabs to configure the Channel. For the Channel to be validated, the “Integration” and “Sender ID(s)” are mandatory configurations.
Read more about all the Channel settings in this Knowledge Base article.
5. Once all the necessary configurations are entered, select the “Global” tab and click the “Validate Channel Settings” button.
6. Click the “Save” button to confirm the changes.