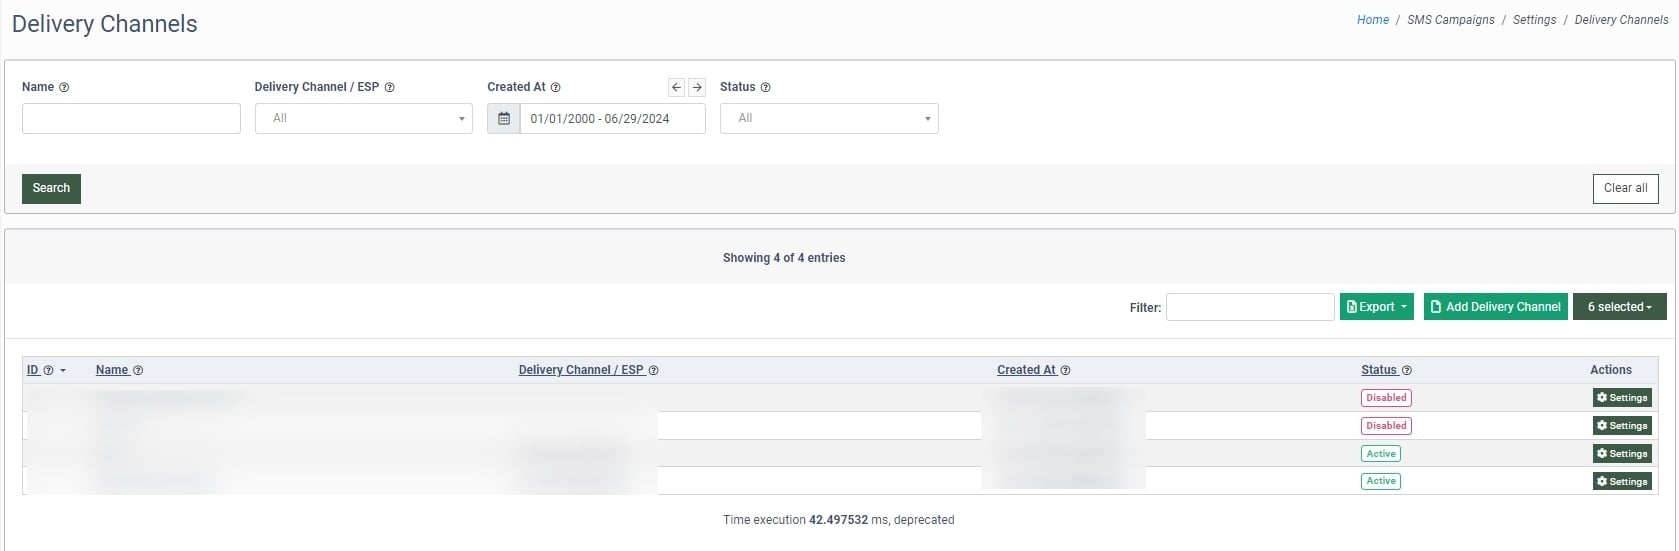
To view the Delivery Channels list, go to the SMS Campaigns > Settings > Delivery Channels section.
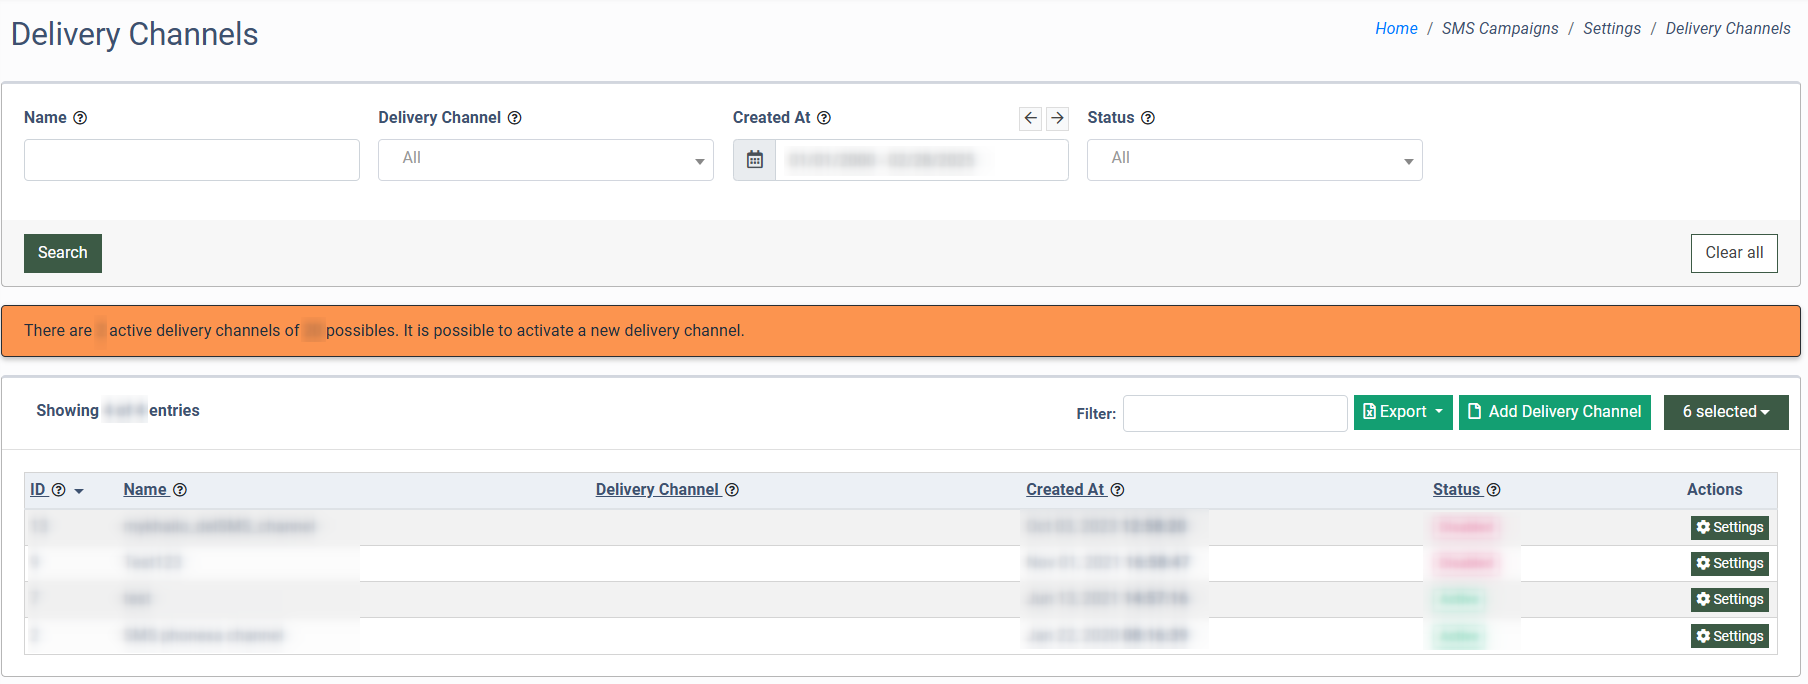
The delivery channel list contains the following information:
- ID: The unique identification number of the Channel.
- Name: The name of the Channel.
- Delivery Channel: The type of the Channel (OpenMarket SMS, Twilio SMS, VooDoo SMS, Reach Interactive SMS, Amazon SMS PinPoint, VooDoo V2 SMS, Dexatel SMS, WhatsApp, infoBip SMS, Phonexa SMS Gateway).
- Created At: The date and time when the Channel was created.
- Status: The status selected for the Channel (Disabled, Active, Limit Reached, Failover Paused, Paused, Deleted).
You can narrow down the search results by using the following filters:
- Name: Enter the name of the Channel.
- Delivery Channel: Select the type of the Channel (OpenMarket SMS, Twilio SMS, VooDoo SMS, Reach Interactive SMS, Amazon SMS PinPoint, VooDoo V2 SMS, Dexatel SMS, WhatsApp, infoBip SMS, Phonexa SMS Gateway).
- Created At: Select the date when the Channel was created.
- Status: Select the status of the Channel (Disabled, Active, Limit Reached, Failover Paused, Paused, Deleted).
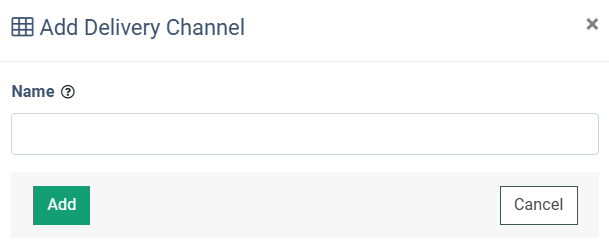
To create a new Channel, click the “Add Delivery Channel” button. Enter the name of the Channel in the “Name” field and click the “Add” button to complete.
To configure the existing Channel, click the “Settings” button in the “Actions” column, and the system will redirect you to the setup page.
The “Delivery Channel Setup” page contains seven tabs:
Global
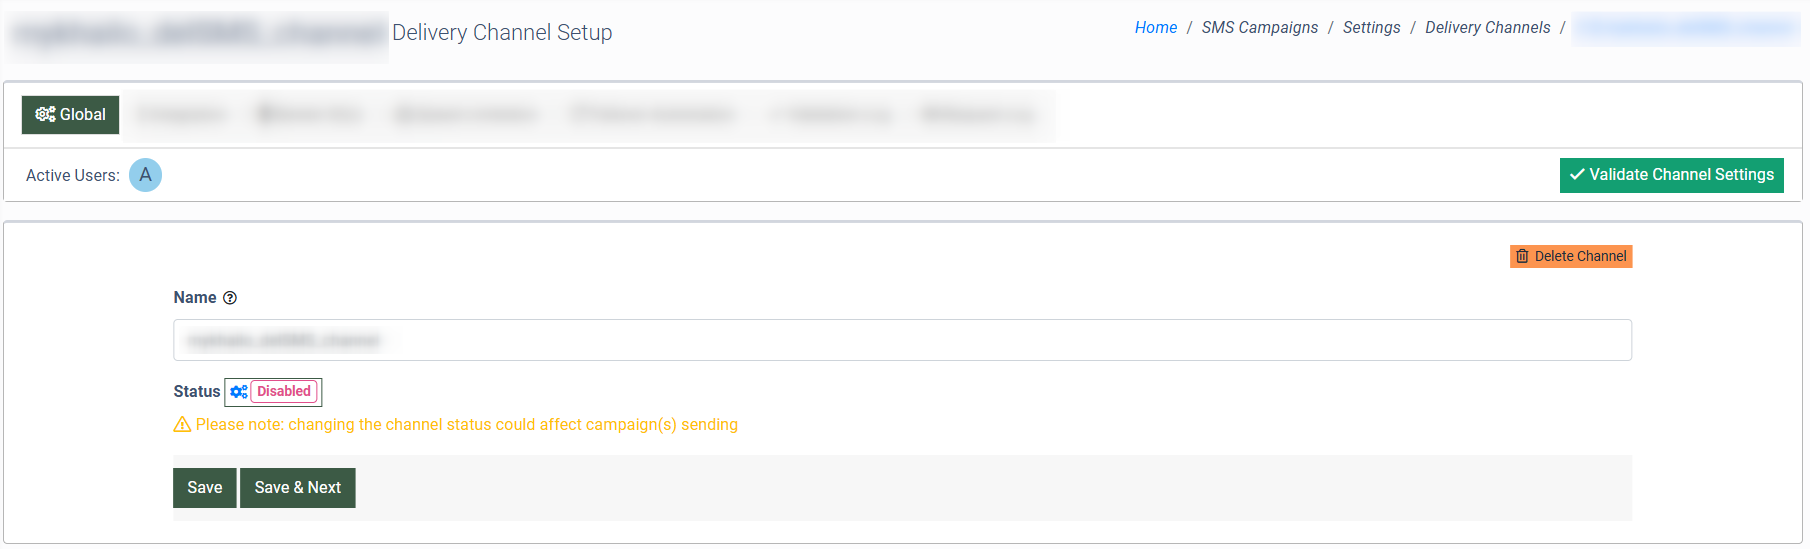
The “Global” tab allows you to make general changes to the Channel, such as renaming, changing the status, or deleting a Channel.
The “Global” tab contains the following settings:
- Name: Enter a new name for the Channel.
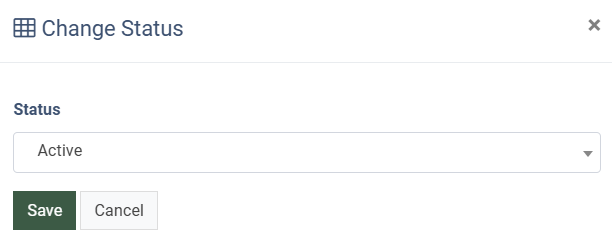
- Status: The ongoing status of the Channel. To change the status of the Channel, click the “Change Status” button, select the new status in the “Status” field of the “Change Status” pop-up window, and click the “Save” button to complete the action.
Note: You can change the status of the Channel to “Active”, “Disabled”, or “Paused”.
You cannot change the status to “Fail Over Automation” because this is an automated status.
To delete it, click the “Delete Channel” button. Confirm the deletion operation by clicking the “Delete” button in the “Delete Channel” pop-up window.

Check the Channel configuration process by clicking the “Validate Channel Settings” button.

Note: A red exclamation mark will appear in the tabs that require configuration.
Click the “Save” button to complete the settings.
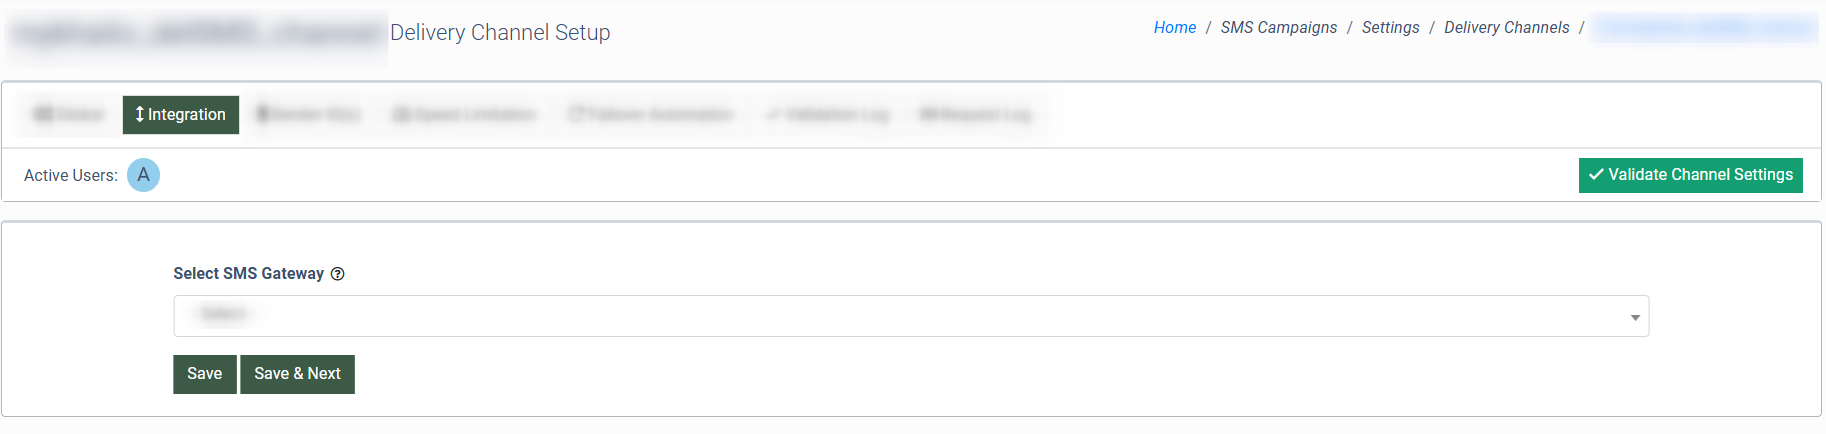
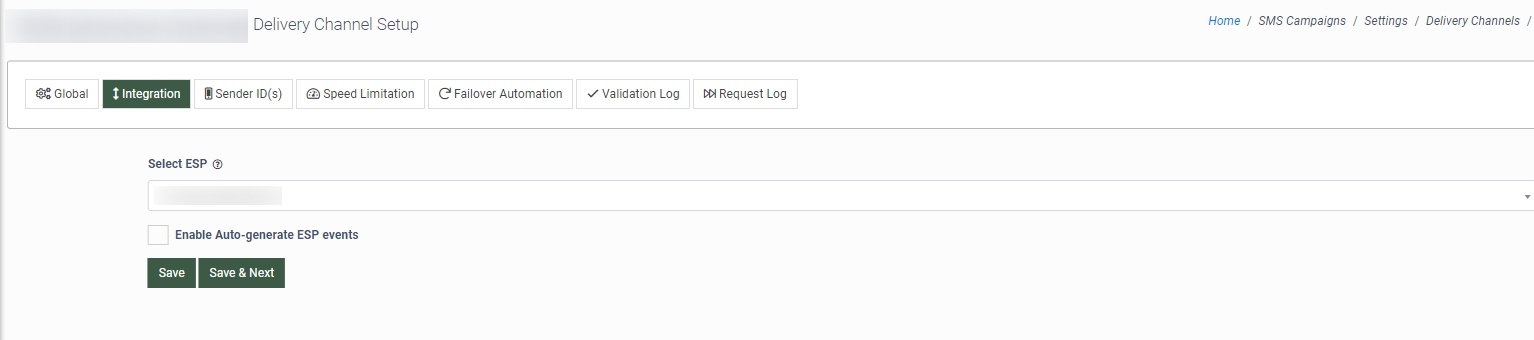
Integration
The “Integration” tab allows you to select the required ESP (such as Postmark, AmazonSES, and others) in the “Select ESP” field. Fill in the required fields based on the selected ESP type. The set of fields depends on the ESP type. The setup instructions will be displayed under the fields.
Note: Set up the selected service to get started using the integration.

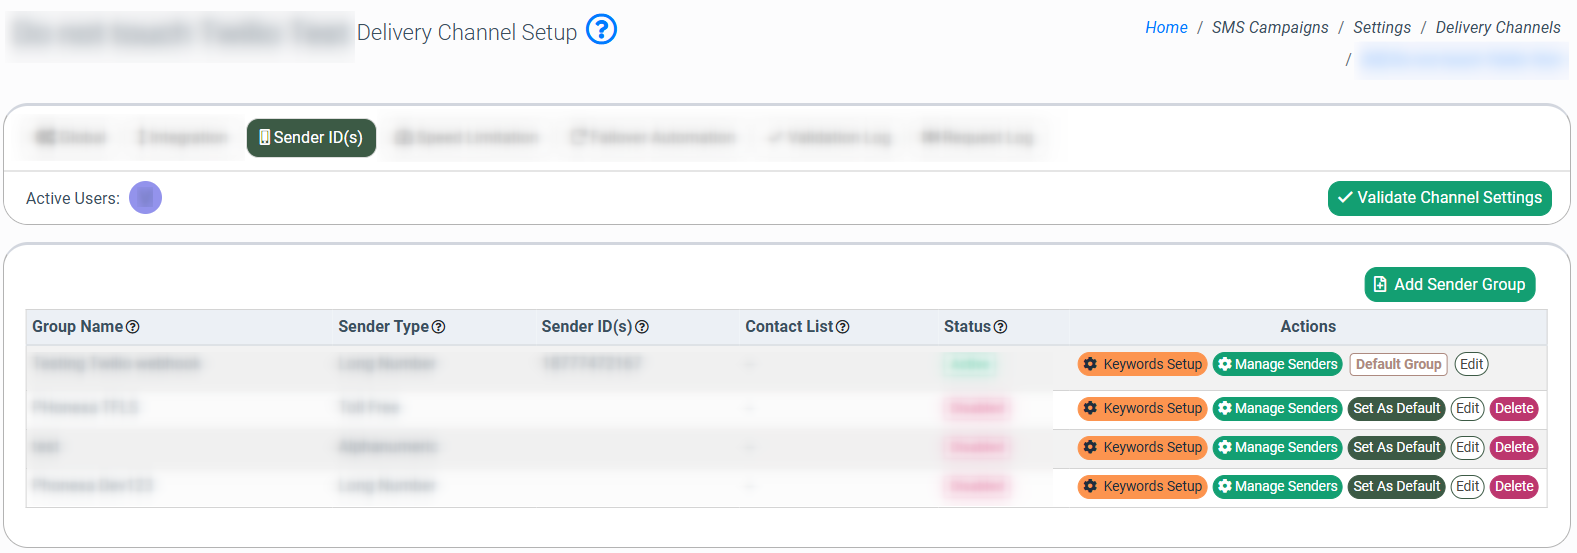
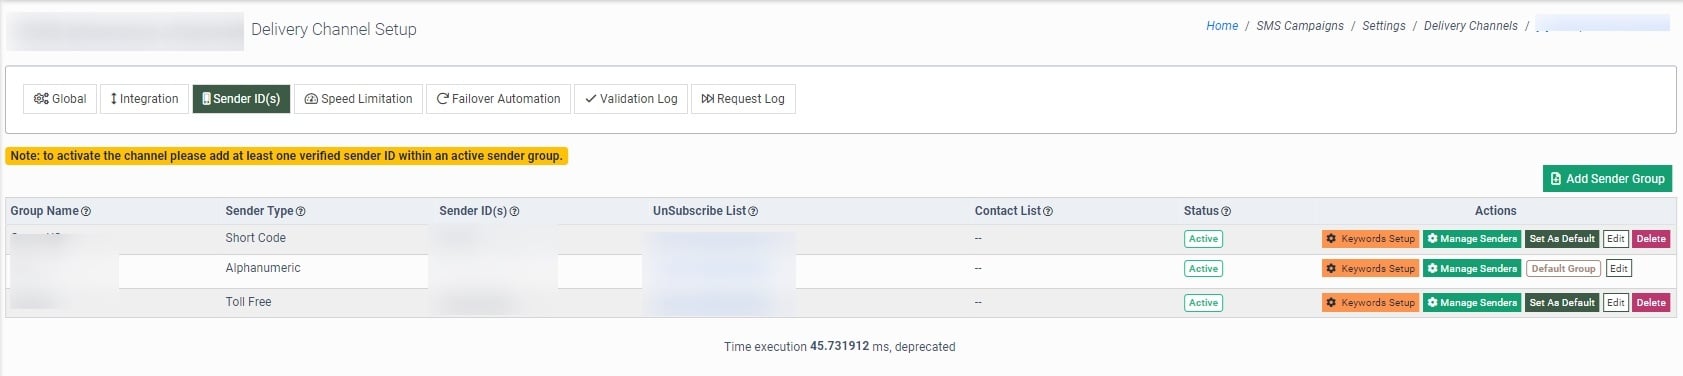
Sender ID(s)
The “Senders” tab allows you to configure sending or replying options.
The “Senders” tab contains the following information about sender groups:
- Group Name: The name of the group.
- Sender Type: The type of the sender.
- Sender ID(s): The unique identification number of the sender.
- Unsubscribe List: The name of the unsubscribed list.
- Contact List: The contact list of the sender.
- Status: The status of the group.
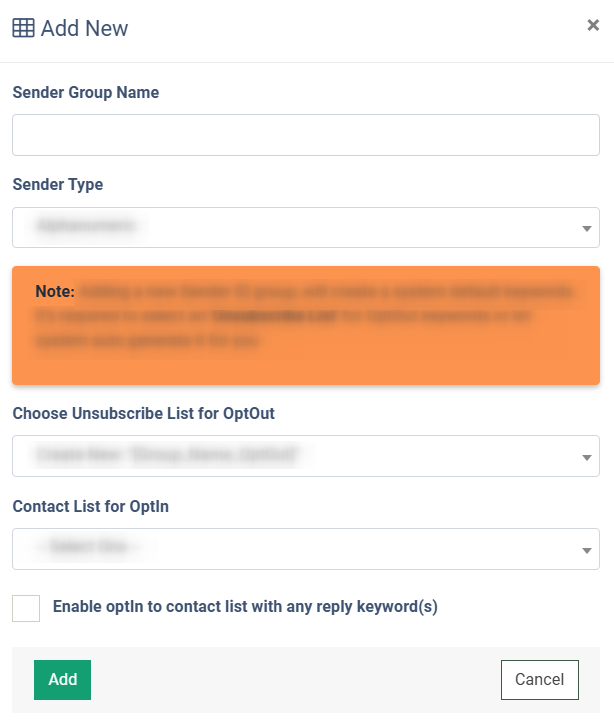
To add a new sender group to the list, сlick the “Add Sender Group” button. Fill in the following fields in the “Add New” pop-up window:
- Sender Group Name: Enter the name of the Sender Group.
- Sender Type: Select the type of the Sender.
- Choose Unsubscribe List for OptOut: Select the unsubscribe list for the contact adding in case of reply with the optout keywords, such as: STOP, STOPALL, END, CANCEL, UNSUBSCRIBE, QUIT. The corresponding unsubscribe lists are in the Suppression Management > Unsubscribe Lists section. Read more about the Unsubscribe Lists system section in the following Knowledge Base article.
- Contact List for OptIn: Select the contact list for the contact adding in case of reply with opt-in keywords, such as UNSTOP and START. Note: This option is available only for specific SMS gateway services. The corresponding contact lists are in the List Management > Contact Lists section. Read more about the Contact Lists system section in the following Knowledge Base article.
- Enable Optin to contact list with any reply keyword(s): Check the box to enable the “Contact List for Optin” option for replies with any keywords.
Click the “Add” button to complete the action.
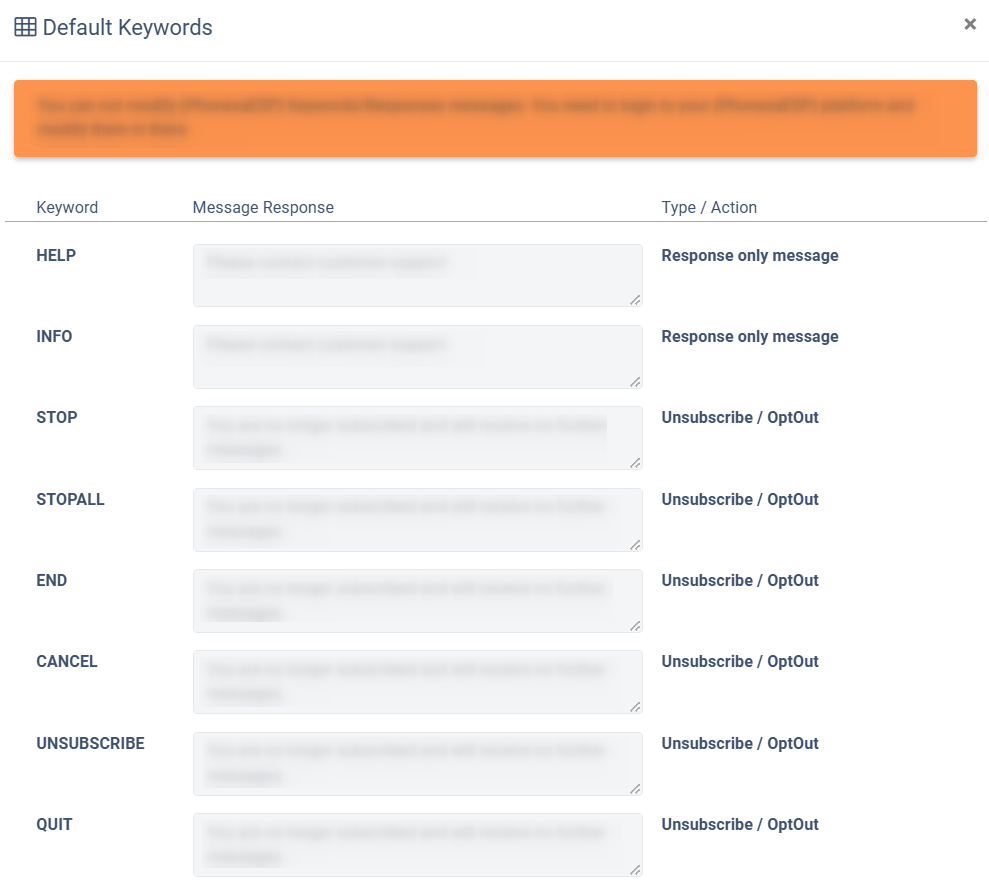
Click the “Keywords Setup” button in the “Actions” column to manage the keyword settings for the SMS. In the “Keyword” column, you can see a list of existing keywords for different actions in the SMS template messages.
In the “Message Response” column, you can edit the response message to the keyword. The “Type/Action” column displays the list of available actions for the SMS.
Click the “Manage Senders” button in the “Actions” column to configure the Sender Group settings.
The Sender Group configuration block contains the following information:
- ID: The unique identification number of the record.
- Sender Type: The type of the sender.
- Sender ID: The identification number of the sender.
- Status: The status of the group. To change the ongoing status of the sender, click the “Status” button.

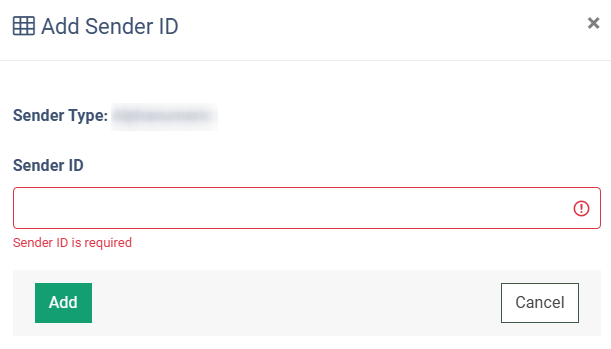
To add a new Sender Group ID, click the “Add Sender ID” button, fill in the “Sender ID” field, and click the “Add” button to complete the action.
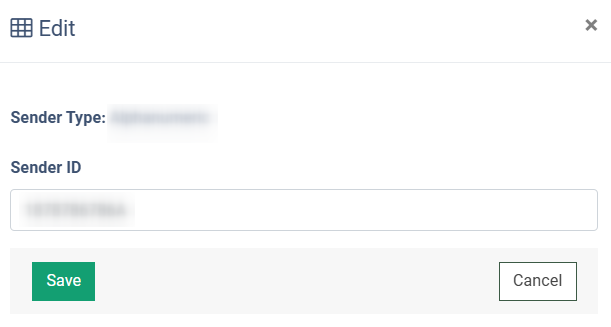
To edit the existing group ID, click the “Edit” button in the “Action” column. Change the ID in the “Sender ID” field and click the “Save” button to complete the action.
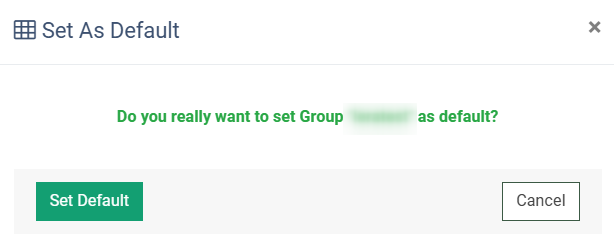
You can change the group’s status and select the default sender. To set the group as a default, click the “Set As Default” button in the “Actions” column and confirm the operation by clicking the “Set Default” button in the “Set As Default” pop-up window.
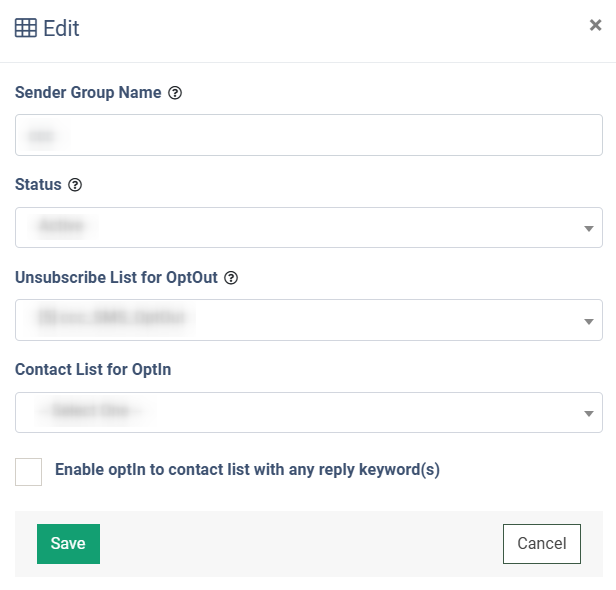
To edit the existing group, click the “Edit” button in the “Actions” column. Fill in the following fields in the “Edit” pop-up window:
- Sender Group Name: Enter the name of the Sender Group.
- Status: Select the status of the Group.
- Choose Unsubscribe List for OptOut: Select the unsubscribe list for the contact adding in case of reply with the optout keywords, such as: STOP, STOPALL, END, CANCEL, UNSUBSCRIBE, QUIT. The corresponding unsubscribe lists are in the Suppression Management > Unsubscribe Lists section. Read more about the Unsubscribe Lists system section in the following Knowledge Base article.
- Contact List for OptIn: Select the contact list for the contact adding in case of reply with opt-in keywords, such as UNSTOP and START. Note: This option is available only for specific SMS gateway services. The corresponding contact lists are in the List Management > Contact Lists section. Read more about the Contact Lists system section in the following Knowledge Base article.
- Enable Optin to contact list with any reply keyword(s): Check the box to enable the “Contact List for Optin” option for replies with any keywords.
Click the “Save” button to complete the changes.
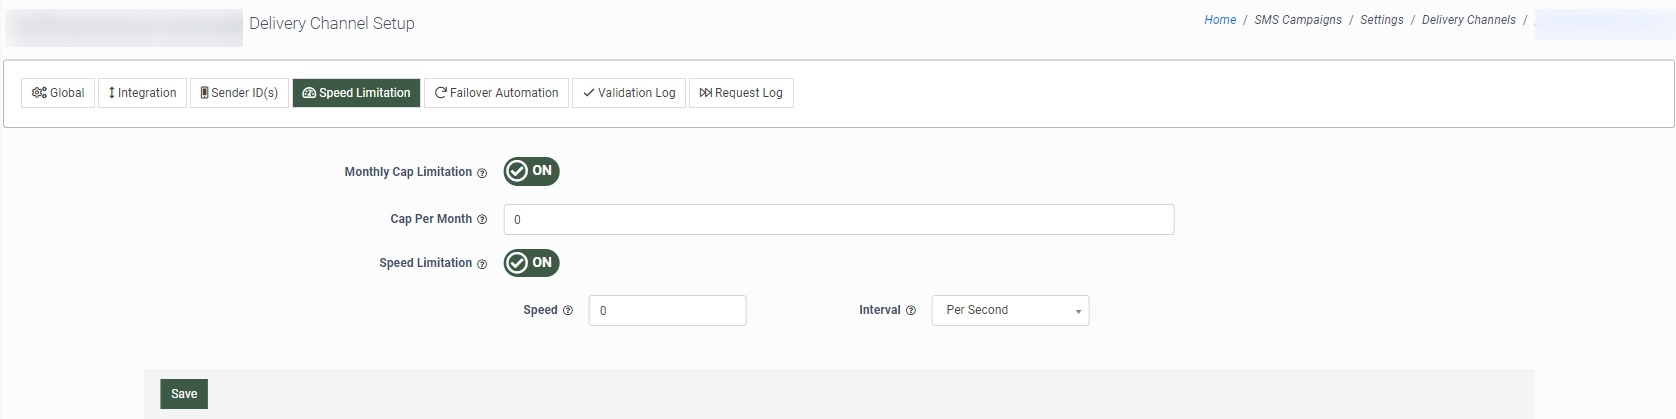
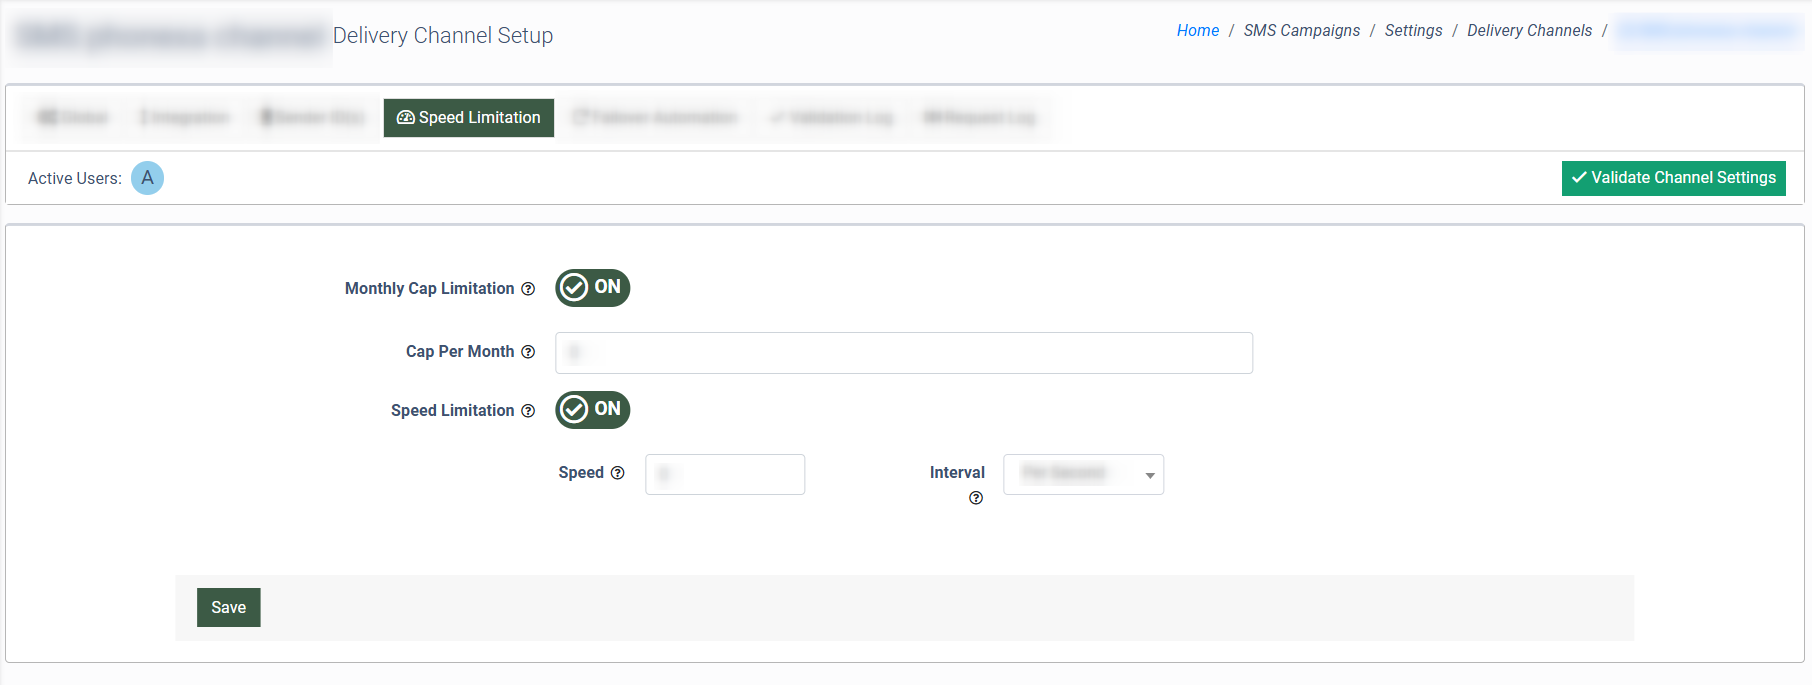
Speed Limitation
The “Speed Limitation” tab allows you to set a monthly delivery cap and delivery speed limitation for sending out SMS campaigns.
The “Speed Limitation” tab contains the following settings:
- Monthly Cap Limitation: Switch the toggle to the “ON” position to enable the monthly cap limitation settings.
- Cap Per Month: Enter the required values.
- Speed Limitation: Switch the toggle to the “ON” position to enable the speed limitation settings.
- Speed: Enter the total number of SMS to send during the selected interval.
- Interval: Select the time interval that specifies the maximum cap of SMS sent during the chosen time frame (Per Second, Per Hour, Per Day).
Note: This option is enabled by default (The default speed is 100 per hour). The Speed Limitation option will set limitations for all campaigns on the selected channel. To configure the Speed Limitation on a campaign level, go to SMS Campaigns > Campaigns, select the campaign, and click the “Configure” button in the “Actions” column. Select the Sending Option(s) tab, enable the Limiter, and set the limitations for the campaign.
Click the “Save” button to complete the settings.
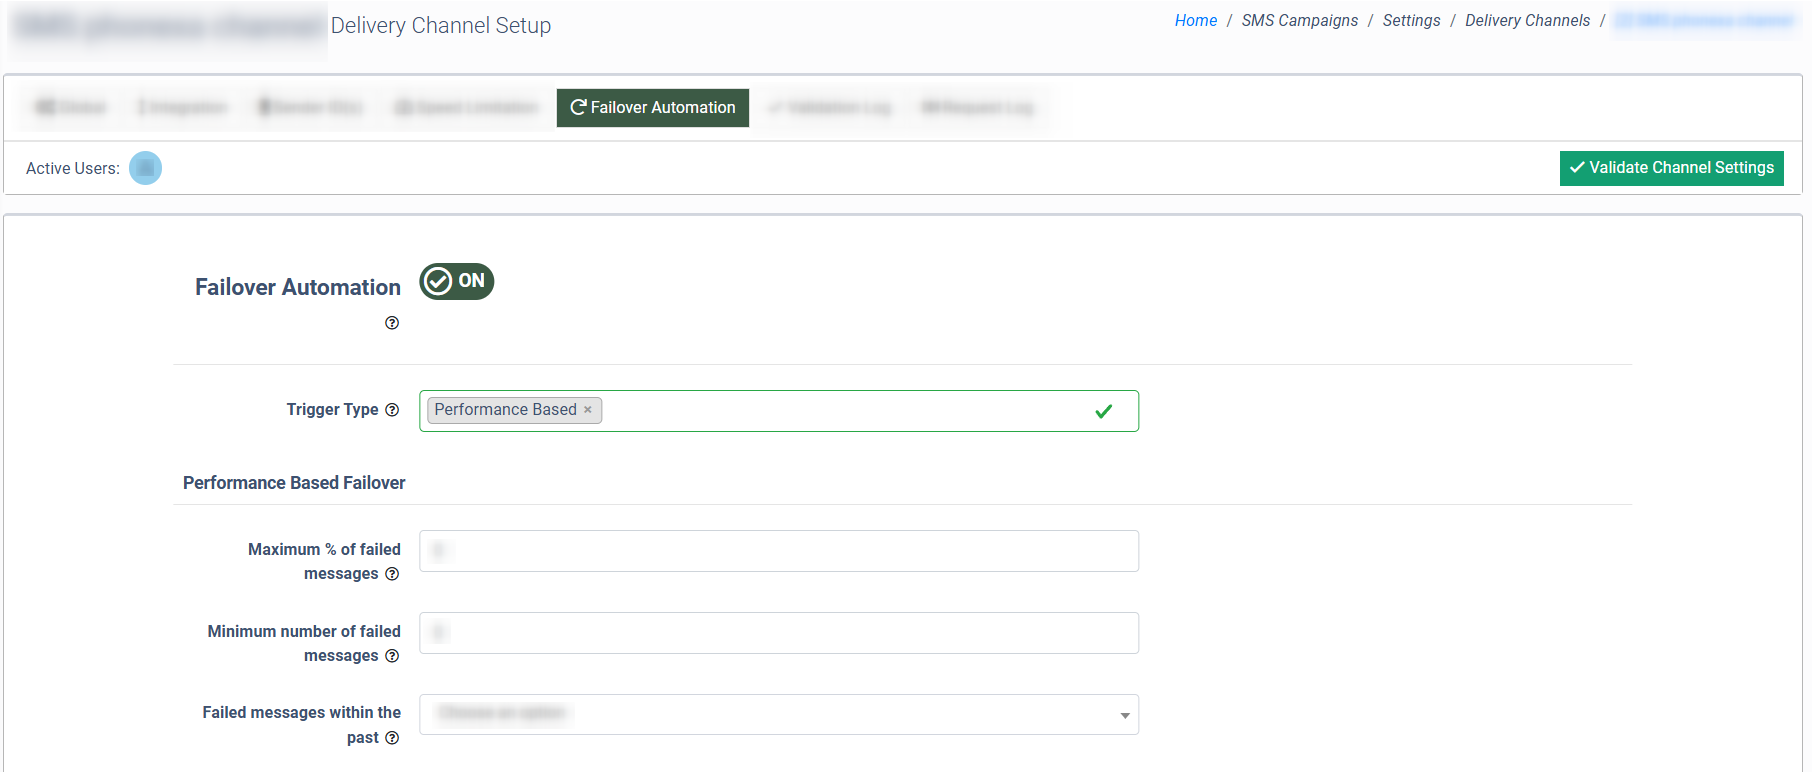
Failover Automation
The "Failover Automation" tab allows you to set up a calculation rate of failed messages on the specified channel. This setting allows the system to automatically switch the delivery channel (and all associated campaigns) to a new one.
We consider the following event names to be failed messages: “Sent Failed” and “Delivery Failed”.
The “Failover Automation” tab contains the following settings:
- Failover Automation: Switch the toggle to the “ON” position to enable the failover automation feature.
- Trigger Type: Select the trigger type of the Failover Automation.
The “Performance Based Failover” block contains the following settings:
- Maximum % of failed messages: Enter the maximum percentage ratio of total messages sent in the past (..) hours over the number of failed sent and failed delivery messages.
- Minimum number of failed messages: Enter the minimum percentage ratio of the total number of failed messages in the past (..) hours.
- Failed messages within the past: Select the number of past hours to accumulate for the Failed Rate (From 1 hour to 24 hours).
The “Channel Switch Configuration” block contains the following settings:
- Switch Delivery Channel to: Select the active SMS delivery channels to which the system will switch once the failover automation gets triggered.
- Sender Group: Select the sender group from the existing one.
- Sender ID: Select the sender ID from the existing one.
- Pause the channel for x days: Select the number of days during which the SMS channel will pause once the failover automation gets triggered. You may also choose the option to reactivate the channel manually. Note: The paused channel will get the "Fail Over Paused" status. It could be switched to the "Active" status in two cases:
- Users can change the channel’s status manually in the “Global” tab.
- The number of selected days has passed.
- Switchover notification recipient(s) list: Enter the email address to send the failover notifications once triggered.
Click the “Save” button to complete the settings.
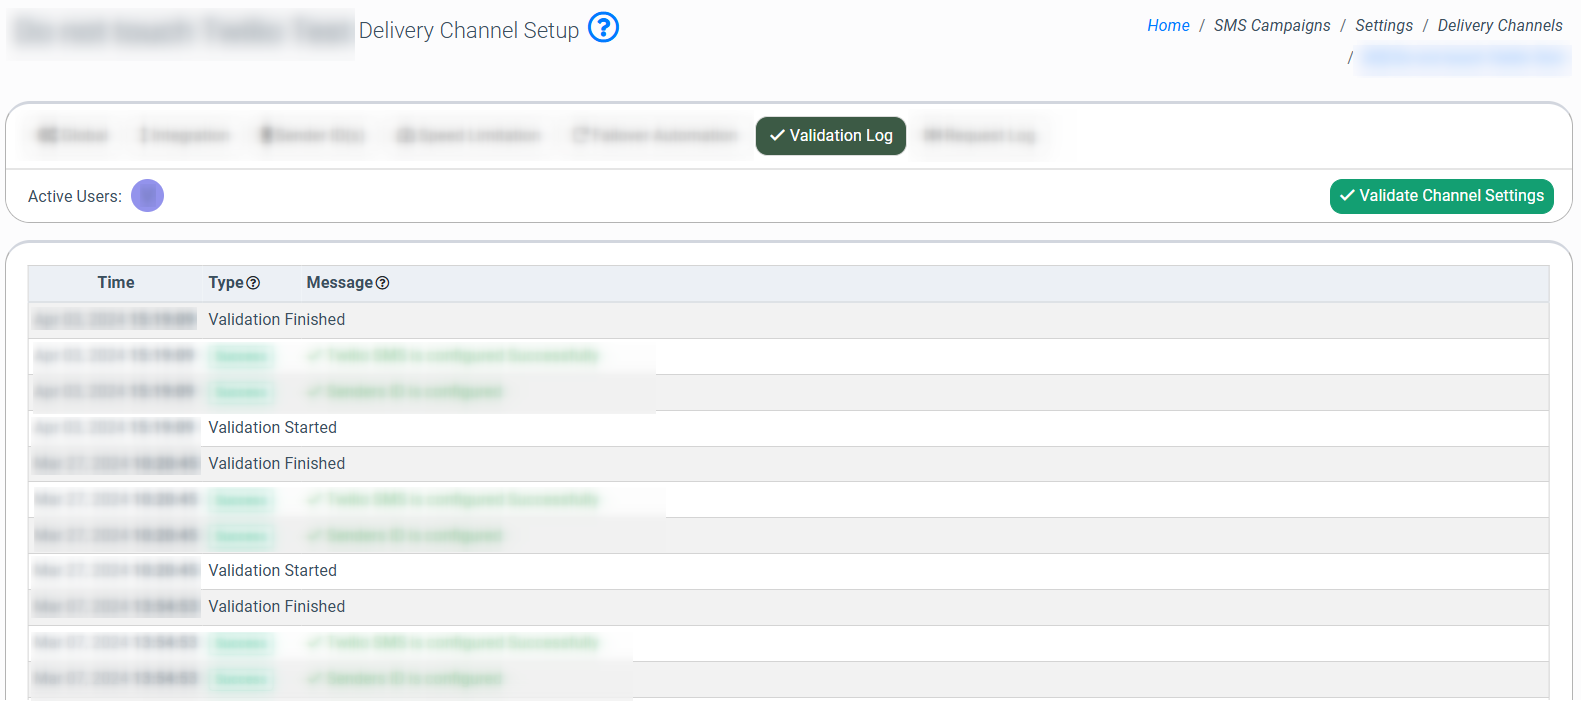
Validation Log
The “Validation Log” tab allows you to view the SMS Monitor validation history.
The “Validation Log” tab contains the following information:
- Time: The exact time of the event.
- Type: The type of the event (Validation Started, Validation Ended).
- Message: The information about the event.
Request Log
The “Request Log” tab displays the SMS Monitor log entries and their duration log entries and their duration.
The “Request Log” tab contains the following information:
- Time: The exact time of the event request.
- URI: Uniform Resource Identifier of the event request.
- Duration: The duration of the event request.
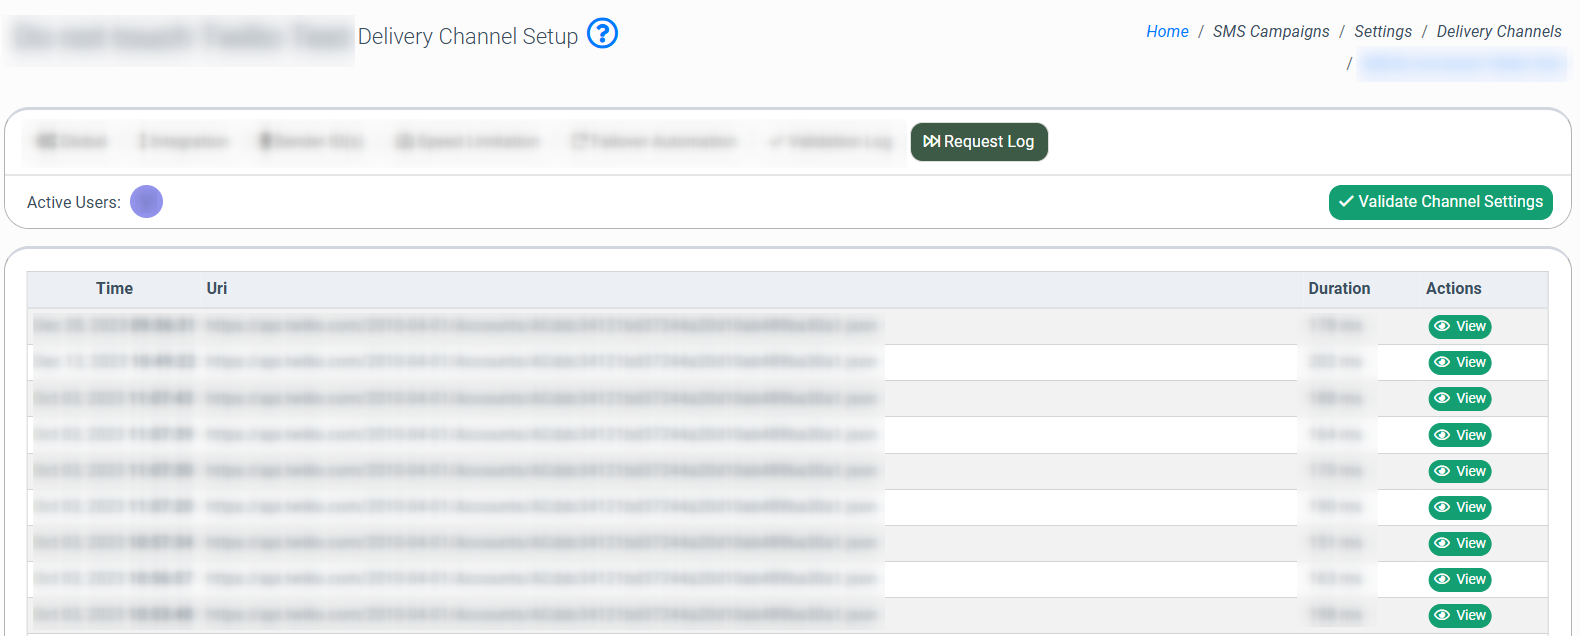
To view additional information about the log record, click the “View” button in the “Actions” column. The information will be displayed in the “View” pop-up window.