The main goal of the Caps is to provide you with manually adjusted time and limitations for accepting conversion.
Read more about the Offer Caps Report in this article.
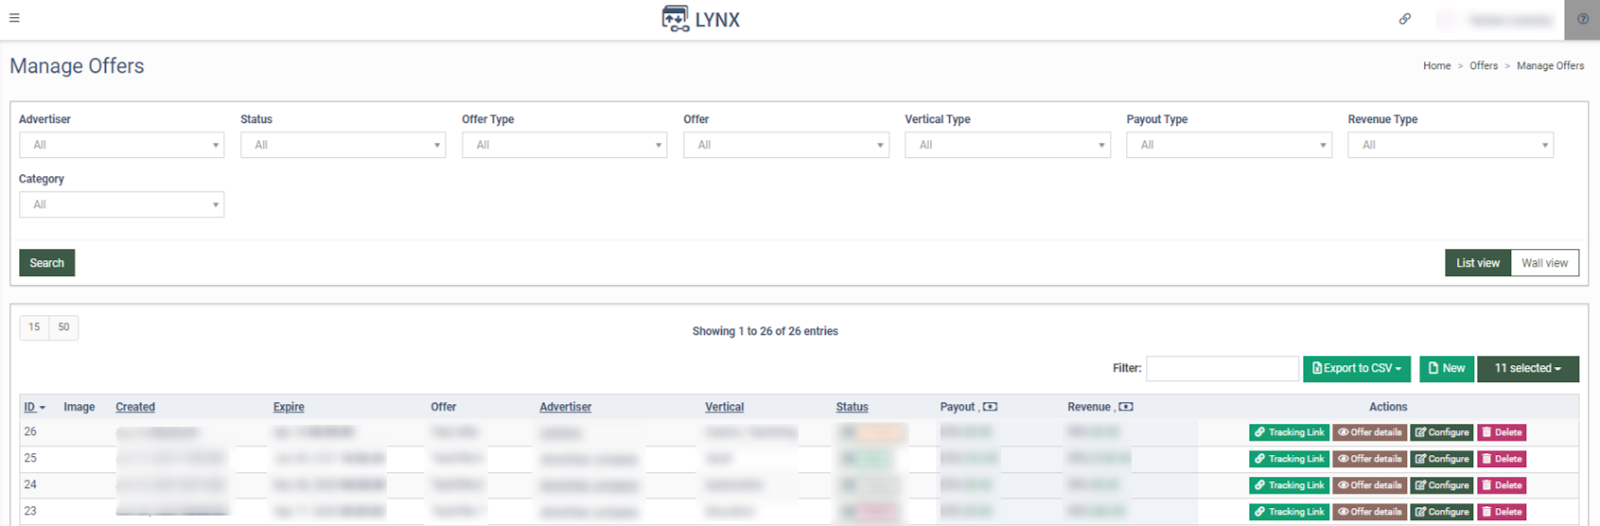
To set up the caps, go to the Offers > Manage Offers section and click the “Configure” button of the corresponding offer.
On the Offer Setup page, go to the “Caps” tab.
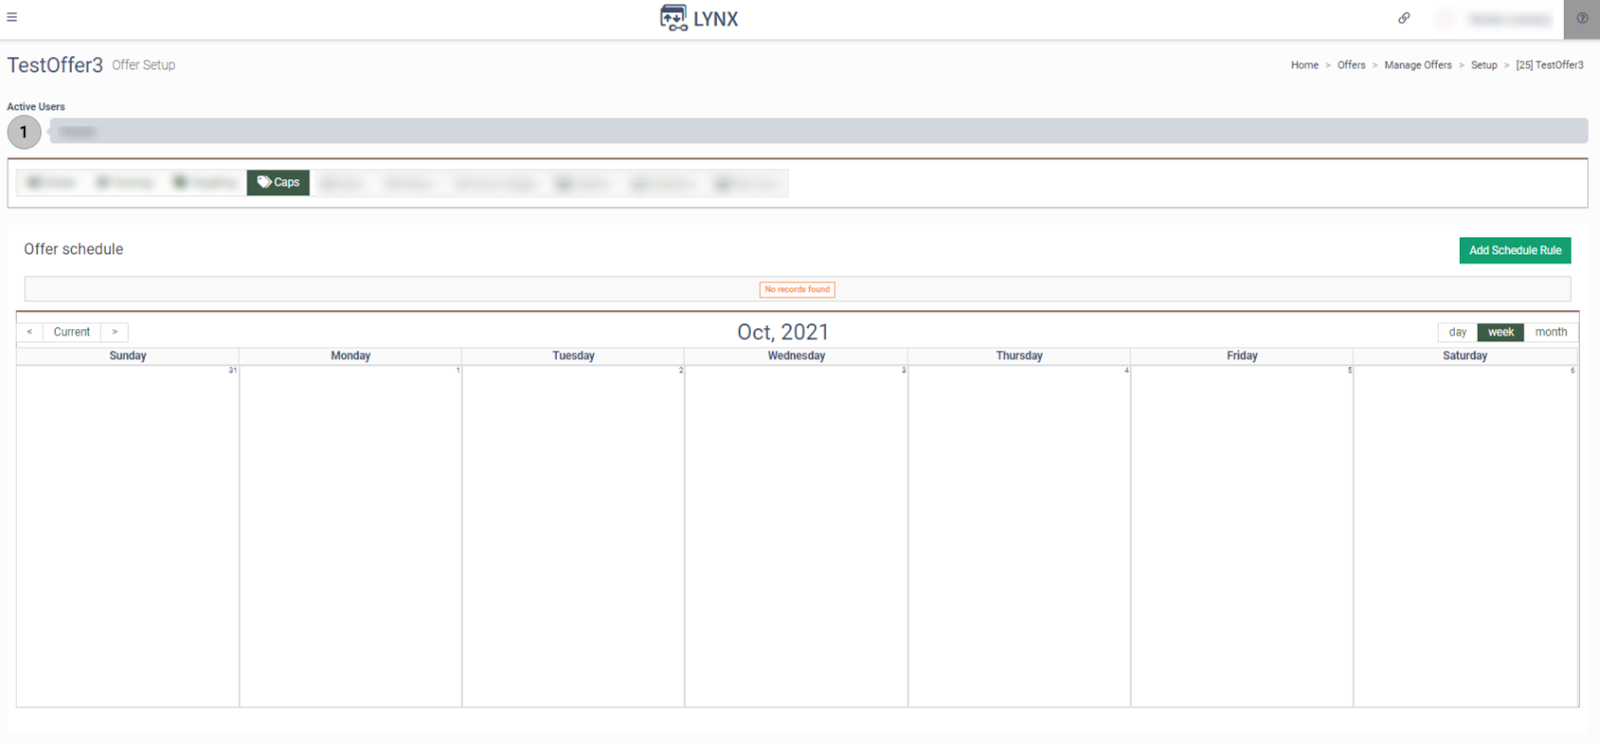
To create and configure the caps, click the “Add Schedule Rule” button and fill in the data fields in the pop-up window. Select the “On” value of the “Status” switcher to activate the cap.
-
Action: Select the action for the cap (Receive Conversions / Ignore Conversions).
-
Schedule method: Select one of the scheduling methods from the drop-down list:
-
Select the “Days” option to accept conversions on specific days.
-
Select the “Date Range” option to accept conversions on a specific date range.
-
-
Start time: Select the start time for the offer conversions. You can set the detailed time in hours and minutes.
-
End time: Select the end time to stop accepting any conversions.
-
Conversions Daily limit: Enter the numerical limit for daily conversions.
-
Payout Daily limit: Enter the numerical limit for the daily payout.
-
Revenue Daily limit: Enter the numerical limit for daily revenue.
-
Total Conversions: Enter the numerical limit for total conversions.
-
Total Payout: Enter the numerical limit for the total payout.
-
Total Revenue: Enter the numerical limit for total revenue.
To create the cap, click the “Add” button.
