SMS Campaigns: Links Management
The “Links Management” section allows you to view and manage the list of all existing links and domains. You can create new ones or search for links using the Link Name, Status, Template, and Shortener Domain filters.
To view the “Links Management” section, go to the SMS Campaigns > Settings > Links Management section.
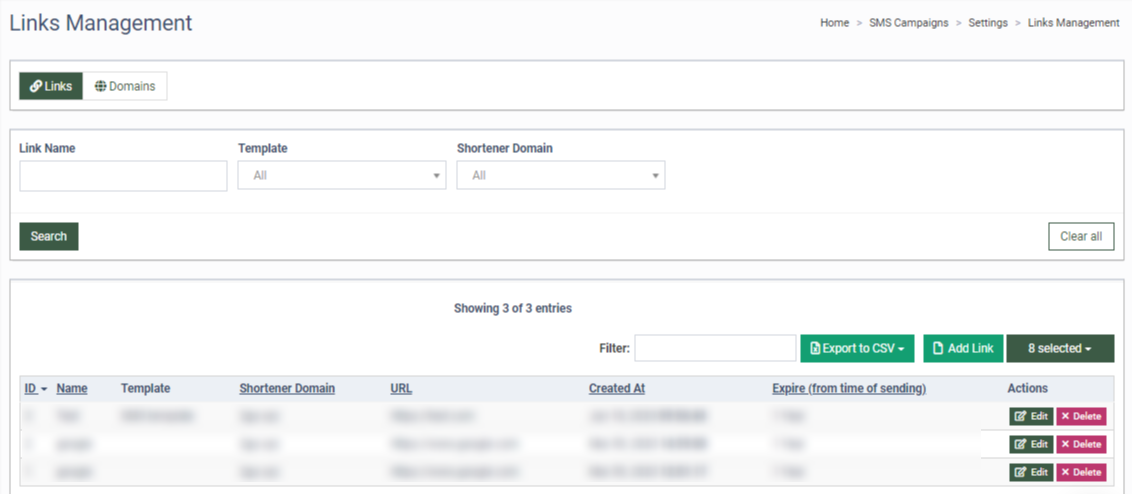
The “Links Management” section contains two tabs. The “Links” tab contains information about the links.
The main blocks contain the following information:
-
ID: The unique identification number of the list.
-
Name: The name of the list.
-
Template: The name of the Template.
-
Shortener Domain: The domain that will be used to shorten the URL in the SMS text.
-
URL: The link.
-
Created At: Date and time of the link creation.
-
Expire (from time of sending): The link expiration date.
You can narrow down the search results by using the following filters:
-
Link Name: Enter the link name.
-
Template: Select the Template from the drop-down list.
-
Shortener Domain: Select the domain that will be used to shorten the URL in the SMS text.
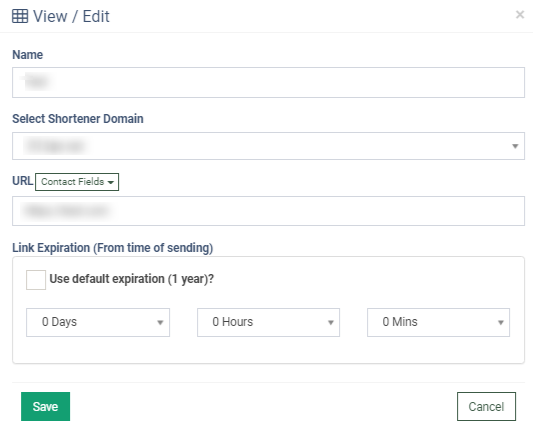
To manage the existing link click the “Edit” button in the “Action” column and fill in the following fields in the “View/Edit” pop-up window:
-
Name: Enter the name of the domain.
-
Select Shortener Domain: Select the shortener domain from the existing one.
-
URL: Select the URL from the dropdown list.
-
Link Expiration (From the time of sending): Click the checkbox or set up the timeframes when the sending link expires.
Click the “Save” button to confirm.
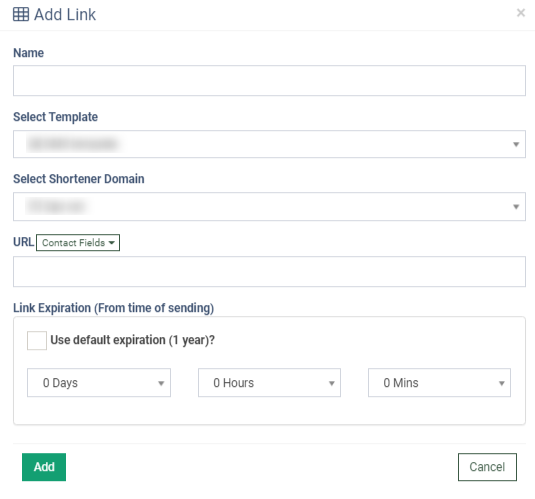
To add a new link to the system, click the “Add Link” button and fill in the following fields in the “Add Link” pop-up window:
-
Name: Enter the name of the domain.
-
Select Shortener Domain: Select the shortener domain from the existing one.
-
URL: Select the URL from the dropdown list.
-
Link Expiration (From the time of sending): Click the checkbox or set up the timeframes when the sending link expires.
Click the “Add” button to confirm the action.
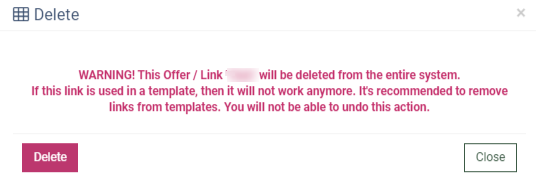
To remove the link from the list, click the “Delete” button in the “Action” column. Click the “Delete” button in the pop-up window to confirm.
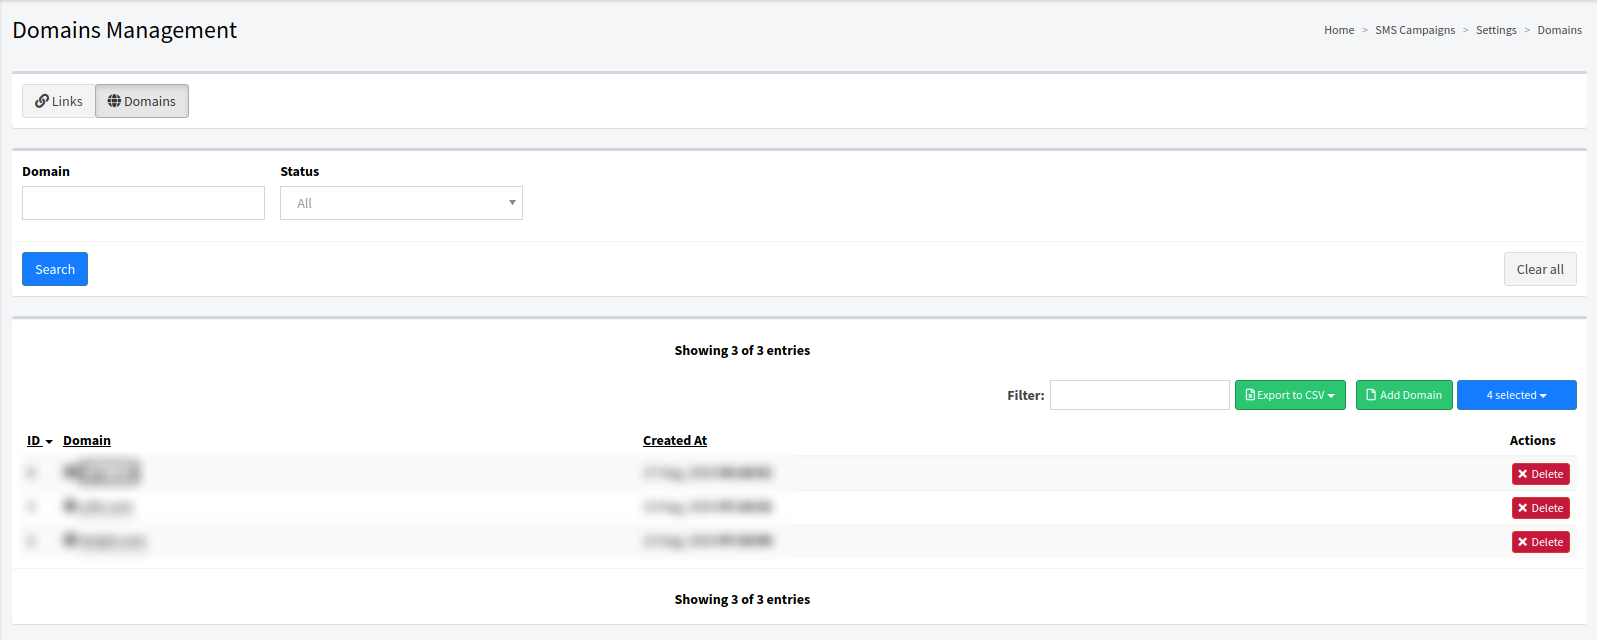
The “Domains” tab contains information about the Shortener domains and options to add and configure domains.
Note: Read more about Shortener domains in this Knowledge Base article.
