To open the Tags list, go to the List Management > Tags section.
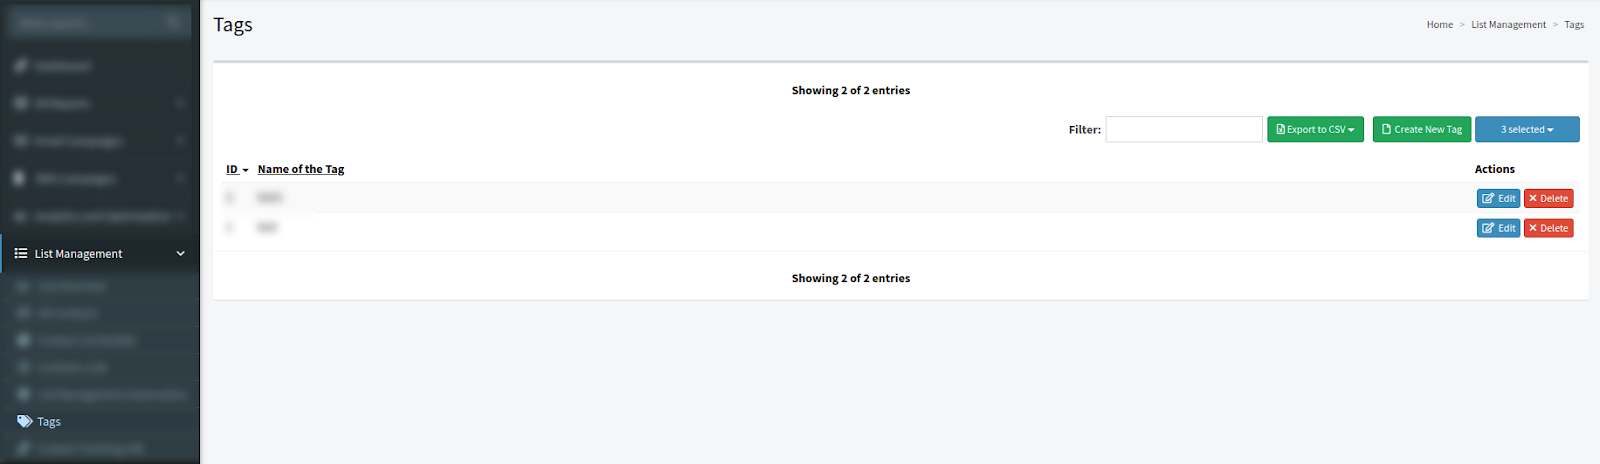
The block contains the following information:
-
ID: The ID number of the Tag.
-
Name of the Tag: The Tag name.
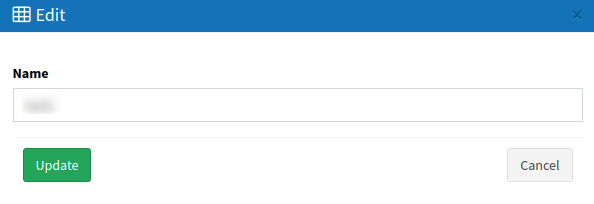
Click the “Edit” button in the “Action” column to change the Tag name. Next, fill in a new name in the “Name” field and click the “Update” button to confirm.
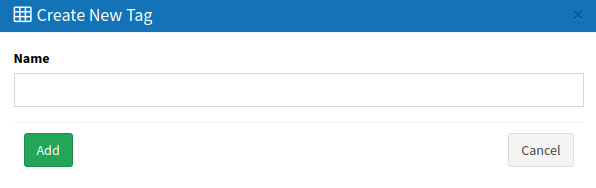
Click the “Create New Tag” button to create a new Tag. Then, fill in the “Name” field and click the “Add” button to confirm.
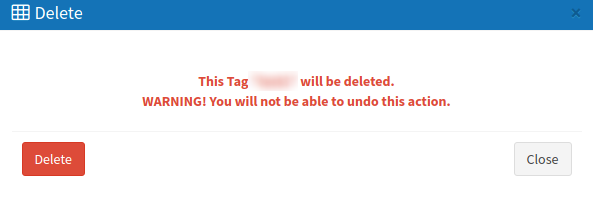
Click the “Delete” button in the “Action” column to remove the Tag. Then, in the pop-up window, click the “Delete” button to confirm.
Note: Read more about How to Create Tags in this Knowledge Base article.