The Balance Dashboard Widget allows you to view the balance of Prepaid Buyers and add funds through the payment system website. The widget is only available to the Buyer Representative with a Buyer Editor role.
To add the Balance widget to your Dashboard, go to the Dashboard section, click the “Edit” button, and select the Balance Widget.

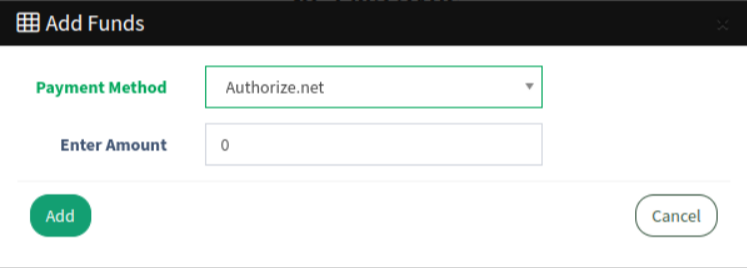
To add funds through the widget, find the Balance widget on the Dashboard and click the “Add Funds” button. Select the payment system and enter the dollar amount in the pop-up window. Please note that the amount cannot be less than one dollar. Click the “Add” button, and the system will redirect you to the payment page on the payment system website, where you can make a payment.
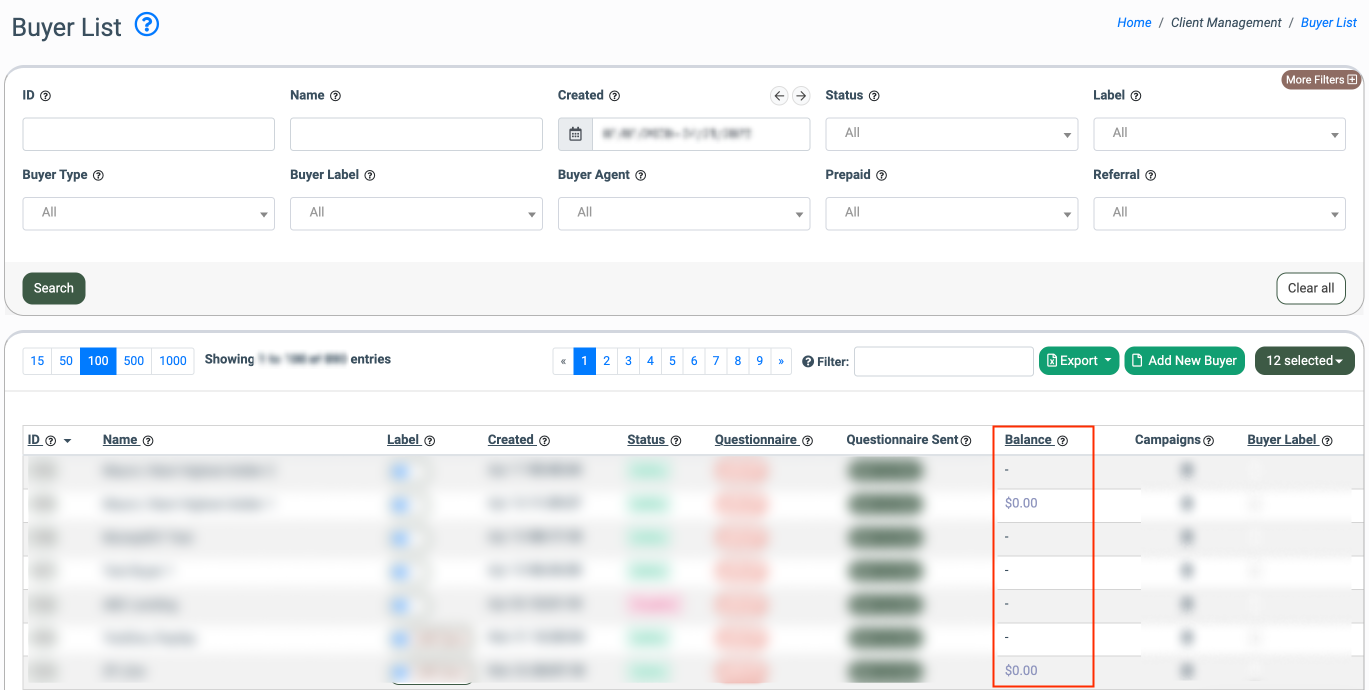
To view the current balance, click the “Refresh” button on the widget or go to the Client Management > Buyer List section and check the Balance column.
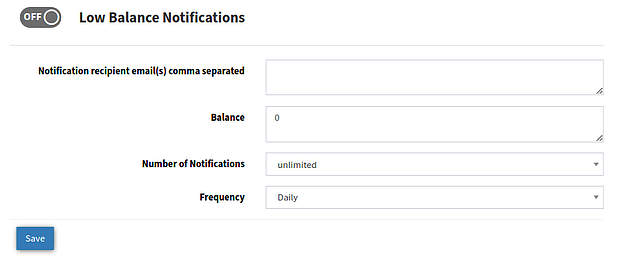
To set up low balance notifications, go to the Client Management > Buyer List section and click the “Settings” button. Select the “Default Notifications” tab and scroll down to the “Low Balance Notifications” block. Enable the option and fill in the following fields:
-
Notification recipient email(s) comma separated: Enter the email address(es) of those who will receive the notification.
-
Balance: Enter the low balance value. Note: The notification is sent once the balance has reached the set value.
-
Number of Notifications: Select how many notifications the system will send (one, two, unlimited).
-
Frequency: Set the notification frequency (daily, weekly, monthly).
To save the changes, click the “Save” button.
Read how to set up the Prepaid Buyer Option in the Knowledge Base.