Read more about the Call Group section in the Knowledge Base article.
The Call Group setup section contains the following tabs:
General Settings
Tracking
Client Information Form
Lead Stash Settings
Predefined Transfer Routes
Recordings
PL/DNPL
General Settings
The “General Settings” tab allows you to configure the general settings of the Call Group.

The following settings are available:
- Name: Enter the name of the Call Group.
- Description: Enter a brief description of the Call Group.
- Call Category: Select the classification of calls based on their purpose.
- Status: Select the current status of the Call Group.
Click the “Save” button to complete the settings.
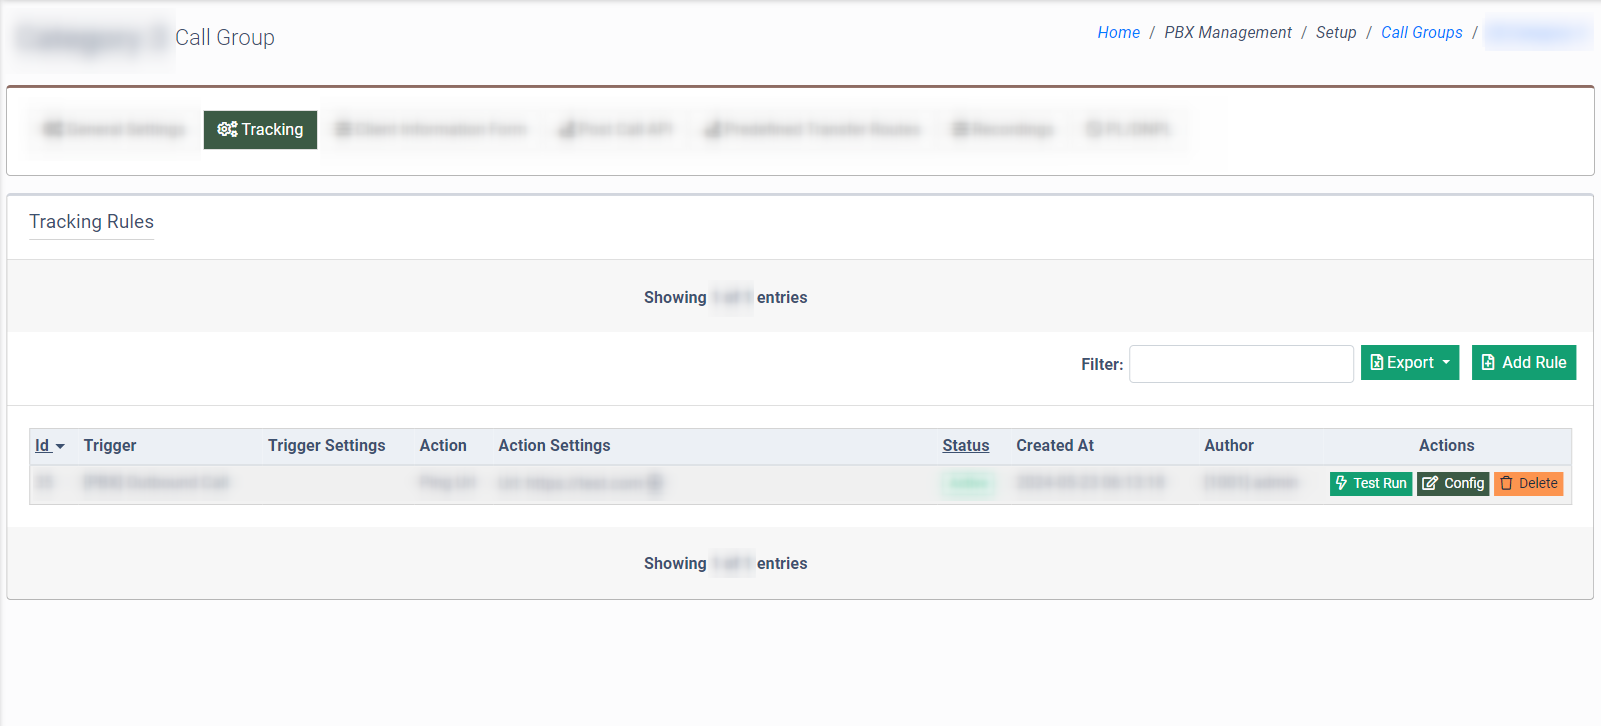
Tracking
The “Tracking” tab allows you to set the event tracking rules for the Call Group.
Read more about the Event Tracking Rules for the PBX in the Knowledge Base article.
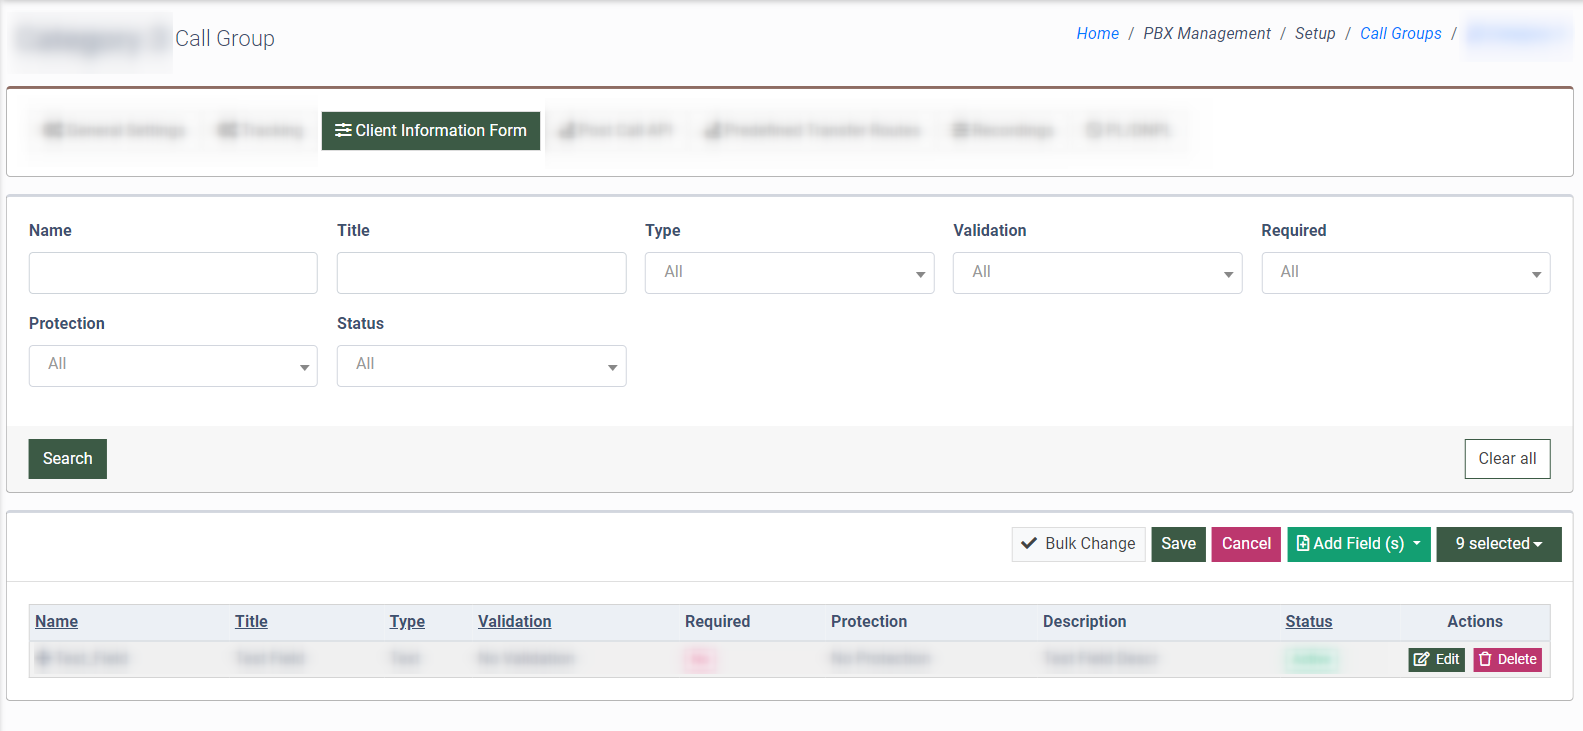
Client Information Form
The “Client Information Form” tab allows you to view and add specific fields from the existing Product to the Call Group, or create new fields.
These fields help the user to display the information about the lead that is already available in our Lead Stash system and add or update the information in the specific fields during the call processing.
Also, these fields can be used during the call processing according to the built Call Script.
Read more about the Call Script usage in the following Knowledge Base article.
You can narrow down the search results by using the following filter:
- Name: Enter the name of the field.
- Title: Enter the title of the field.
- Type: Select the data type of the field (Text, Number, Dropdown). The “Dropdown” data type allows you to create the drop-down list with the pre-defined options.
- Validation: Select the type of the field input validation (No Validation, Length, US ZIP, UK POST CODE, Phone Number, Integer, Decimal, ISO Date, ISO Datetime, IP Address, IPv4 Only Address).
- Required: Select the requirement of the field input (No, Yes).
- Protection: Select the type of the field display protection to control how it’s viewed by operators on the Operator Dashboard during active calls or in the Call Info section (No Protection, Replace data with '--protected--', Replace data with 'x' sign, Replace data with '*' sign, Replace data with zero sign, Protector v1 (ex: myemail@gmail.com => myemail@), Protector v2 (ex: myemail@gmail.com => m******@gmail.com), Display First Half (123456 => 123***) Display Last Half (123456 => ***456), First 4 symbols (123456 => 1234**), Last 4 symbols (123456 => **3456)).
- Status: Select the current status of the field (Active, Disabled).
The list of the available fields contains the following information:
- Name: The name of the field.
- Title: The title of the field.
- Type: The input data type of the field.
- Validation: The type of field input validation.
- Required: The requirement of the field input.
- Protection: The type of the field displays protection to control how it’s viewed by operators on the Operator Dashboard during active calls or in the Call Info section.
- Description: A brief description of the field.
- Status: The current status of the field (Active, Disabled).
To add a new field to the list, click the “Add Field(s)” button and select the type of field to add. The following options are available:
- Add Single Field: A new single field will be created and added.
- Import from Json: Field(s) will be added via importation from the JSON file.
- Import from LMS/Call Logic product: Field(s) will be added from the existing LMS or Call Logic product.
The Add Single Field option
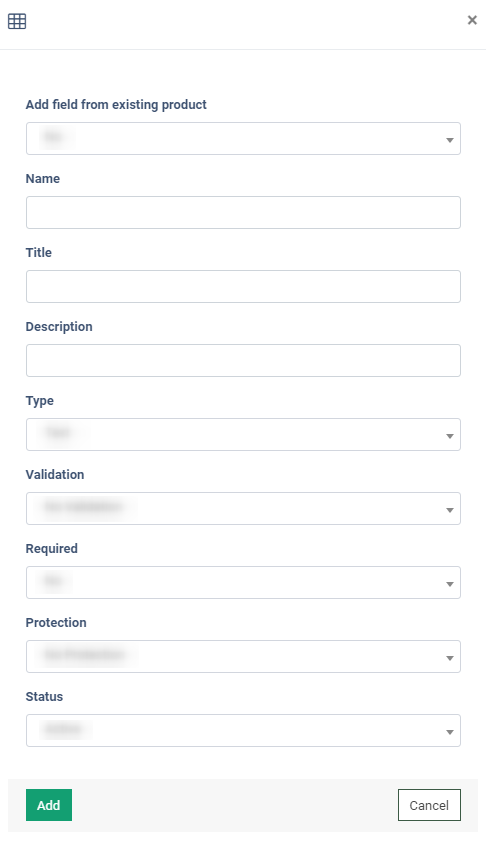
If the “Add Single Field” option is selected, fill in the following fields in the corresponding pop-up window:
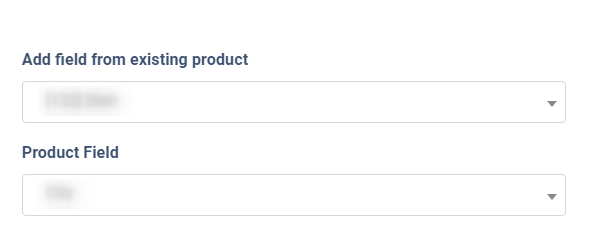
- Add field from existing product: Select the “No” option if you would like to create a new field.
- If the option with the corresponding product is selected, select the field of this product in the “Product Field” field.
- If the option with the corresponding product is selected, select the field of this product in the “Product Field” field.
- Name: Enter the name of the new field.
- Title: Enter the title of the new field.
- Description: Enter a brief description for the new field.
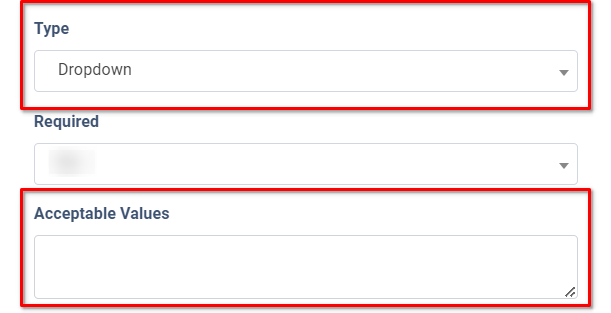
- Type: Select the data type of the field (Text, Number, Dropdown).
- If the “Number” option is selected, enter the minimum and maximum values of the data input in the “Min Value” and “Max Value” fields correspondingly.
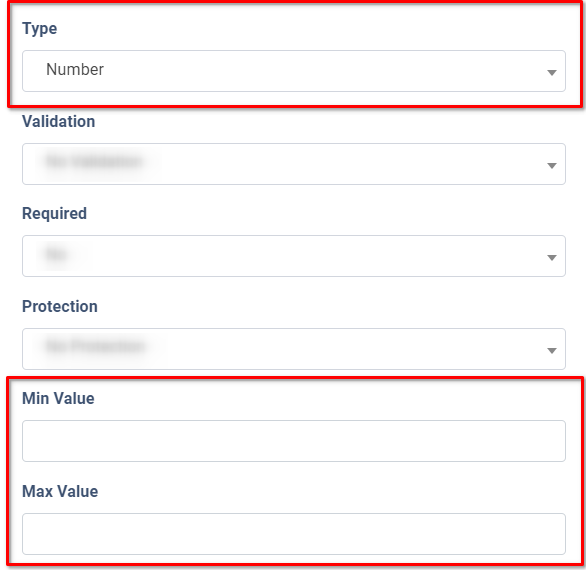
-
- If the “Dropdown” option is selected, enter the allowed options for the selection in the “Acceptable Values” field.
- Validation: Select the type of the field input validation (No Validation, Length, US ZIP, UK POST CODE, Phone Number, Integer, Decimal, ISO Date, ISO Datetime, IP Address, IPv4 Only Address).
- Required: Select the requirement of the field input (No, Yes).
- Protection: Select the type of the field display protection to control how it’s viewed by operators on the Operator Dashboard during active calls or in the Call Info section (No Protection, Replace data with '--protected--', Replace data with 'x' sign, Replace data with '*' sign, Replace data with zero sign, Protector v1 (ex: myemail@gmail.com => myemail@), Protector v2 (ex: myemail@gmail.com => m******@gmail.com), Display First Half (123456 => 123***) Display Last Half (123456 => ***456), First 4 symbols (123456 => 1234**), Last 4 symbols (123456 => **3456)). Note: The following setting protects data for displaying for the following system roles: PBX Operator, PBX Editor, PBX Outbound Operator, and PBX Department Manager. Note: This setting is not available for the drop-down field type.
- Status: Select the current status of the field (Active, Disabled).
Click the “Add” button to complete the field creation.
The Import from Json option
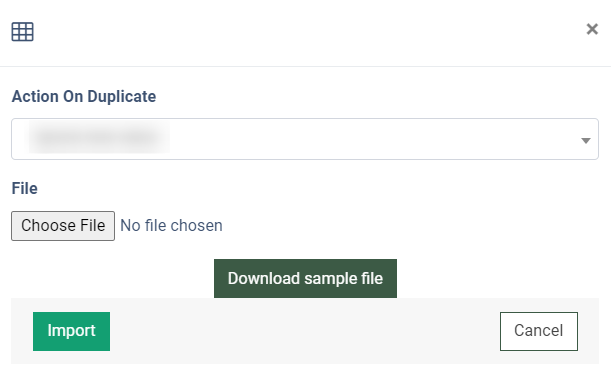
If the “Import from Json” option is selected, fill in the following fields in the corresponding pop-up window:
- Action On Duplicate: Select the action that will be performed for the duplicate field records (Ignore new value, Overwrite value).
- File: Select the file for the uploading and data importation.
Click the “Import” button to start the importation process.
To view the sample of the file with the data format used for the proper importation, click the “Download sample file” button.
The Import from LMS/Call Logic product option
If the “Import from LMS/Call Logic product” option is selected, fill in the following fields in the corresponding pop-up window:
- Action On Duplicate: Select the action that will be performed for the duplicate field records (Ignore new value, Overwrite value).
- Product: Select the product from which all fields should be added.
Click the “Import” button to start the importation process.
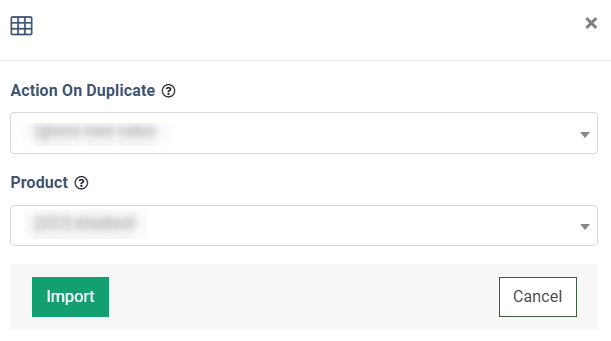
Note: By using this approach all product fields will be added with the inactive status. You should activate them before further usage.
To edit and configure the existing field, click the “Edit” button in the “Actions” column. Proceed with the corresponding amendments in the ”Edit” pop-up window, and click the “Save” button to complete the changes.

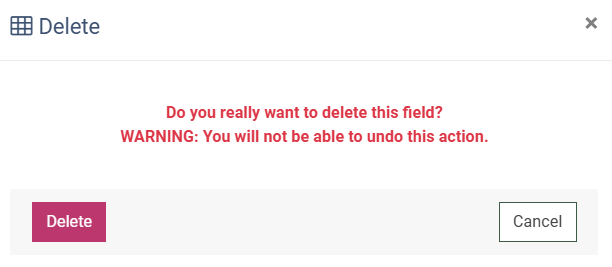
To remove the field from the list, click the “Delete” button in the “Actions” column. To remove the field from the list, click the “Delete” button in the “Actions” column. Confirm the deletion operation by clicking the “Delete” button in the “Delete” pop-up window.
Lead Stash Settings
The “Lead Stash Settings” tab allows you to configure and manage the workflow with the Lead Stash. The Lead Stash is an internal data storage system that allows you to store and access lead data.
Incoming Leads
The "Incoming Leads" sub-tab allows you to configure the data lookup and data storage settings for the Lead Stash on the Call Group level.
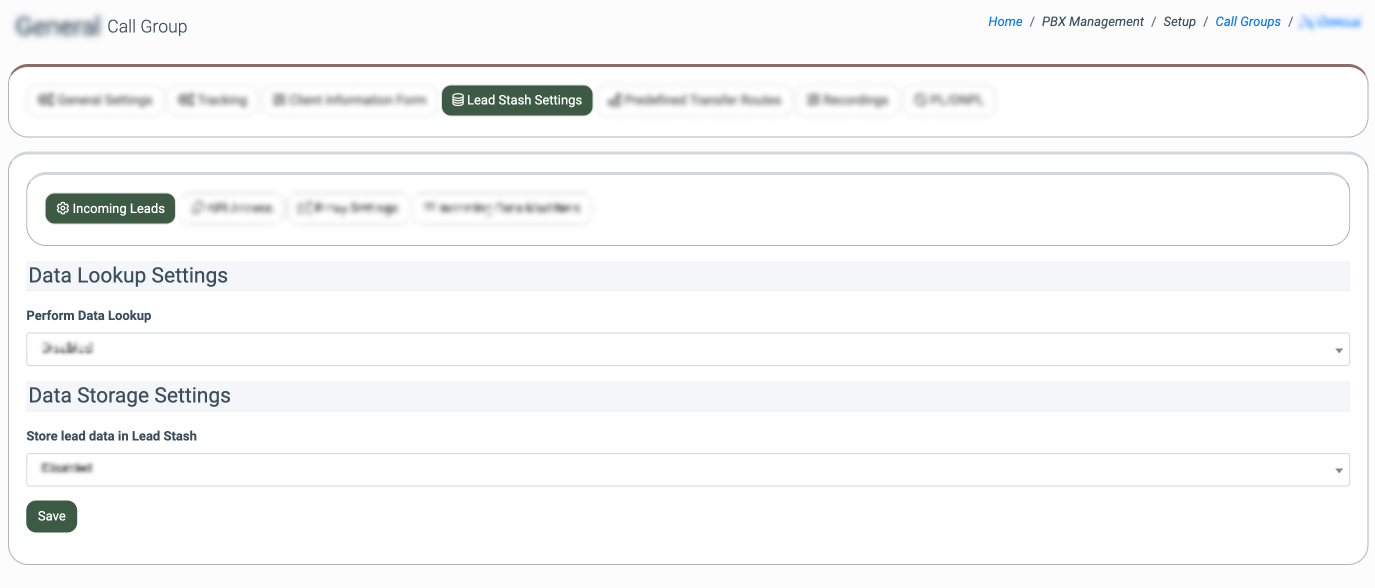
The “Data Lookup Settings” block contains the following settings:
- Perform Data Lookup: Select the system behavior when the lead data is found and pulled from the Lead Stash:
- Disabled: When disabled, it won’t allow you to pull data from the lead stash.
- Overwrite Lead Body: Rewrites the lead data with the data pulled from the lead stash.
- Fill Empty Lead Body Fields: Pulls the lead data from the lead stash, compares it with the already posted data, and fills in the empty fields.
- Store Lead Stash Log Only: Pulls data from the lead stash and displays it in the Lead Info.
- Limit the lookup in Lead Stash to the past: Switch the "ON/OFF" toggle to enable or disable updating the input information in Lead Stash within selected timeframes.
Note: You can set a time when new data will be created at the Lead Stash instead of overwriting the old one. - Protect lookup field: Switch the "ON/OFF" toggle to enable or disable the lookup field protection.
The “Data Storage Settings block” contains the following settings:
- Store lead data in Lead Stash: Select the "Active" option to enable the lead data storage in the Lead Stash.
- Store lead data in Lead Stash only for these call statuses: Select the call statuses of the calls to store data in the Lead Stash (Ringing, In Progress, System Error, Cancelled, Completed).
Click the “Save” button to apply settings.
API Access
The “API Access” sub-tab allows you to manage access to the Lead Stash through the API.
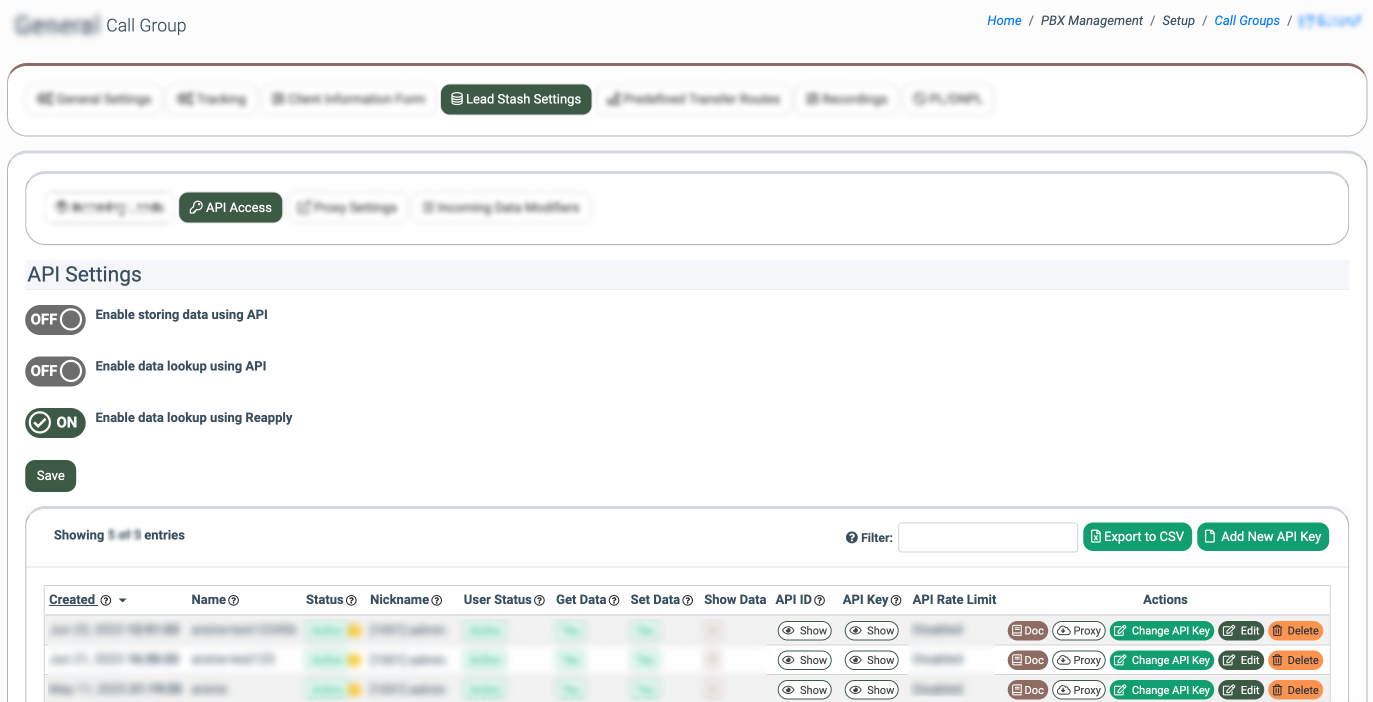
The API Settings block contains the following options:
- Enable storing data using API: Switch the toggle to the “ON” position to enable lead data recording to the Lead Stash through the API, and vice versa.
- Enable data lookup using API: Switch the toggle to the “ON” position to enable the lead data search and pull from the Lead Stash through the API, and vice versa.
- Enable data lookup using Reapply: Switch the toggle to the “ON” position to enable the lead data search and pull from the Lead Stash through the reapply, and vice versa. The Reapply feature allows the system to search for and retrieve existing customer data from Lead Stash using a specific search key (such as a phone number) when a form or API post request is submitted. If a match is found, the form or request can be pre-filled with stored data, allowing customers to enter less information and simplify the completion process.
Click the “Save” button to apply settings.
The list of API Keys contains the following information:
- Created: The date and time of the API Key creation.
- Name: The name of the API Key record.
- Status: The current status of the API Key record.
- Nickname: The nickname of the related user.
- User Status: The current status of the related user.
- Get Data: The ability to get data from the Lead Stash.
- Set Data: The ability to send data to the Lead Stash.
- API ID: The unique identification number of the API Key.
- API Key: The unique API Key value.
- API Rate Limit: The rate limit option for the record/pull data to/from the Lead Stash through the API. The rate limit option allows you to set the limitation for the number of requests (record/pull data to/from the Lead Stash) sent via API within a particular time range.
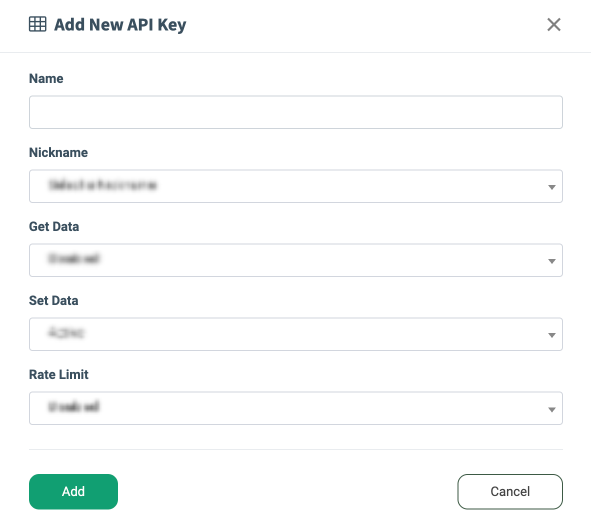
To create a new API Key record, click the “Add New API Key” button and fill in the following fields in the “Add New API Key” pop-up window:
- Name: Enter the name of the API Key record.
- Nickname: Select the related user.
- Get Data: Select the availability to get data from the Lead Stash (Active, Disabled).
- Set Data: Select the availability to send data to the Lead Stash (Active, Disabled).
- Rate Limit: Select the rate limit option for the record/pull data to/from the Lead Stash through the API. The rate limit option allows you to set the limitation for the number of requests (record/pull data to/from the Lead Stash) sent via API within a particular time range:
- Disabled: Disable the Rate Limit.
- High Rate - 5000/minute, 40000/10 minutes: number of requests per minute.
- Medium Rate - 2500/minute, 20000/10 minutes: number of requests per minute.
- Low Rate - 1000/minute, 8000/10 minutes: number of requests per minute.
- Tiny Rate - 100/minute, 800/10 minutes: number of requests per minute.
- Per minute - 5/minute, 40/10 minutes: number of requests per minute.
Click the “Add” button to complete the action.
To view the API Key record, click the “Show” button in the “API Key” field.
To view the API documentation related to the corresponding API Key record, click the “Doc” button on the “Actions” column.
To view the proxy settings of the API Key record, click the “Proxy” button in the “Actions” column.
To change the password for the API Key record, click the “Change API Key” button in the “Actions” column. Confirm the password changes by clicking the “Yes” button in the “Change API Key” pop-up window.
To remove the API Key record, click the “Delete” button in the “Actions” column. Confirm the API Key record deletion by clicking the “Yes” button in the “Delete” pop-up window.
To edit the existing API Key record, click the “Edit” button on the “Actions” column. Change the required information in the “Edit” pop-up window and click the “Update” button to complete the changes.

To remove the API Key record, click the “Delete” button in the “Actions” column. Confirm the API Key record deletion by clicking the “Yes” button in the “Delete” pop-up window.
Proxy Settings
The “Proxy Settings” sub-tab allows you to configure how data is searched in the Lead Stash, add other Phonexa Lead Stash proxies, and set up the priority of the look-up.
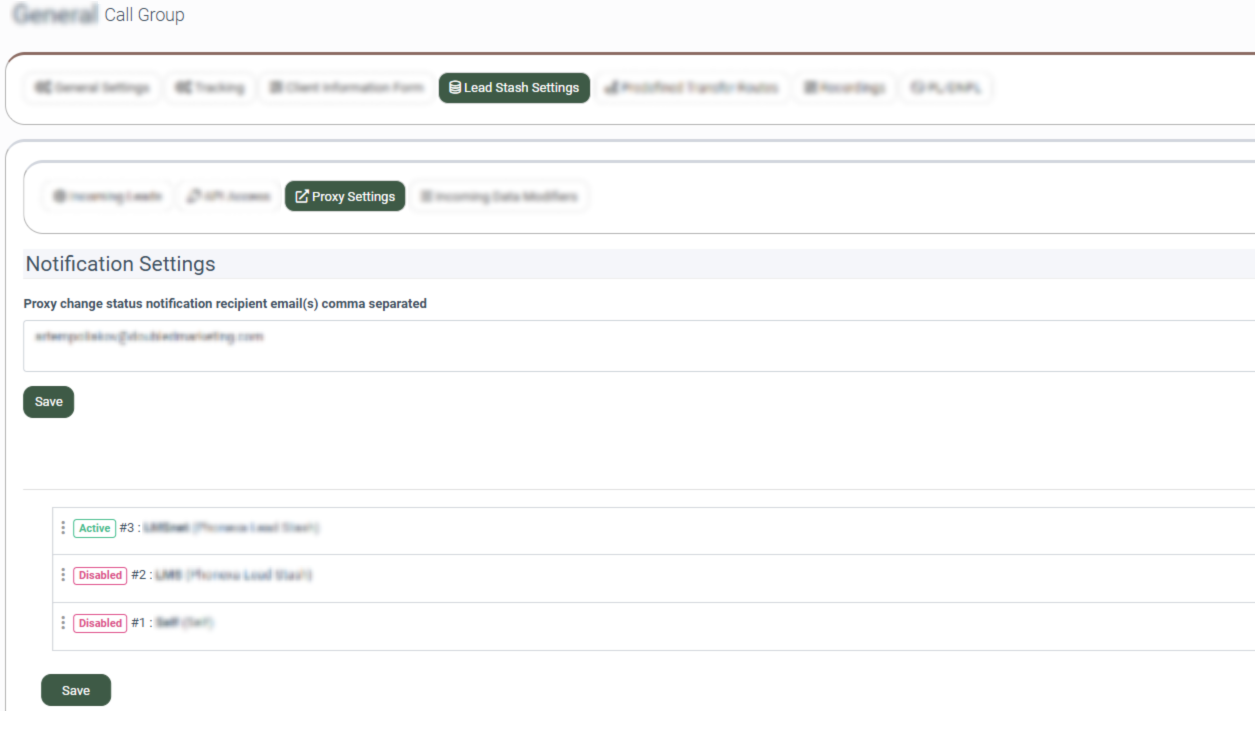
The “Notification Settings” block contains the following settings:
- Proxy change status notification recipient email(s) comma separated: Enter the email address(es) where the notification about the proxy status changes will be sent.
Click the “Save” button to apply the setting.
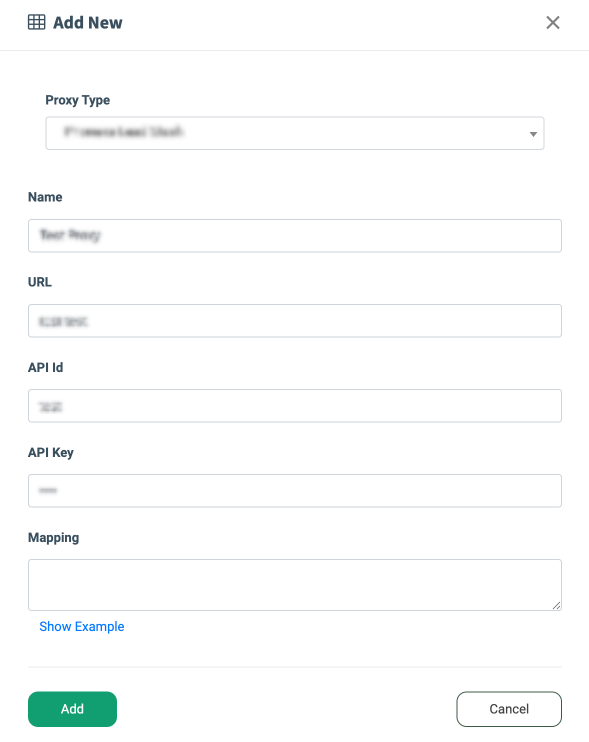
To add a new proxy, click the “Add New Proxy” button. Fill in the following fields in the pop-up window:
- Proxy Type: Select the proxy type (Phonexa Lead Stash, Data by Lead Id, PBX Lead Stash).
- Name: Enter the name of the proxy record.
- URL: Enter the proxy URL.
- API ID: Enter the API identifier.
- API Key: Enter the API key.
- Call Group ID: Enter the ID of the Call Group (available for the “PBX Lead Stash” integration).
- Mapping: Enter the mapping for fields that will be used for the integration.
Click the “Add” button to complete the action.
Incoming Data Modifiers
The “Incoming Data Modifiers” sub-tab allows you to add or remove country codes on phone numbers that the system is going to put in the Lead Stash search keys.
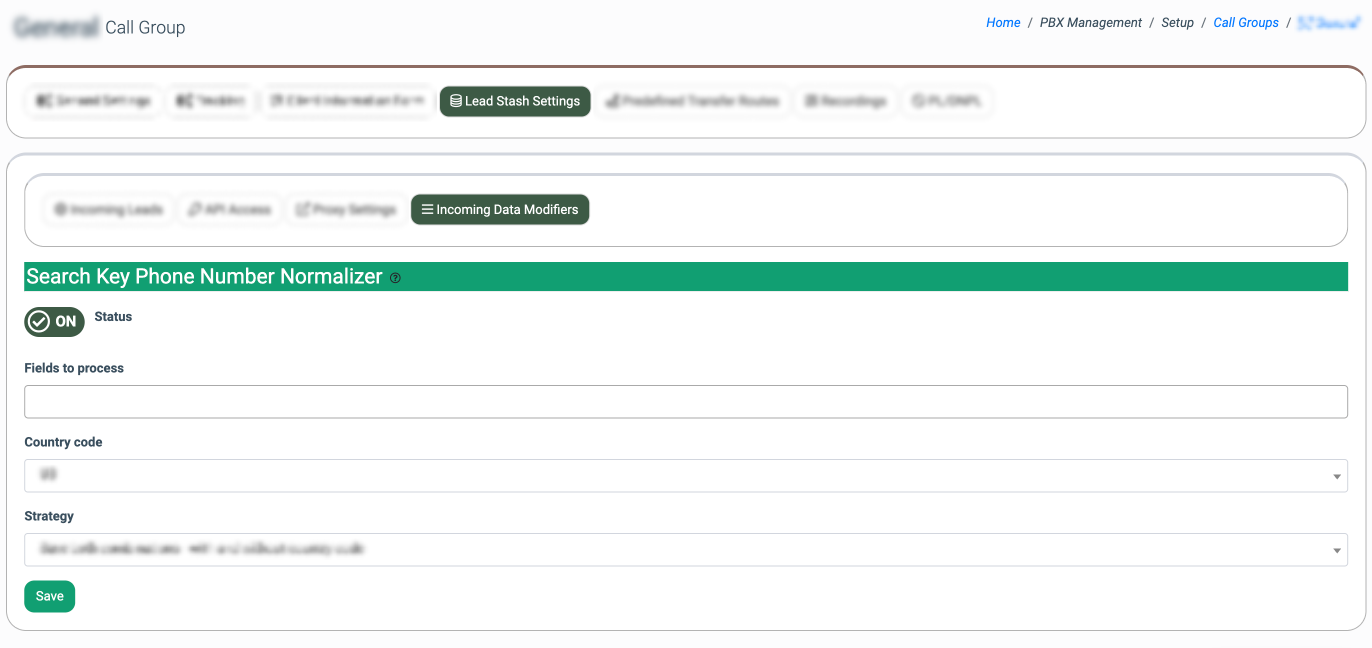
The “Search Key Phone Number Normalizer” block contains the following options:
- Status: Switch the toggle to the “ON” position to enable this option.
- Fields to process: Select the fields to process.
- Country code: Select the country code.
- Strategy: Select the strategy (Save both combinations - with and without country code, Add country code if not added, Remove country code if present).
Click the “Save” button to apply settings.
Predefined Transfer Routes
The “Predefined Transfer Routes” tab allows you to create and set up custom call transfer routes. You can reroute call processing to a particular phone number, IVR, or Campaign within Cloud PBX or Call Logic.
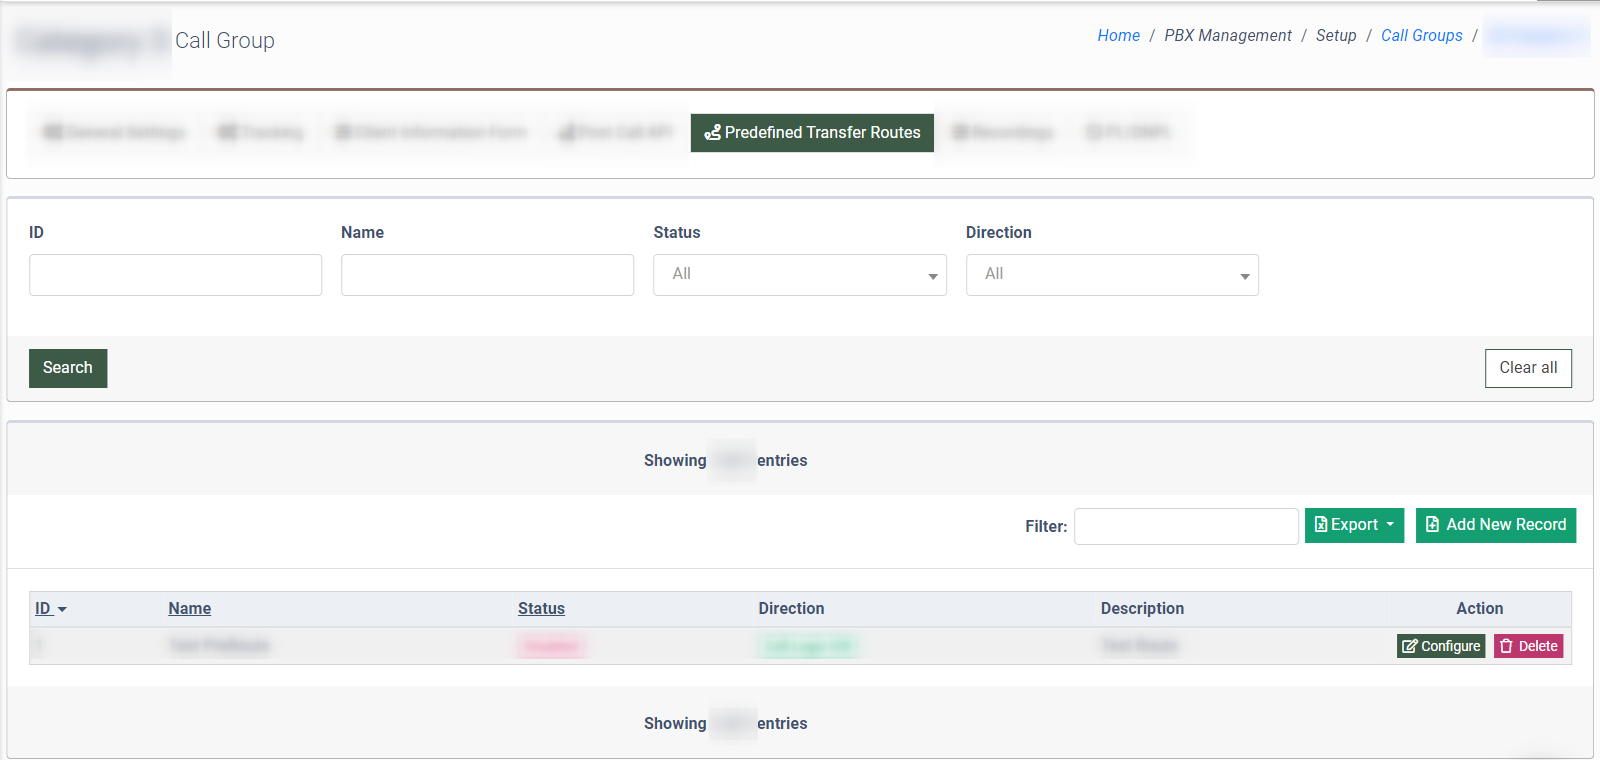
You can narrow down the search results by using the following filters:
- ID: Enter the unique identification number of the predefined route.
- Name: Enter the name of the predefined route.
- Status: Select the current status of the predefined route (Active, Deleted, Disabled).
- Direction: Select the type of the predefined route direction (Call Logic IVR, Call Logic Campaign, Phone number).
The list of the predefined routes contains the following information:
- ID: The unique identification number of the predefined route.
- Name: The name of the predefined route.
- Status: The current status of the predefined route.
- Direction: The type of the predefined route direction
- Description: A brief description of the predefined route.
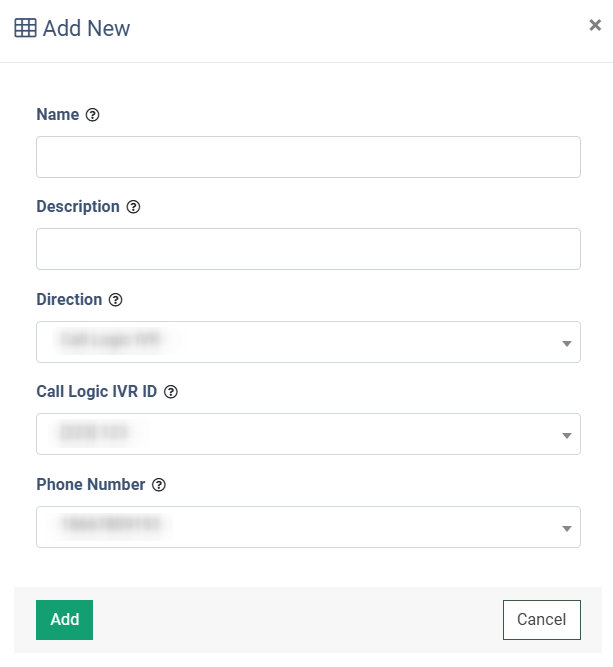
To add a new predefined route to the list, click the “Add New Record” button and fill in the following fields in the “Add New” pop-up window:
- Name: Enter the name of the predefined route.
- Description: Enter a brief description of the predefined route.
- Direction: Select the type of the predefined route direction (Call Logic IVR, Call Logic Campaign, Phone number).
- If the “Call Logic IVR” option is selected, select the corresponding IVR in the “Call Logic IVR ID” field.
- If the “Call Logic Campaign” option is selected, select the corresponding campaign in the “Call Logic Campaign ID” field.
- If the “Phone number” option is selected, enter the corresponding phone number in the “Phone Number” field.
- Phone Number: Select the corresponding inbound phone number.
Click the “Add” button to complete the action.
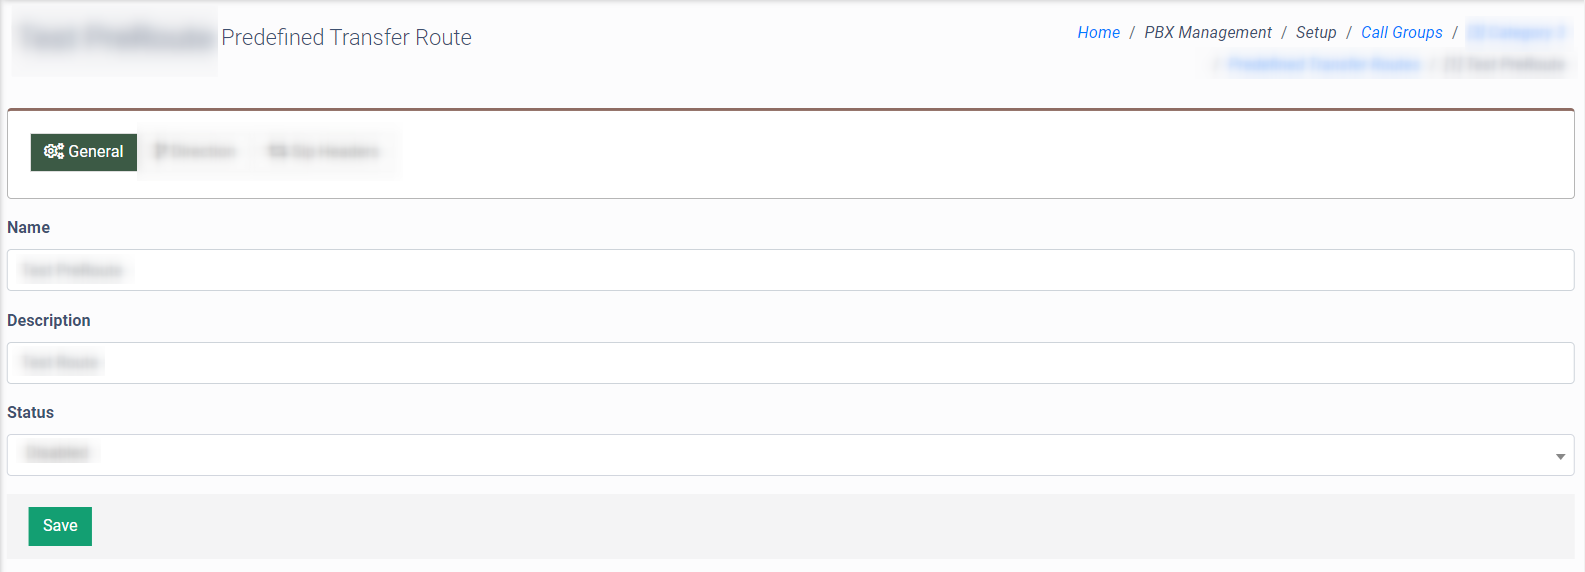
To manage settings of the predefined route, click the “Configure” button in the “Actions” column.
The “Predefined Transfer Route” section contains the following tabs:
- The “General” tab allows you to manage the general settings of the predefined route.
- The “Direction” tab allows you to manage the routing settings.
- The “SIP Headers” tab allows you to manage SIP Headers.
The “General” tab
The “General” tab contains the following settings:
- Name: Enter the name of the predefined route.
- Description: Enter a brief description of the predefined route.
- Status: Select the current status of the predefined route (Active, Disabled).
Click the “Save” button to complete the settings.
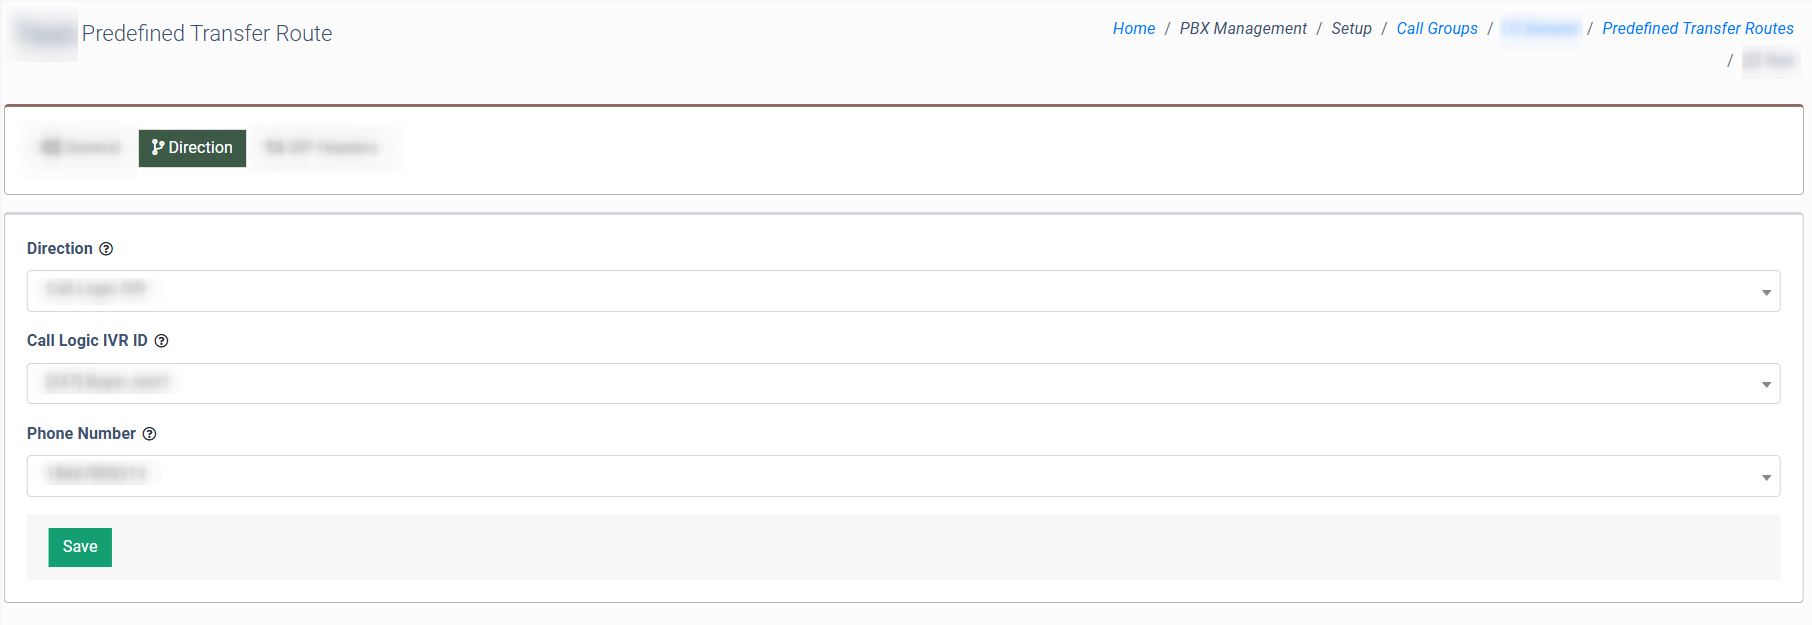
The “Direction” tab
The “Direction” tab contains the following settings:
- Direction: Select the type of the predefined route direction (Call Logic IVR, Call Logic Campaign, Phone number).
- If the “Call Logic IVR” option is selected, select the corresponding IVR in the “Call Logic IVR ID” field.
- If the “Call Logic Campaign” option is selected, select the corresponding campaign in the “Call Logic Campaign ID” field.
- If the “Phone number” option is selected, enter the corresponding phone number in the “Phone Number” field.
- Phone Number: Select the corresponding inbound phone number.
Click the “Save” button to complete the settings.
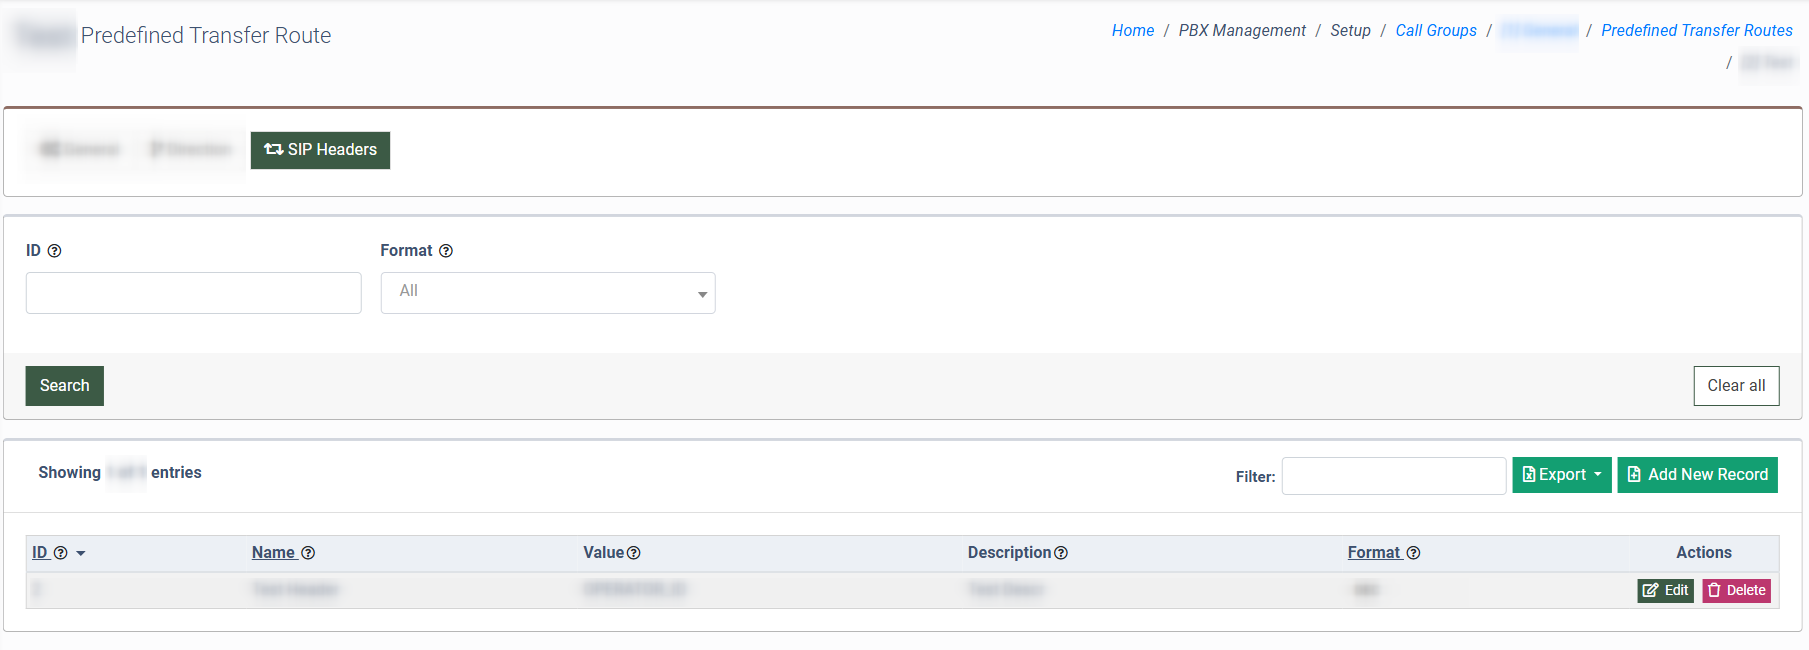
The “SIP Headers” tab
The “SIP Headers” tab contains the information about available and added SIP Headers records. The SIP Headers allow you to send additional data during a call transfer, such as caller ID, routing details, or custom metadata. This ensures accurate call routing and supports better tracking and reporting.
You can narrow down the search results by using the following filters:
- ID: Enter the unique identification number of the SIP Header record.
- Format: Select the value format (DEC, HEX, Plain Text).
The list of available SIP Header records contains the following information:
- ID: The unique identification number of the SIP Header record.
- Name: The name of the SIP Header record.
- Value: The value of the SIP Header record.
- Description: A brief description of the SIP Header record.
- Format: The format of the SIP Header record value.
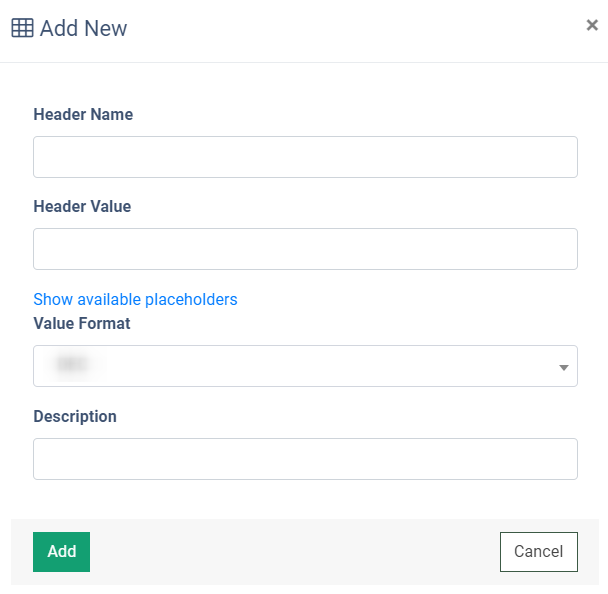
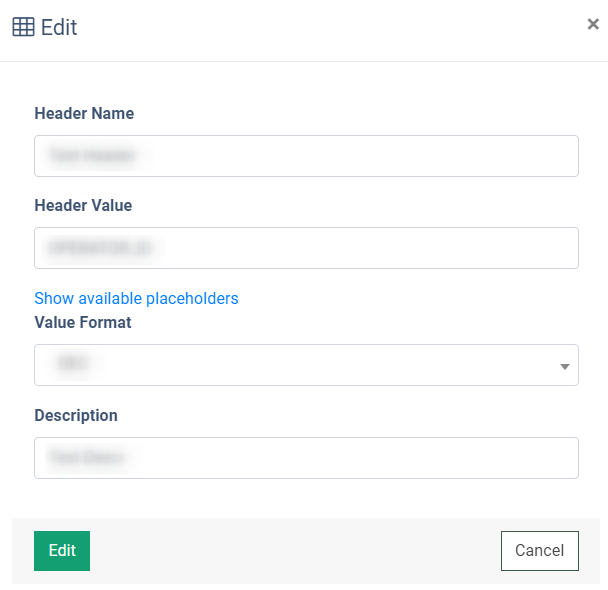
To add a new SIP Header record to the list, click the “Add New Record” button and fill in the following fields in the “Add New” pop-up window:
- Header Name: Enter the name for the SIP Header record. The SIP header is a part of a SIP message used to convey metadata and instructions about a communication session, such as a voice call. SIP headers are defined in plain text.
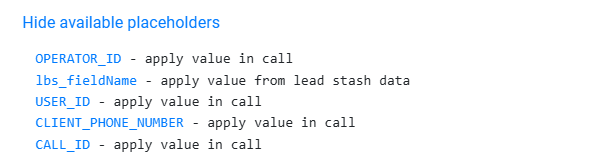
- Header Value: Enter the value for the SIP Header record. To view the list of available placeholders, click the “Show available placeholders” button. To add the placeholder to the field, click the name of the corresponding placeholder. A SIP value is the data assigned to a specific SIP header and provides instructions for managing a SIP call. The value is what gives meaning to the header, such as identifying the caller, recipient, or session details. SIP headers are defined in plain text.
- Value Format: Select the format of the value (DEC, HEX, Plain Text). SIP headers are typically in plain text format, which is human-readable and used in standard SIP communications. For debugging or low-level transport, headers may appear in hexadecimal (encoded for transport) or decimal (binary analysis), but these formats are rare. We recommend using plain text for regular implementations, as defined by the SIP protocol standards.
- Description: Enter a brief description for the SIP Header record.
Click the “Add” button to complete the SIP Header record adding.
To edit the existing SIP Header record, click the “Edit” button in the “Actions” column. Change the corresponding information about the SIP Header record in the “Edit” pop-up window, and click the “Edit” button to save changes.
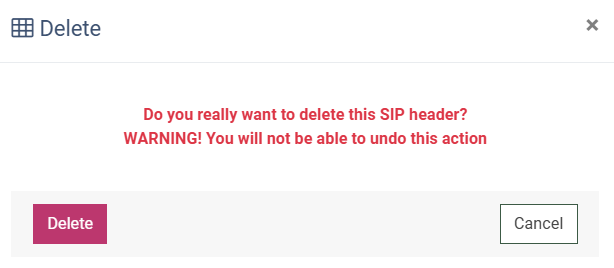
To remove the SIP Header record from the list, click the “Delete” button in the “Actions” column.
Confirm the deletion operation by clicking the “Delete” button in the “Delete” pop-up window.
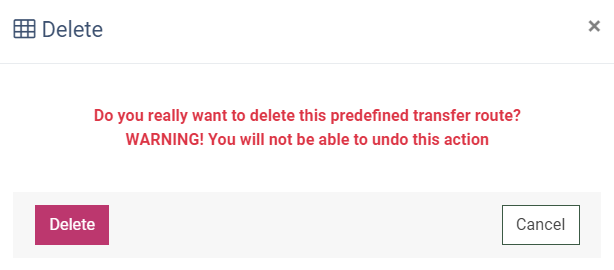
To remove the predefined route from the list, click the “Delete” button in the “Actions” column.
Confirm the deletion operation by clicking the “Delete” button in the “Delete” pop-up window.
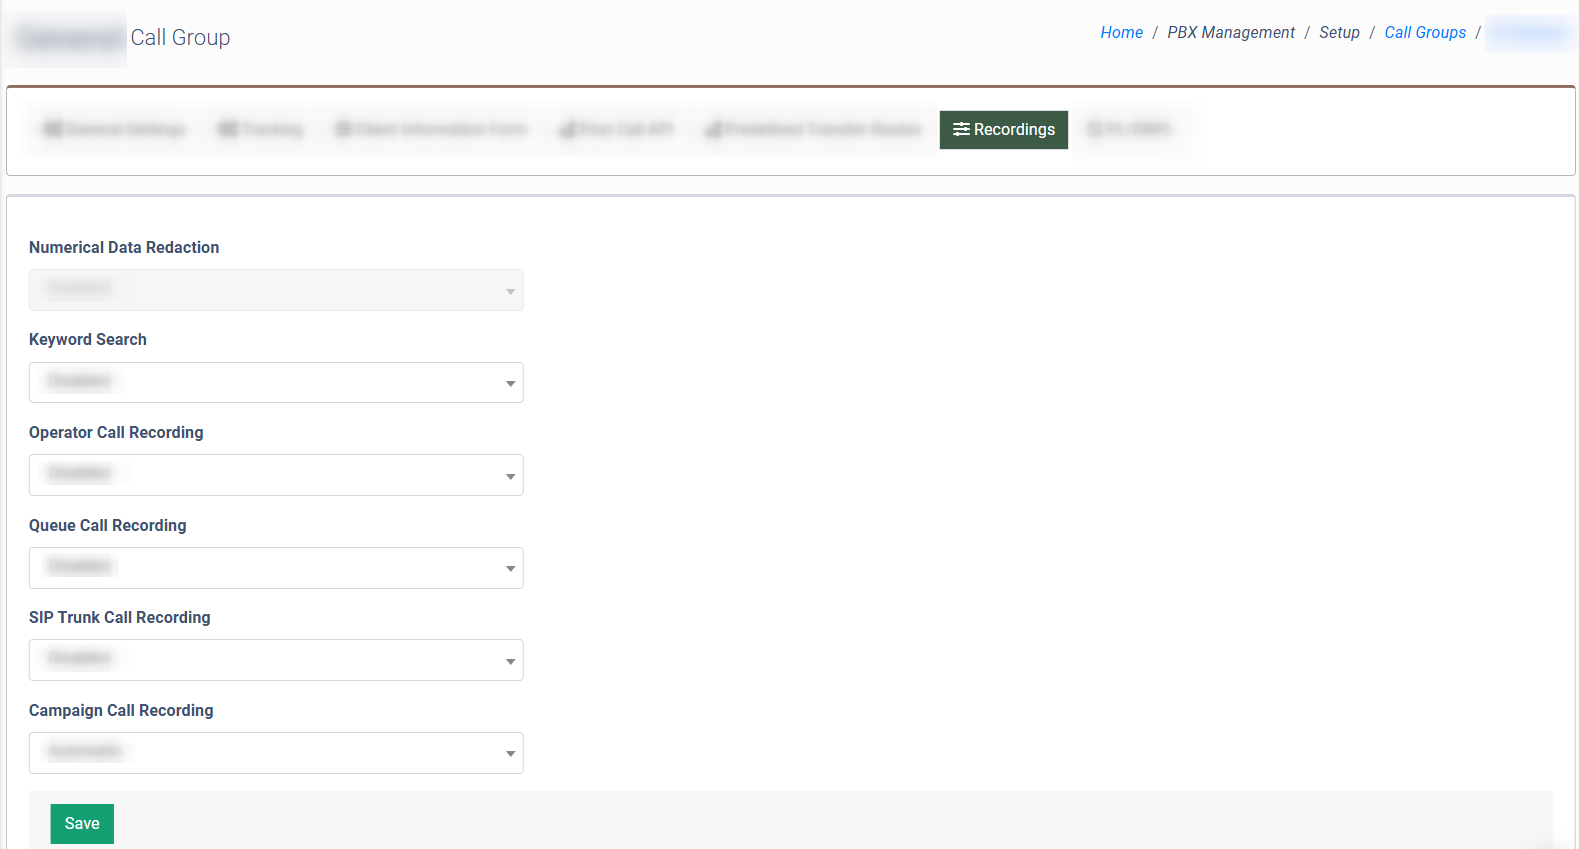
Recordings
The “Recording” tab allows you to manage the call recording, numerical data redaction, and keyword search options for a particular Call Group.
These settings can be set for the Call Group, Queue, and Operator levels. The settings set on the Call Group level is applied by default. The settings set on the Queue level override the Call Group level. The settings set on the Operator level override the Call Group level.
Note: The corresponding additional features, such as Call Recording, Keyword Search, Numerical Data Redaction, and Speech to Text should be enabled in the System Subscriptions section before enabling on the Call Group level.
The following settings are available:
- Numerical Data Redaction: Allows you to perform redaction of any numeric data, such as bank account, credit card, or social security numbers, from the audio recording of the conversation or during the conversation. To turn on or turn off this feature, select the “Enabled” or “Disabled” options respectively.
- Keyword Search: Allows you to search for phrases or keywords in audio recordings. To activate the feature, you need to have the Speech to Text enabled. To turn on or turn off this feature, select the “Enabled” or “Disabled” options respectively.
- Operator Call Recording: Select the call recording option for related operators (All, Disabled, Incoming, Outgoing).
- Queue Call Recording: Select the call recording option for related queues (Active, Disabled).
- SIP Trunk Call Recording: Select the call recording option for SIP Trunks (All, Disabled, Incoming, Outgoing).
- Call Campaign Recording: Select the call recording option for the related Call Campaigns (Disabled, Automatic, Manual).
Click the “Save” button to complete the settings.
PL/DNPL
The “PL/DNPL” tab allows you to add Present or Do Not Present lists to the Call Group. The corresponding PL or DNPL lists can be created in the “Present & Do Not Present Lists” section (PBX Management > Additional settings > Present & Do Not Present Lists section).
Select the Present or Do Not Present list that you would like to assign to the Call Group in the “Select PL/DNPL to apply to this CallGgroup” field.
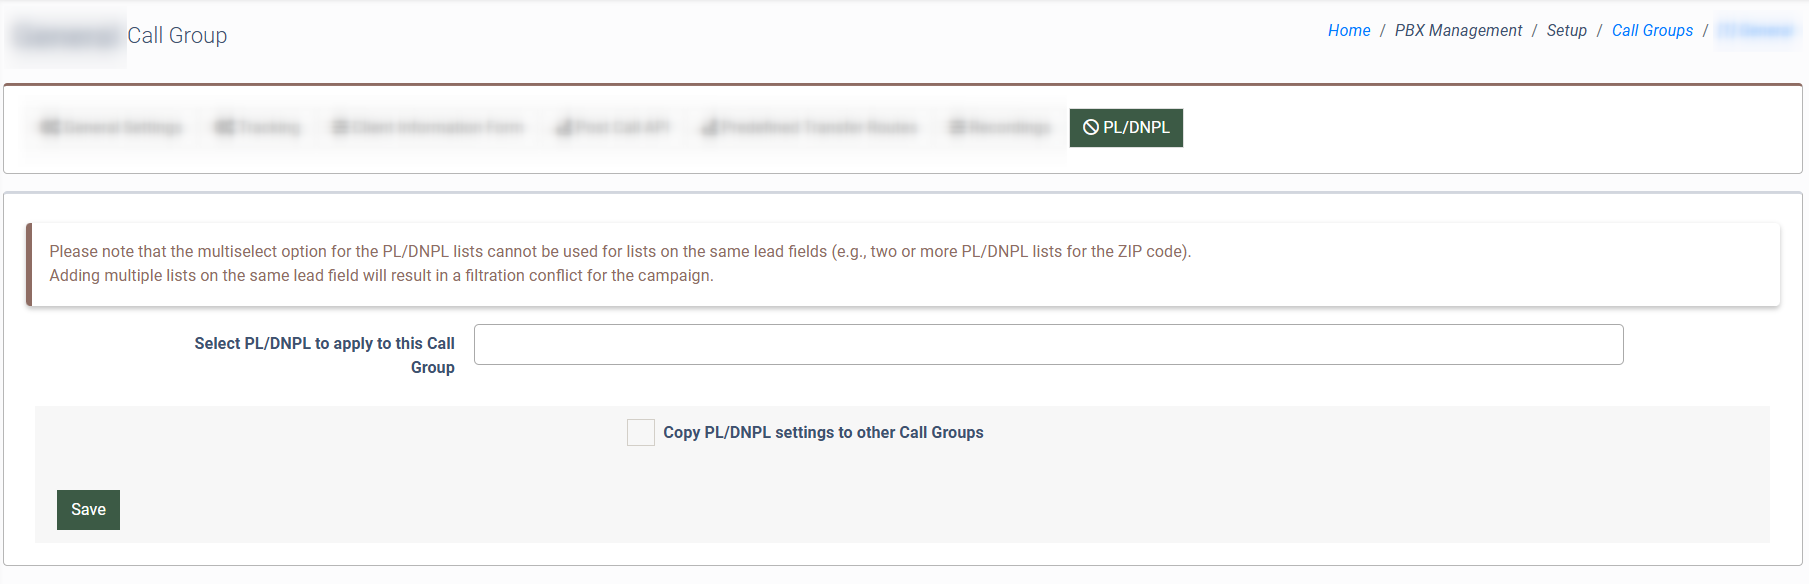
Click the “Save” button to complete the settings.
To copy the existing PL/DNPL settings to another Call Group, check the “Copy PL/DNPL settings to other Call Groups” box and select the corresponding Call Groups in the “Select More Call Groups” field.
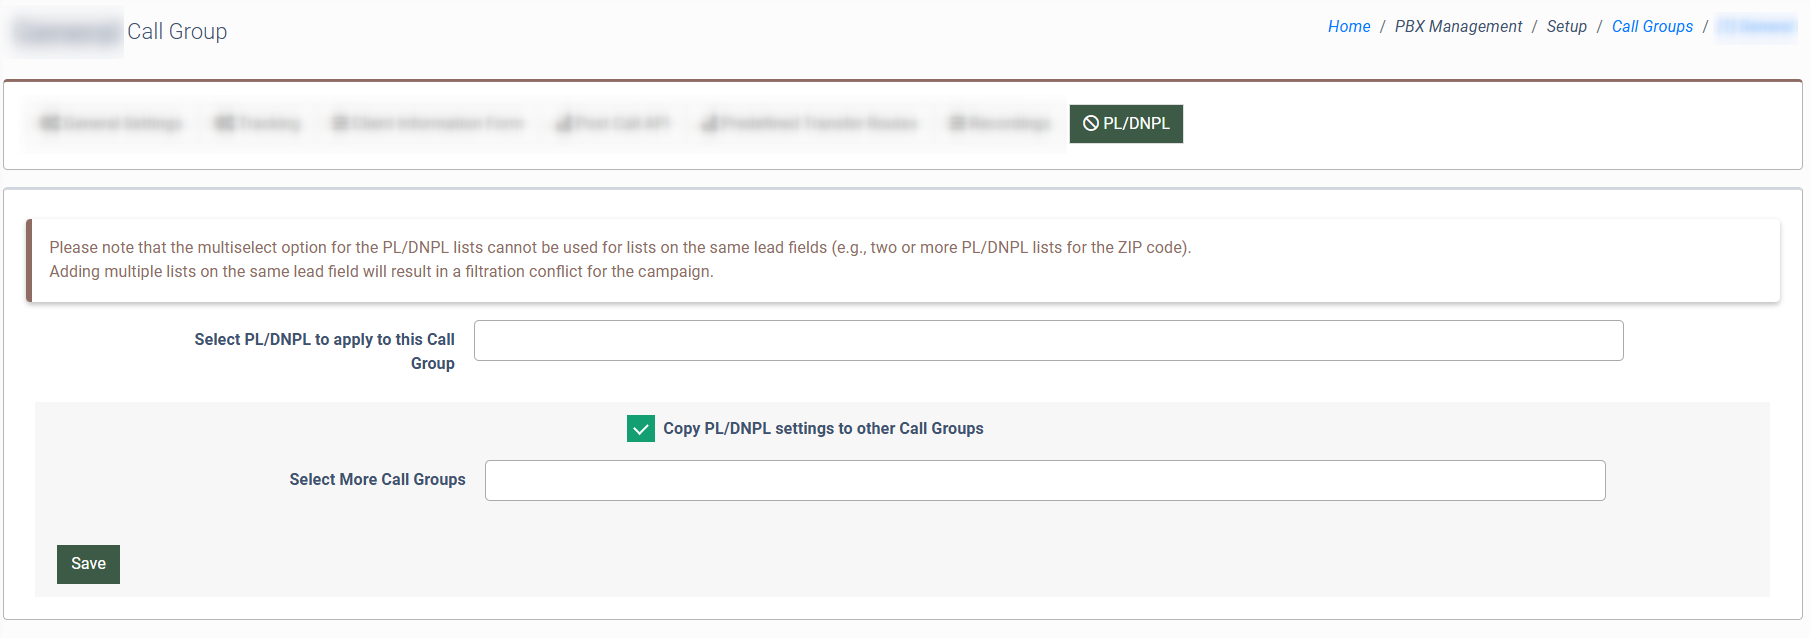
Click the “Save” button to complete the settings.