IVR (Interactive Voice Response) solutions are an automated system that interacts with callers, gathers input via voice or keypad, and routes calls to the appropriate operator or department. It enhances customer service by streamlining call handling and reducing wait times.
The IVR section allows you to view and manage the list of your IVR flows. You can create a new IVR flow, configure settings, and manage the IVR Constructor.
Read more about the IVR section of the Cloud PBX component in the following Knowledge Base article.
The “Call Routing/IVR List” tab
The “Call Routing/IVR List” tab
To view the list of IVR flows, go to the Publisher Management > Setup > Call Routing / IVR section and select the "IVR" tab.
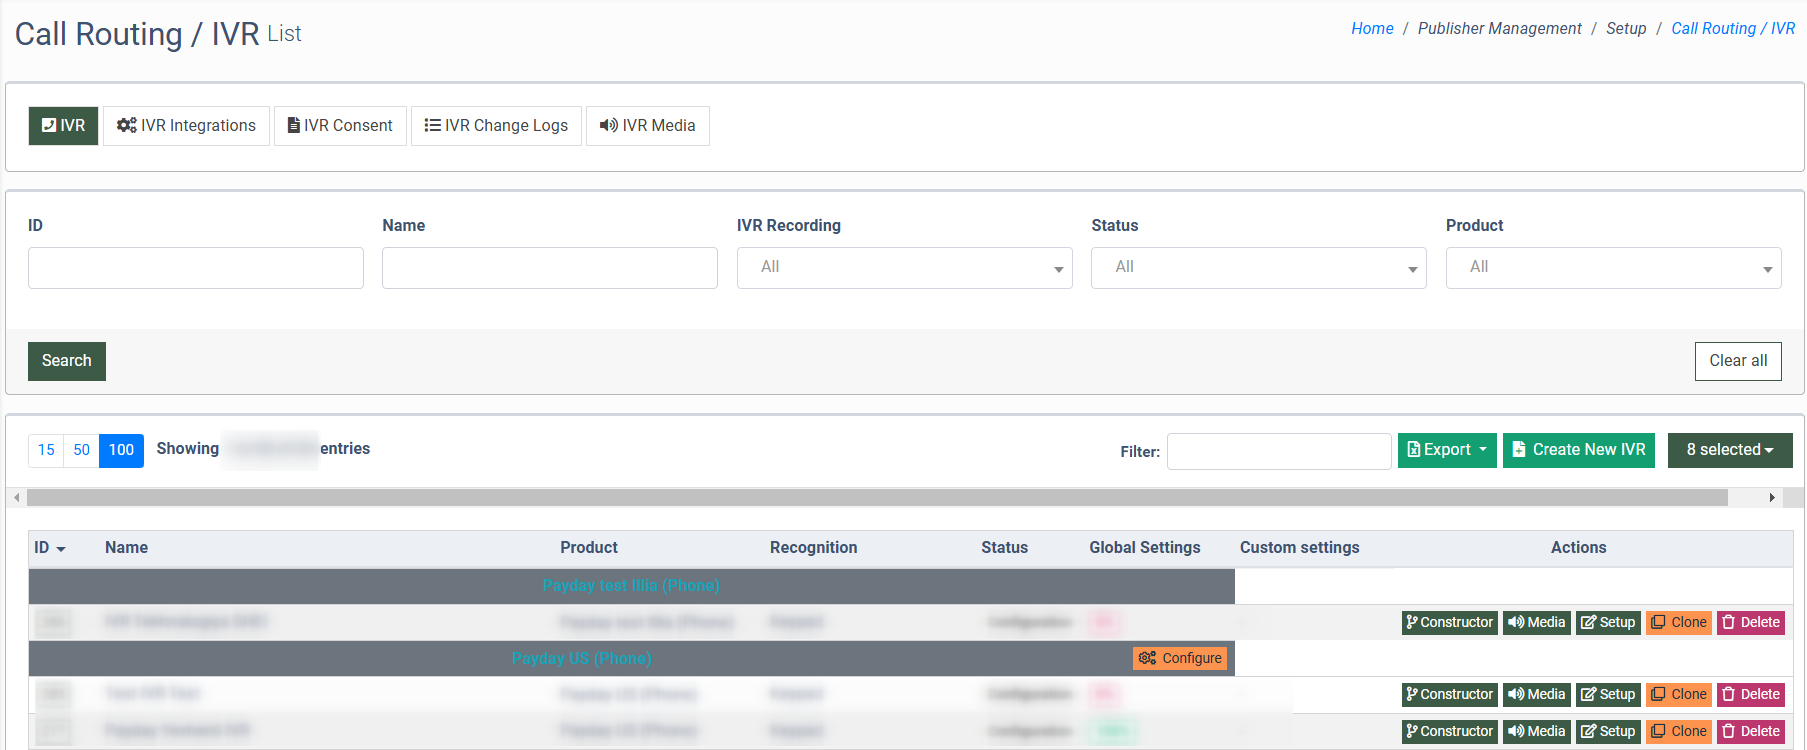
You can narrow down the search results by using the following filters:
- ID: Enter the unique identification number of the IVR flow.
- Name: Enter the name of the IVR flow.
- IVR Recording: Select the status of the IVR recording option (N/A, Active, Not Active).
- Status: Select the status of the IVR flow (Configuration, Deleted, In Audio Recording, Preparing for Test, Ready for Use).
- Product: Select the Product of the IVR flow.
The IVR section contains the following information:
- ID: The unique identification number of the IVR flow.
- Name: The name of the IVR flow.
- IVR Recording: The status of the IVR record option (N/A, Active, Not Active).
- Product: The Product selected for the IVR flow.
- Recognition: The recognition type of the IVR flow (Voice Recognition + Keypad, Keypad).
- Status: The status of the IVR flow (Configuration, Deleted, In Audio Recording, Preparing for Test, Ready for Use).
- Global Settings: The percentage of the traffic distribution.
- Custom settings: To view the traffic distribution personal settings, click the value in the column. Note: To set up the custom settings, go to the Publisher Management > Publishers section, click the "View" button, select the "IVR" tab, and click the “Create Personal IVR Settings” button.
- Call number settings: The phone number that is assigned to the IVR.
- Name: Enter the name of the IVR flow.
- Product: Select the Product.
- Language: Select the language applied to the IVR flow.
- Recognition Type: Select the input recognition type (Voice Recognition + Keypad, Keypad).
Click the “Add” button to complete the action.

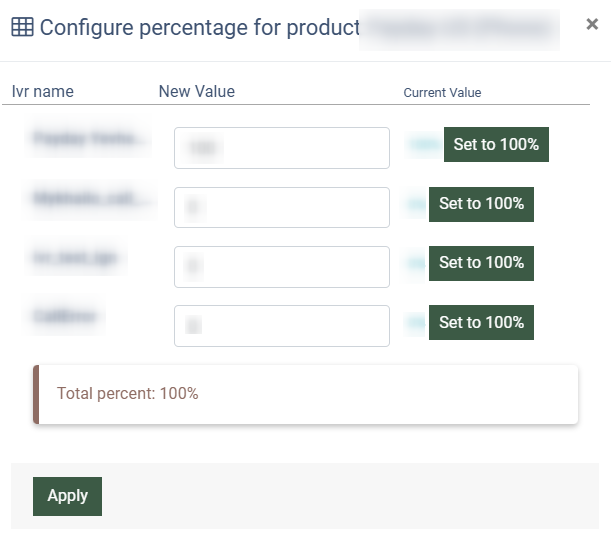
To configure the traffic distribution percentage for the IVR, click the “Configure” button next to the product name in the “Actions” column. Set the percentage and click the “Apply” button to save.
To configure the IVR flow, click the “Setup” button in the “Actions” column, and the system will redirect you to the IVR Setup page.
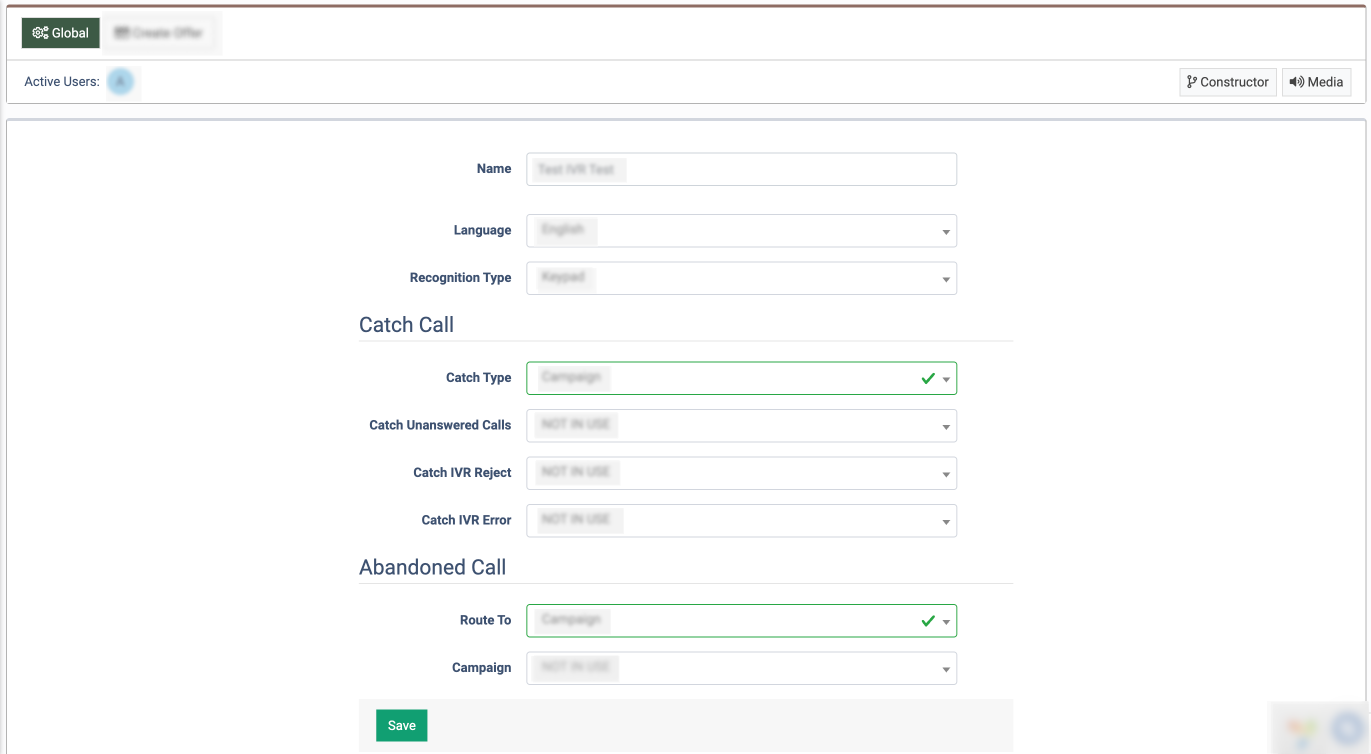
The IVR Setup section contains the following tabs:
- Global
- Create Offer
The “Global” tab contains the following settings:
- Name: Enter the name of the IVR Flow.
- Language: Select the language applied to the IVR Flow.
- Recognition Type: Select the recognition type from the drop-down menu (Voice Recognition + Keypad, Keypad).
Please take the following note into consideration while changing the recognition type for the IVR:
- If the call recording option for the particular IVR is disabled (the “IVR Call Recording” checkbox is unchecked in the “Additional Settings” pop-up window), the IVR is already saved and built (the ongoing IVR status is “Ready to Use”), the option for the “Recognition Type” can be changed from the “Voice Recognition + Keypad” to the “Keypad”, and the ongoing IVR will be resaved and rebuilt automatically.
- If the call recording option for the particular IVR is disabled (the “IVR Call Recording” checkbox is unchecked in the “Additional Settings” pop-up window), the IVR is not built (the ongoing IVR status is “Configuration”), the option for the “Recognition Type” can be changed from the “Voice Recognition + Keypad” to the “Keypad”, and the ongoing IVR will be resaved.
- If the call recording option for the particular IVR is enabled (the “IVR Call Recording” checkbox is checked in the “Additional Settings” pop-up window), the IVR is already saved and built (the ongoing IVR status is “Ready to Use”), the option for the “Recognition Type” can not be changed from the “Voice Recognition + Keypad” to the “Keypad”. You need to disable the IVR Call Recording option (uncheck the box) and rebuild the IVR manually (click the “Save IVR” button in the “IVR Constructor” section). In case you try to save the changes without disabling the recording settings, the following information will be displayed in the message below.

The “Catch Call” block contains settings for the call transfer (call catch) workflow management in cases of the call being unanswered, rejection on IVR, or processing with an error.
You can set the transfer option for the particular Campaign or Ping Tree.
- Catch Type: Select the type of call transfer (call catch) in cases of its unanswering, rejection on the IVR, or processing with an error (Campaign, Ping Tree).
- If the “Campaign” option is selected:
- Catch Unanswered Calls: Select the Campaign. The call will be transferred to the selected Campaign in case of no response from the Buyer.
- Catch IVR Reject: Select the Campaign. The call will be transferred to the selected Campaign when a buyer is not found.
- Catch IVR Error: Select the Campaign. The call will be transferred to the selected Campaign in case of a processing error (the maximum number of invalid user inputs is exceeded) during the IVR.
- If the “Ping Tree” option is selected:
- Catch Unanswered Calls: Select the Ping Tree. The call will be transferred to the selected Ping Tree in case of no response from the Buyer.
- Catch IVR Reject: Select the Ping Tree. The call will be transferred to the selected Ping Tree when a buyer is not found.
- Catch IVR Error: Select the Ping Tree. The call will be transferred to the selected Ping Tree in case of a processing error (the maximum number of invalid user inputs is exceeded) during the IVR.
- If the “Campaign” option is selected:
The “Route to” block contains settings for the call transfer workflow in case of its abandonment. The call abandonment occurs when the Buyer picks up the call, but the conversation itself lasts less than the time set in the “Duration to Sell” setting.
You can set the transfer option for the particular Campaign or Ping Tree.
- Route to: Select the type of call transfer in case of its abandonment (Campaign, Ping Tree)
- If the “Campaign” option is selected:
- Campaign: Select the Campaign. The call will be transferred to the selected Campaign in case of its abandonment
- If the “Ping Tree” option is selected:
- Ping Tree: Select the Ping Tree. The call will be transferred to the selected Ping Tree in case of its abandonment.
- If the “Campaign” option is selected:
Click the “Save” button to complete the settings.
Use Case of the call catch type usage: During the IVR process, if the caller makes too many incorrect entries (such as entering the wrong number of digits for a ZIP code), a processing error occurs. The client has an option where, instead of disconnecting, the call can be routed to the particular Campaign or Ping Tree that catches all failed attempt calls. This ensures that a difficult call isn't lost, giving the caller another chance to connect with a live agent or a different process that can better assist them.
Use Case for the call catch type usage: When the call is processing through the IVR, and it can't find a suitable buyer for the caller, the call can be routed to the particular Campaign or Ping Tree that catches all situations when the buyer is not found. That is set up to handle calls for which a buyer wasn't found during the initial processing.
Use Case for the call catch type usage: When the call is processed through the IVR, and the found buyer did not answer the call, it can be routed to the particular Campaign or Ping Tree that catches all situations when the buyer did not pick up the call. This ensures that even when a matched buyer doesn't respond, the call is still handled and routed to another available opportunity.
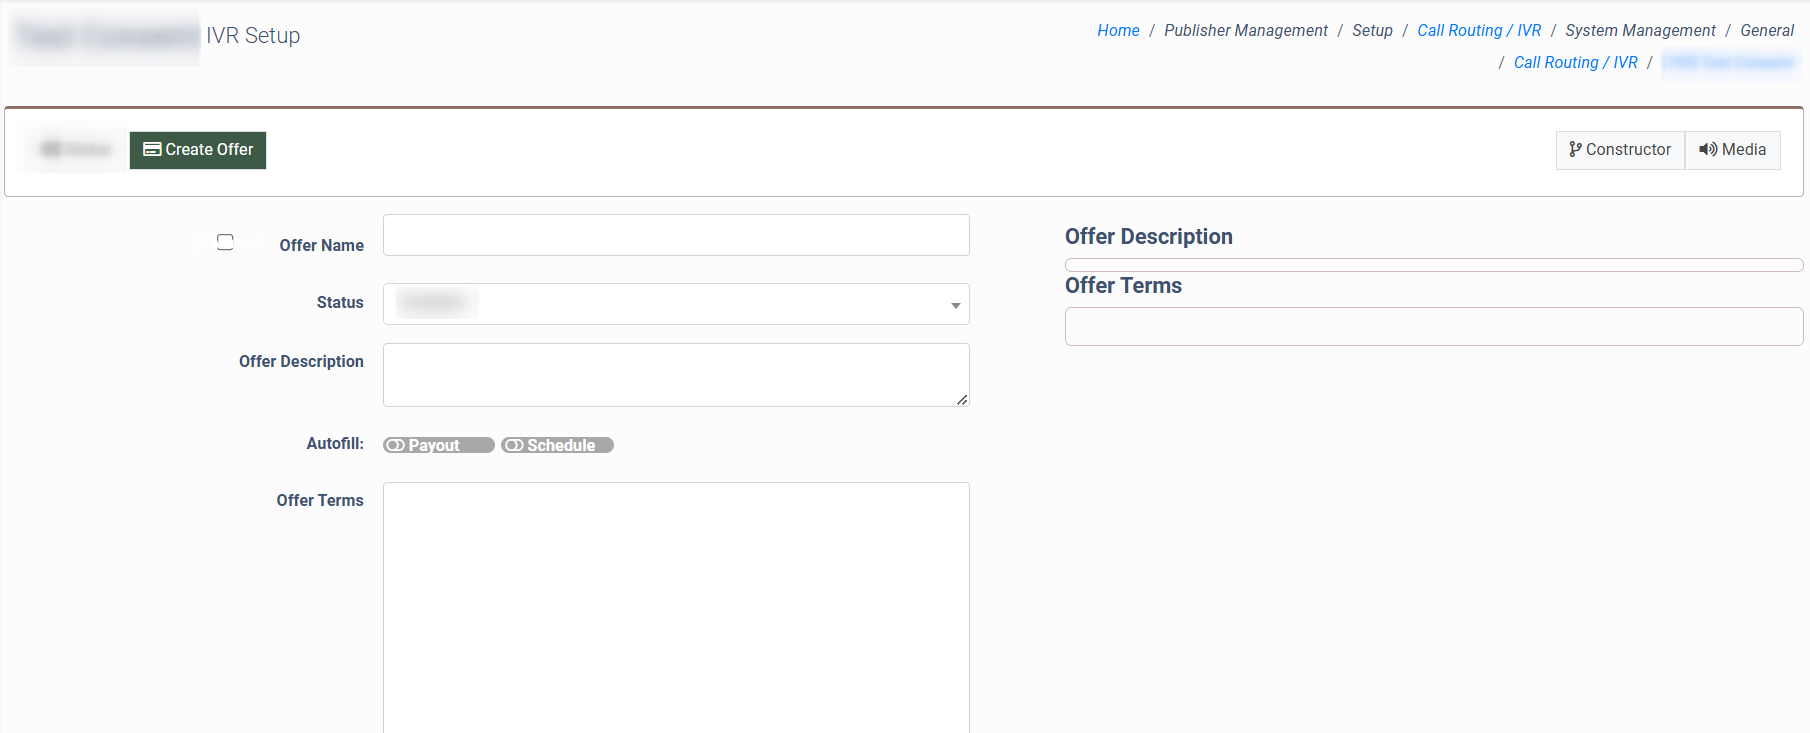
The “Create Offer” tab allows you to manage the offer that allows the Publisher to be redirected to a specific IVR schema for a reserved phone number. The Offer allows your Publishers to bring the traffic to your own form.
The “Create Offer” tab contains the following settings:
- Offer Name: Enter the Offer name.
- Status: Enter the Offer status (Active, Disabled).
- Offer Description: Enter the Offer description.
- Autofill: Activate or deactivate the “Payout” and “Schedule” options.
- Offer Terms: Enter the terms for the Offer.
Click the “here” hyperlink below to view the Offer types.
Read more about the IVR Offers section and the detailed instructions on how to set up the Offer for the IVR in this Knowledge Base article.
The IVR Constructor section
To construct the IVR, click the “Constructor” button in the “Actions” column, or click the “ID” button in the “ID” column. The system will redirect you to the corresponding page. Then, use the IVR blocks to build the IVR flow. Read more about the IVR Blocks in this Knowledge Base article.
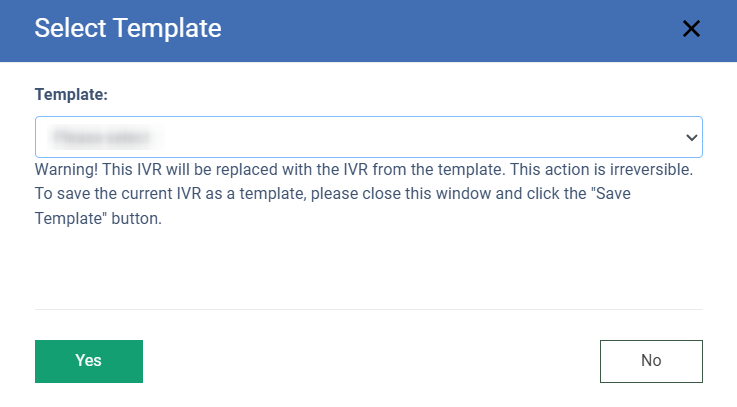
To use one of the pre-created IVR flows, click the “Select Templates” button in the top block of the section.

Select the particular template in the “Template” field of the “Select Template” pop-up window and click the “Yes” button to complete the action.
In some cases, Call Logic users need to make a simple transfer of the incoming call to a specific campaign. If the campaign can not accept the call at that moment (ex., after-hours, etc), the audio message must be played.
For this purpose, the IVR template "Simple Transfer" was created and is available for any product.
Read the detailed instructions on how to set up and use this template in the IVR flow in the following Knowledge Base article.
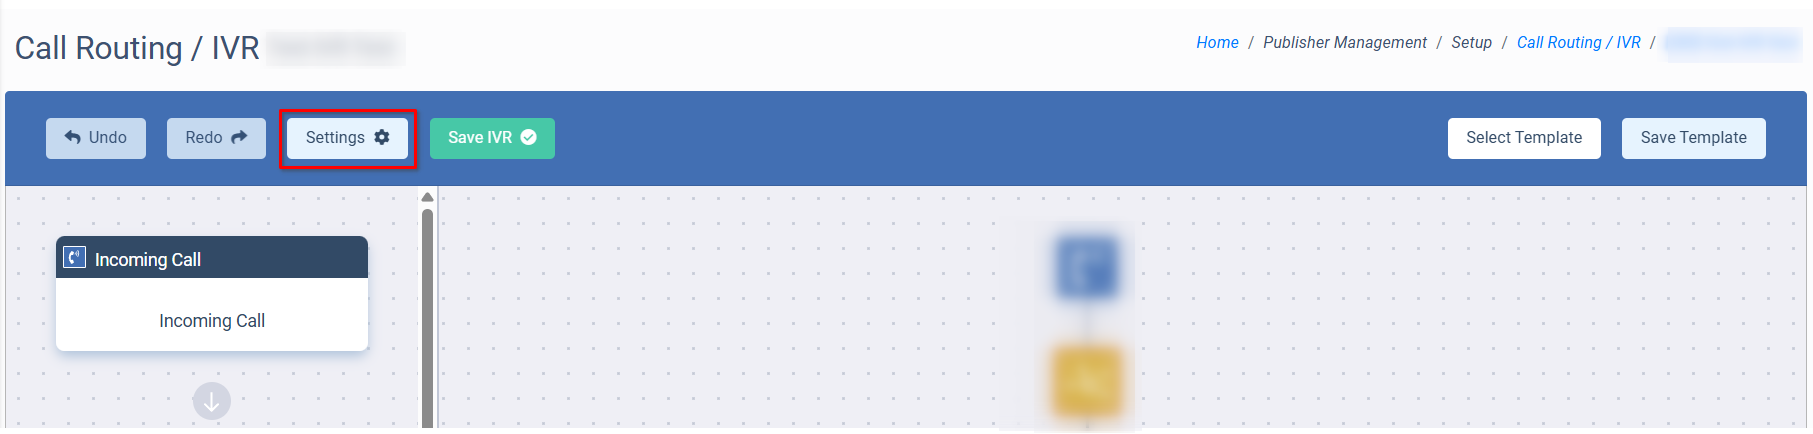
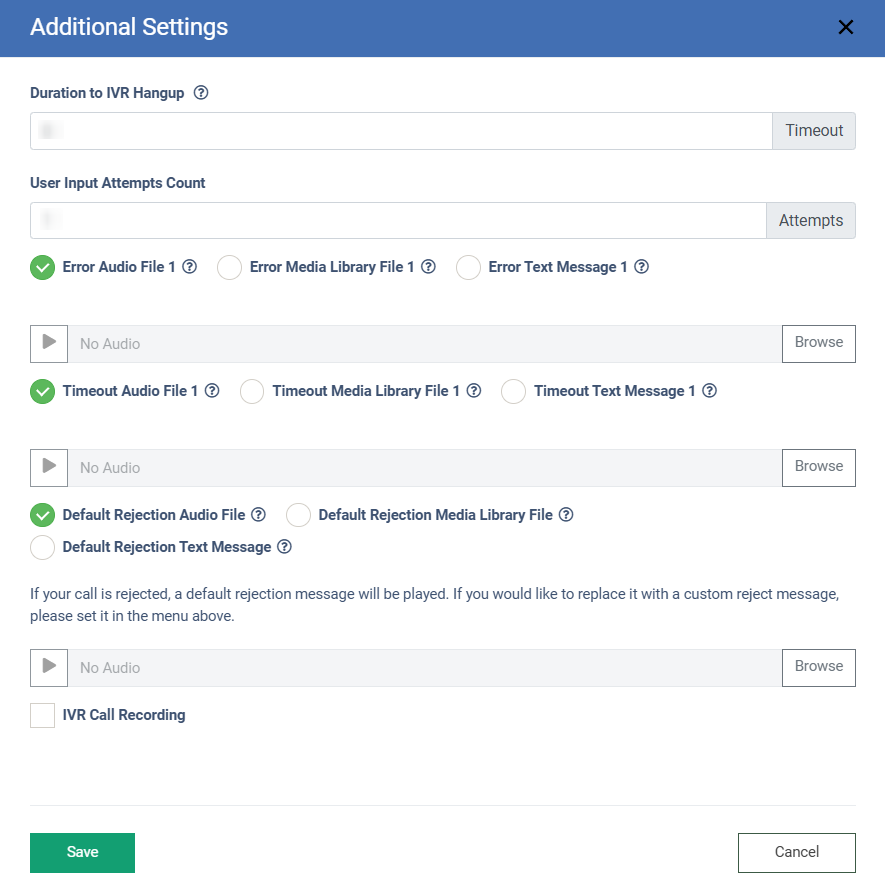
To set some extra features, click the “Settings” button in the top block of the main section and fill in the required field:
- Duration to IVR Hangup: You can set the time limit (in seconds) for the call duration in the IVR system before it will hang up the call.
- User Input Attempts Count: You can set the number of attempts for the data input. The value is only a number from one to three.
- Error Audio File 1-3 (Error Text Message 1-3): The audio file will be played after the incorrect user input. The number of uploaded audio files should match the value set in the "User Input Attempts Count" field.
- Timeout Audio File 1-3 (Timeout Text Message 1-3): The audio file will be played after five seconds of inaction.
- Default Rejection Audio File (Default Rejection Media Library File, Default Rejection Text Message): The audio file will be played in case of an unsuccessful IVR before disconnecting and ending the conversation.
- IVR Call Recording: Select the checkbox to record the call during IVR. The option is available only for the IVR with voice recognition mode.
You can check additional IVR and block settings without clicking the IVR configure button when the IVR is in "Ready to Use" mode.
On the constructor page, click the “Settings” button on the left sidebar to view the IVR additional settings or the “View” button (eye icon in the top right corner of the block) to check the block settings.
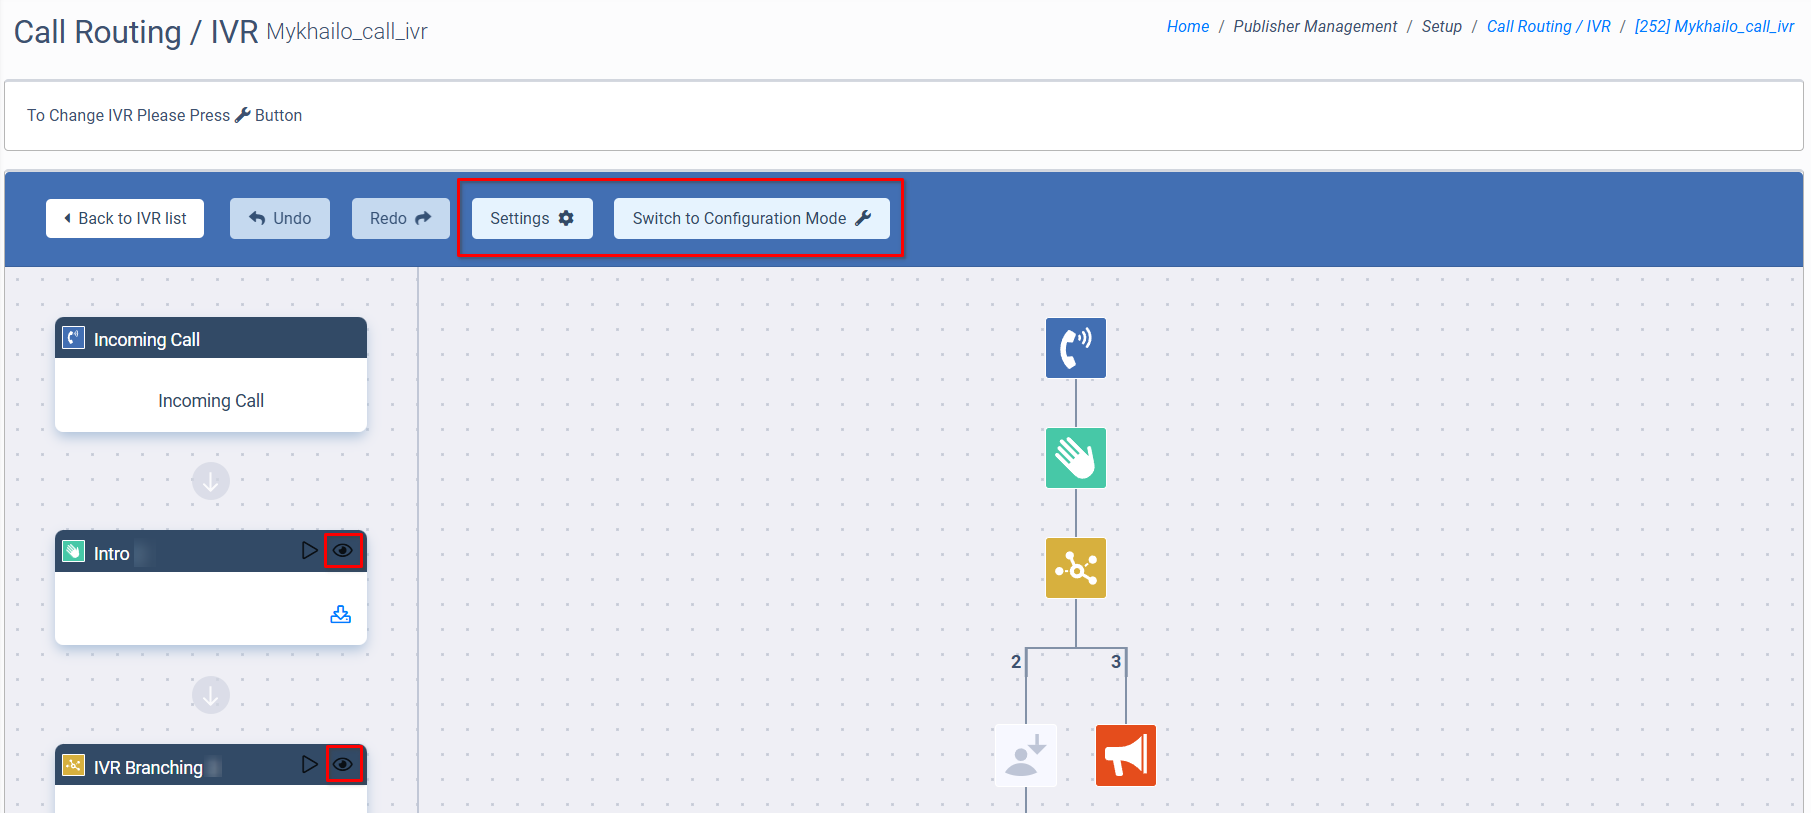
Note: You can't make any changes in view mode. You can only review settings and listen to audio files. Click the “Switch to Configuration Mode” button (the wrench icon on the left sidebar) to make any changes.
To replace audio files in IVR without rebuilding the IVR itself, click the “Media” button in the “Actions” column in the Call Routing / IVR section, and the system will redirect you to the IVR Media page.
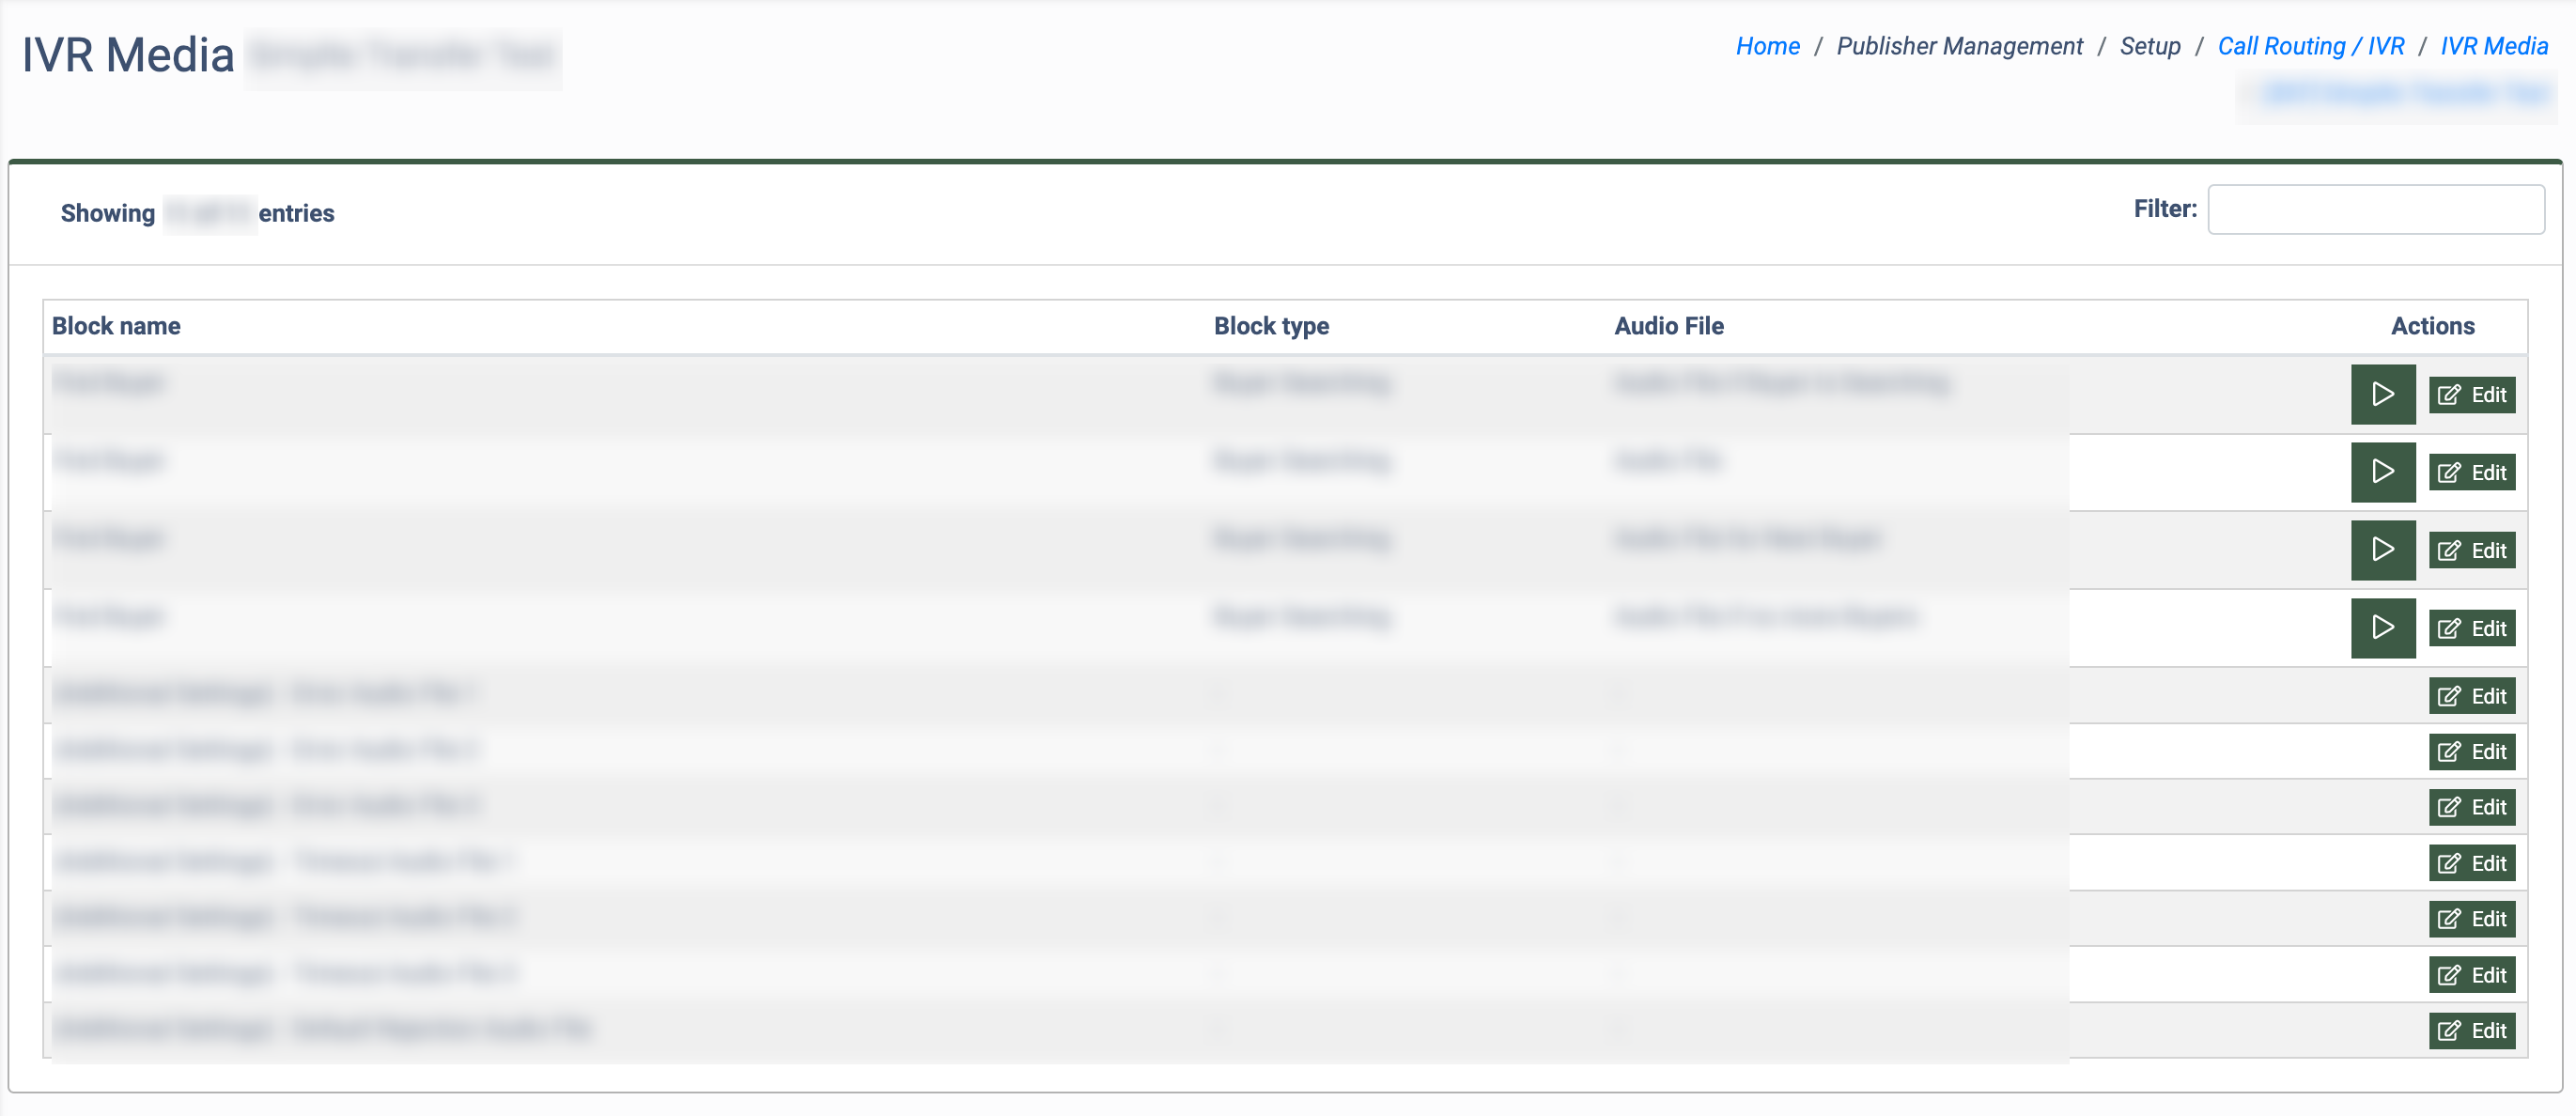
The IVR Media page contains the following information:
- Block name: The name of the Block.
- Block type: The type of the Block.
- Audio File: The type of audio file.
To listen to the audio file, click the “Play” button in the “Actions” column.
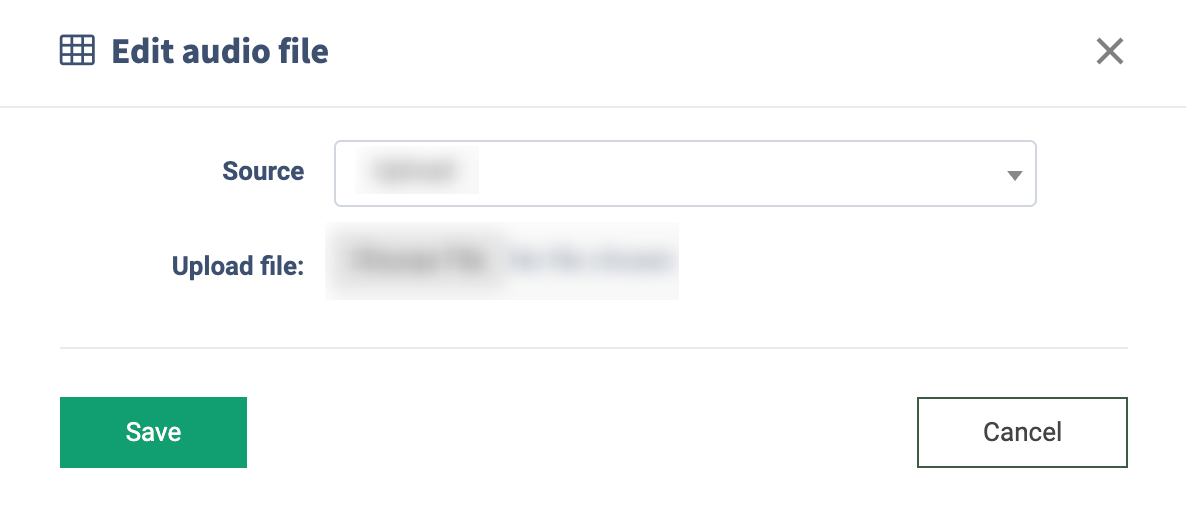
To edit the audio file, click the “Edit” button in the “Actions” column, and fill in the required fields in the “Edit audio file” pop-up window.
- Source: Select the source from the drop-down menu (Upload or Media Library).
- Upload file (when choosing the “Upload” option): Upload the audio file from your computer.
- Media file (when choosing the “Media Library” option): Select the audio file from the media library.
Click the “Save” button to complete the action.
To make a copy of the existing IVR flow, click the “Clone” button in the “Action” column. Enter the “Yes” word in the “Confirm” field and confirm the operation by clicking the “Clone” button in the “Clone” pop-up window.
To delete the existing IVR flow, click the “Delete” button in the “Action” column. Enter the “YES” word in the “Confirm” field, enter the comment that will be attached to the deletion operation in the “Comment” field, and confirm the operation by clicking the “Delete” button in the pop-up window.
The “IVR Consent” tab
The IVR Consent feature allows you to collect and record the caller’s voice Consent in IVR, manage publisher payouts for collected Consent, and ping a caller’s phone number to E-Delivery when the Consent is obtained.
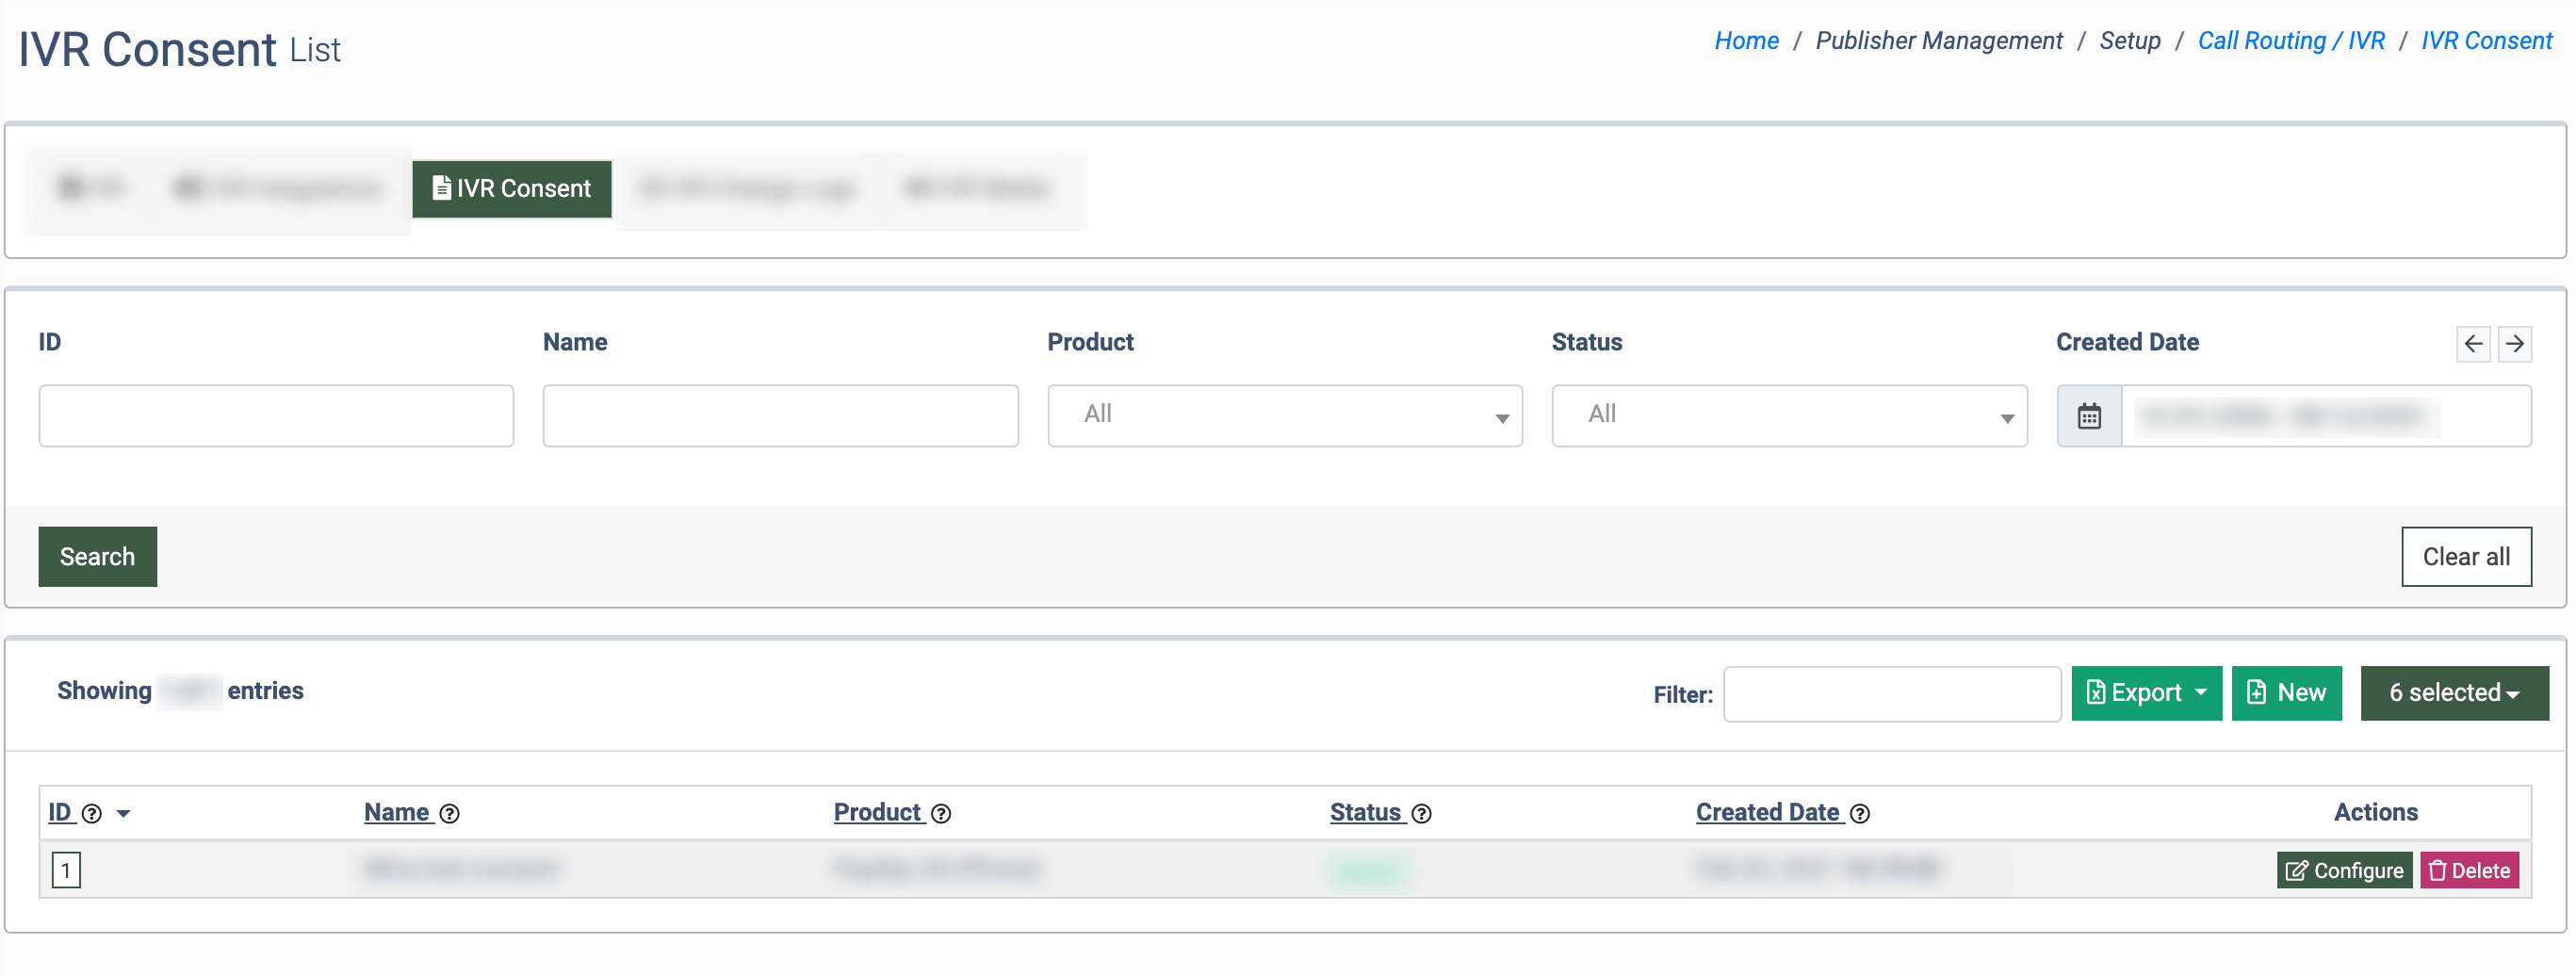
The IVR Consent list contains the following information:
- ID: The unique identification number of the Consent.
- Name: The Consent name, which will be displayed in the “Consent” block.
- Product: The name of the Product.
- Status: The Consent status (Active, Disabled).
- Created Date: The date and time of the Consent creation.
You can narrow down the search results by using the following filters:
- ID: Enter the unique identification number of the Consent.
- Name: Enter the Consent name.
- Product: Select the Product.
- Status: Select the Consent status (Active, Disabled).
- Created Date: Select the date range for the Consent creation.
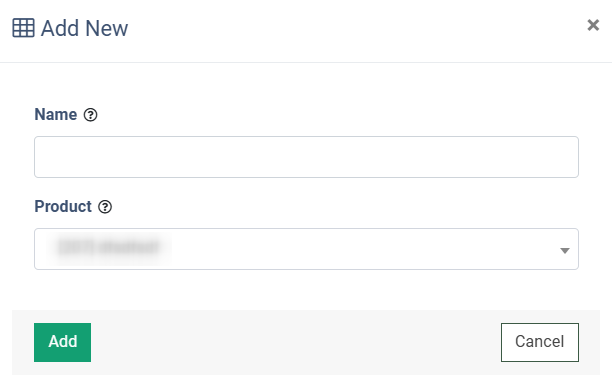
To create a Consent, click the “New” button and fill in the following fields:
- Name: Enter the Consent name.
- Product: Select the Product.
Click the "Add" button to create the Consent.
To set up the Consent, click the “Configure” button in the “Actions” column or the “ID” button in the “ID” column.
The configuration page contains three tabs.
The “General” tab
The “Payouts” tab
The “Pings” tab
The “General” tab contains the following fields:
- Name: The field displays the Consent name, which will be displayed in the “Consent” block afterward.
- Status: Select the status of the Consent (Active, Disabled). By default, the Consent is created with the “Disabled” status. Change the status to “Active” to enable it.
- Audio File for Consent Request Options: The Consent audio files that are pre-recorded by Phonexa (Default consent, Regular consent, Accelerated Regular Consent). You can select one of the pre-recorded files that will be used as a Consent request language. Then, click the "Play" button to listen to the recording. Note: Please consult your attorney or compliance advisor before setting up the Voice Consent Collection to ensure all legal requirements are met. We recommend using one of the pre-recorded Consent audio files provided by Phonexa.
- Check for Obtained Consent in the Past: The time period for the system to check if Consent was requested in the past (Anytime, One day, seven days, 14 days, 30 days, 60 days, 90 days, 180 days).
- If previously Recorded as YES: Set up the IVR “Consent” block flow when the Consent for the same phone number was obtained within the period specified in the "Check for Obtained Consent in the Past" block. Select one of the following options:
- Regular block flow: When the caller hits the block, Consent will always be requested (the system creates or updates the record in the database).
- Skip and go to the YES branch: The system checks whether the Consent (Yes) was collected earlier and continues along the “Y” branch.
- Skip and Go to NO branch: The system checks whether the Consent (No) was collected earlier and continues along the “N” branch.
- If previously Recorded as NO: Set up the IVR “Consent” block flow when the Consent for the same phone number was requested within the period specified in the "Check for Obtained Consent in the Past" block, but the caller declined it and was recorded as “No.”
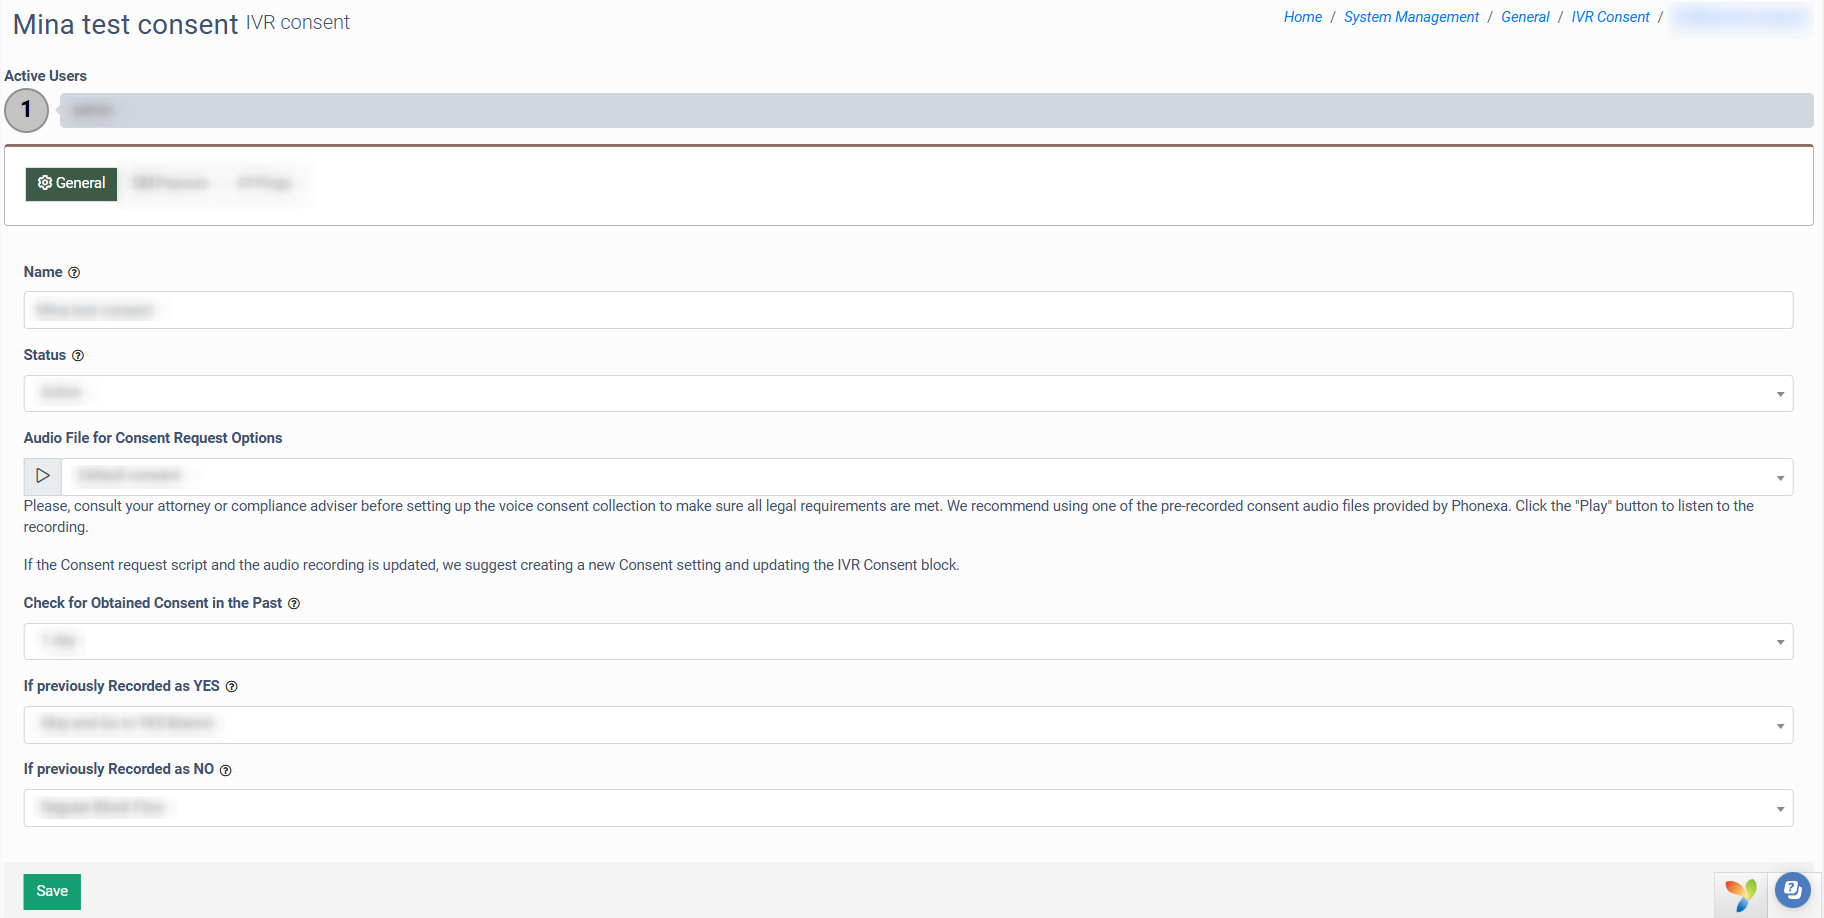
Click the “Save” button to apply the settings.
Note: If Consent is used in any IVR block, you cannot delete or change its status. When trying to delete or disable the Consent, the following message is displayed: “This Consent can not be disabled as it's currently being used in the following IVR(s)“ with the list of the IVR(s) in which it is selected (clickable).
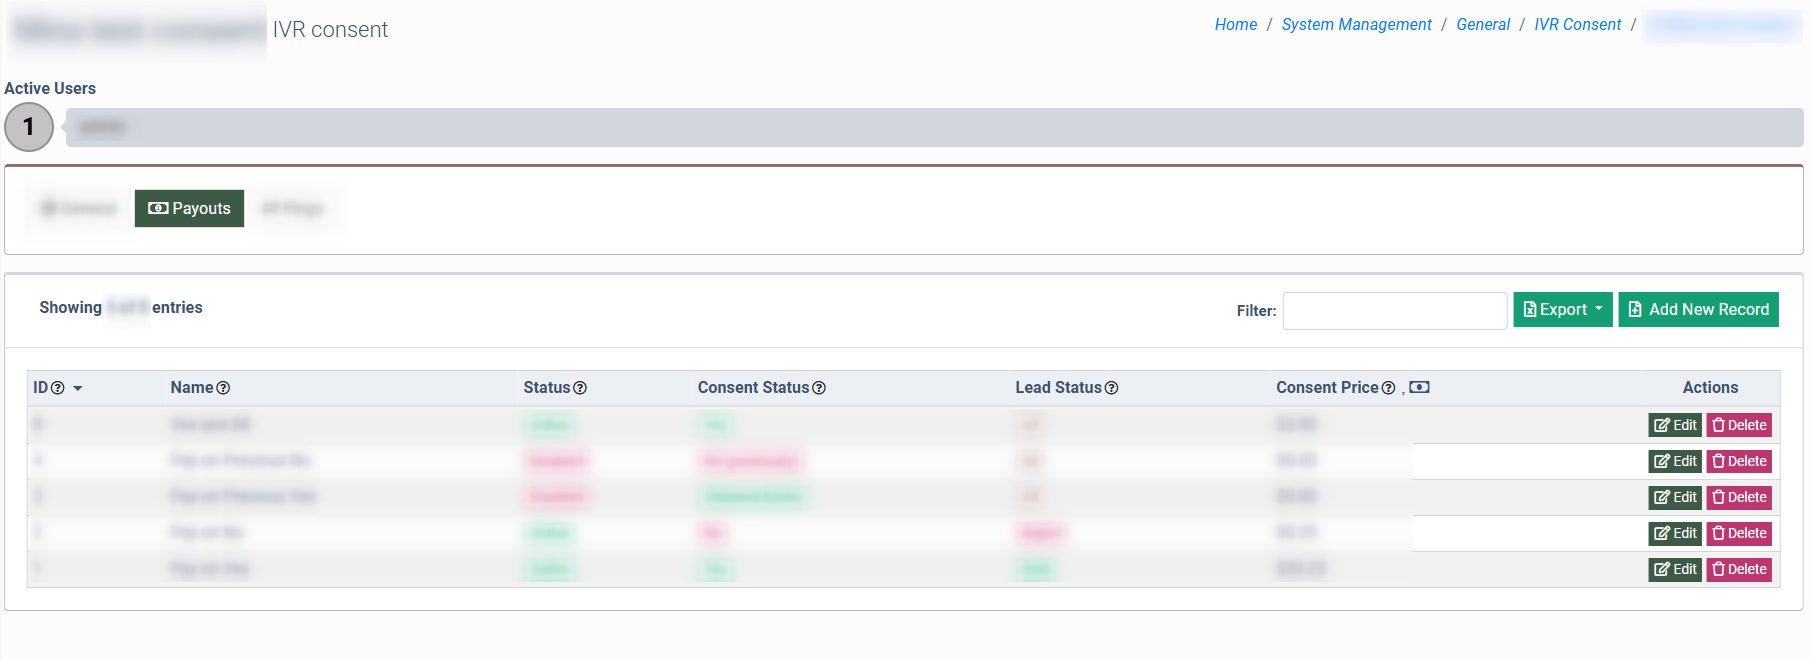
The “Payouts” tab allows you to configure the Publisher payout settings for the requested Consent.
The Payouts list contains the following information:
- ID: The unique identification number of the payout setting.
- Name: The name of the payout setting.
- Status: The status that displays if the payout setting is active or disabled.
- Consent Status: The Consent status that defines the first condition for payout (Yes, No, Obtained Earlier, No (Previously)).
- Lead Status: The lead status that defines the second condition for payout (All, Sold, Reject).
- Consent Price: The amount for payout.
Example: If the "Consent Status" is "Yes" and the "Lead Status" is "All", then when the caller says "Yes" in a "Consent" block, whether it was sold or rejected, the payout will go through. If the "Lead Status" is "Sold", then the payout will be completed only when the lead is sold.
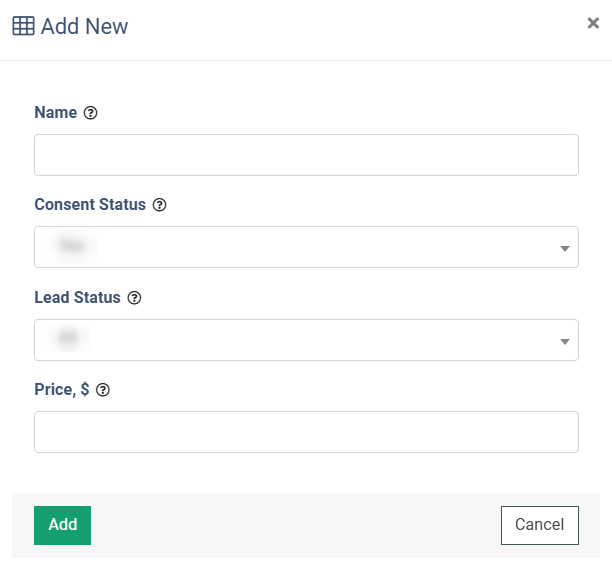
To add a new payout setting, click the “Add New Record” button and fill in the following fields in the pop-up window:
- Name: Enter the name of the payout setting.
- Consent Status: Select the Consent status (Yes, No, Obtained Earlier for the Consent obtained in the past, No (Previously) for the dissent obtained in the past).
- Lead Status: Select the lead status from the drop-down menu (All, Reject, Sold).
- Price: Enter the payout price (the value should not exceed $500).
Click the “Add” button to add the payout setting
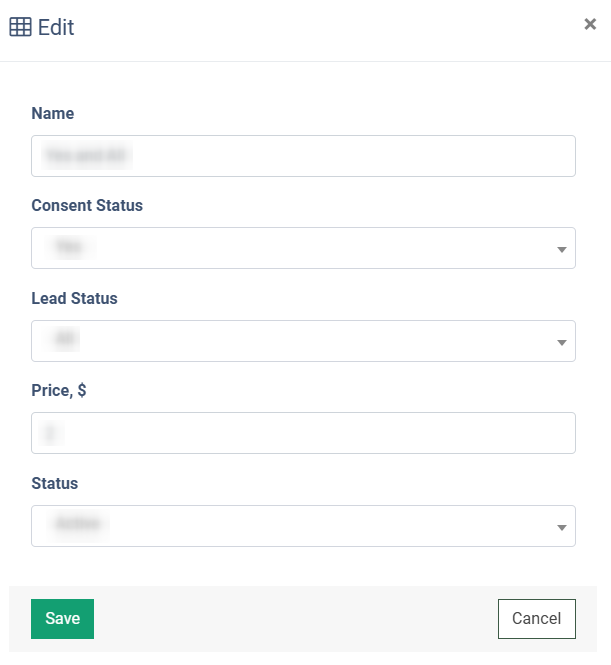
To edit the existing payout setting, click the “Edit” button in the “Actions” column. Change the required information about the Payout in the “Edit” pop-up window and click the “Save” button to complete the changes.
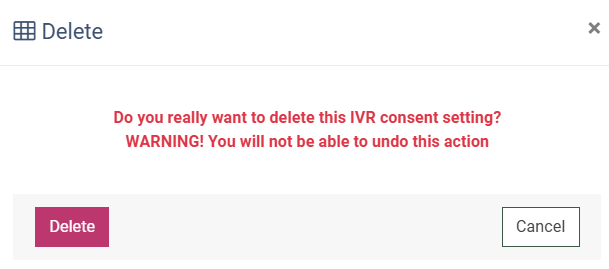
To delete the existing Payout setting, click the “Delete” button in the “Actions” column. Confirm the deletion operation by clicking the “Delete” button in the pop-up window.
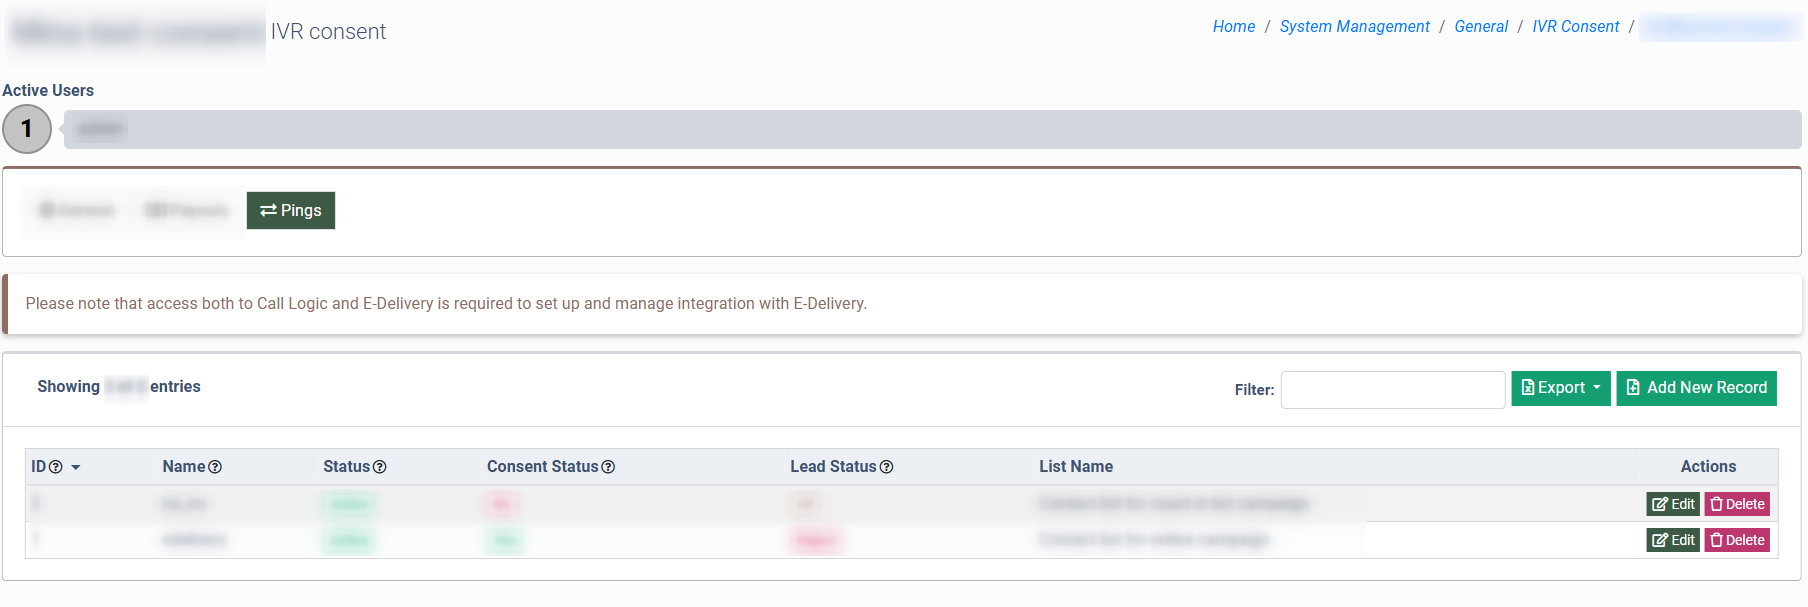
The “Pings” tab allows you to configure the integration with E-Delivery so that when Consent is obtained, data is pinged to E-Delivery if defined conditions are met.
The “Pings” tab contains the following information:
- ID: The unique identification number of the ping setting.
- Name: The name of the ping setting.
- Status: The status that displays if the ping setting is active or disabled.
- Consent Status: The Consent status that defines the first condition to ping (Yes, No, Obtained Earlier - for the Consent obtained in the past, No (Previously) - for the dissent obtained in the past).
- Lead Status: The lead status defines the second condition to ping (All, Sold, Reject).
- List Name: The E-Delivery contact list name.
Example: If the "Consent Status" is "Yes" and the "Lead Status" is "All", then when the caller says "Yes" in a "Consent" block, whether it was sold or rejected, the phone number will be pinged to the E-Delivery contact list.
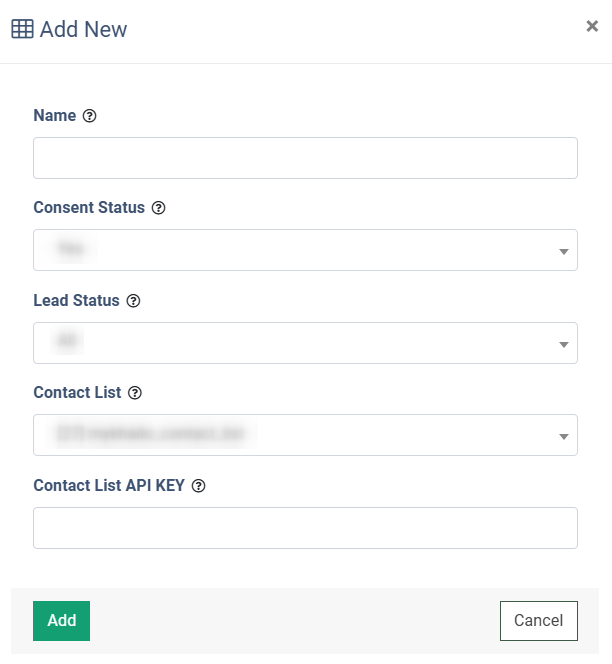
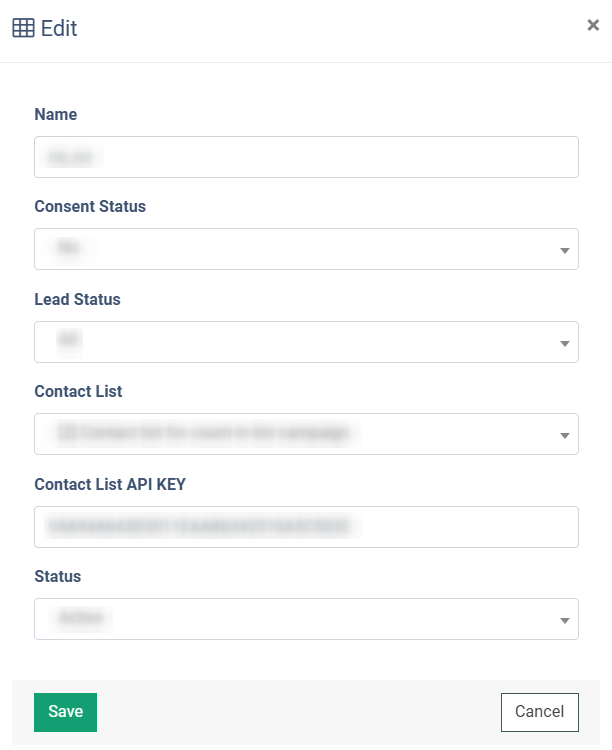
To add a new ping, click the “Add New Record” button and fill in the following fields in the pop-up window:
- Name: Enter the name of the ping setting.
- Consent Status: Select the Consent status (Yes, No, Obtained Earlier - for the Consent obtained in the past, No (Previously) - for the dissent obtained in the past).
- Lead Status: Select the lead status (All, Reject, Sold).
- Contact List: Select the E-Delivery contact list.
- Contact List API KEY: Enter the E-Delivery contact list API Key.
Click the “Add” button to complete the action.
To edit the ping, click the “Edit” button in the “Actions” column. Change the required information about the Ping in the “Edit” pop-up window and click the “Save” button to complete the changes.
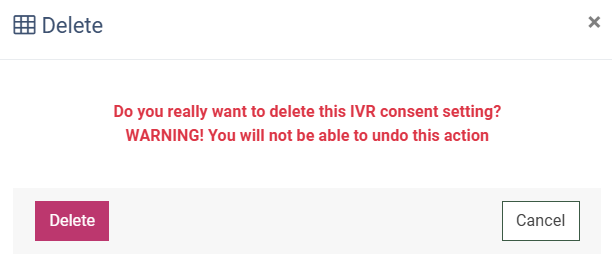
To delete the existing Ping setting, click the “Delete” button in the “Actions” column. Confirm the deletion operation by clicking the “Delete” button in the pop-up window.
To continue configuring the block, go to the Publisher Management > Setup > Call Routing / IVR section, select the “IVR” tab, and click the "Constructor" button.

To add the “Consent” block to your IVR, select the “User’s Input” category and click the “User’s Consent” block icon in the blocks list.

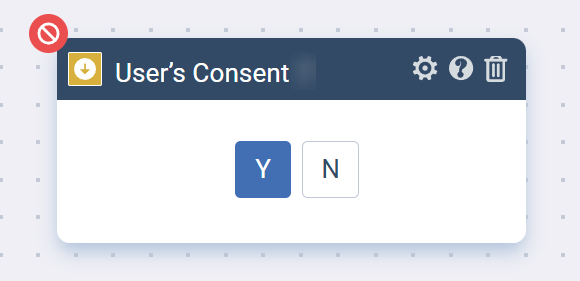
Read more about the User’s Consent Block in the following Knowledge Base article.
The “IVR Change Logs” tab
The “IVR Change Logs” tab allows you to view a report of the changes made to the IVR Flows.
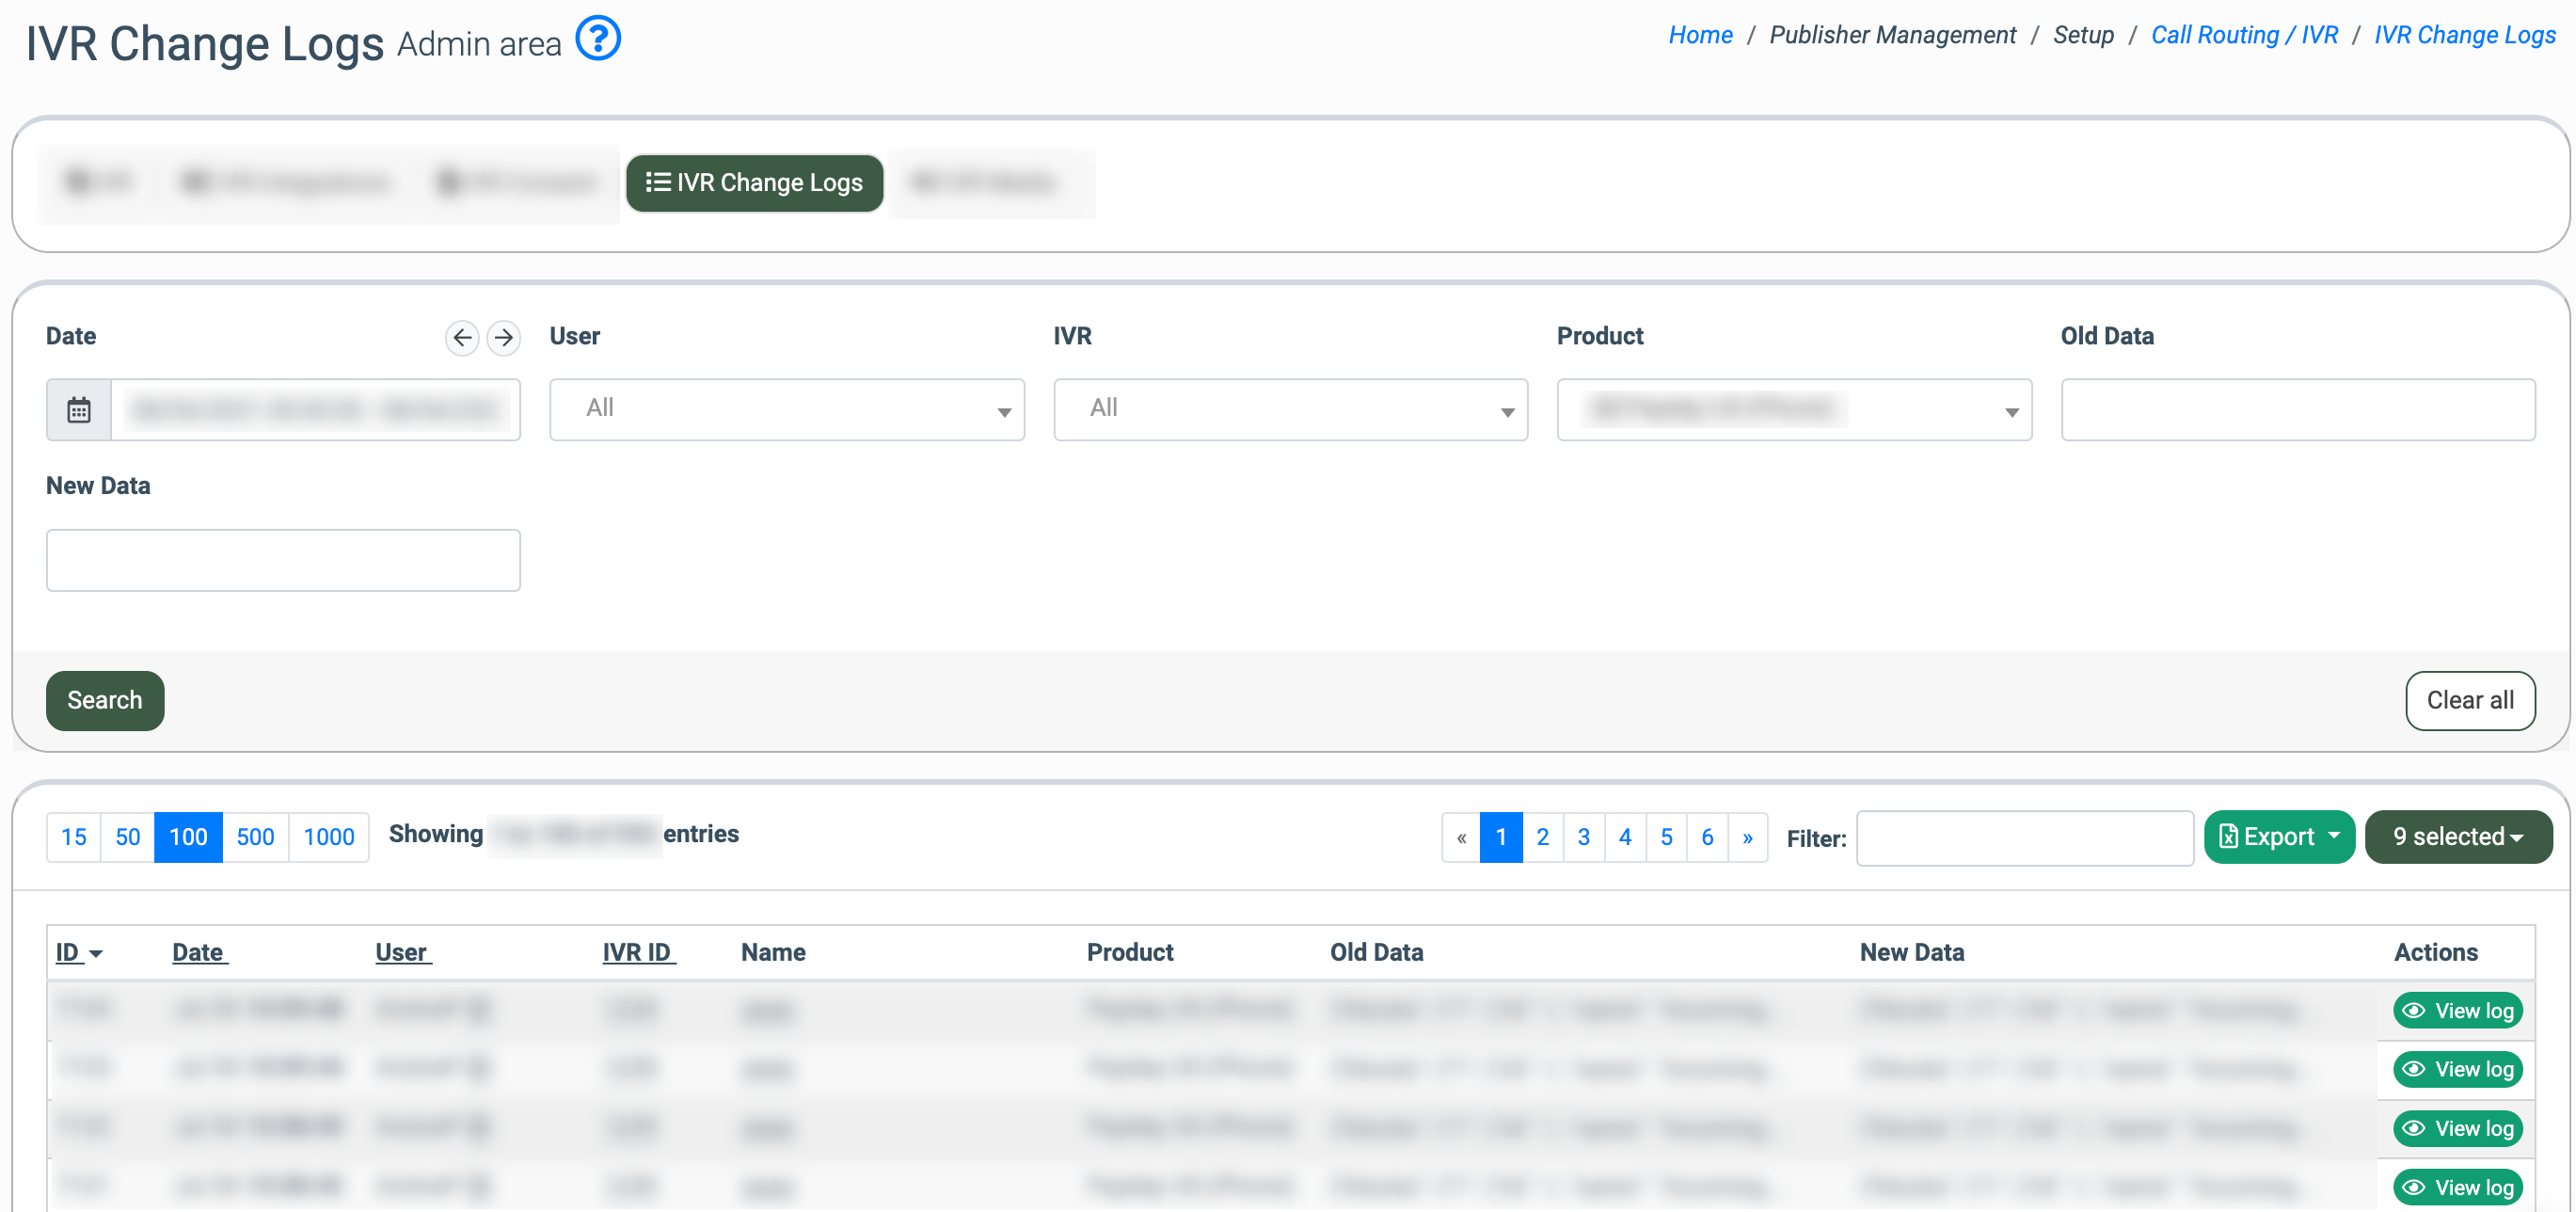
The “IVR Change Logs” tab contains the following information:
- ID: The unique identification number of the record.
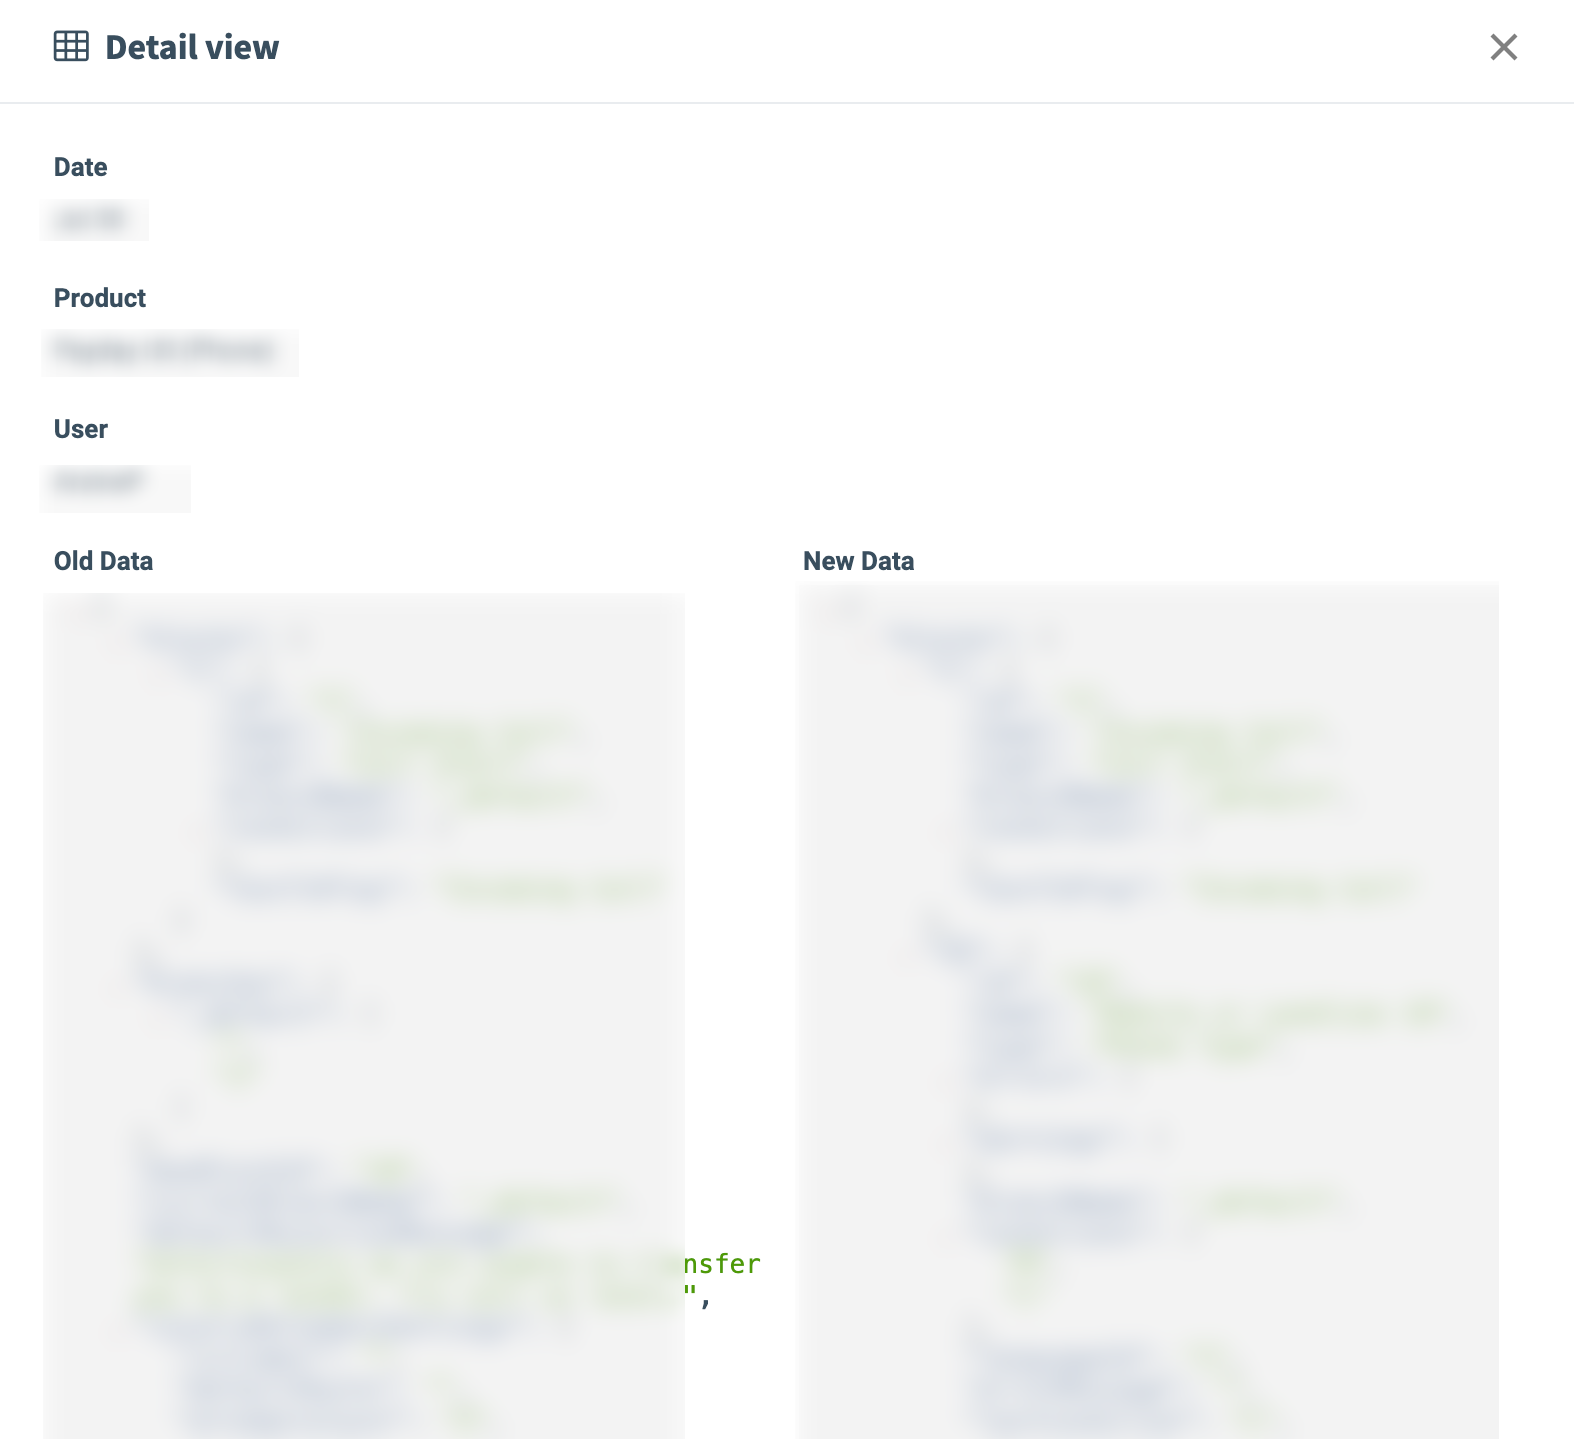
- Date: The date and time of the changes.
- User: The person who made the changes.
- IVR ID: The unique identification number of the IVR.
- Name: The name of the IVR.
- Product: The name of the Product.
- Old Data: The data before the changes.
- New Data: The data after the changes.
You can narrow down the search results by using the following filters:
- Date: Select the date range for the report.
- User: Select the user who made the changes.
- IVR: Select the IVR.
- Product: Select the Product.
- Old Data: Enter the data before the changes.
- New Data: Enter the data after the changes.
To view the changes and compare them to the old data, click the “View log” button in the “Actions” column.