Please follow this guide to create an email template using the drag-and-drop builder, enabling you to start scheduling and creating campaigns. The following steps need to be performed in this particular order:
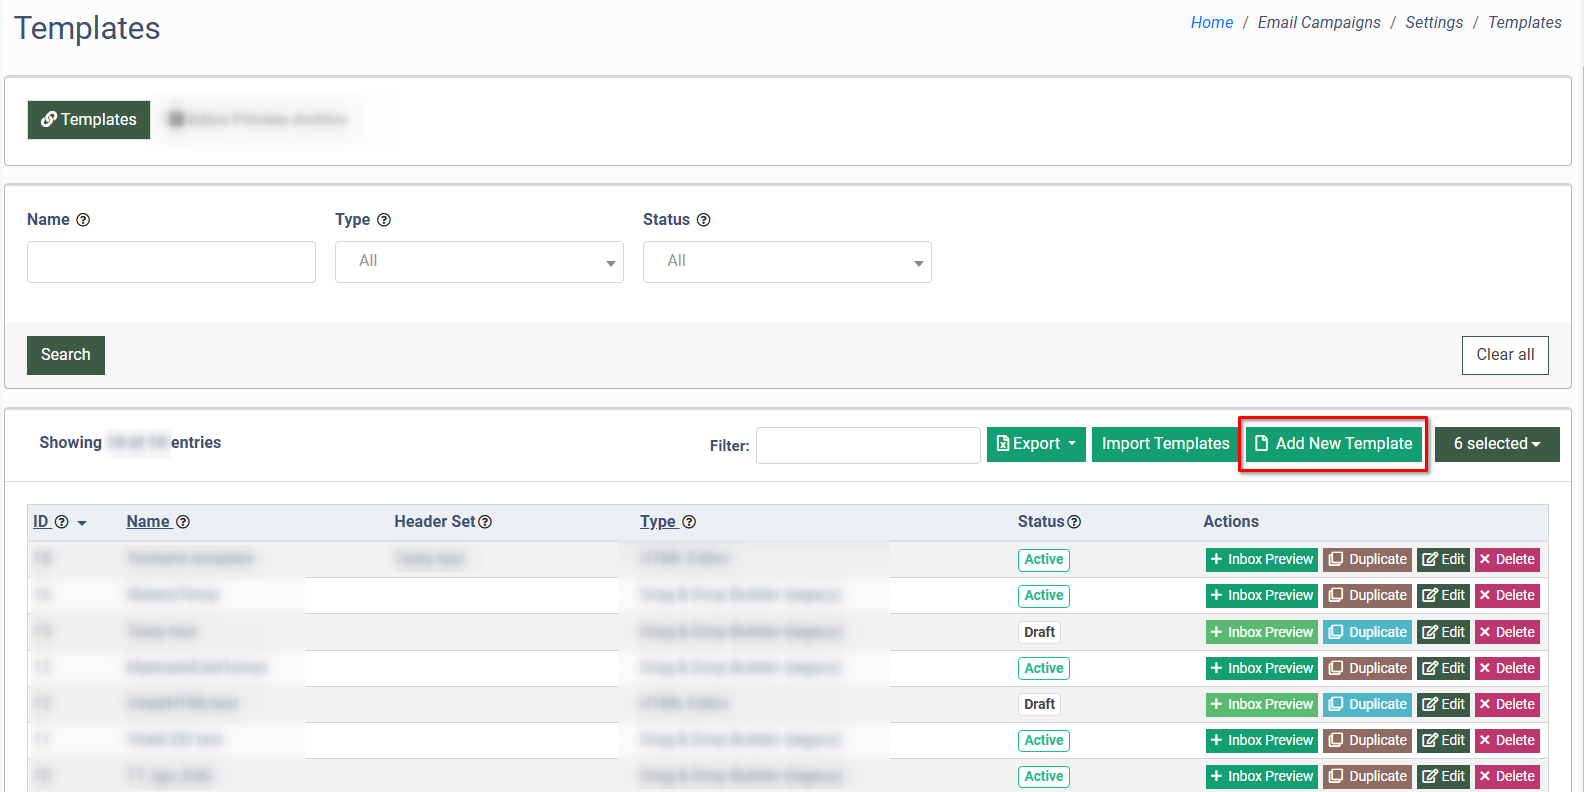
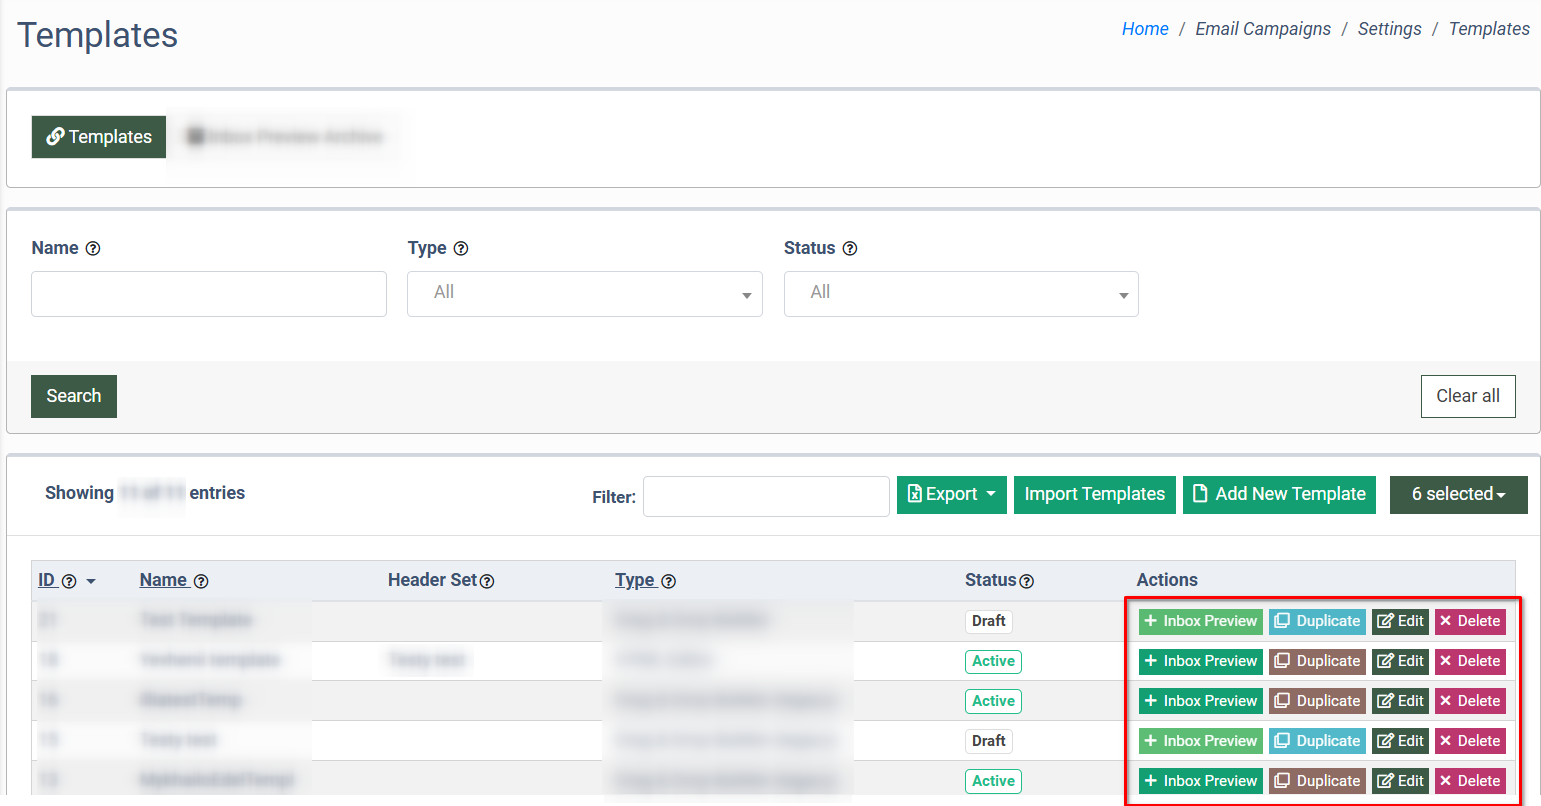
- To create a template go to the Email Campaigns > Templates section and click the “Add New Template” button.
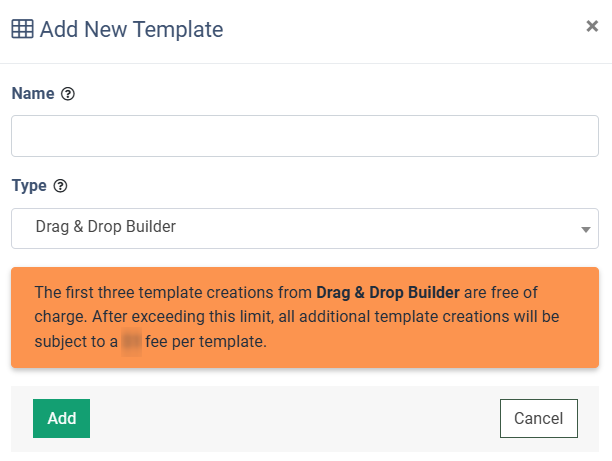
- Name: Enter the name for a new template.
- Type: Select the new template type (the “Drag & Drop Builder” option should be selected).
Click the “Add” button to complete the action.
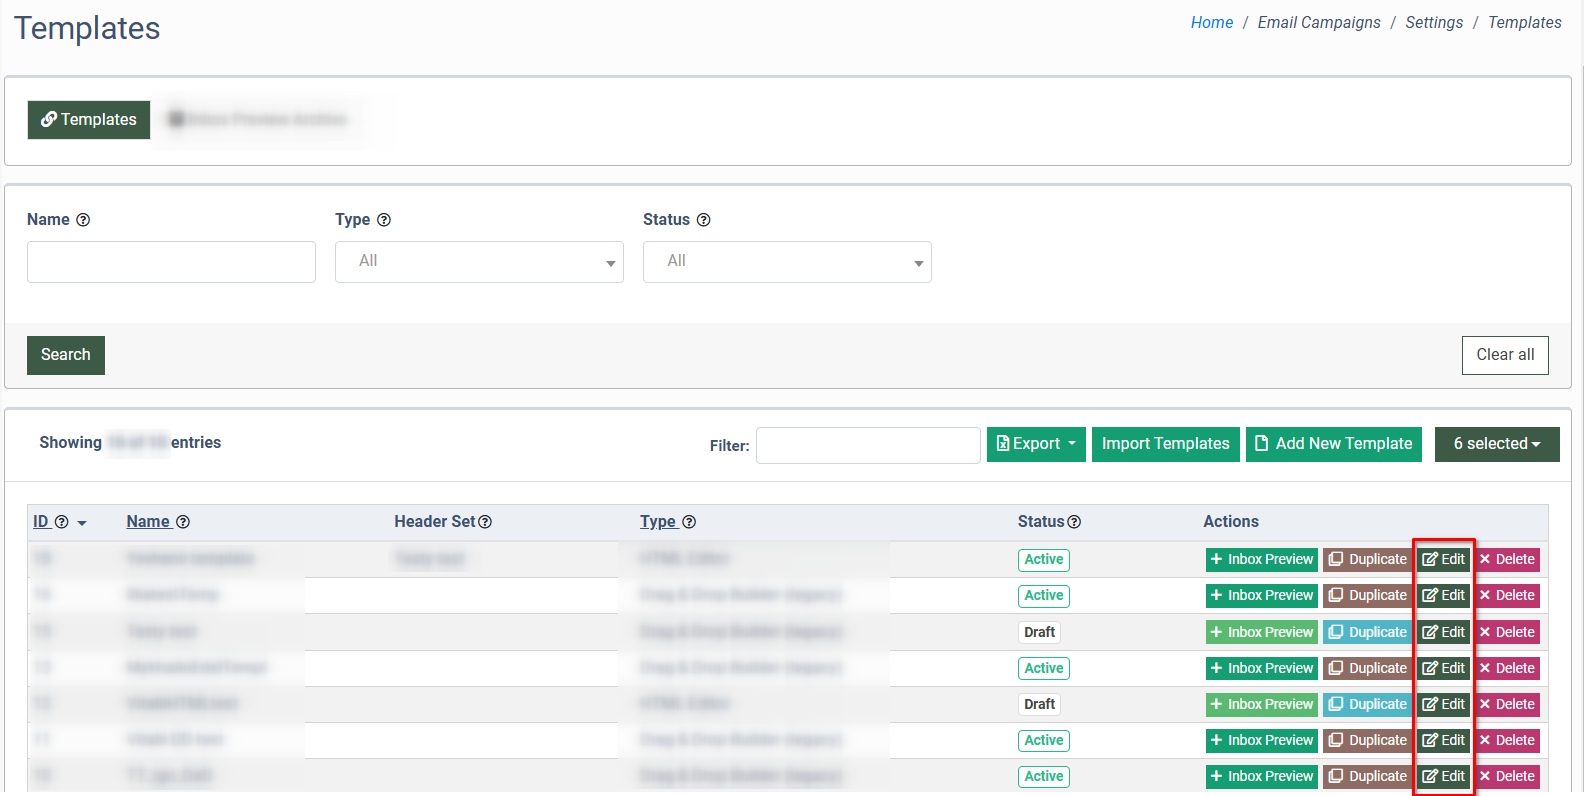
3. Refresh the page and your email will be at the top of the table. To edit and build the template click the “Edit” button in the “Actions” column.
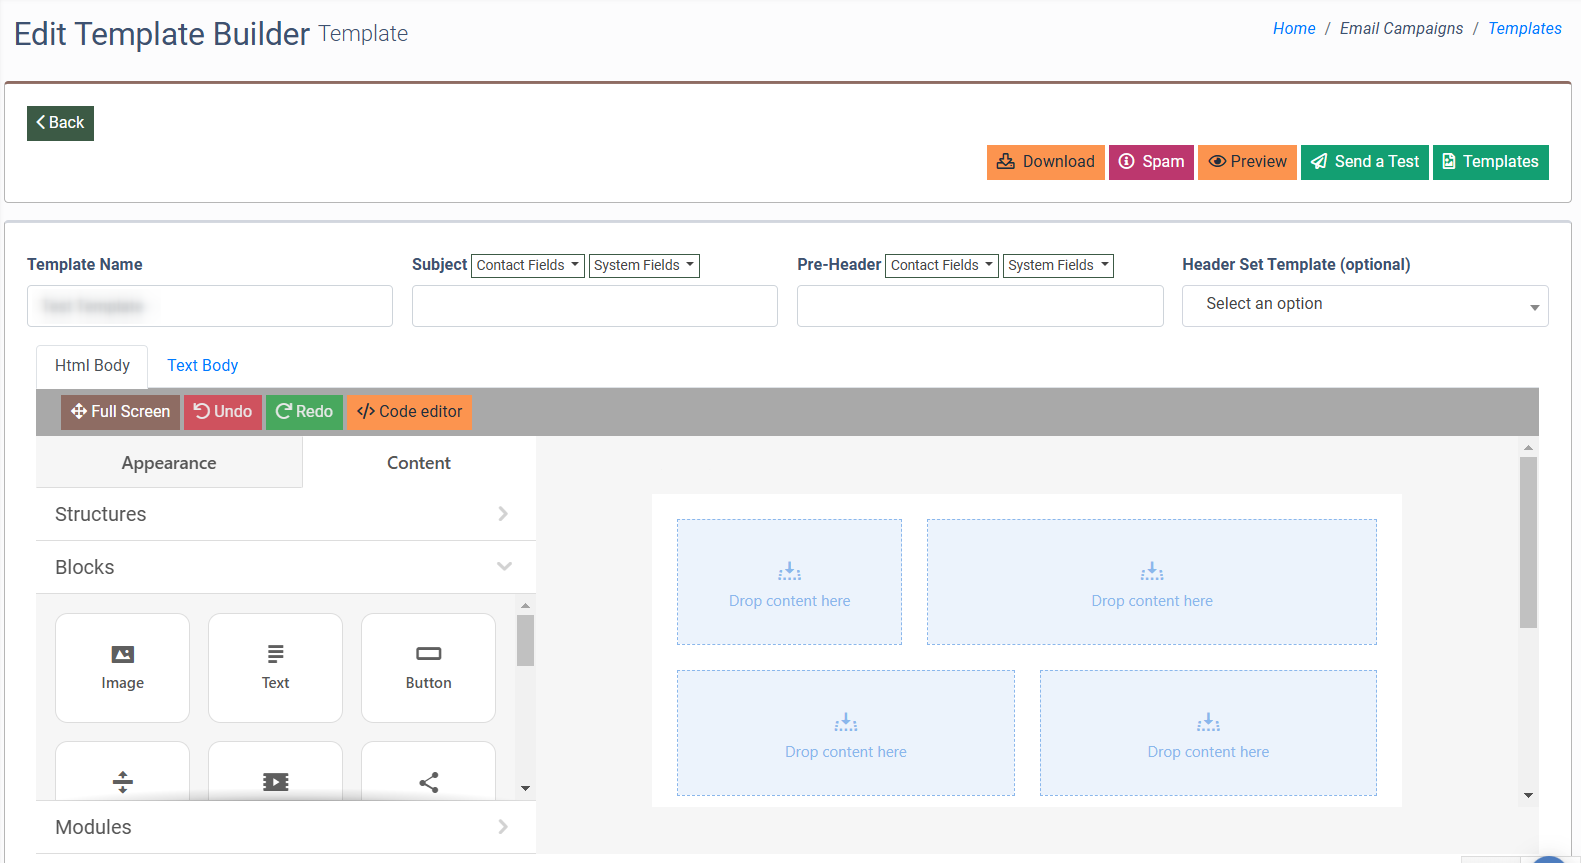
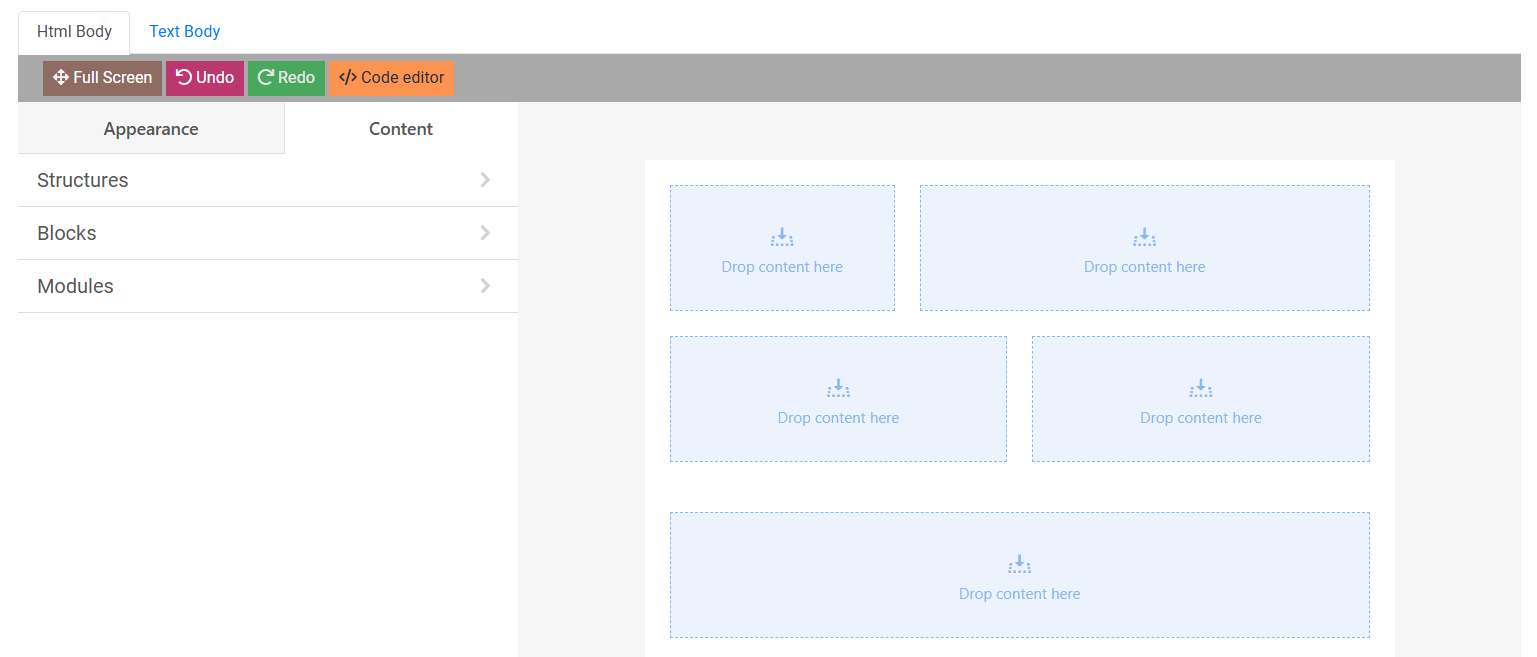
4. In the “Edit Template Builder” section, you have plenty of options to start building your template to your specifications.
You can manage the following general settings of the template:
- Template Name: Enter the name of the template.
- Subject: Enter the subject for the email. To add the value from the fields to the subject, click the Contact Fields or System Fields options respectively, and select the field you would like to insert. The selected field will be added as a placeholder.
- Pre-Header: A short preview text shown in the inbox next to the subject line to encourage opens. Enter the pre-header of the email. To add the value from the fields to the pre-header, click the Contact Fields or System Fields options respectively, and select the field you would like to insert. The selected field will be added as a placeholder.
- Header Set Template (optional): The top section of the email containing branding elements like the logo or headline. Select the header set for the template. Read more about the Header Sets in this Knowledge Base article.
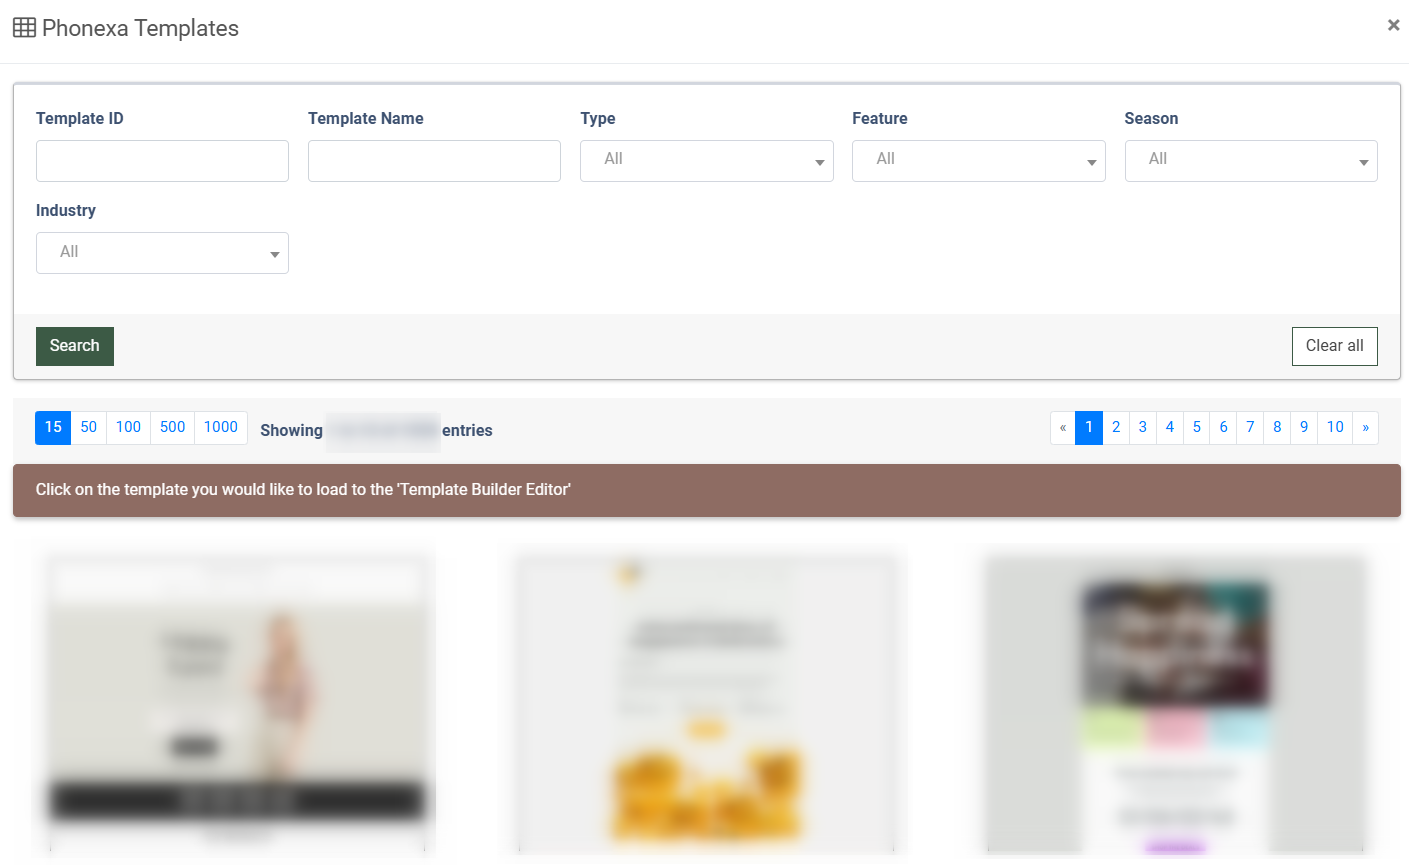
There is a library of templates to get you started. To view the list of available templates, click the “Templates” button in the right-upper corner of the section.

You can narrow down the search results for templates by using the following filters:
- Template ID: Enter the unique identification number of the template.
- Template Name: Enter the name of the template.
- Type: Select the type of template.
- Feature: Select the feature that should be implemented into the template.
- Season: Select the seasonality of the year that is used for the template.
- Industry: Select the industry theme of the template.
Click the “Search” button to apply the filtration.
To add the template to the builder for further adjustments, click the selected template in the “Phonexa Templates” pop-up window.
You have the option to create your own template from scratch.
To build up the structure of the template, use the following tools from the “Content” block:
- Structures: Select the preset of the row structure for the template.
- Blocks: Select the corresponding block of content to add to the template (Image, Text, Button, Spacer, etc).
- Modules: Select the module to add to the template.
To adjust and customize the appearance of the template, use the following tools from the “Appearance” block:
- General Settings: Set the general appearance settings of the template (Message width, Message alignment, Default padding, etc).
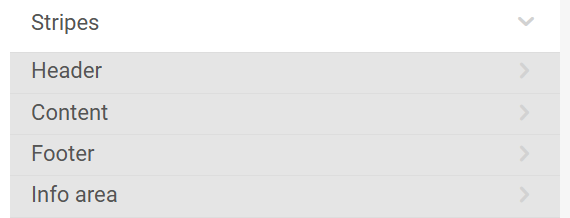
- Stripes: Set the appearance settings for the following template blocks: Header, Content, Footer, and Info area (Text size, Background color, Content background color, etc.).
- Headings: Set the appearance for headings of the template (Font, Line spacing, etc.).
- Button: Set the appearance settings of buttons used for the following templates (Button color, Highlight hovered buttons, Font color, etc.).
- Mobile Formatting: Set the appearance settings for the mobile view of the template (Size of Header text, Size of the Content text, Size of Footer text, etc.).
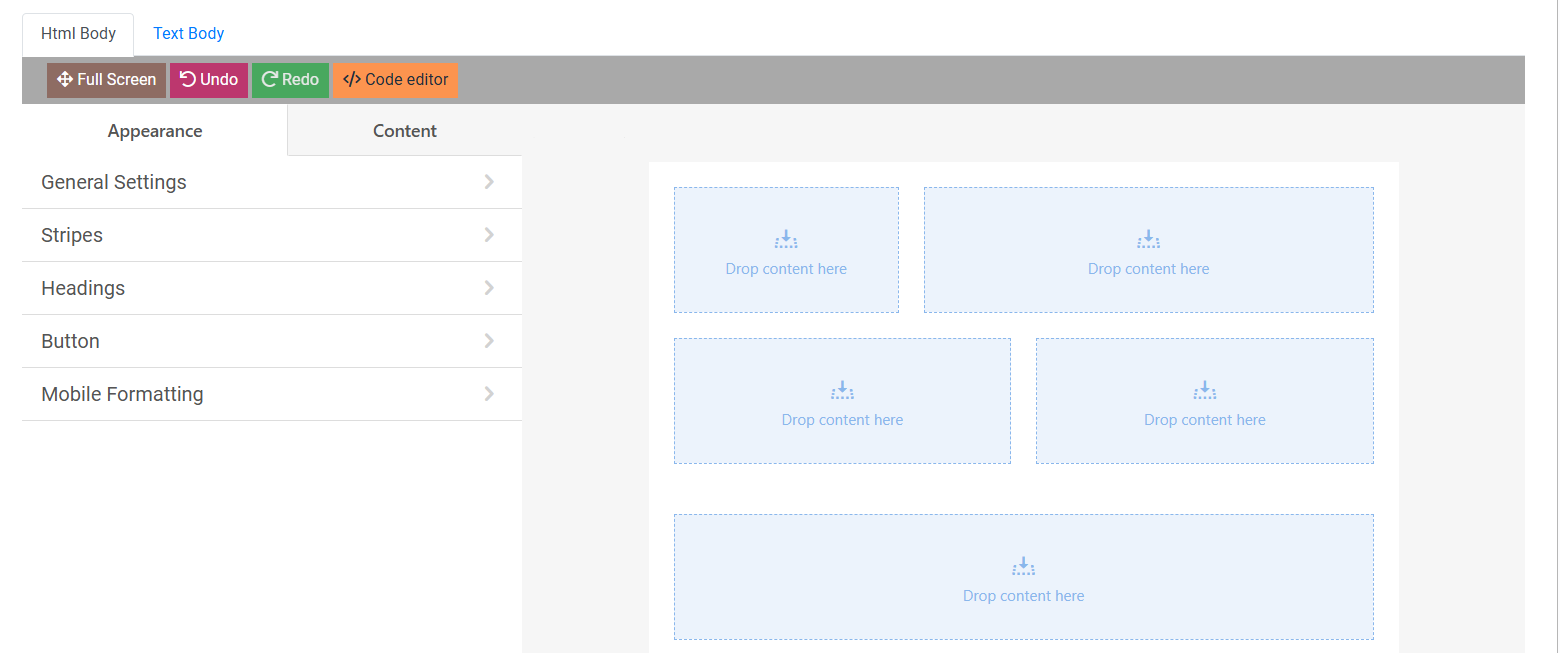
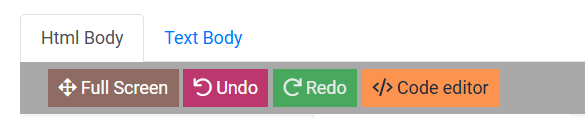
To view the builder in the full-screen mode, click the “Full Screen” button.
To revert to the latest modification of the template, click the “Undo” button.
To revert the latest action back, click the “Redo” button.
To open the editor that allows you to modify the template directly via code, click the “Code editor” button.
5. The following options are available as soon as the template is saved:
- To download the created template, click the “Download” button. You can do this to save for compliance recording, forwarding to colleagues, etc.
- To check the spam score that will be calculated for the created template, click the “Spam” button.
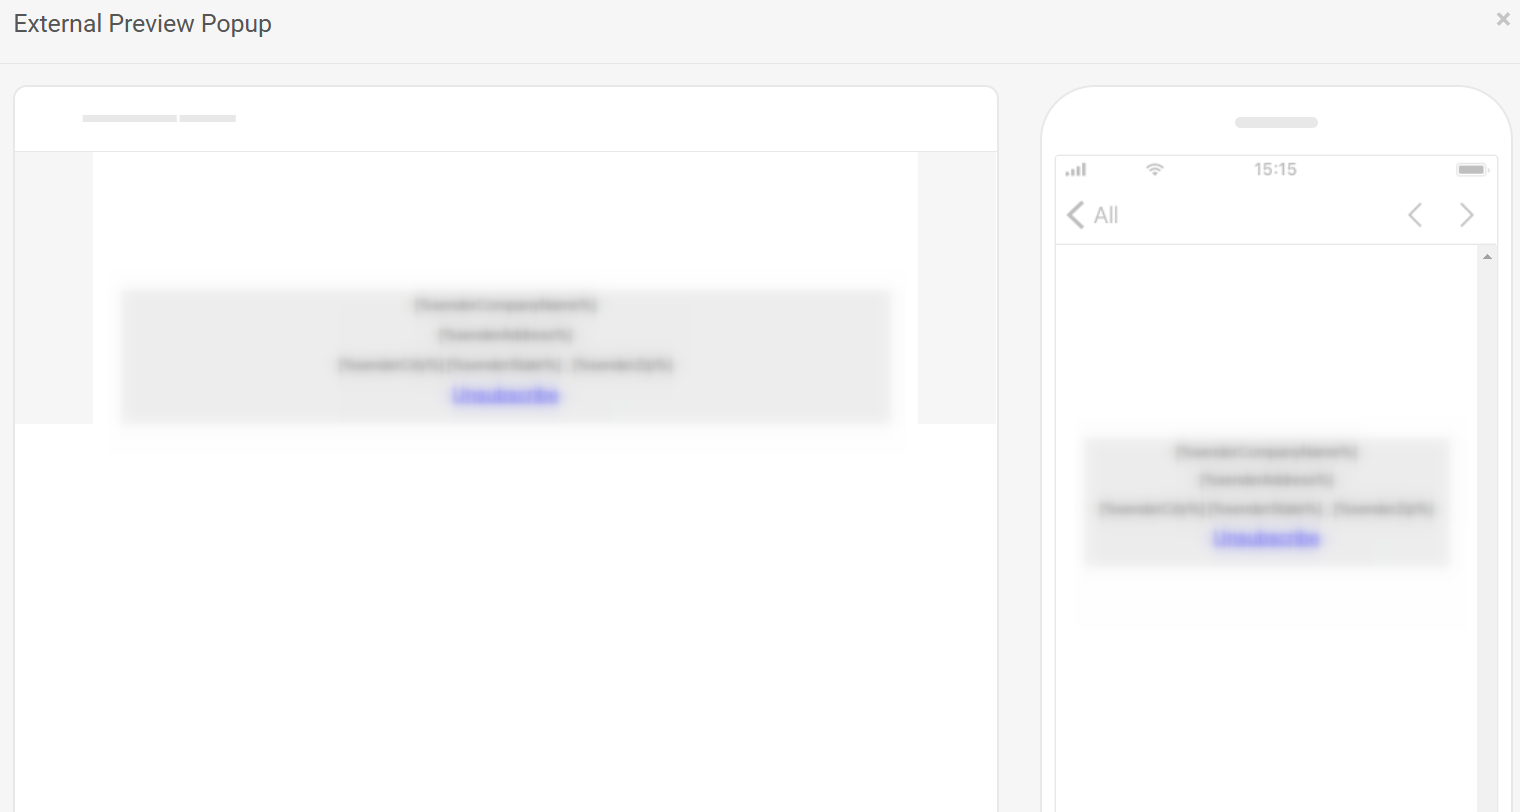
- To open the preview of the created template, click the “Preview” button. The preview of the template will be displayed in the “External Proview” pop-up window.
- To perform the test sending of the created template, click the “Test Send” button.

Read more information about the Email Templates section in the following Knowledge Base article.