Internal User Disposition Statuses Management
Internal User Disposition Report
Internal Disposition Statuses
To create and manage the Internal Disposition Statuses, go to System Management > Products section. For a selected product, click the “Settings” button in the “Actions” column, go to the “Disposition Statuses” tab, and open the “Internal User Disposition Statuses” subtab.
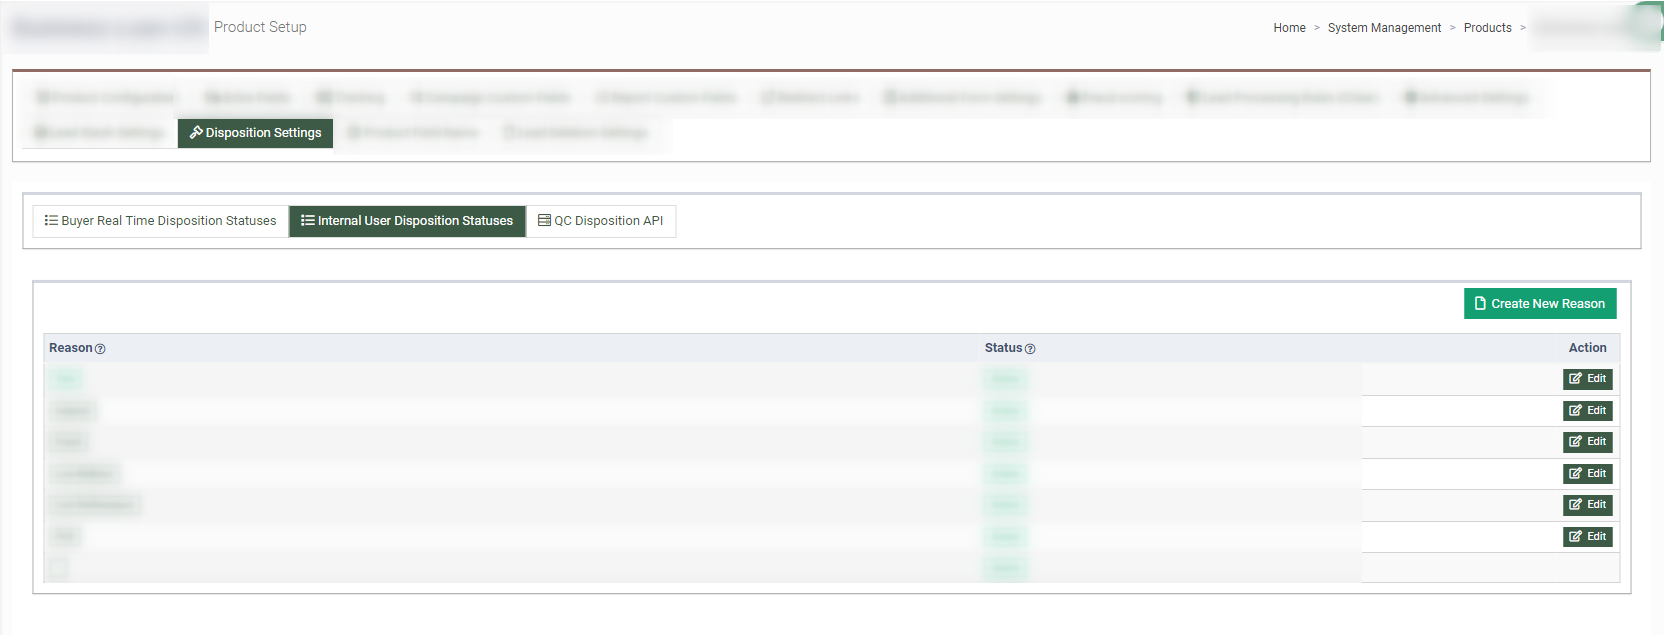
The list of the Internal Disposition Statuses contains the following information:
-
Reason: The name of the Internal Disposition Status.
-
Status: The current status of the Internal Disposition.
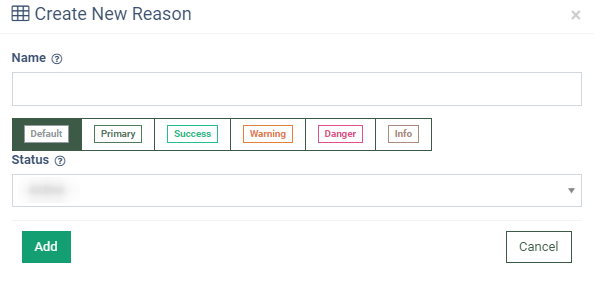
To add a new Internal Disposition Status, click the “Create New Reason” button and fill the following fields in the “Create New Reason” pop-up window:
-
Name: Enter the name of the Internal Disposition Status.
-
Tag: Select the corresponding tag.
-
Status: Select the current status of the Internal Disposition.
Click the “Add” button to complete the action.
To manage the existing Internal Disposition Status, click the “Edit” button in the “Action” column. Change the following information in the “Edit” pop-up window:
-
Name: Enter the name of the Internal Disposition Status.
-
Tag: Select the corresponding tag.
-
Status: Select the current status of the Internal Disposition.
Click the “Add” button to complete the changes.
Read more about how to assign the Internal User Disposition status when adding Publishers to Filter by Pubs lists in this Knowledge Base article.
Internal User Disposition Report
The Internal User Disposition report allows you to review Publishers added to the Allow, Deny, or Cap lists on the Campaign level, along with the reasons added to the list.
To view the report, go to the Analytics and Optimization > Dispositions > Internal User Dispositions section.
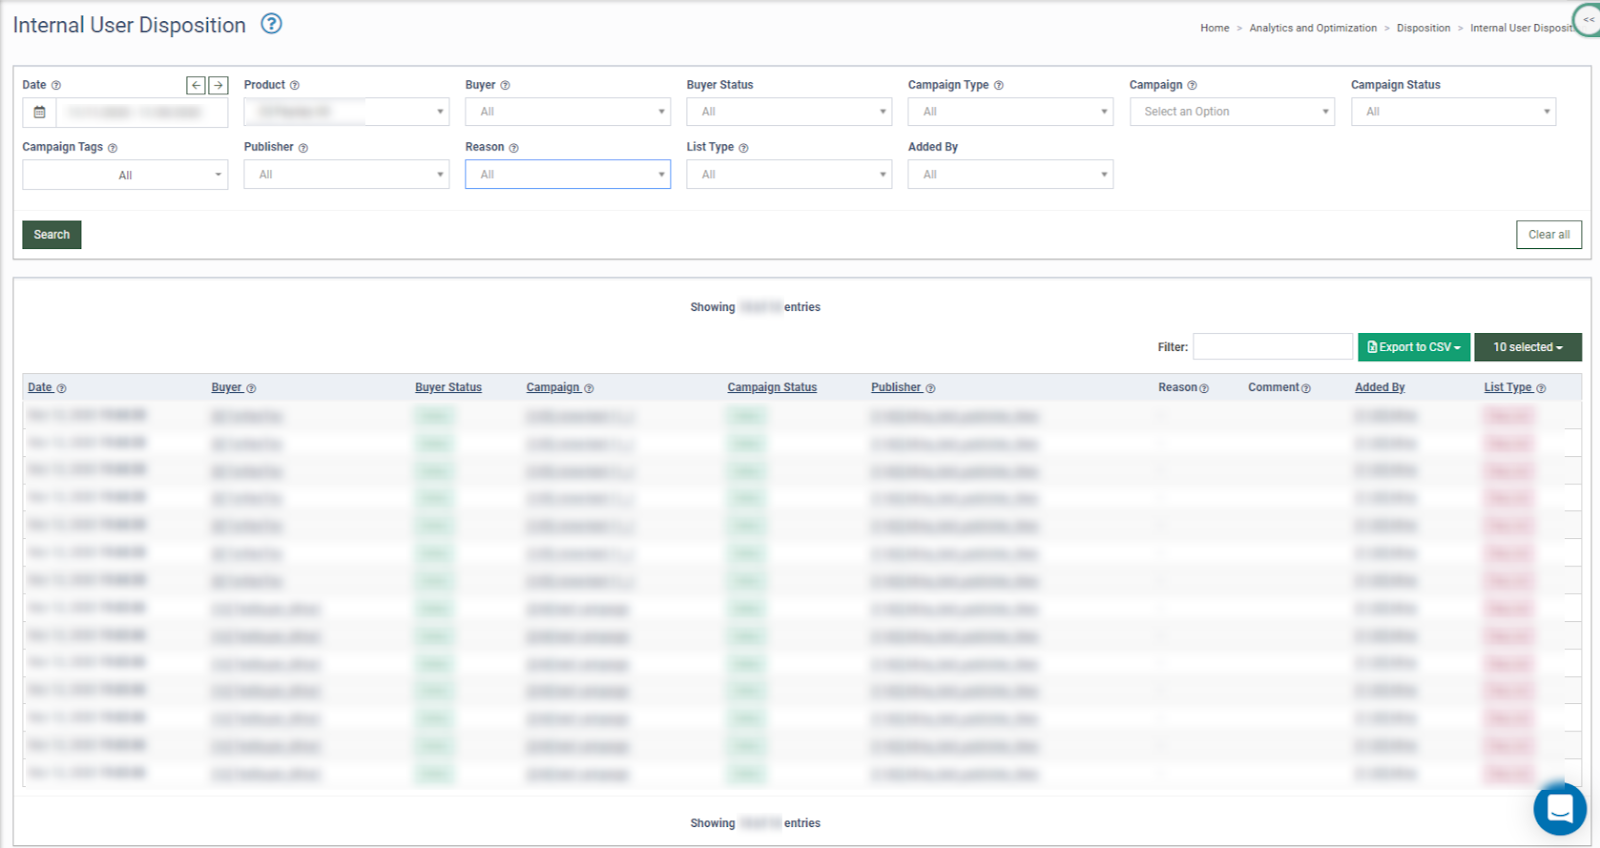
The report contains the following information:
-
Date: The date and time of the record creation.
-
Buyer: The name of the Buyer.
-
Buyer Status: The current status of the Buyer.
-
Campaign: The name of the Campaign.
-
Campaign Status: The current status of the Campaign.
-
Publisher: The name of the Publisher.
-
Reason: The Reason (Internal Disposition Status) for adding Publisher to the list.
-
Comment: Additional information about the record.
-
Added By: The name of the user that has created the record.
-
List Type: The type of the Publisher list.
You can narrow down the search results by using the following filters:
-
Date: Select the date range of the report.
-
Product: Select the Product.
-
Buyer: Select the Buyer.
-
Buyer Status: Select the current status of the Buyer (Active, Deleted, Disabled, Duplicating).
-
Campaign Type: Select the type of the Campaign from the drop-down list (ExitOffer, ExitPage, Redirect, Silence). Read more about types of Campaigns in this Knowledge Base article.
-
Campaign: Select the Campaign.
-
Campaign Status: Select the current status of the Campaign (Active, Deleted, Disabled, Paused, Temp Paused).
-
Campaign Tags: Select the Campaign Tag.
-
Publisher: Select the Publisher.
-
Reason: Select the Reason (Internal User Disposition) for adding Publisher to the list.
-
List Type: Select the type of the filter by pubs list (Allow List, Deny List, Cap List). Read more about the types of lists and Filter by Pubs options in the Knowledge Base article.
-
Added By: Select the user who created the record.