To access this tab, go to the Account Settings > My Profile section, then select the “System Settings” tab. Alternatively, you can access it through the My Profile Modal Window in the upper-right corner of the page..png?hsLang=en) The “System Settings” block allows you to select your preferred color theme for your system, enable dark mode, choose your preferred date format, and more:
The “System Settings” block allows you to select your preferred color theme for your system, enable dark mode, choose your preferred date format, and more:
- Color Theme: Select one of your preferred options, either the default option that is set for the whole system, or one of the available presets.
- Dark Mode: The feature allows you to enable and configure the schedule of the dark mode theme. Select the schedule for the system to switch to the dark mode:
- System Default: Select this option to use general theme settings. Note: Read more about the general theme settings in this Knowledge Base article.
- Off: Select this option to disable dark mode.
- Detect by OS: Select this option to use OS theme settings.
- Custom Schedule: Select this option to switch to dark mode based on the timeframe in the “From” and “To” fields.
- Always ON: Select this option to keep dark mode enabled at all times.
- Date Format: Select the preferred date format (m/d/Y, d-m-Y).
- Table Cell Copy: Enable this feature to easily copy data from table cells, rows, and columns while preserving formatting, making it convenient for reporting and analysis.
- Font Size: Select the preferred font size (Default / 80% / 90% / 100% / 110% / 120% / 130% / 140% / 150%). Note: The “Default” option sets the font size to the corresponding value in Project Settings.
-
.png?hsLang=en)
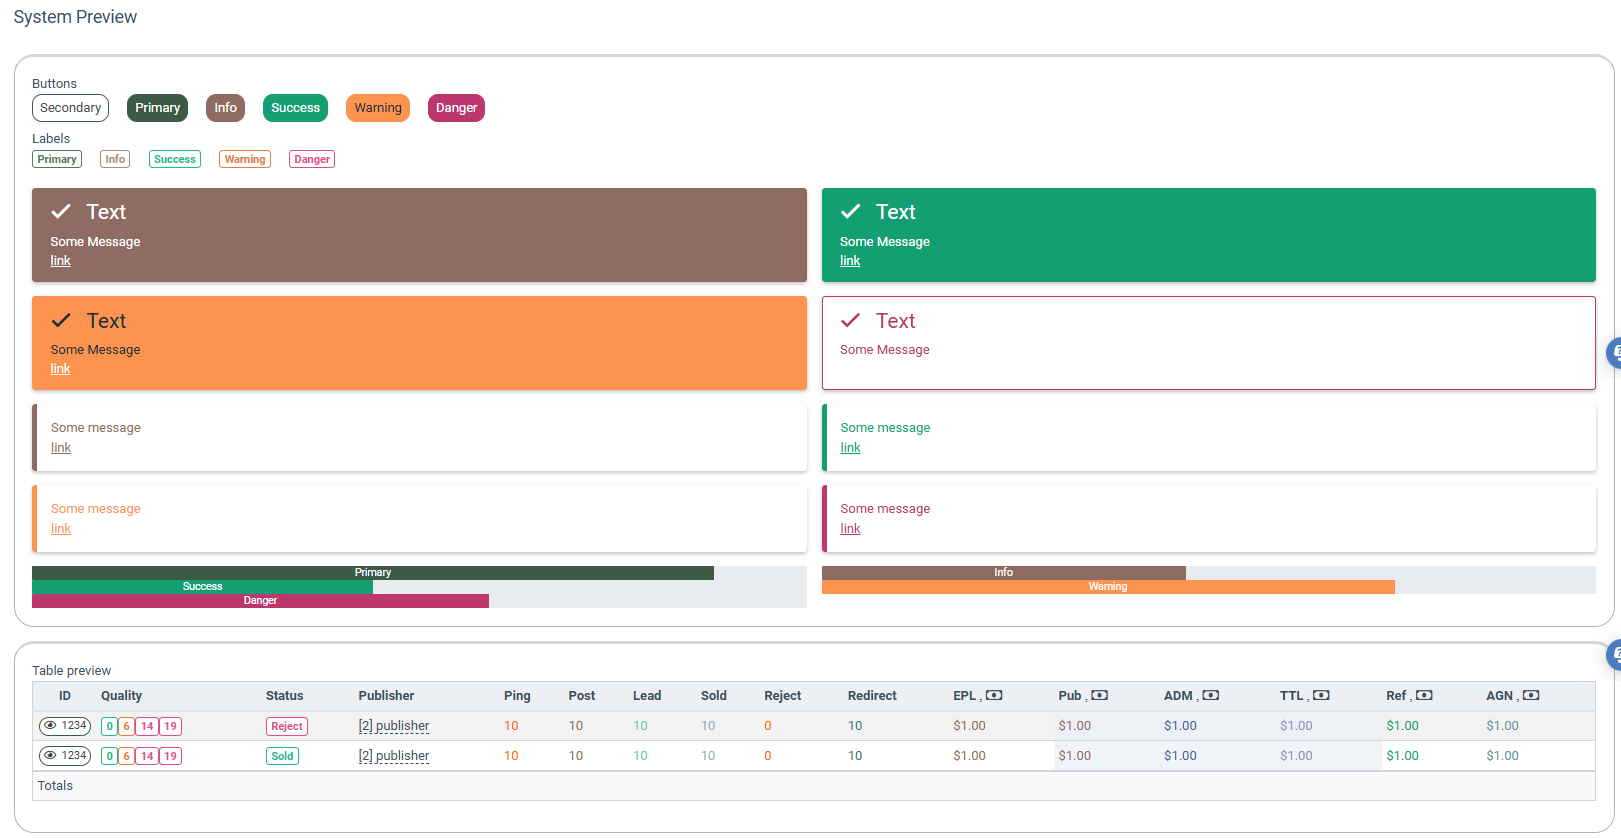
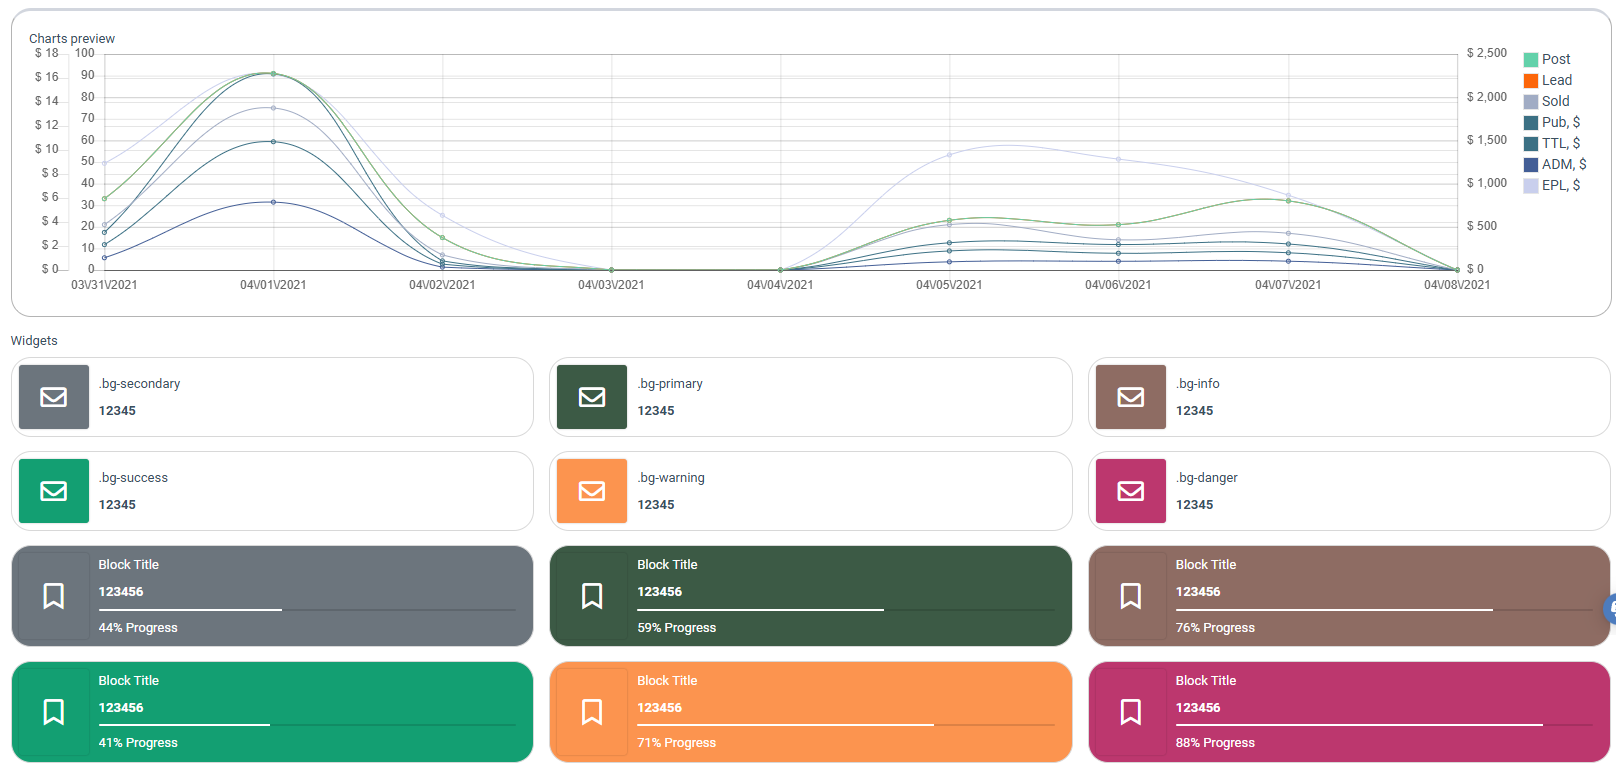
The “System Preview” block allows you to view the system’s selected appearance. You can view the buttons, labels, statuses, system messages, tables, charts, and widgets display.
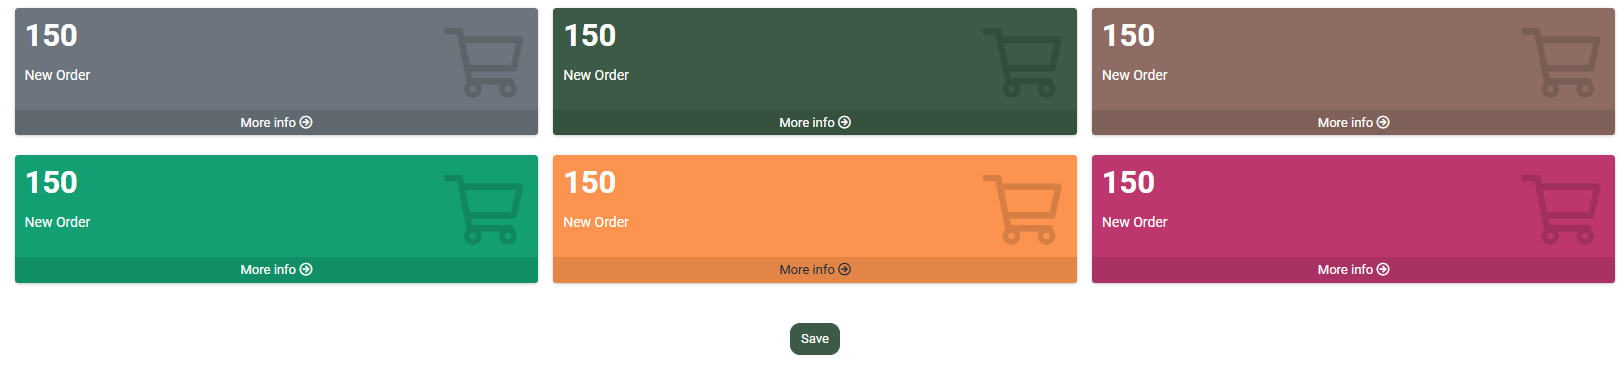 Click the “Save” button to apply the changes.