The Publishers section contains the following tabs:
Rev-Share Summary Report (Call Logic only). Read more about the report in this Knowledge Base article.
Additional options:
To view the Publisher list, go to the Publisher Management > Publishers section.
Publisher List
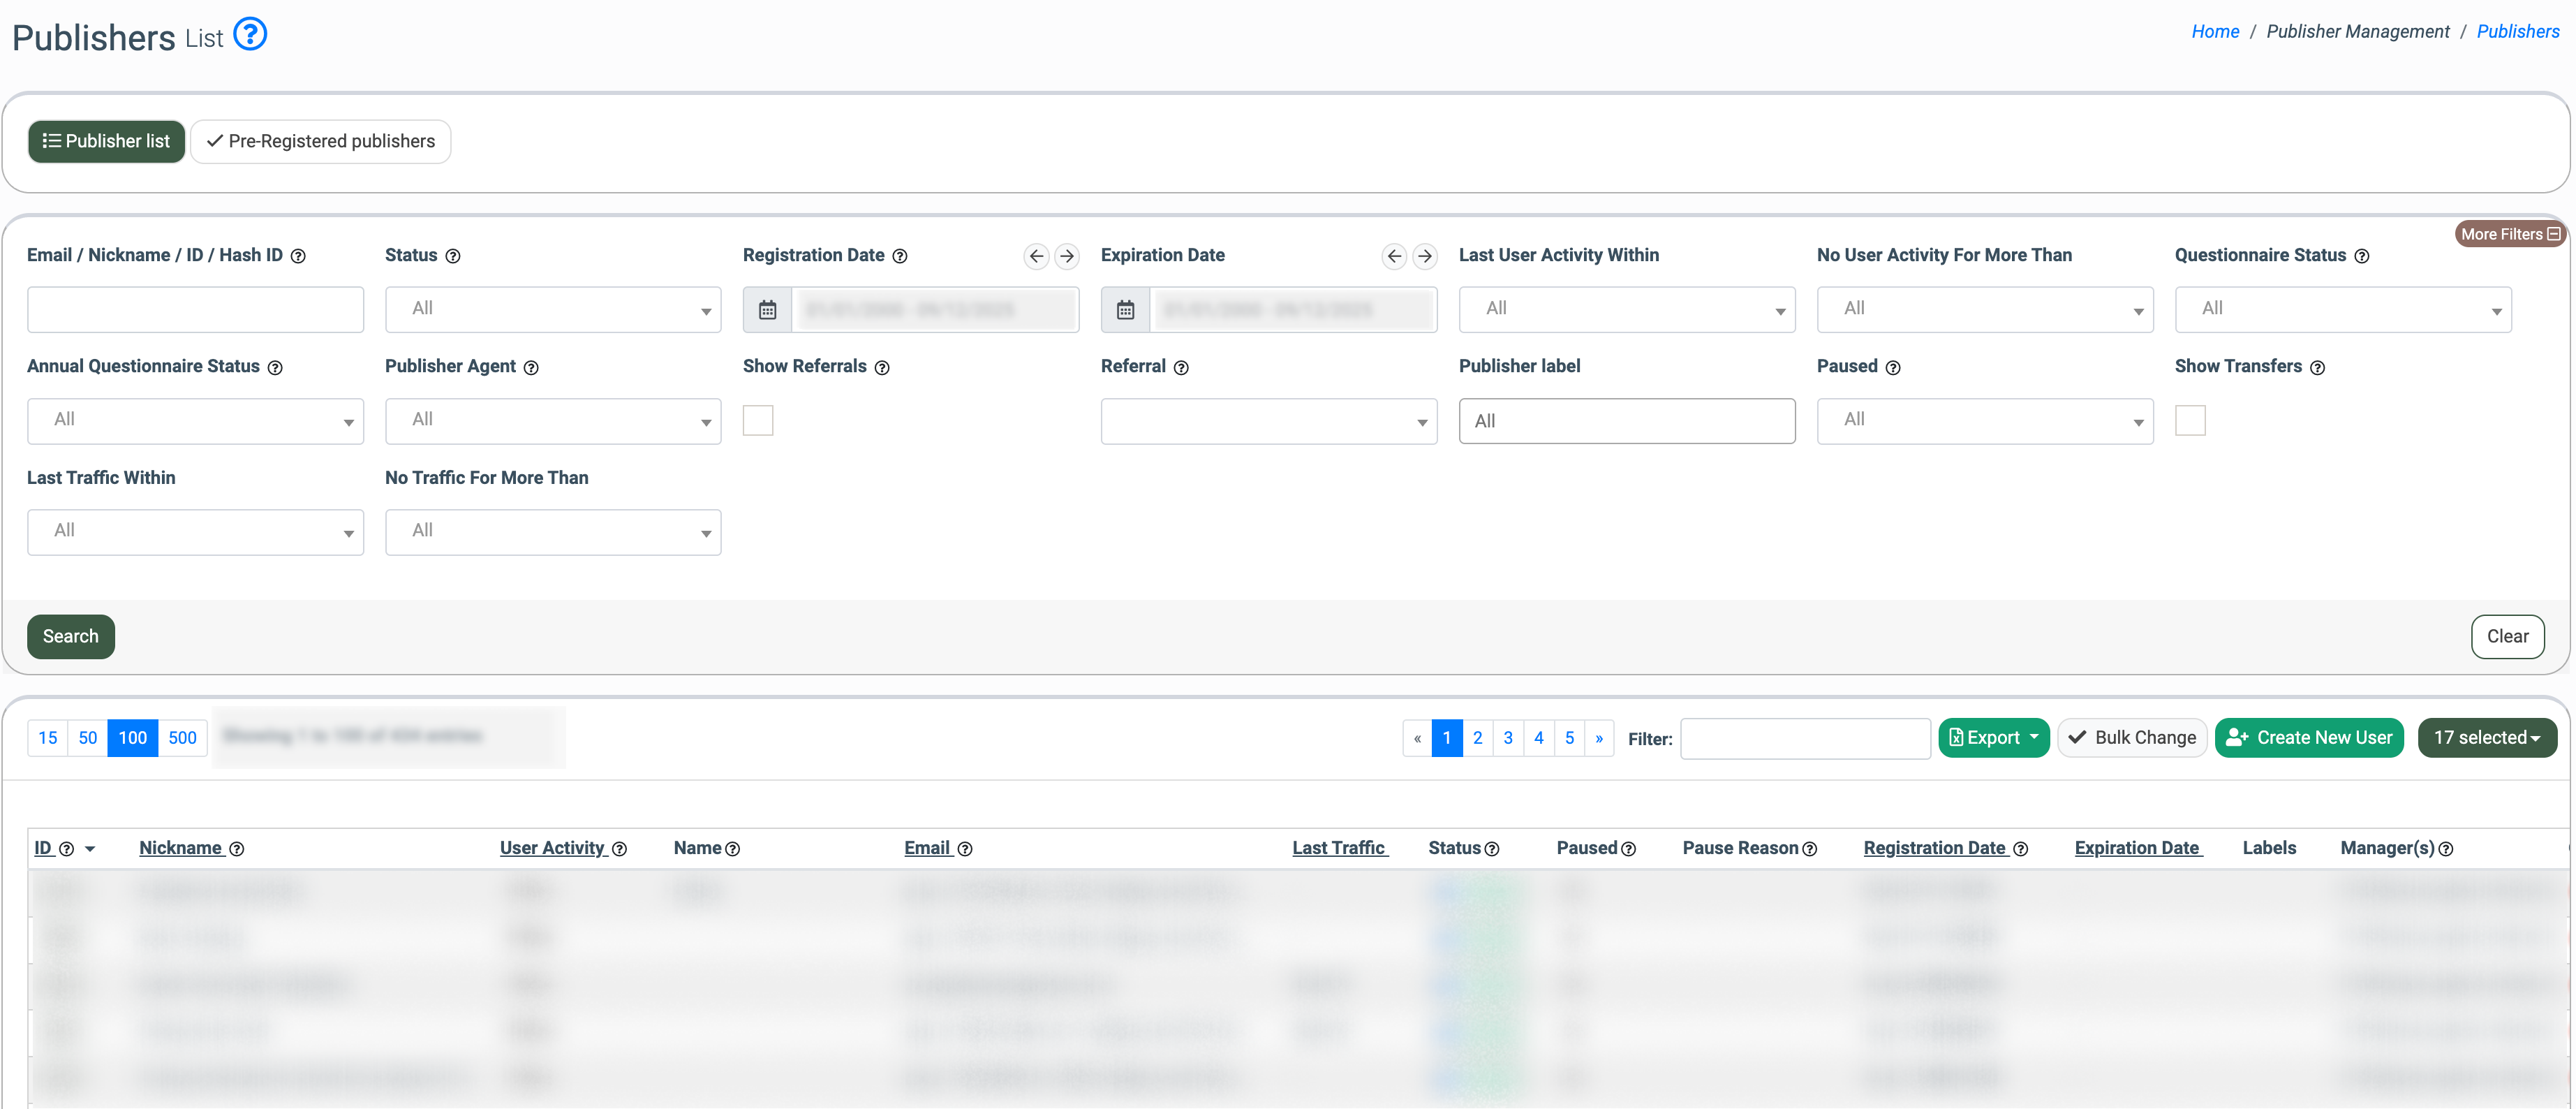
The Publisher List tab allows you to review and manage the Publishers, their questionnaire, and their paused status.
The “Publisher List” tab contains the following information:
- ID: The unique identification number of the Publisher. To view the Publisher configuration page, click the Publisher ID or the “View” button in the “Actions” column.
- Nickname: The nickname of the Publisher. The nickname is shown in all reports, along with the publisher ID.
- User Activity: The activity status of the Publisher:
- Online: The last activity was less than 10 minutes ago.
- Recently Online: The last activity was less than 30 minutes ago.
- Away: The last activity was less than 1 hour ago.
- Offline: The last activity was more than 1 hour ago.
- Name: The name of the Publisher.
- Email: The email address of the Publisher.
- Last Traffic: The date for the last send lead or call from the Publisher.
- Microsoft Teams: The Publisher’s Microsoft Teams username.
- Status: The status of the Publisher (Active/ Disabled/ Deleted/ Pending).
- Paused: Click the button to activate or pause the Publisher.
- Pause Reason: The reason for the Publisher’s pause.
- Registration Date: The date of the Publisher registration.
- Expiration Date: The expiration date of the Publisher.
- Label: The name of the Label.
- Manager(s): The name of the manager assigned to the Publisher.
- Questionnaire: The progress status of the Publisher’s questionnaire completion.
- Annual Questionnaire: The progress status of the Annual questionnaire completion.
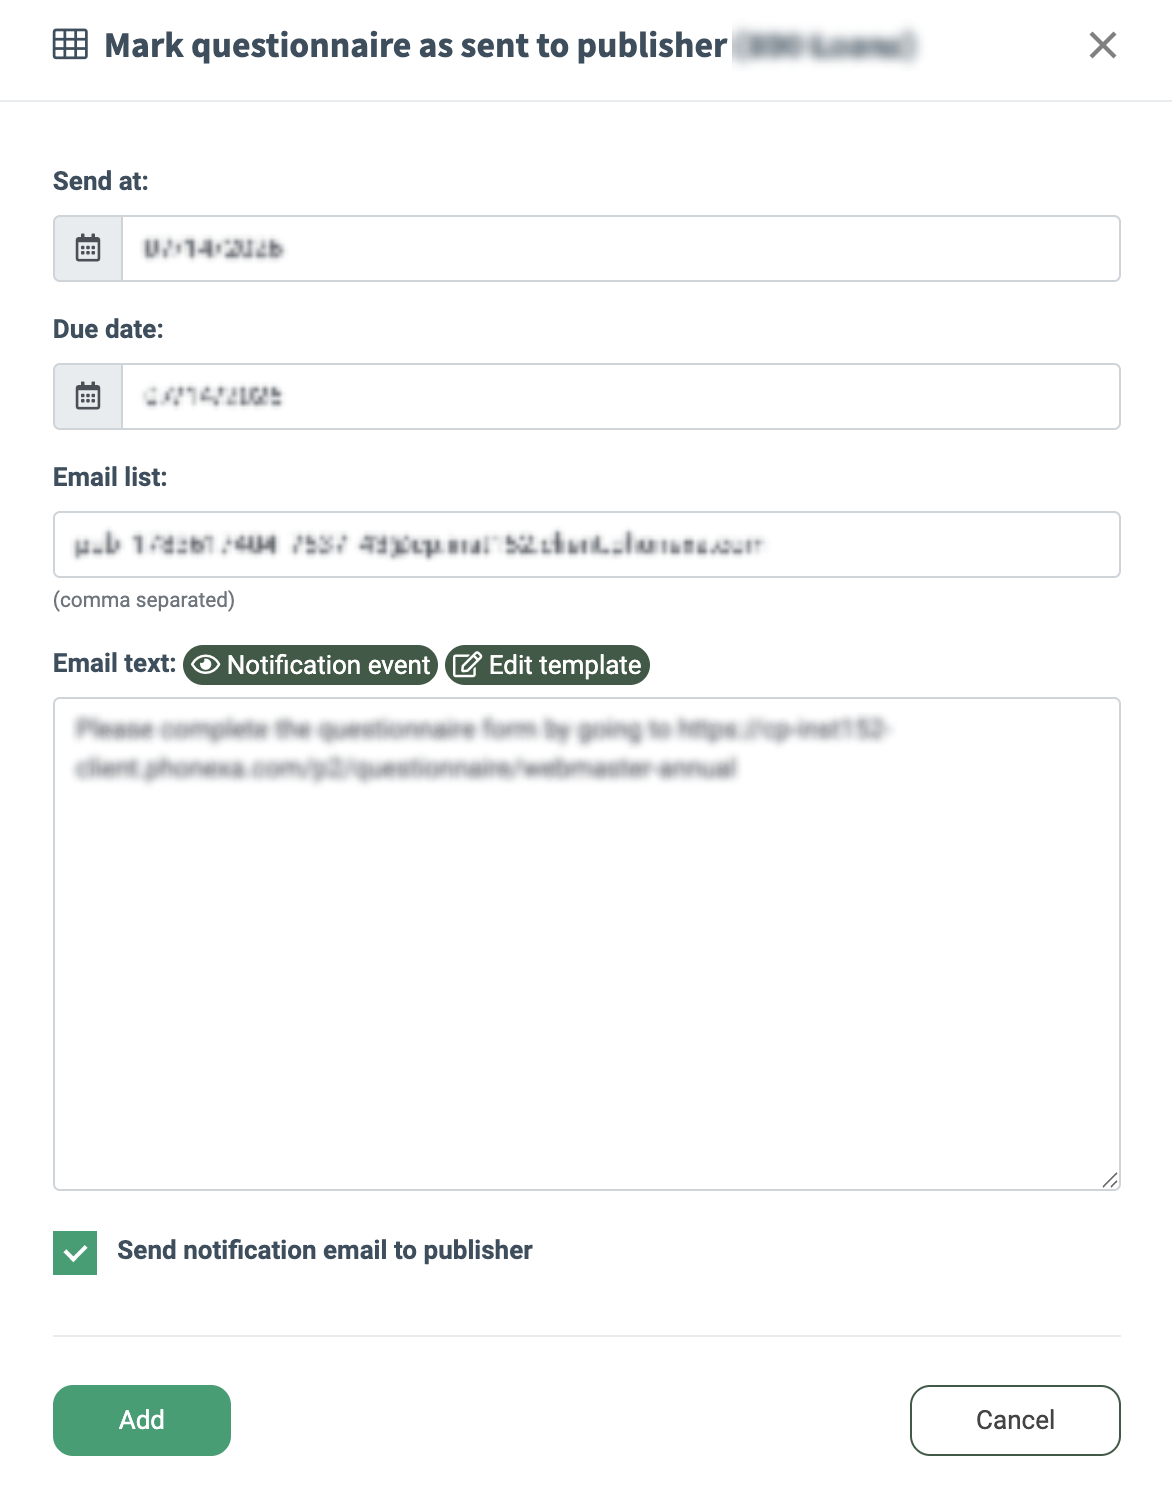
- Questionnaire Sent: Click the “Mark As Sent” button to mark the questionnaire as sent to the Publisher. Fill in the following fields in the pop-up window and click the “Add” button:
- Send at: Set the date and time for the notification.
- Due date: Set the due date for the questionnaire.
- Email list: Enter the email(s) for the notification to be sent.
- Email text: The notification text. To configure the corresponding event notification at the project level, click the “Notification event” button. To edit the notification template on the project level, click the “Edit template” button.

You can narrow down the result using the following filters:
- Email / Nickname / ID / Hash ID: Select one option from the list: email, nickname, ID, or Hash ID.
- Status: Select the Publisher's Status (Active/ Disabled/ Deleted/ Pending).
- Registration Date: Select the date range for the Publisher registration.
- Expiration Date: Select the Publisher’s expiration date.
- Last User Activity Within: Select the range for the user’s last activity (Week / Two Weeks / Month / Three Months / Six Months / Year).
- No User Activity For More Than: Select the range for the user’s inactivity (Week / Two Weeks / Month / Three Months / Six Months / Year).
- Questionnaire Status: Select the status of the questionnaire completion (Pending: User Action Required/ Completed: Confirmed/ Edited by Manager: Pending User Action/ Completed: Pending Review/ Rejected: Requested More Details/ Edit by User: Pending Manager Review/ Editing be Manager: Pending User Action).
- Annual Questionnaire Status: Select the status of the annual questionnaire completion (Pending: User Action Required/ Completed: Confirmed/ Edited by Manager: Pending User Action/ Completed: Pending Review/ Rejected: Requested More Details/ Edit by User: Pending Manager Review/ Editing be Manager: Pending User Action).
- Publisher Agent: Select the Publisher Agent.
- Show Referrals: Check the box to show Publishers referred by other users.
- Referral: Select the Referral.
- Publisher label: Select the Label.
- Paused: Select the paused status (Active/ Paused).
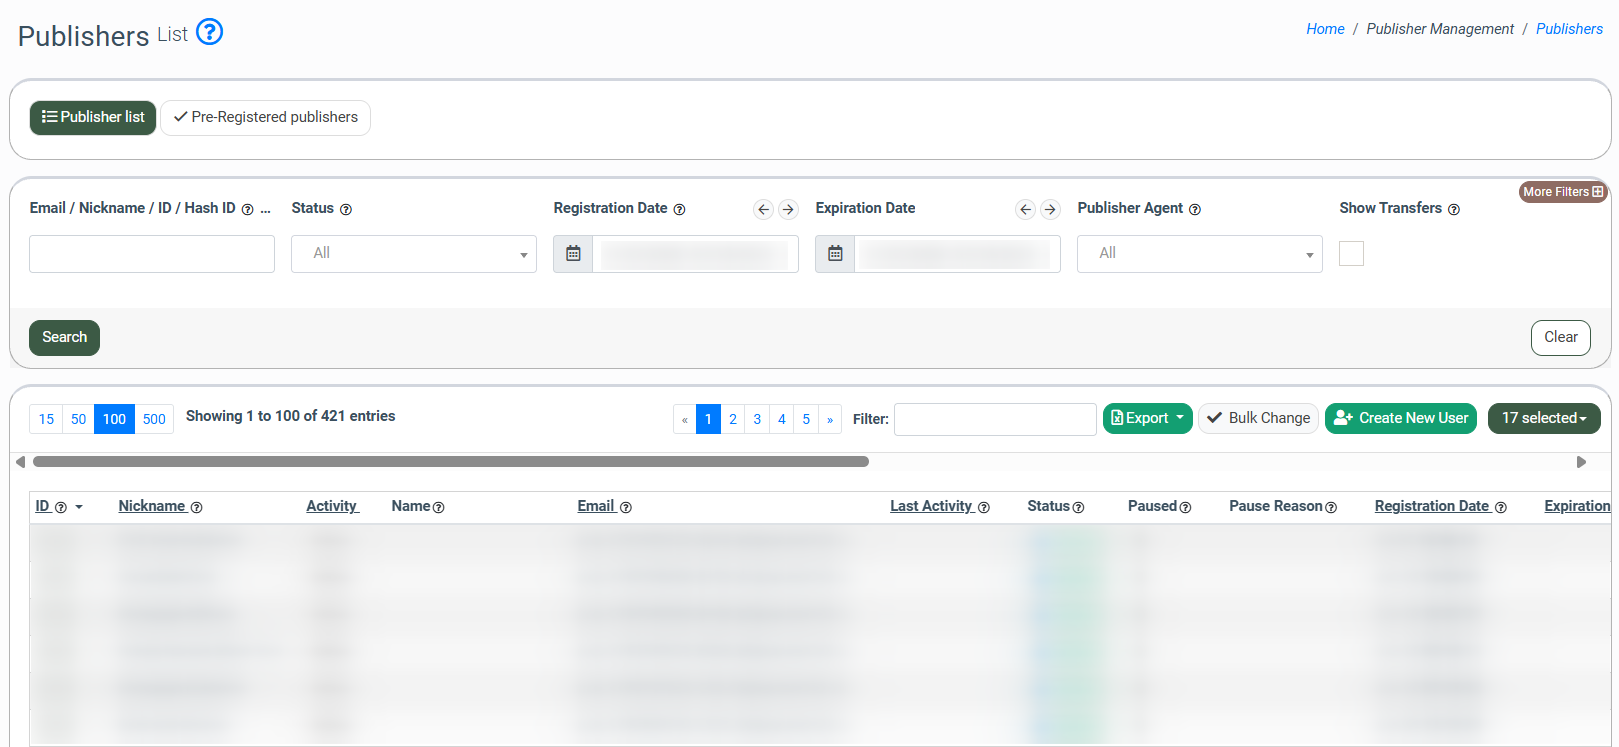
- Show Transfers: Select the checkbox to show the transfers.
- Last Traffic Within: Select the timeframe for the last lead or call sent by the Publisher (Week / Two Weeks / Month / Three Months / Six Months / Year).
- No Traffic For More Than: Select the timeframe during which there was no traffic coming from the Publisher (Week / Two Weeks / Month / Three Months / Six Months / Year).
To create a new Publisher, click the “Create New User” button and fill in the following fields in the “Create User” pop-up window:
-1.png?hsLang=en)
-
Nick Name: Enter the nickname for the user.
-
First name: Enter the first name (optional).
-
Last name: Enter the last name (optional).
-
Email: Enter the Email address.
-
Password: Enter the password.
-
Phone Number: Enter the phone number of the user (optional).
-
Account Representative: Select the account representative.

To create a copy of the existing Publisher, click the “Clone” button in the “Actions” column. In the “Clone” pop-up window, you can change the Email address, Nick Name, and select the Status for the cloned Publisher.

Click the “Campaign filter” button in the “Action” column to be redirected to the Sources By Campaign report.
Click the ”Edit” button in the “Action” column to view and edit the Publisher details. In the “Edit” pop-up window, you can change the NickName, and the Status, add or remove Groups, and select the Available Products (LMS/Call Logic).

To change the password for the Publisher, click the “Change Password” button in the “Actions” column, and enter and repeat the new password in the “Change Password” pop-up window.

Bulk Change
The “Bulk Change” option refers to the ability to make simultaneous modifications or updates to multiple items or data records simultaneously, rather than making individual changes one by one.
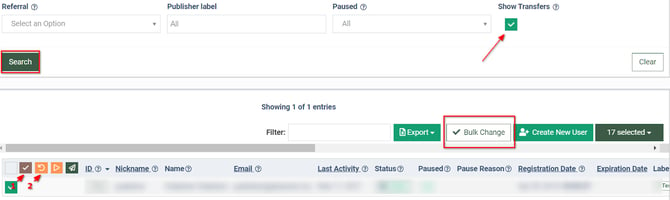
To manage a few publishers simultaneously, click the “Bulk Change” button and check the boxes of the Publishers you want to change.

Bulk Delete
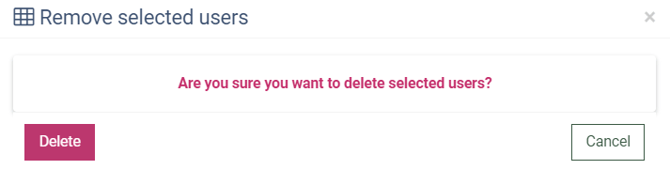
To delete selected Publishers, click the “Remove selected users” button (the button with the “Delete” icon) (1). In the “Remove selected users” pop-up window, click the "Delete" button to confirm the action.
Bulk Transfer
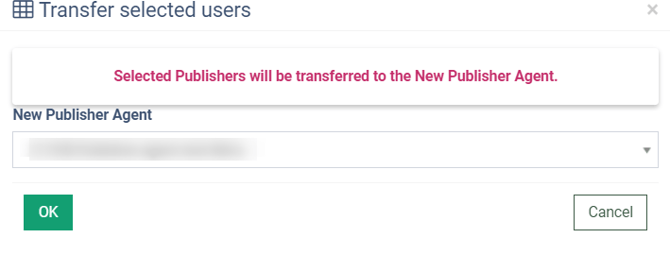
To transfer selected Publishers from one agent to another Publisher Agent, click the “Transfer selected users” button (2). In the “Transfer selected users” pop-up window, select a new Publisher Agent from the list and click the "OK" button to confirm the action.
Note: You should confirm the transfer to complete it. To view all Publishers with transfer status, select the “Show Transfers” checkbox in the filter section, and click the “Search” button. Then, click the “Bulk Change” button again and choose to Confirm (1) or Cancel (2) the transfer.
Bulk Resume/Pause
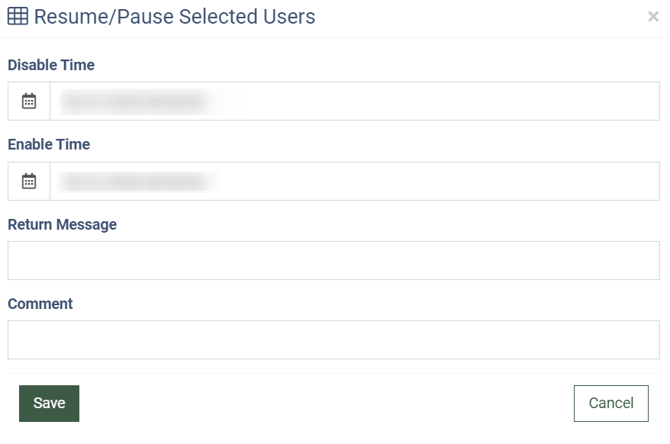
To resume or pause selected Publishers, click the “Resume/Pause Selected Users” button (3). Fill in the following fields in the “Resume/Pause Selected Users” pop-up window and click the "Save" button to confirm the action:
-
Disable Time: Select the date and time when the Publishers are disabled.
-
Enable Time: Select the date and time when the Publishers are enabled.
-
Return Message: Enter the message that will be sent to the Publishers.
-
Comment: Enter the additional comment.
Bulk Send Publisher Annual Questionnaire
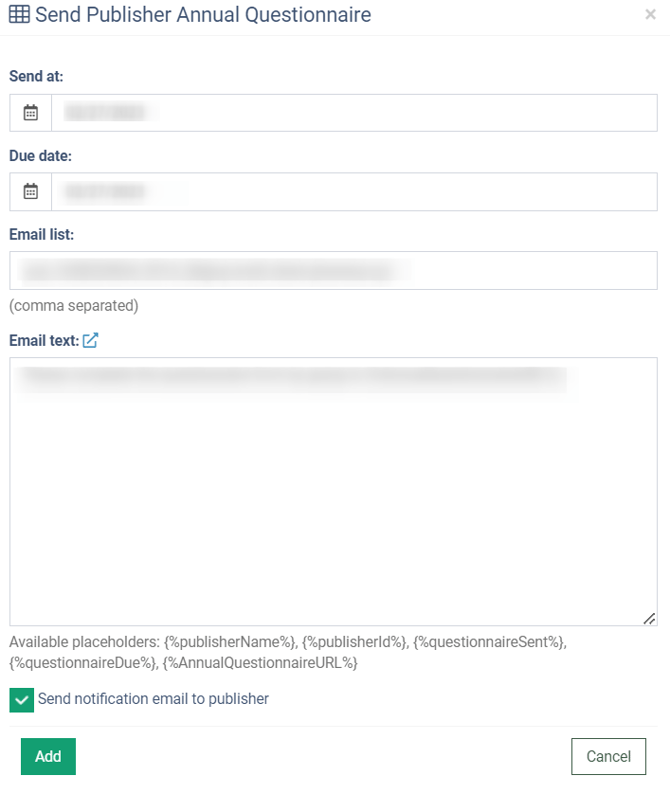
To send Annual Questionnaire to several publishers simultaneously, click the “Send Publisher Annual Questionnaire” button (4). Fill in the following fields in the pop-up window and click the “Add” button to confirm the action:
-
Send At: Select the date to send the questionnaire.
-
Due Date: Select the due date for the questionnaire's completion.
-
Email List: Enter the email address. Use a comma as a separator to enter multiple email addresses.
-
Email Text: Fill in the email text. This field is prefilled by default according to the template provided in the Project Settings section.
Read more about the Publisher Questionnaire in this Knowledge Base article
Pre-Registered Publishers
The Pre-Registered Publishers tab allows you to view and manage the Pre-Registered Publishers.
The “Pre-Registered Publishers” tab contains the following information:
-
ID: The unique identification number of the pre-registered publisher.
-
Company: The name of the Company.
-
Cell Phone: The cell phone number.
-
Nickname: The nickname of the Publisher.
-
First Name: The first name of the Publisher.
-
Last Name: The last name of the Publisher.
-
Email: The email address.
-
Microsoft Teams: The Microsoft Teams username.
-
Publisher Agent: The name of the Publisher Agent.
-
Referral: The name of the referral.
-
Registration Date: The date of the Publisher registration.
You can narrow down the result using the following filters:
-
Email / Nickname / ID / Hash ID: Enter one option from the suggested variants, e.g., email, nickname, ID, or Hash ID.
-
Status: Select the Publisher's Status (Active/ Disabled/ Deleted/ Pending).
-
Registration Date: Select the date range for the Publisher registration.
-
Publisher Agent: Select the Publisher Agent.
-
Referral: Select the Referral.
-1.png?width=688&height=321&name=unnamed%20(39)-1.png&hsLang=en)
-1.png?hsLang=en)
To approve the pre-registered user, click the “Approve” button in the “Actions” column and confirm it in the ”Approve” pop-up window. Click the “Re Activate” button in the “Action” column to send an email with the activation link to the user and confirm the action in the “Re Activate” pop-up window.
Pre-Registered Publishers Bulk Change
To manage a few pre-registered publishers simultaneously, go to the “Pre-Registered Publishers” tab, click the “Bulk Change” button, and check the boxes of the Pre-Registered Publishers you want to change.
-1.png?hsLang=en)
Pre-Registered Publishers Bulk Delete
To delete selected Pre-Registered Publishers, click the “Remove selected users” button (the button with the “Delete” icon) (1). In the “Remove selected users” pop-up window, click the "Delete" button to confirm the action.
Pre-Registered Publishers Bulk Approve
To approve selected Pre-Registered Publishers, click the “Approve selected users” button (the button with the “Wrench” icon) (2). In the “Approve selected users” pop-up window, click the "Approve and Create Users" button to confirm the action.
