WatchMail is a solution for CCPA compliance which allows businesses to handle opt-out requests from consumers, prevent penalties for non-compliance, and showcase their dedication to safeguarding customers' personal data in accordance with CCPA guidelines.
WatchMail helps track consumers' unsubscribe/opt-out requests, assign employees to process those requests, change request statuses, see correspondence with the consumers, manage and distribute tickets according to projects, apply tags, and inform consumers that they have been successfully unsubscribed and none of their personal data will be sold to third parties.
To view the configuration of the Watchmail feature, go to the Watchmail > Configure section.
Departments Tab
To view and manage the list of the departments, go to the “Departments” tab.
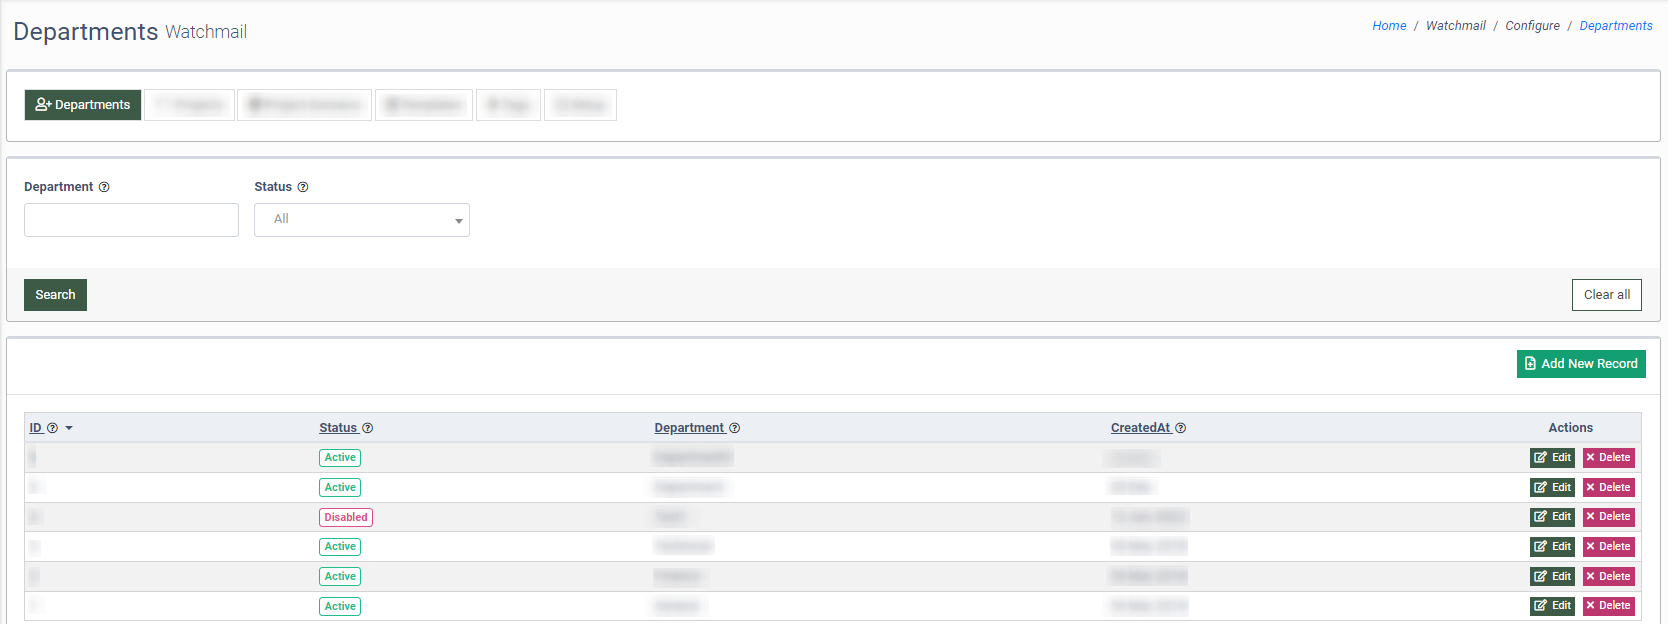
You can narrow down the search results by using the following filters:
- Department: Enter the name of the Department.
- Status: Select the status of the Department (Active, Disabled).
The list of Departments contains the following information:
- ID: The unique identification number of the Department.
- Status: The status of the Department (Active, Disabled).
- Department: The name of the Department.
- CreatedAt: The date of the Department creation.
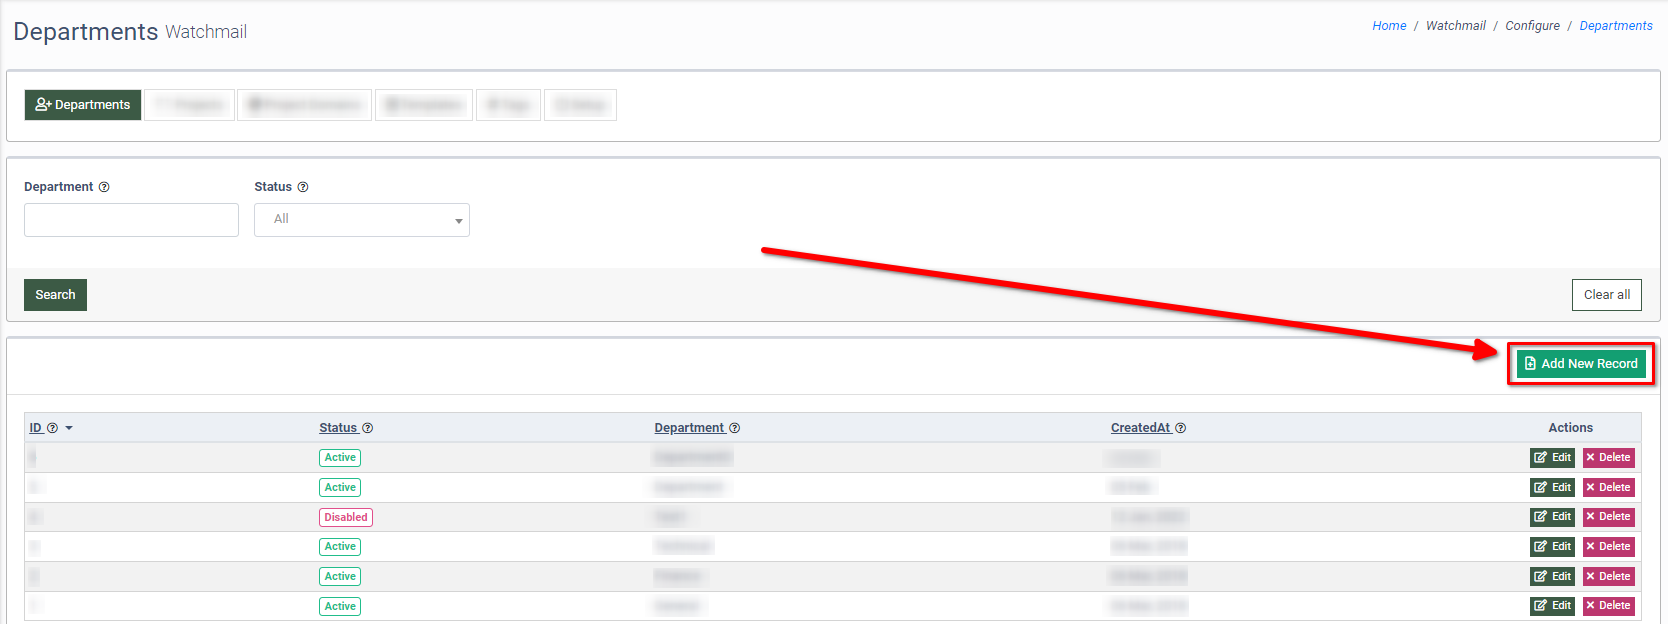
To add a new department to the list, click the “Add New Record” button.
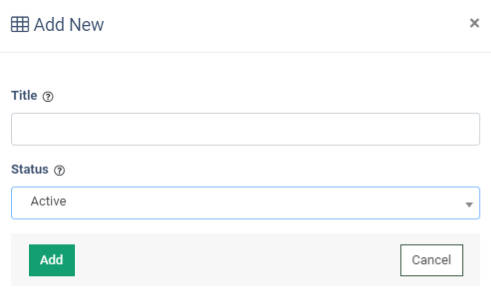
Fill in the following fields in the “Add New” pop-up window:
- Title: Enter the name of the Department.
- Status: Select the status of the Department (Active, Disabled).
Click the “Add” button to complete the action, or click the “Cancel’’ button to close the window.
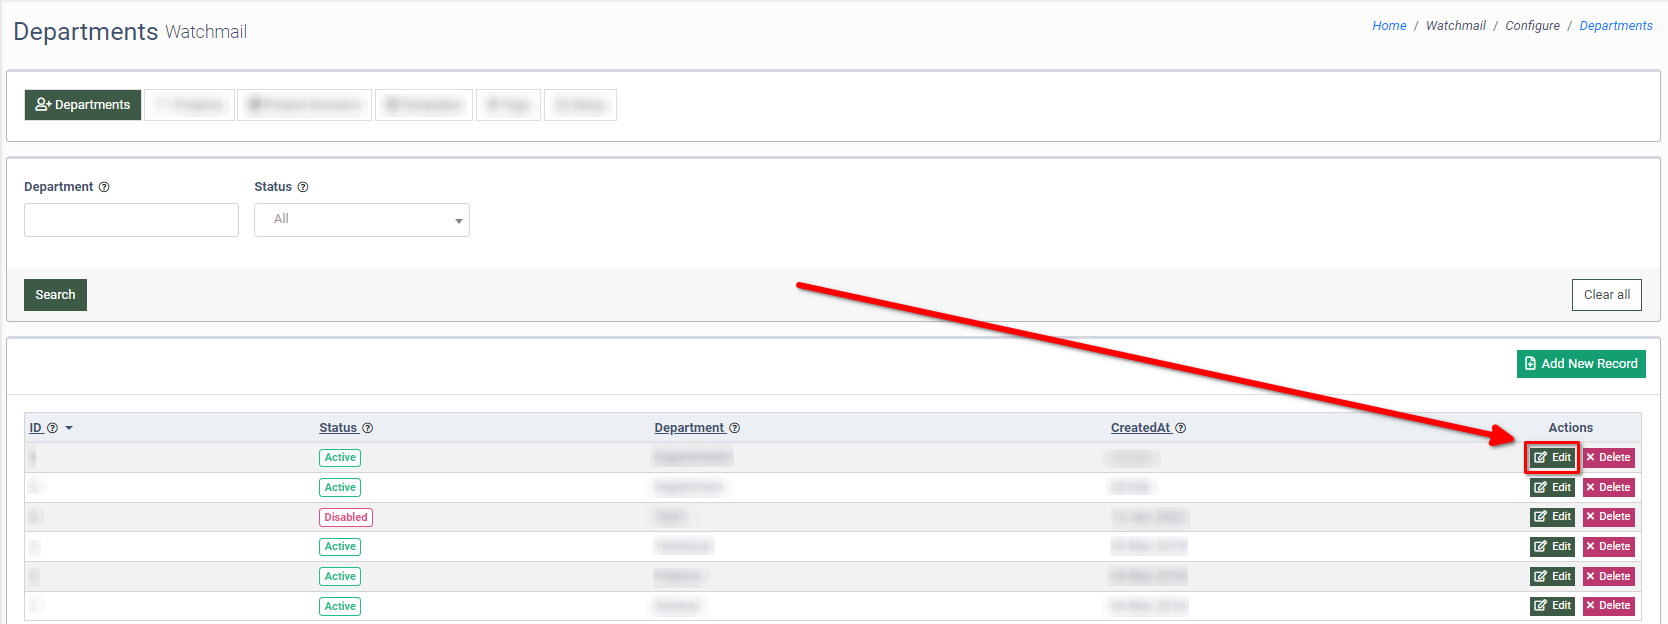
To configure the title and status of the Department, click the “Edit” button in the “Actions” column.
Complete the configuration in the “Edit” pop-up window and click the “Save” button to confirm, or click the “Cancel” button to close the window.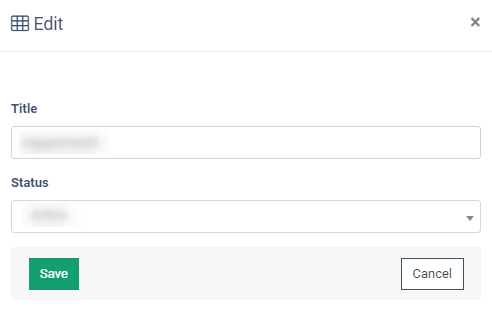
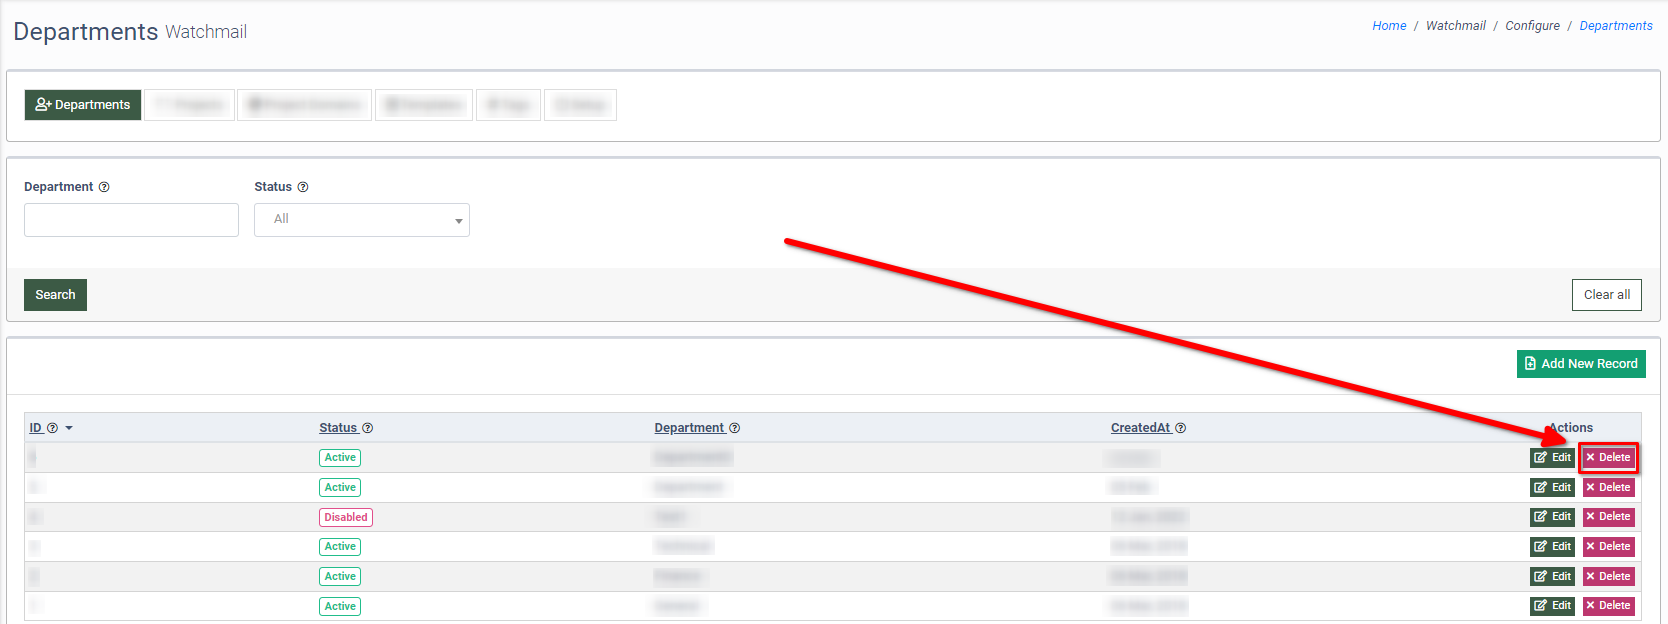
To delete the Department, click the “Delete” button in the “Actions” column.
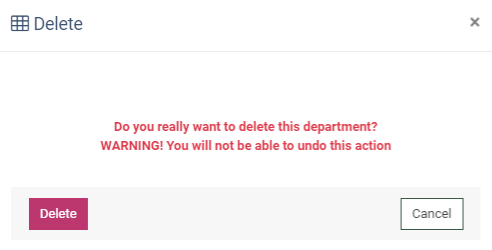
In the “Delete” pop-up window, click the “Delete” button to complete the action or click the “Cancel” button to close the window.
Projects Tab
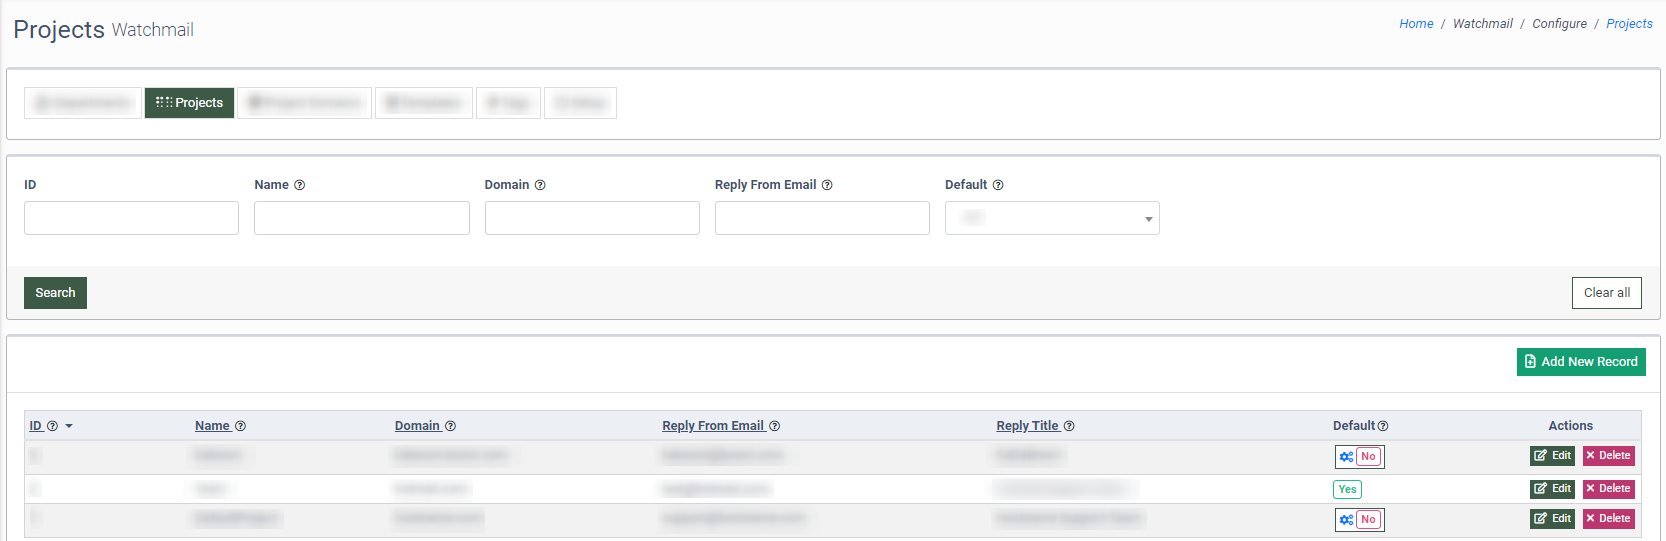
To view and manage the list of projects, go to the “Projects” tab.
You can narrow down the search results by using the following filters:
- ID: Enter the identification number of the Project.
- Name: Enter any string or number value related to the Project`s name.
- Domain: Enter any string or number value related to the domain`s name.
- Reply From Email: Enter any string or number value related to the email address from which the reply is sent.
- Default: Select the primary setting of the Project (Active, Disabled).
The list of Projects contains the following information:
- ID: The unique identification number of the Project.
- Name: The name of the Project.
- Domain: The domain`s name that is related to the Project.
- Reply From Email: The email address from which the reply is sent.
- Reply Title: The title of the reply.
- Default: The indication if the Project is set as primary (Yes/No).
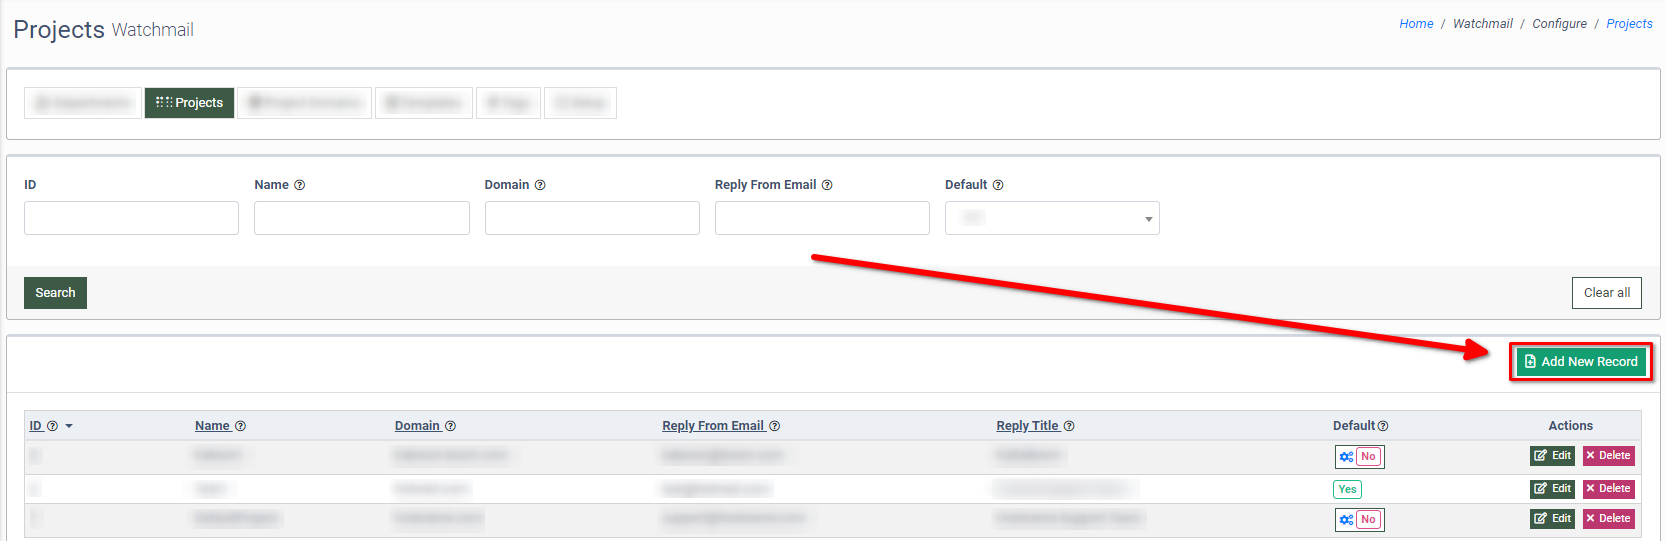
To add a new Project, click the “Add New Record” button.
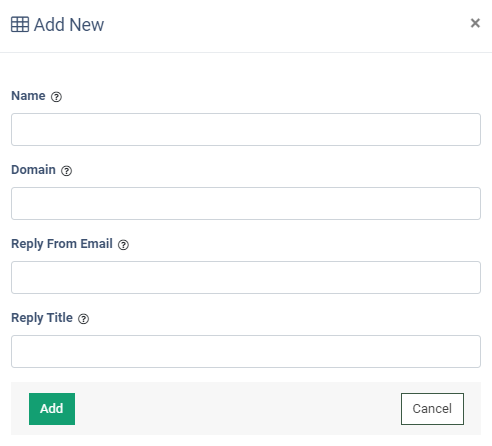
In the “Add New” pop-up window, fill in the following fields:
- Name: Enter the name of the Project.
- Domain: Enter the domain’s name. Note: You cannot use the same domain name for multiple Projects.
- Reply From Email: Enter the email address from which the reply is sent. Note: You cannot use the same email for multiple Projects.
- Reply Title: Enter the title of the reply.
Click the “Add” button to complete the action, or click the “Cancel” button to close the window.
To configure the Project, click the “Edit” button in the “Actions” column.
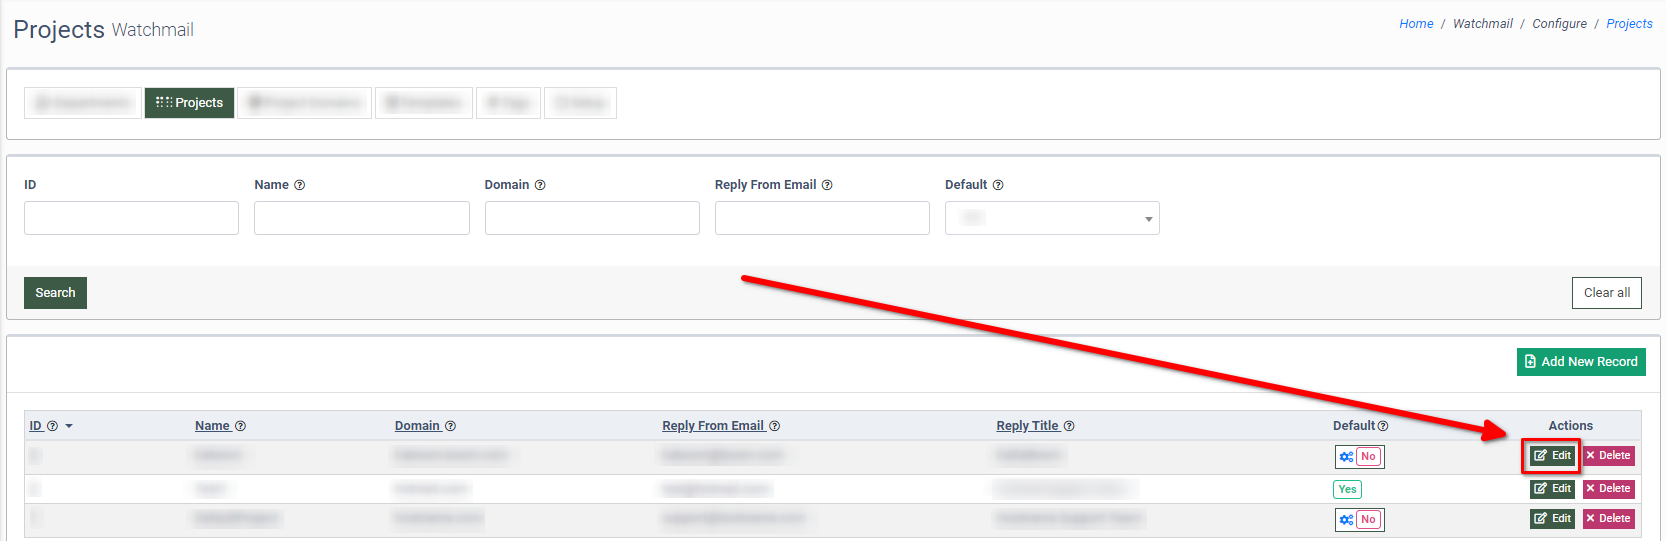
Configure the required fields in the “Edit” pop-up window and click the “Add” button to complete the action, or click the “Cancel” button to close the window.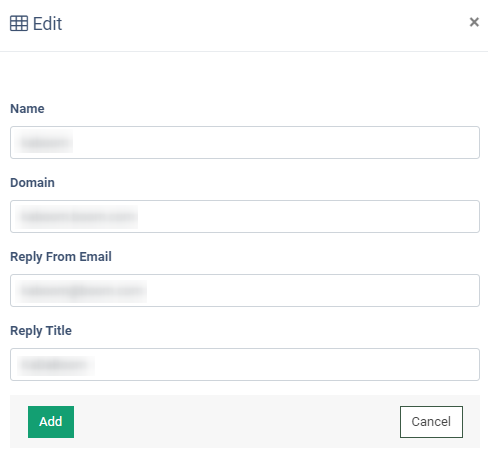
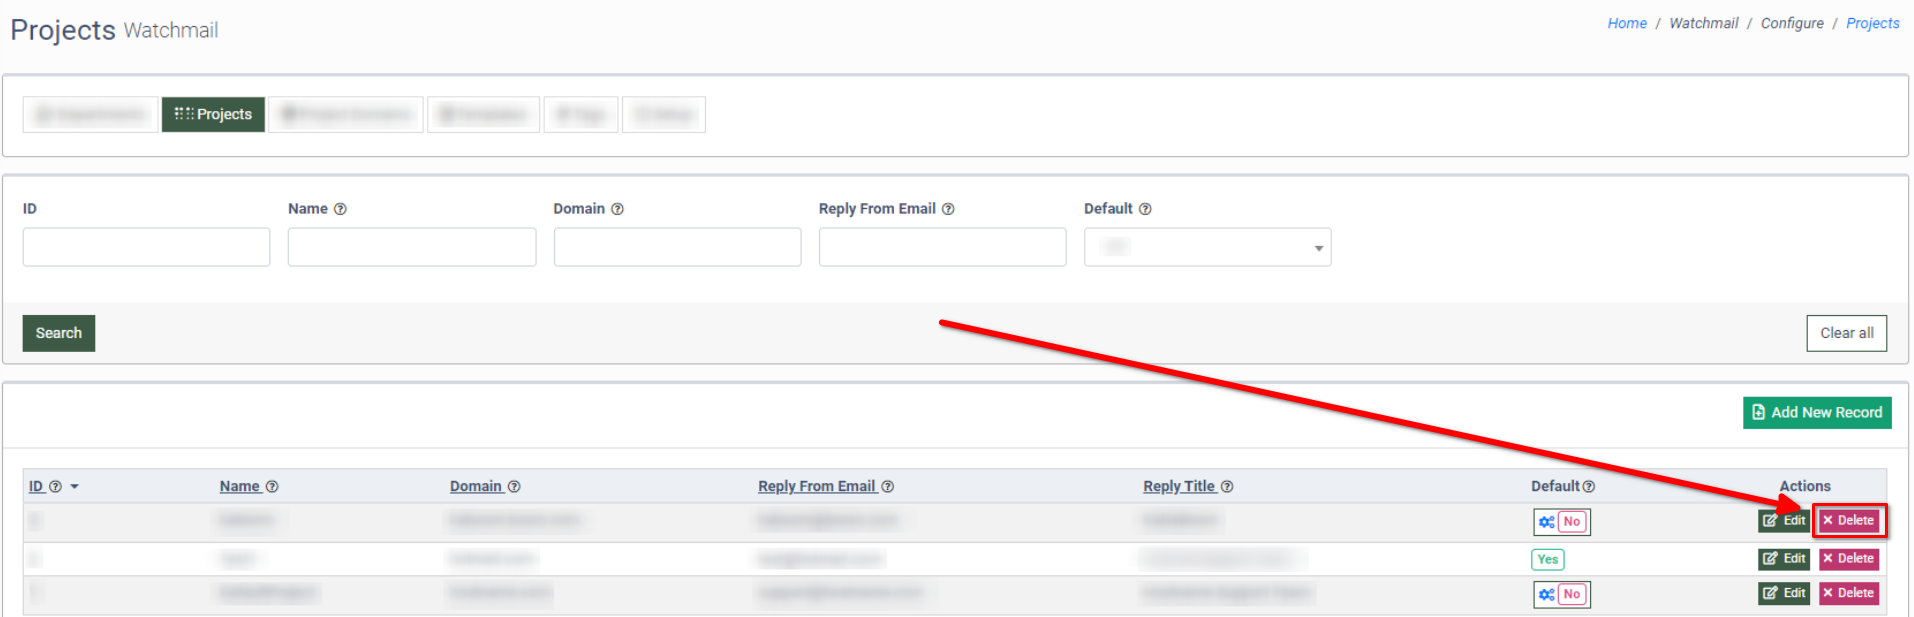
To delete the Project, click the “Delete” button in the “Actions” column.
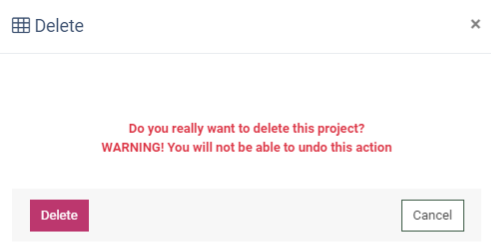
In the “Delete” pop-up window, click the “Delete” button to confirm or click the “Cancel” button to close the window.
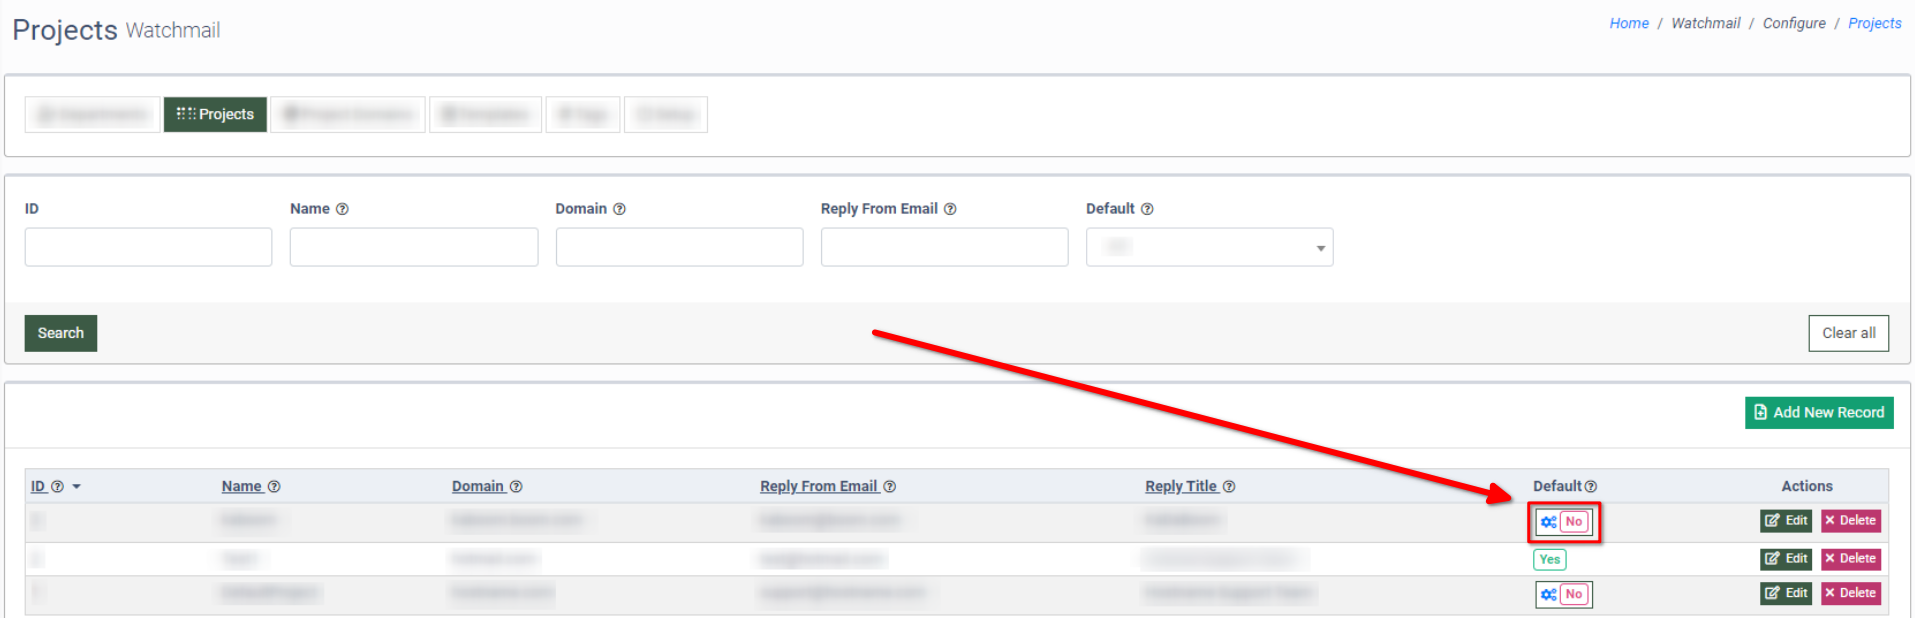
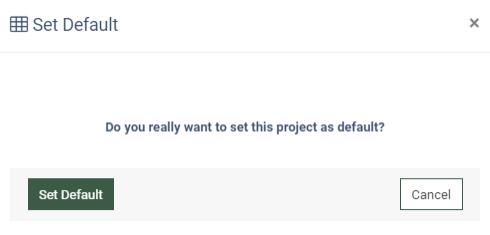
To set the project as primary, click the “No” button in the “Default” column.
In the “Set Default” pop-up window, click the “Set Default” button to confirm the action or click the “Cancel” button to close the window.
Project Domains Tab
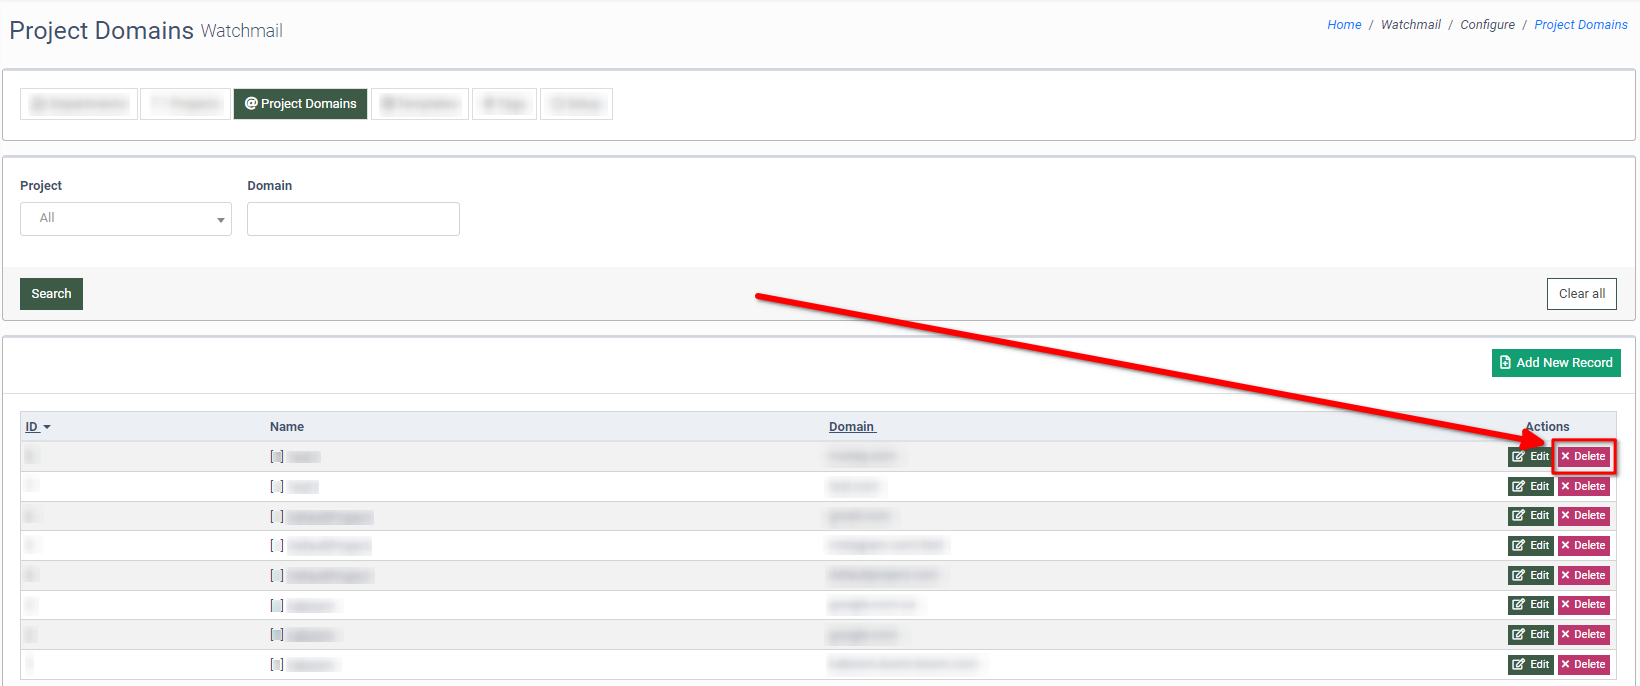
To view and manage domain names related to the specific Project, go to the “Project Domains” tab.

You can narrow down the search results by using the following filters:
- Project: Select the Project from the drop-down list.
- Domain: Enter any string or number value related to the domain`s name.
The Project Domains list contains the following information:
- ID: The identification number of the domain.
- Name: The ID number and name of the Project the domain is related to.
- Domain: The domain`s name.
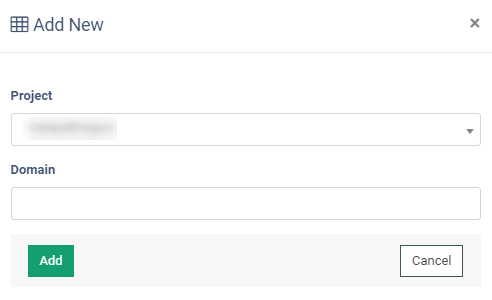
To add a new domain to the Project, click the “Add New Record” button.
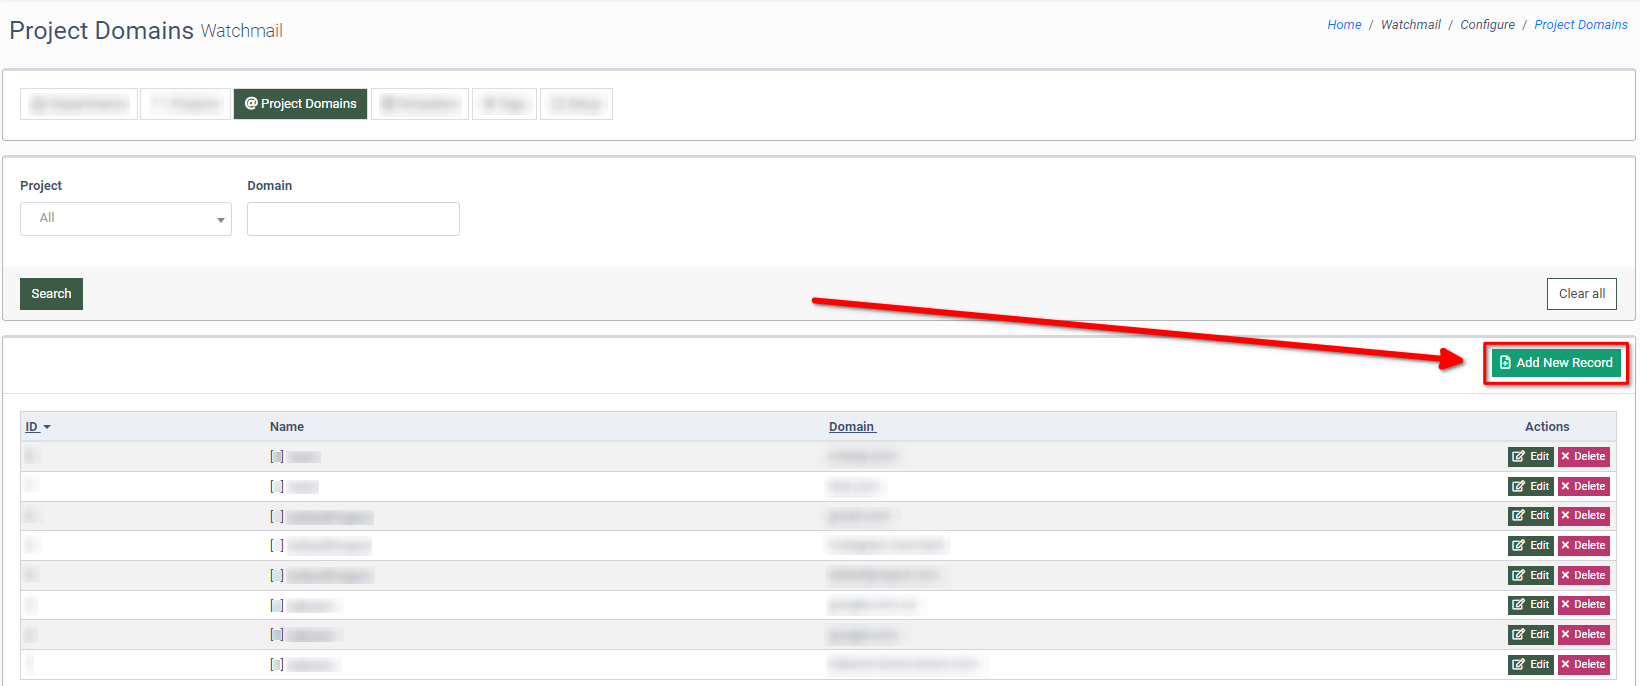
In the “Add New” pop-up window, fill in the following information:
- Project: Select the Project to which the domain will be related.
- Domain: Enter the domain`s name. Note: You cannot use the same domain name for multiple Projects.
Click the “Add” button to complete the action, or click the “Cancel” button to close the window.
To configure the domain name or change the Project to which the domain name will be related, click the “Edit” button in the “Actions” column.
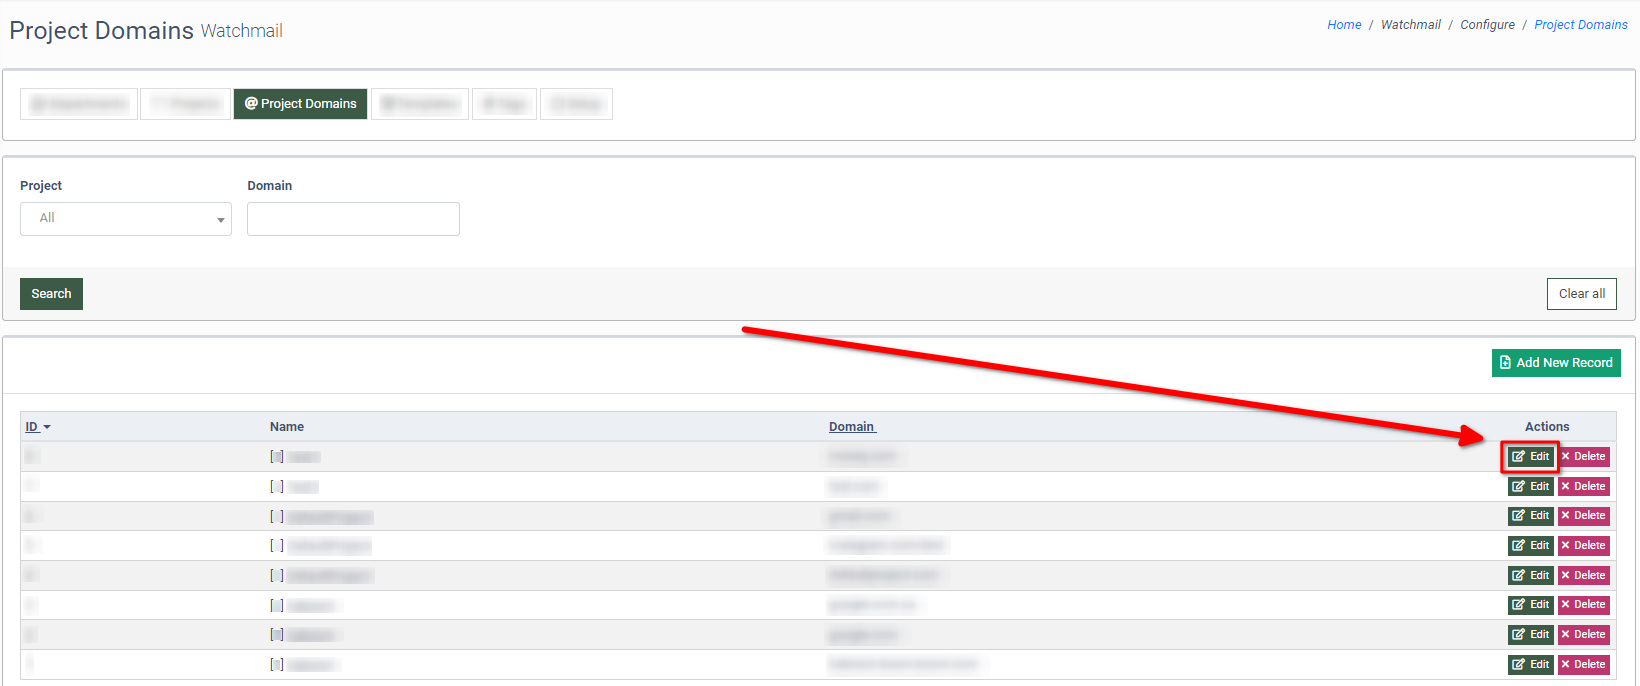
Complete the configuration in the “Edit” pop-up window and click the “Update” button to confirm the action, or click the “Cancel” button to close the window.
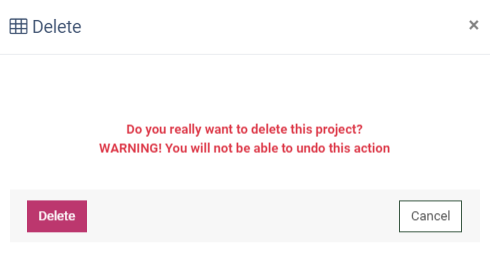
To remove the domain from the list, click the “Delete” button in the “Actions” column.
Click the “Delete” button in the “Delete” pop-up window to confirm the action, or click the “Cancel” button to close the window.
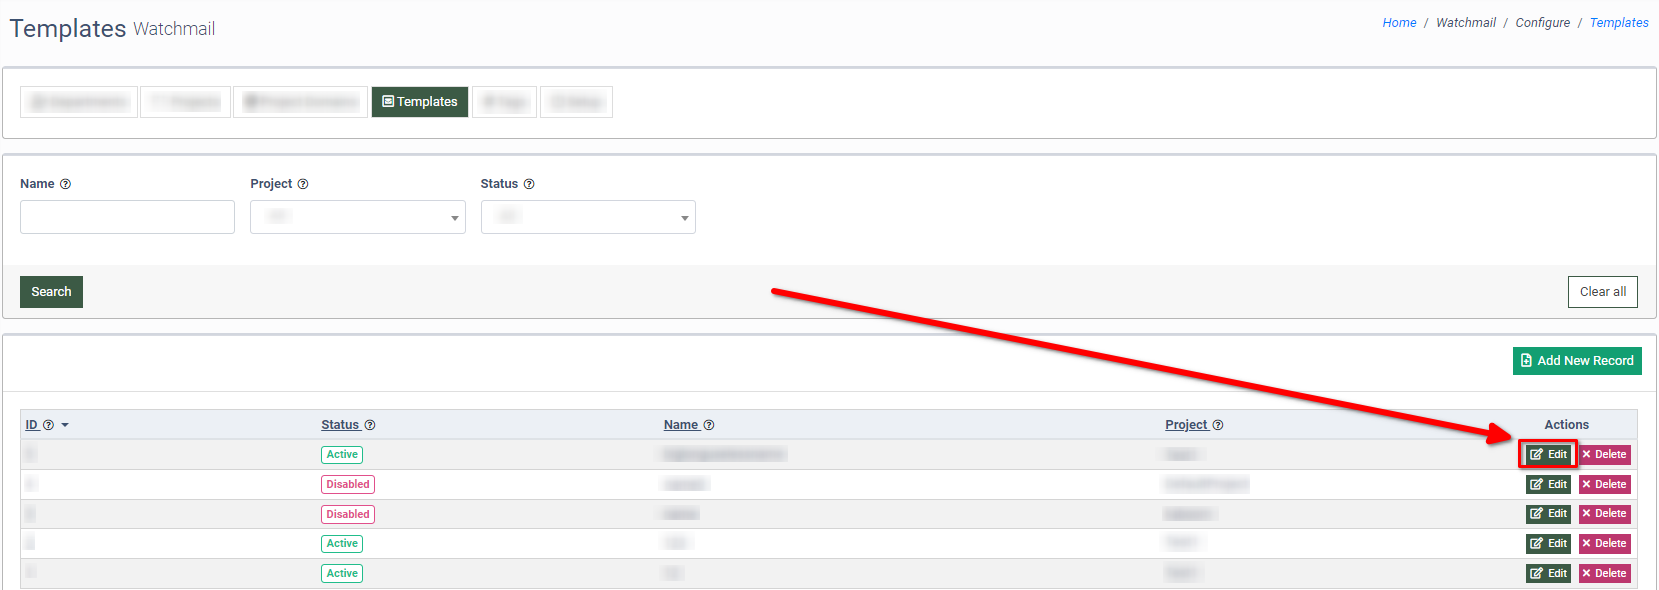
Templates Tab
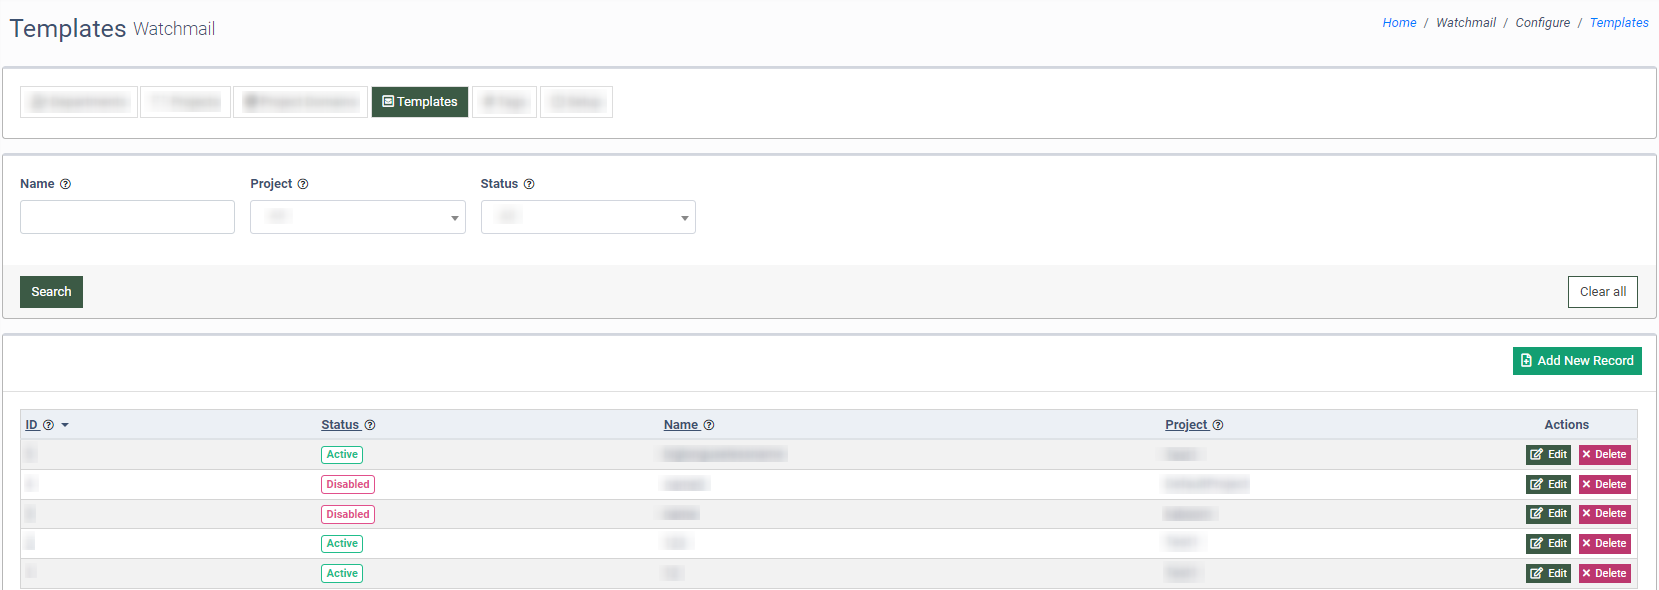
To view and manage the templates, go to the “Templates” tab.
You can narrow down the search results by using the following filters:
- Name: Enter any string or number value related to the name of the template.
- Project: Select the Project.
- Status: Select the status (Active, Disabled).
The list of templates contains the following information:
- ID: The unique identification number of the template.
- Status: The status of the template (Active, Disabled).
- Name: The name of the template.
- Project: The name of the related Project.
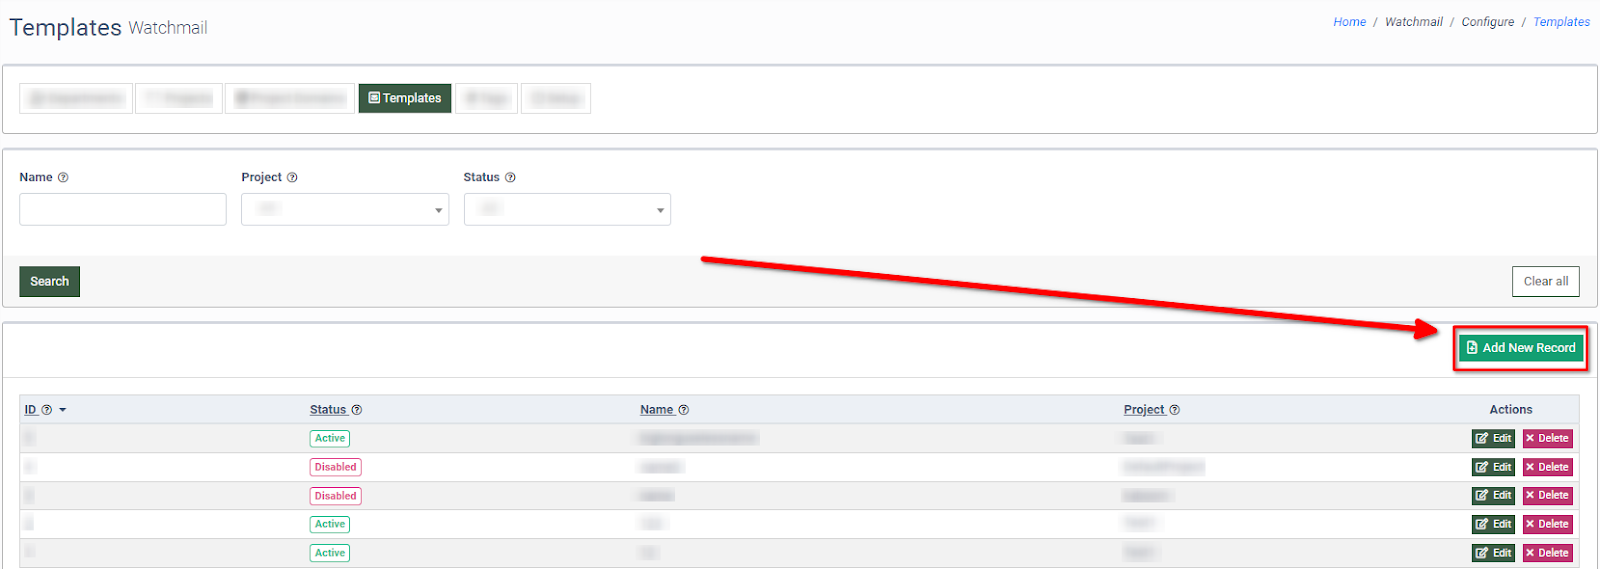
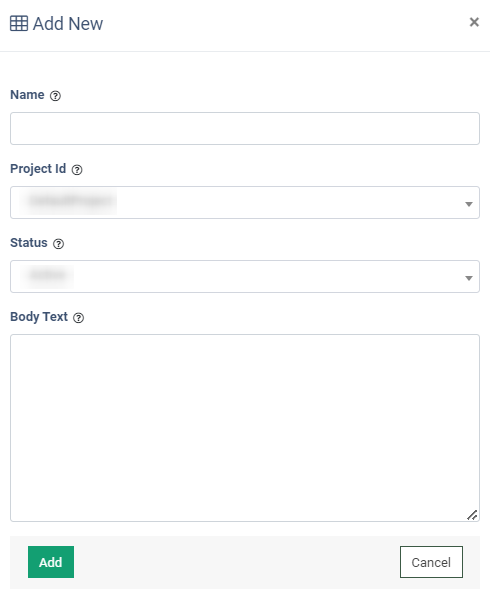
To add a new template to the list, click the “Add New Record” button.
In the “Add New” pop-up window, fill in the following fields:
- Name: Enter the name of the template.
- Project Id: Select the name of the related project.
- Status: Select the status of the template (Active, Disabled).
- Body Text: Enter the additional information.
Click the “Add” button to complete the action, or click the “Cancel” button to close the window.
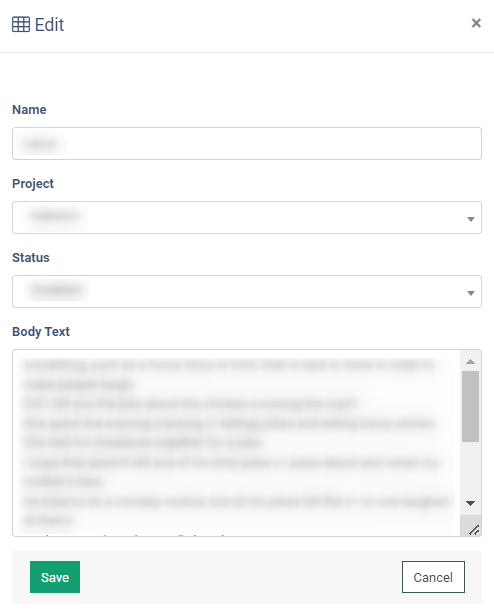
To configure the template, click the “Edit” button in the “Actions” column.
Complete the configuration in the “Edit” pop-up window and click the “Save” button to confirm, or click the “Cancel” button to close the window.
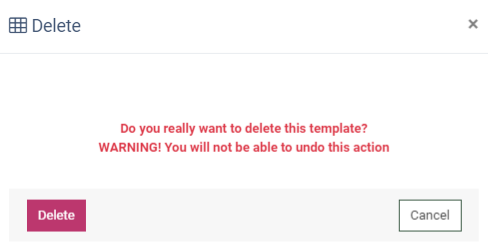
To remove the template from the list, click the “Delete” button in the “Actions” column.
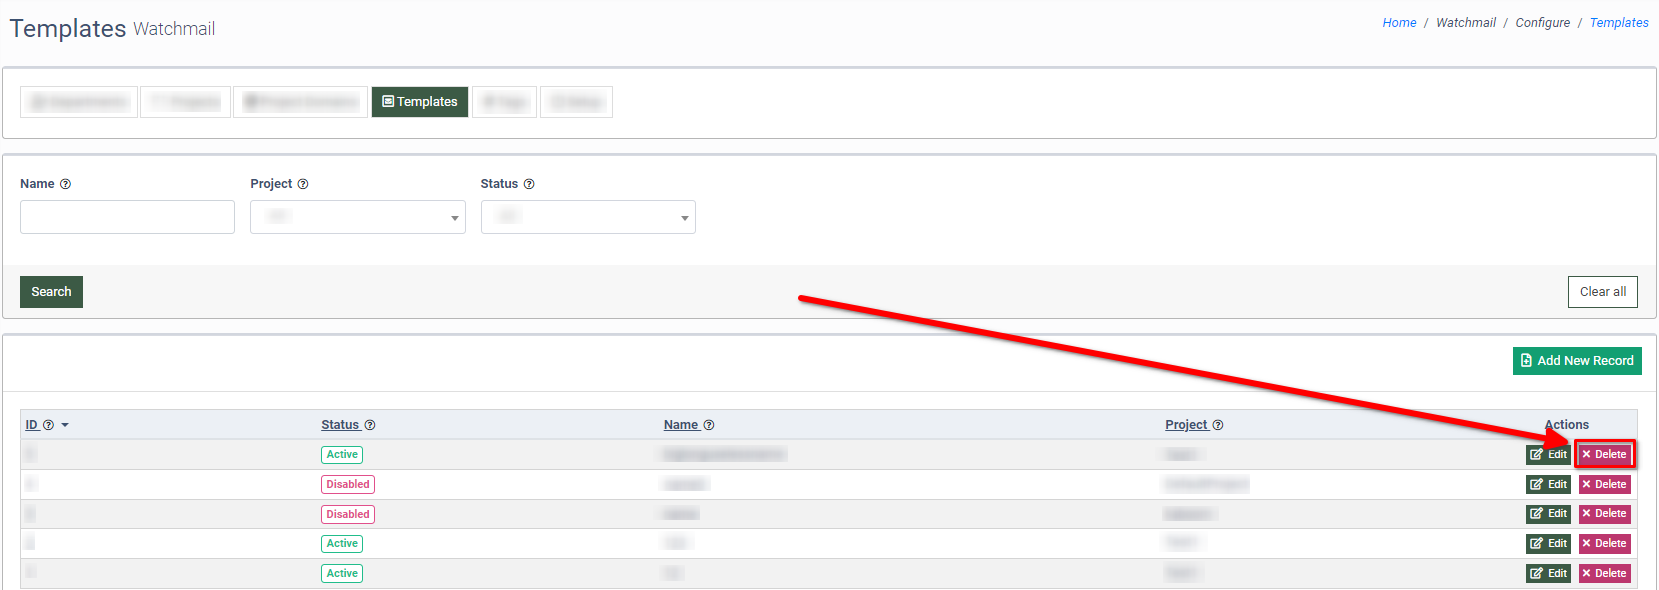
In the “Delete” pop-up window, click the “Delete” button to confirm the action or click the “Cancel” button to close the window.
Tags Tab
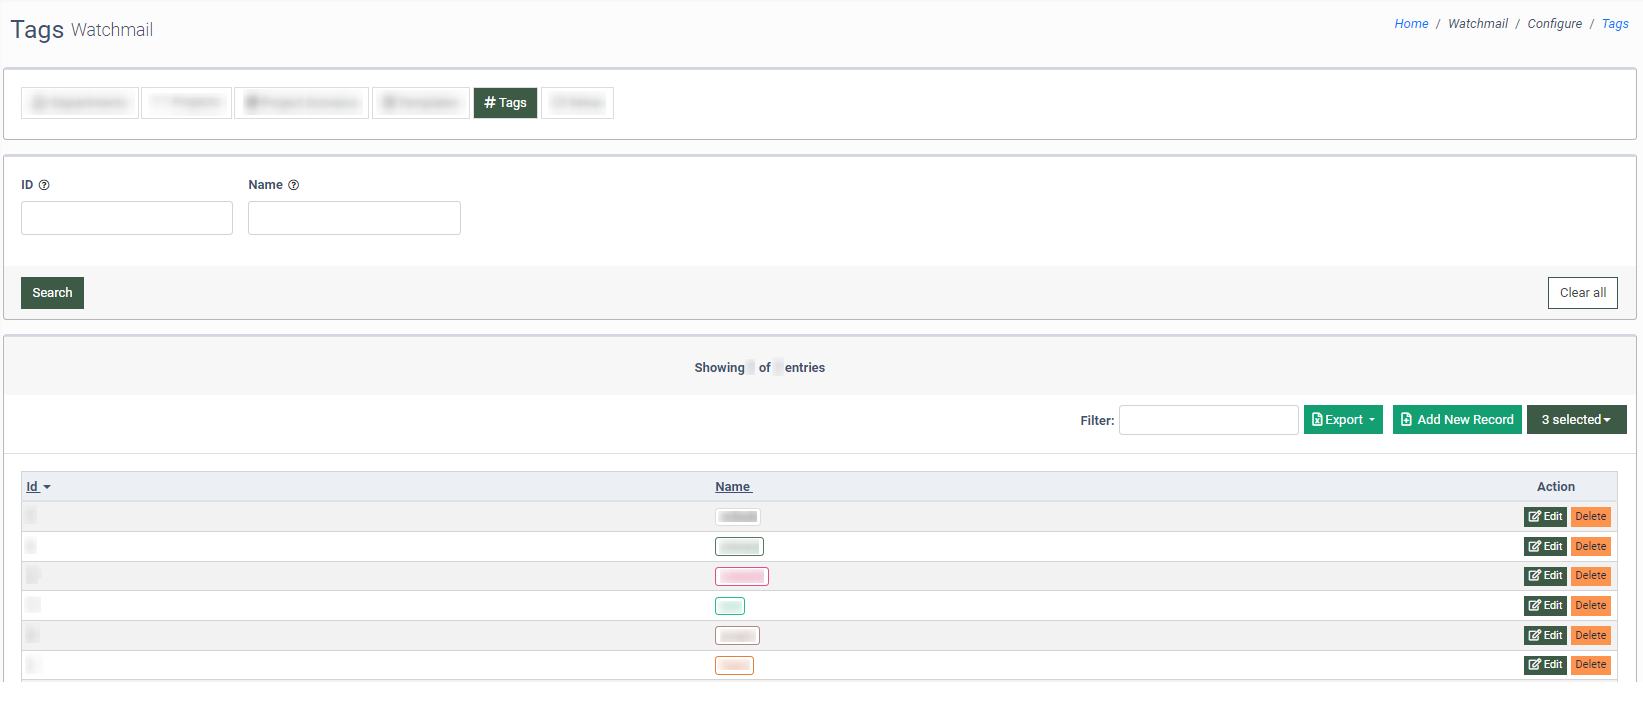
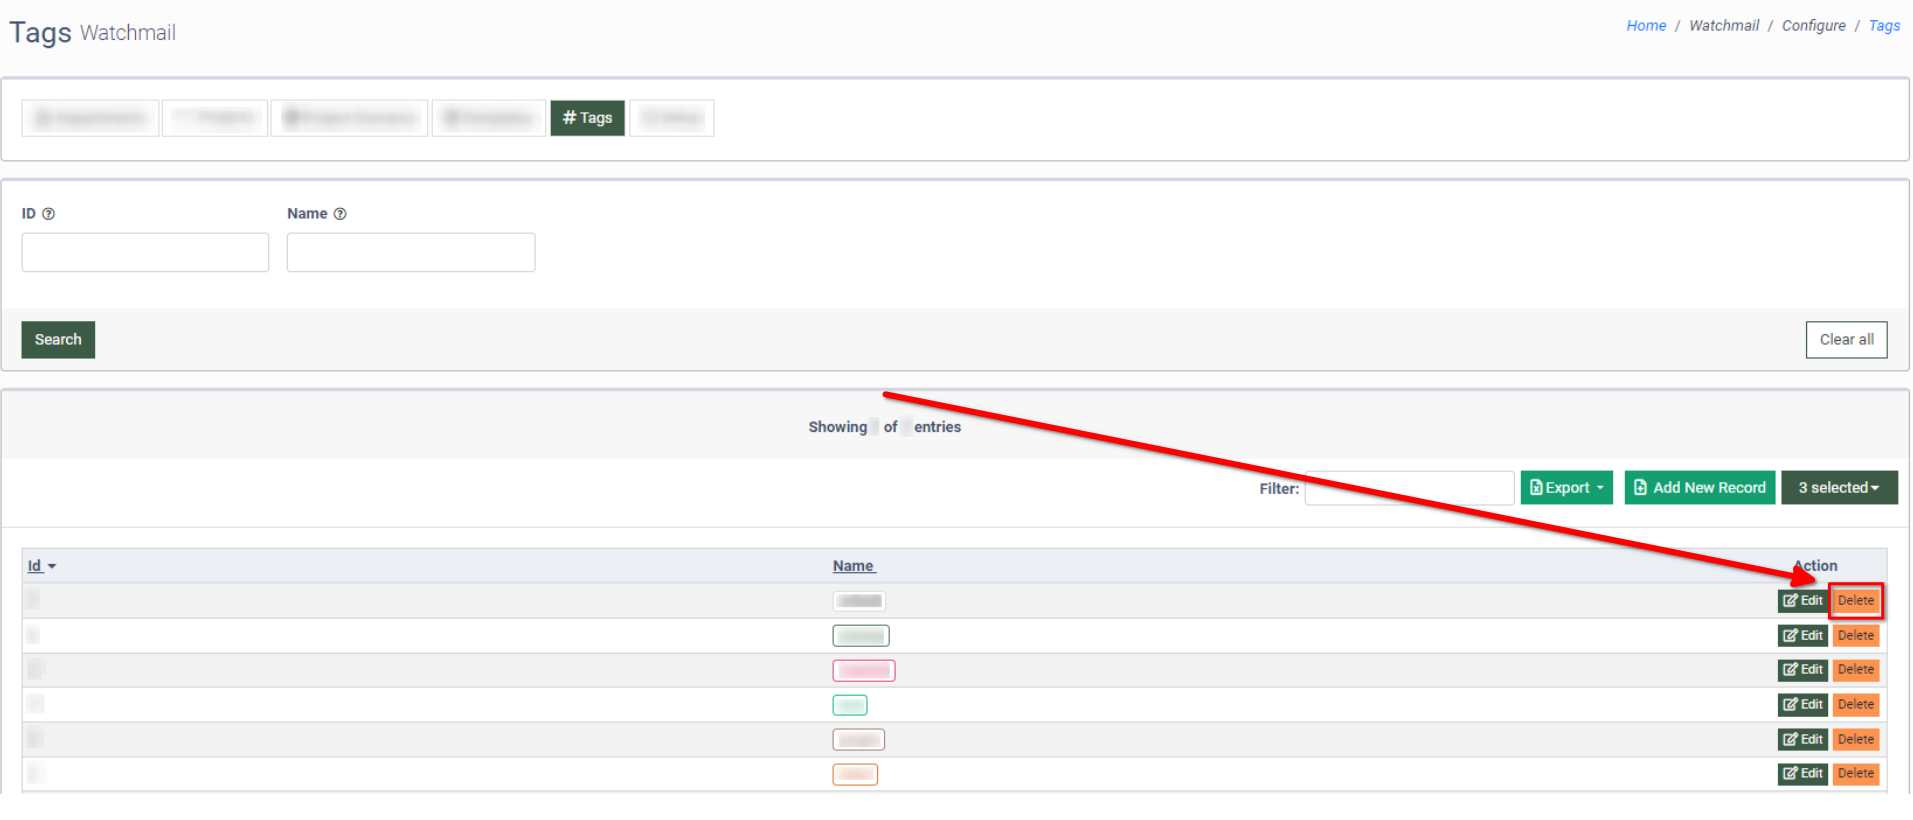
To view and manage the list of tags, go to the “Tags” tab.
You can narrow down the search results by using the following filters:
- ID: Enter the unique identification number of the tag.
- Name: Enter any string or number value related to the tag`s name.
The list of tags contains the following information:
- ID: The unique identification number of the tag.
- Name: The tag`s name.
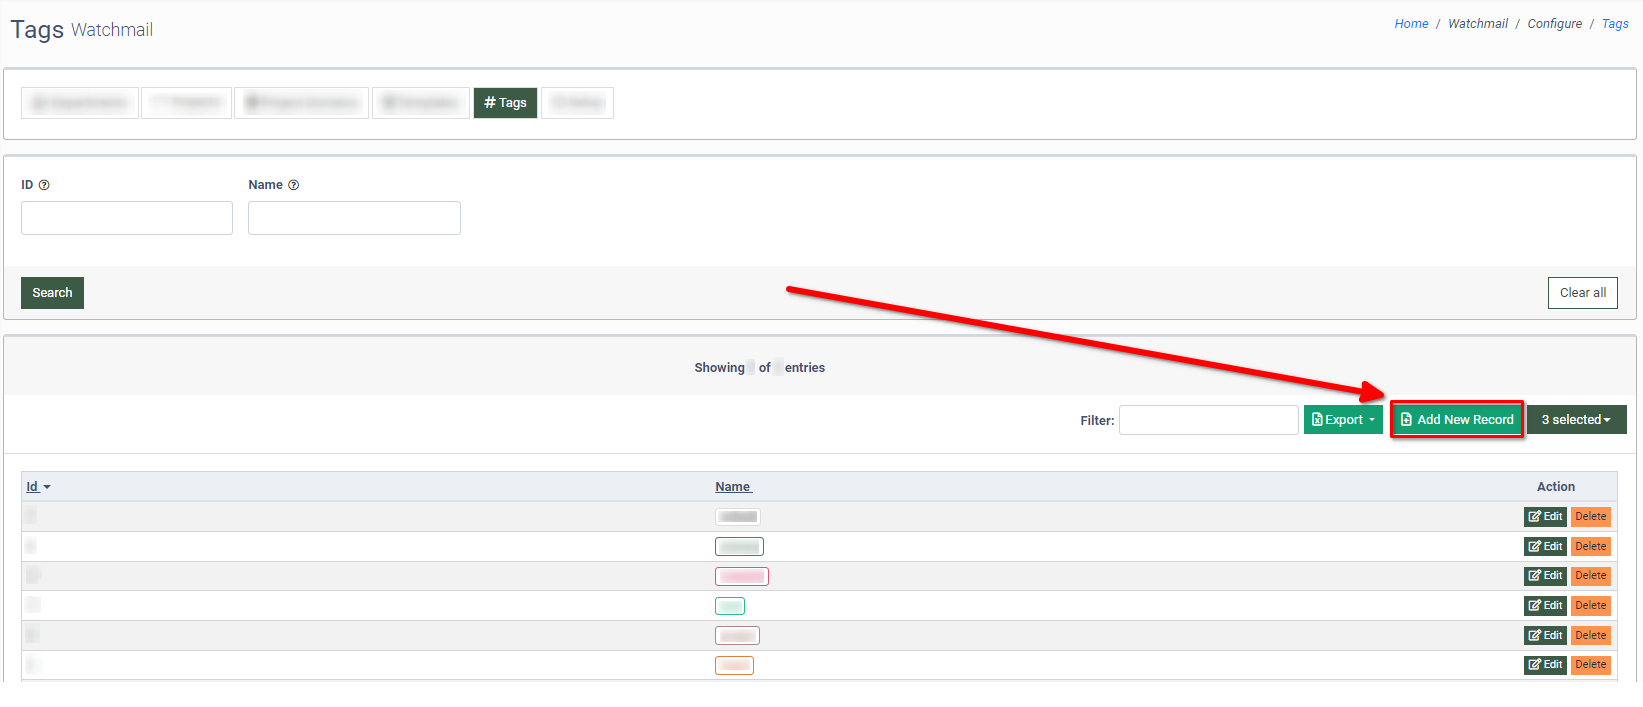
To add a new tag to the list, click the “Add New Record” button.
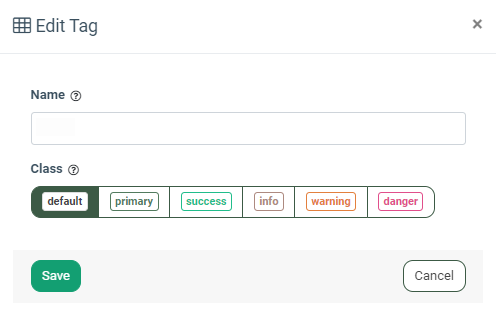
 In the “Add New” pop-up window, fill in the following fields:
- Name: Enter the name of the tag.
- Class: Select the class from the list (default, primary, success, info, warning, danger).
Click the “Save” button to complete the action, or click the “Cancel” button to close the window.

To configure the tag, click the “Edit” button in the “Actions” column.
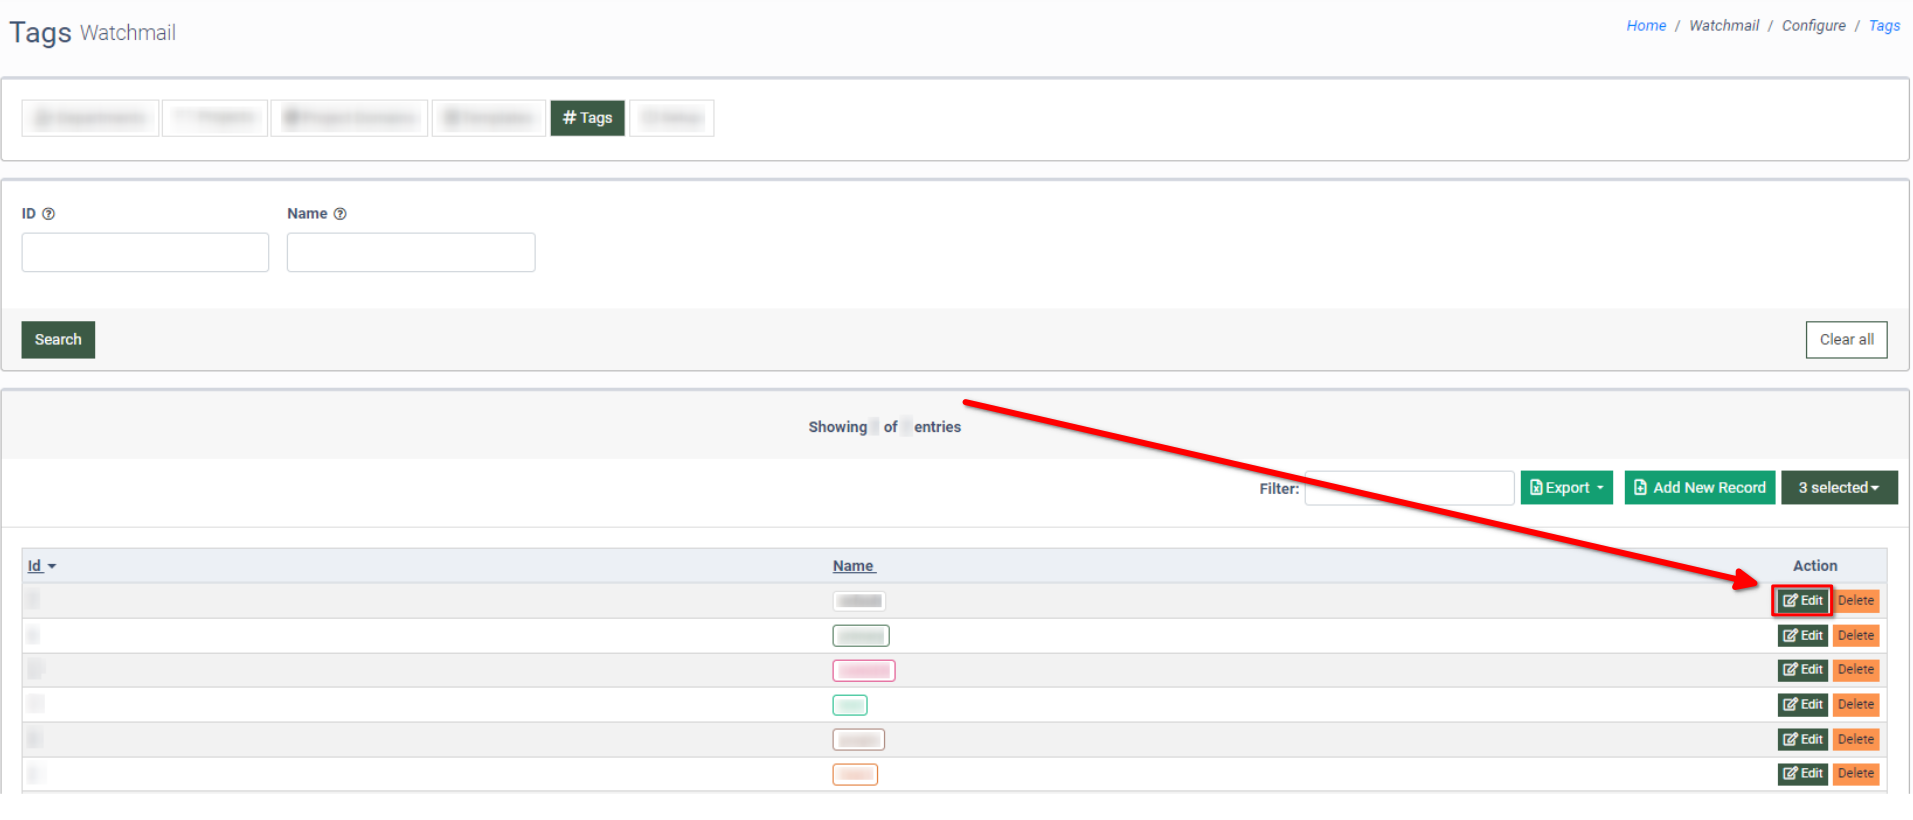
In the “Edit Tag” pop-up window, complete the actions and click the “Save” button to confirm the action or click the “Cancel” button to close the window.
 To remove the tag from the list, click the “Delete” button in the “Actions” column.
In the “Delete Row” pop-up window, enter “Yes” in the “Please, enter `Yes` below to confirm your deletion” field, and click the “Delete” button to confirm the action, or click the “Cancel” button to close the window.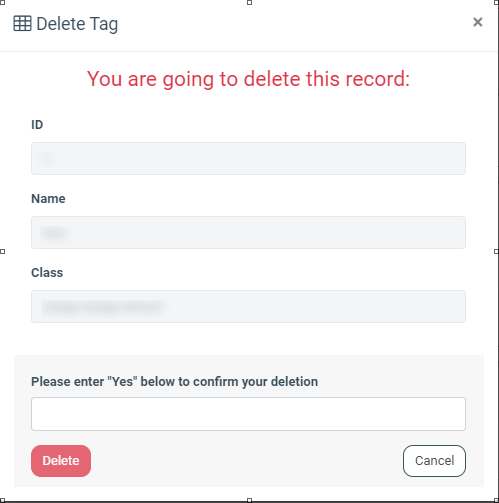
Setup Tab
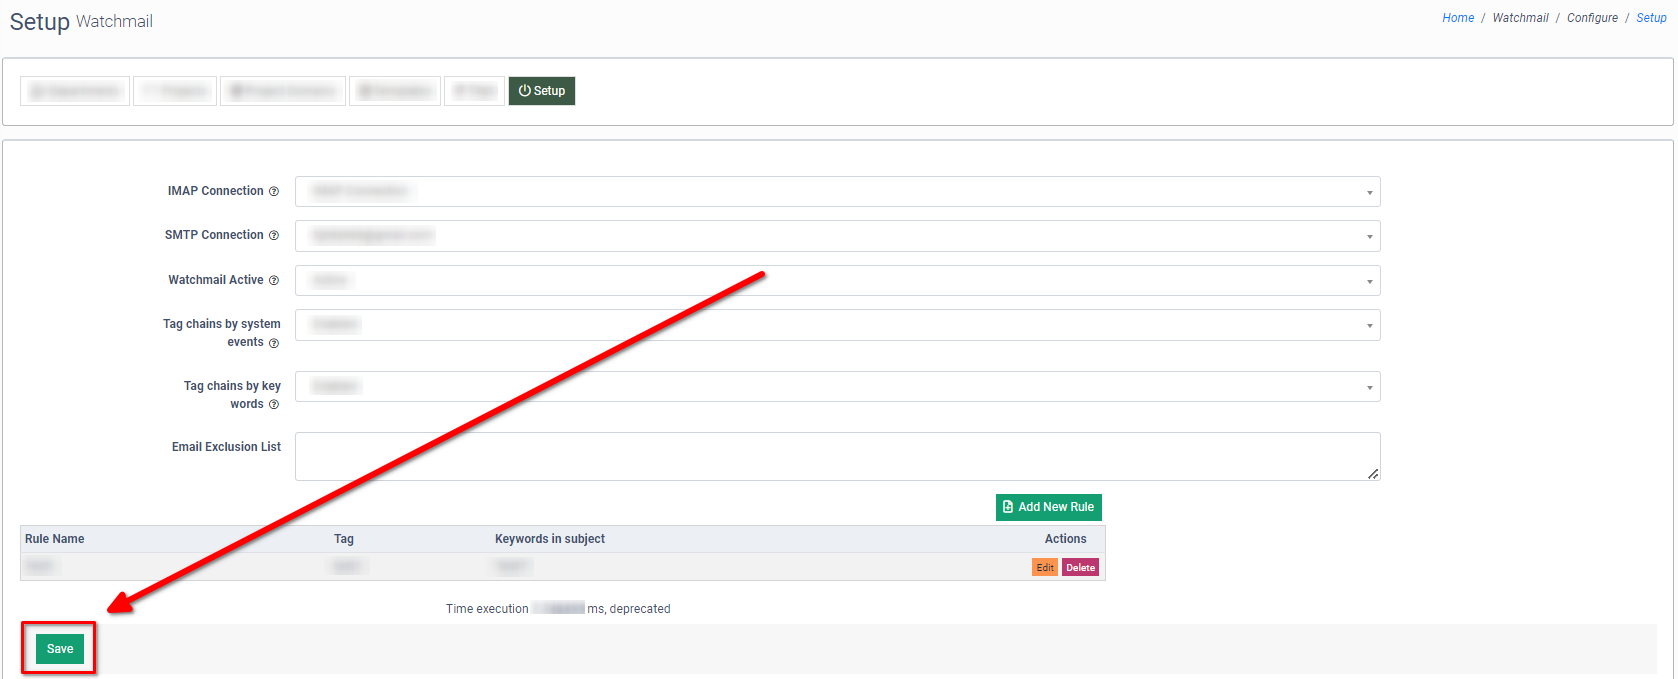
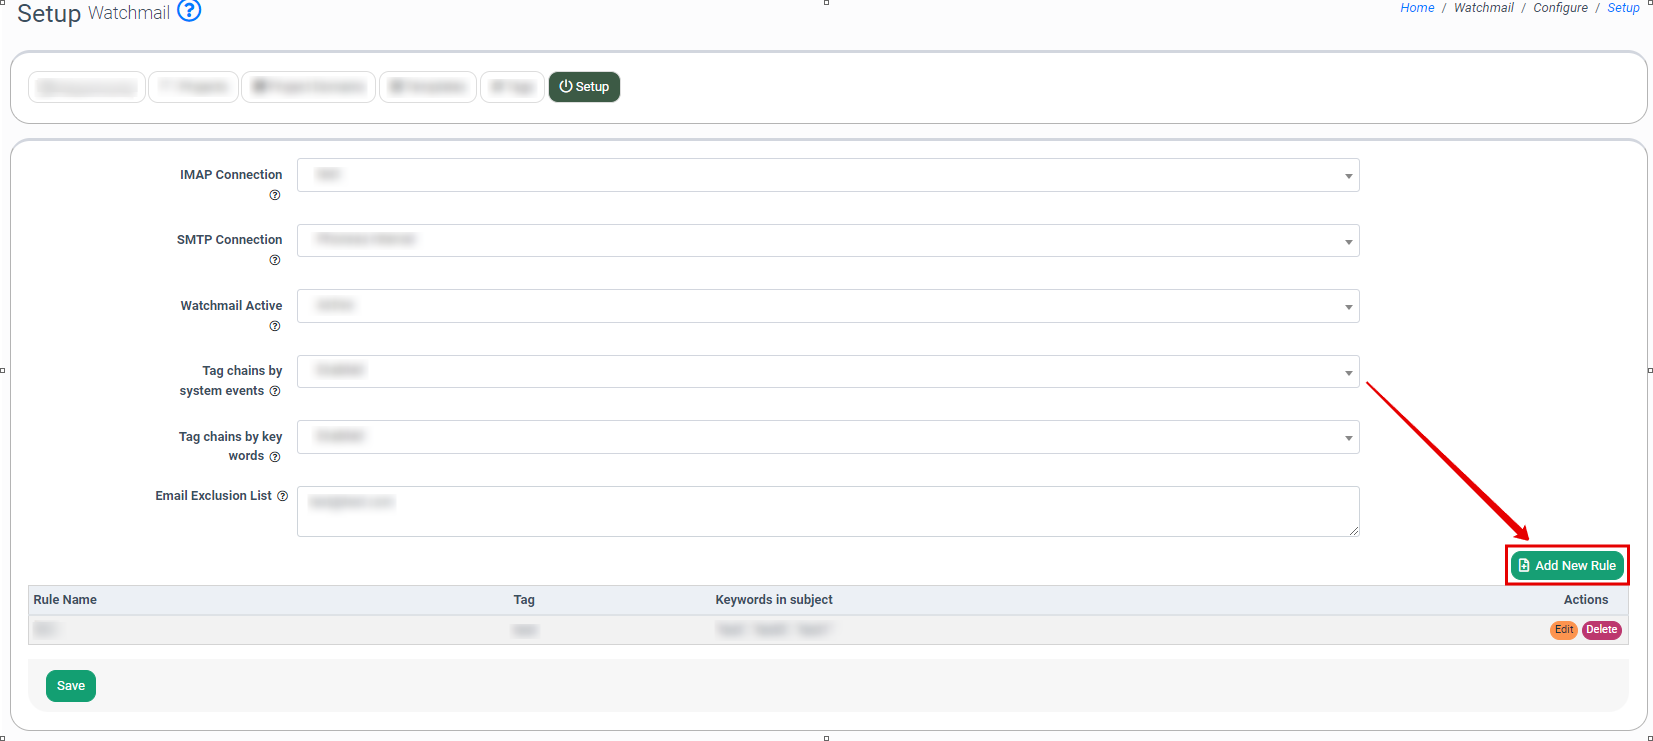
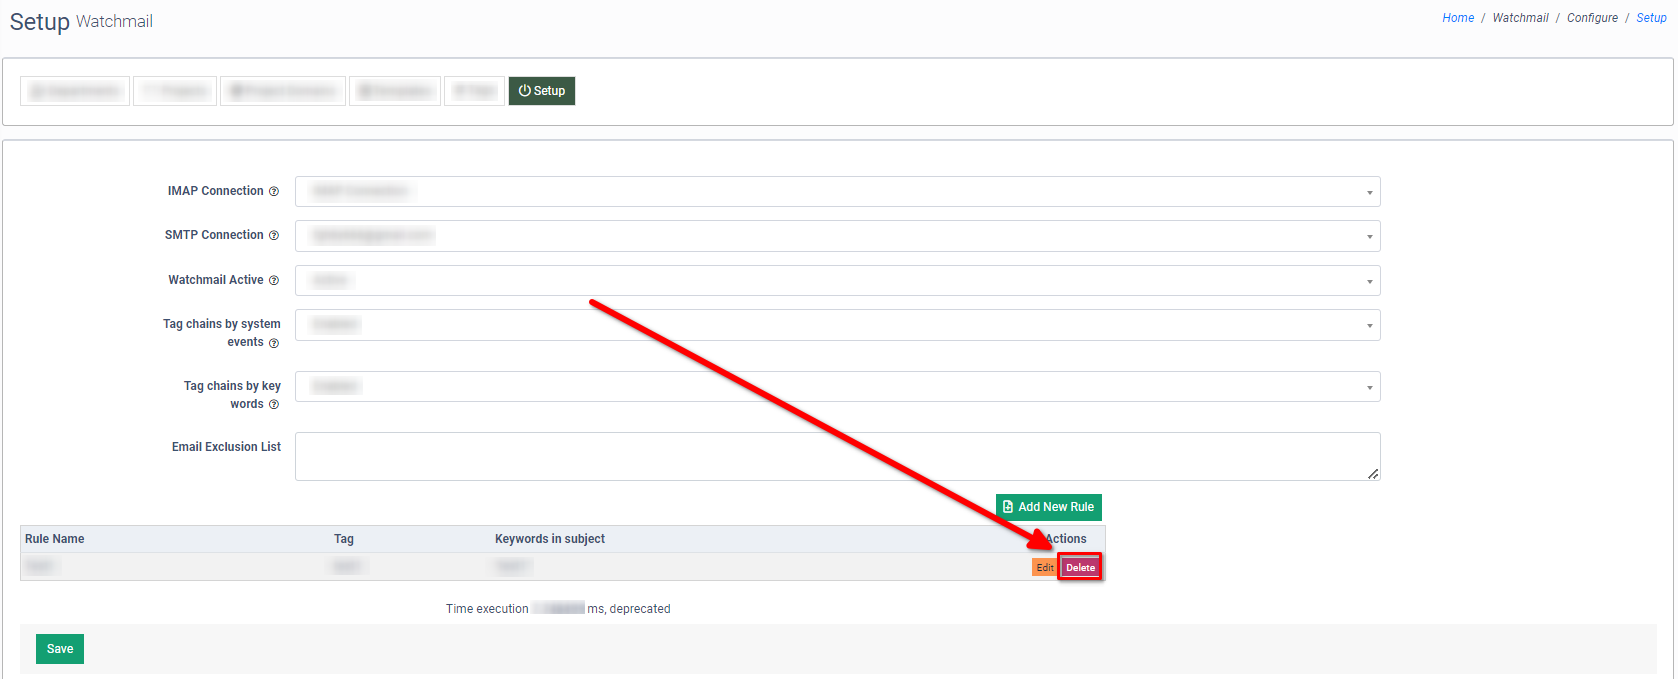
To activate the Watchmail feature and manage the connection settings, go to the “Setup” tab.
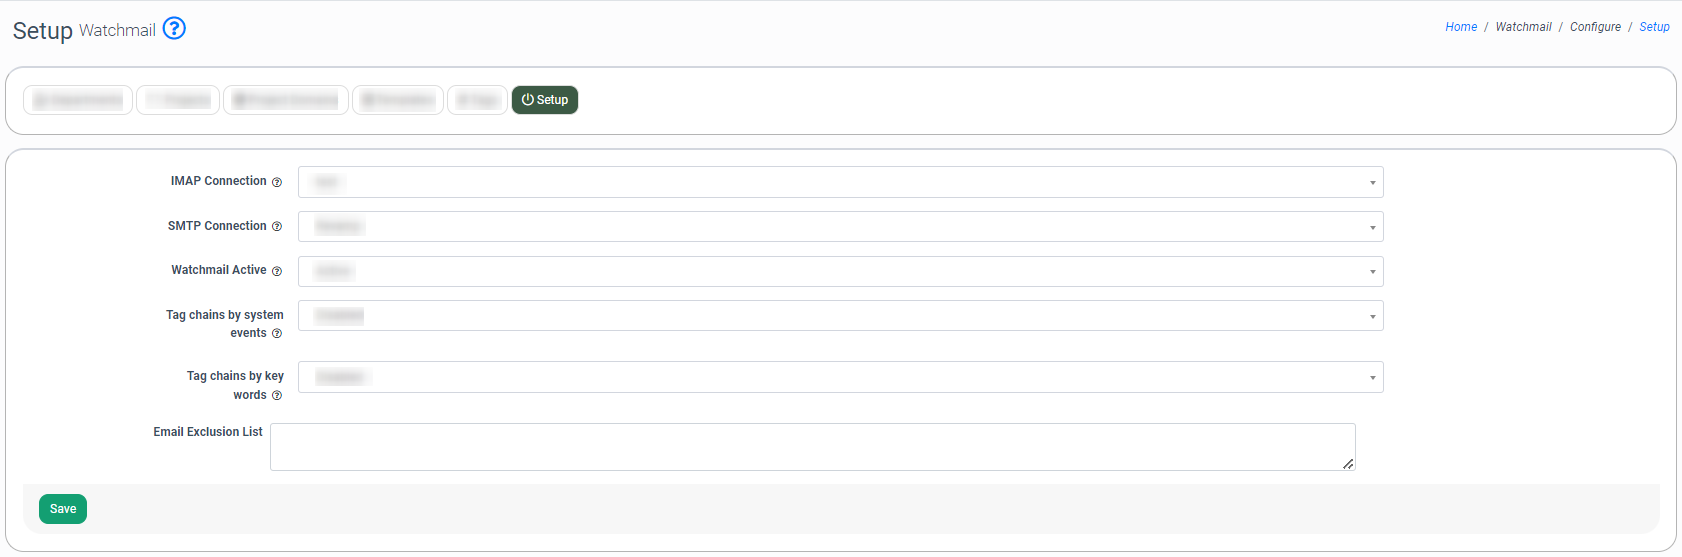 Fill in the following fields to configure and set up the Watchmail feature:
- IMAP Connection: Select the IMAP server account. Read more about Connection Settings in our Knowledge Base article.
- SMTP Connection: Select the SMTP server account. Read more about Connection Settings in our Knowledge Base article.
- Watchmail Active: Select the “Active” option to enable the Watchmail feature.
- Tag chains by system events: Select the “Enabled” option to tag tickets when the subject matches the system event. Read more about Event Notifications in our Knowledge Base article.
- Tag chains by key words: Select the “Enabled” option to tag tickets when the subject matches the keywords.
- Email Exclusion List: Enter the email address(es) to be added to the exclusion list.
Click the “Save” button to confirm the changes.
You can add a rule where the system compares the ticket subject and the tag to the keywords and adds them to the ticket if the keyword matches the subject. Note: You can add a rule only when the Tag chains by key words is enabled.
To add a rule, click the “Add New Rule” button.
 In the “Add New” pop-up window, fill in the following fields:
- Rule Name: Enter the name of the rule.
- Tag: Enter the name of the tag.
- Keywords in subject: Enter the keywords separated by a comma. Note: The same keyword cannot be used in multiple rules.
Click the “Add” button to complete the action.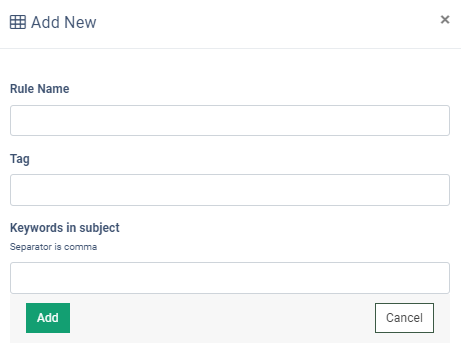
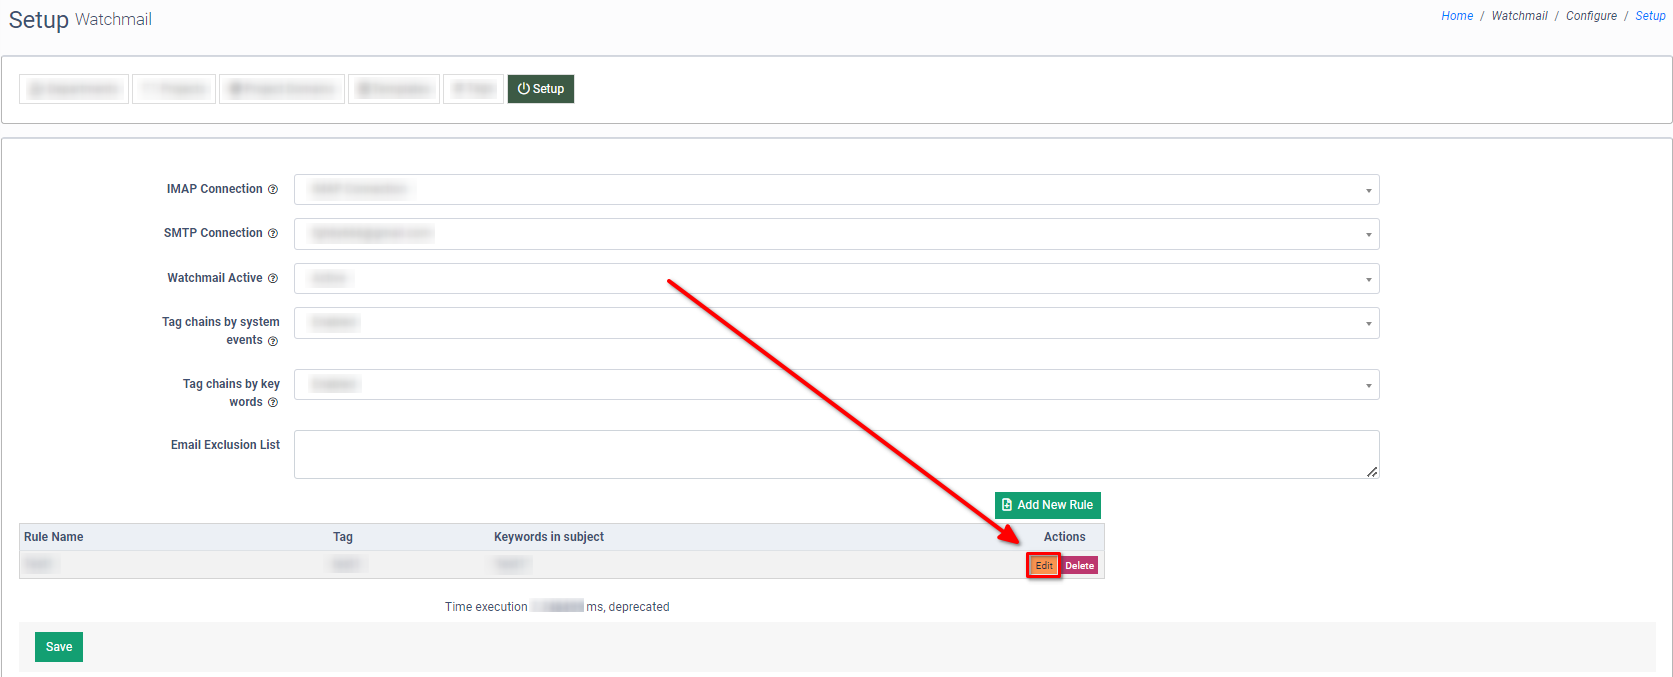
To configure the rule, click the “Edit” button in the “Actions” column.
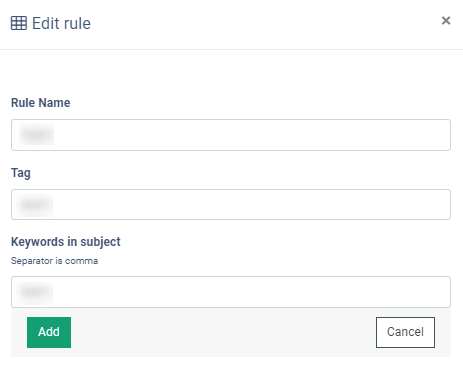
Complete the configuration in the “Edit rule” pop-up window and click the “Add” button to save the changes.
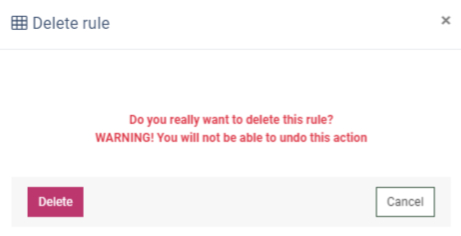
To remove the rule from the system, click the “Delete” button in the “Actions” column.
In the “Delete rule” pop-up window, click the “Delete” button to complete the action or click the “Cancel” button to close the window.
To save the configuration, click the “Save” button.