To open the All Contacts list, go to the List Management > All Contacts section.
This section contains five tabs:
Active Contacts
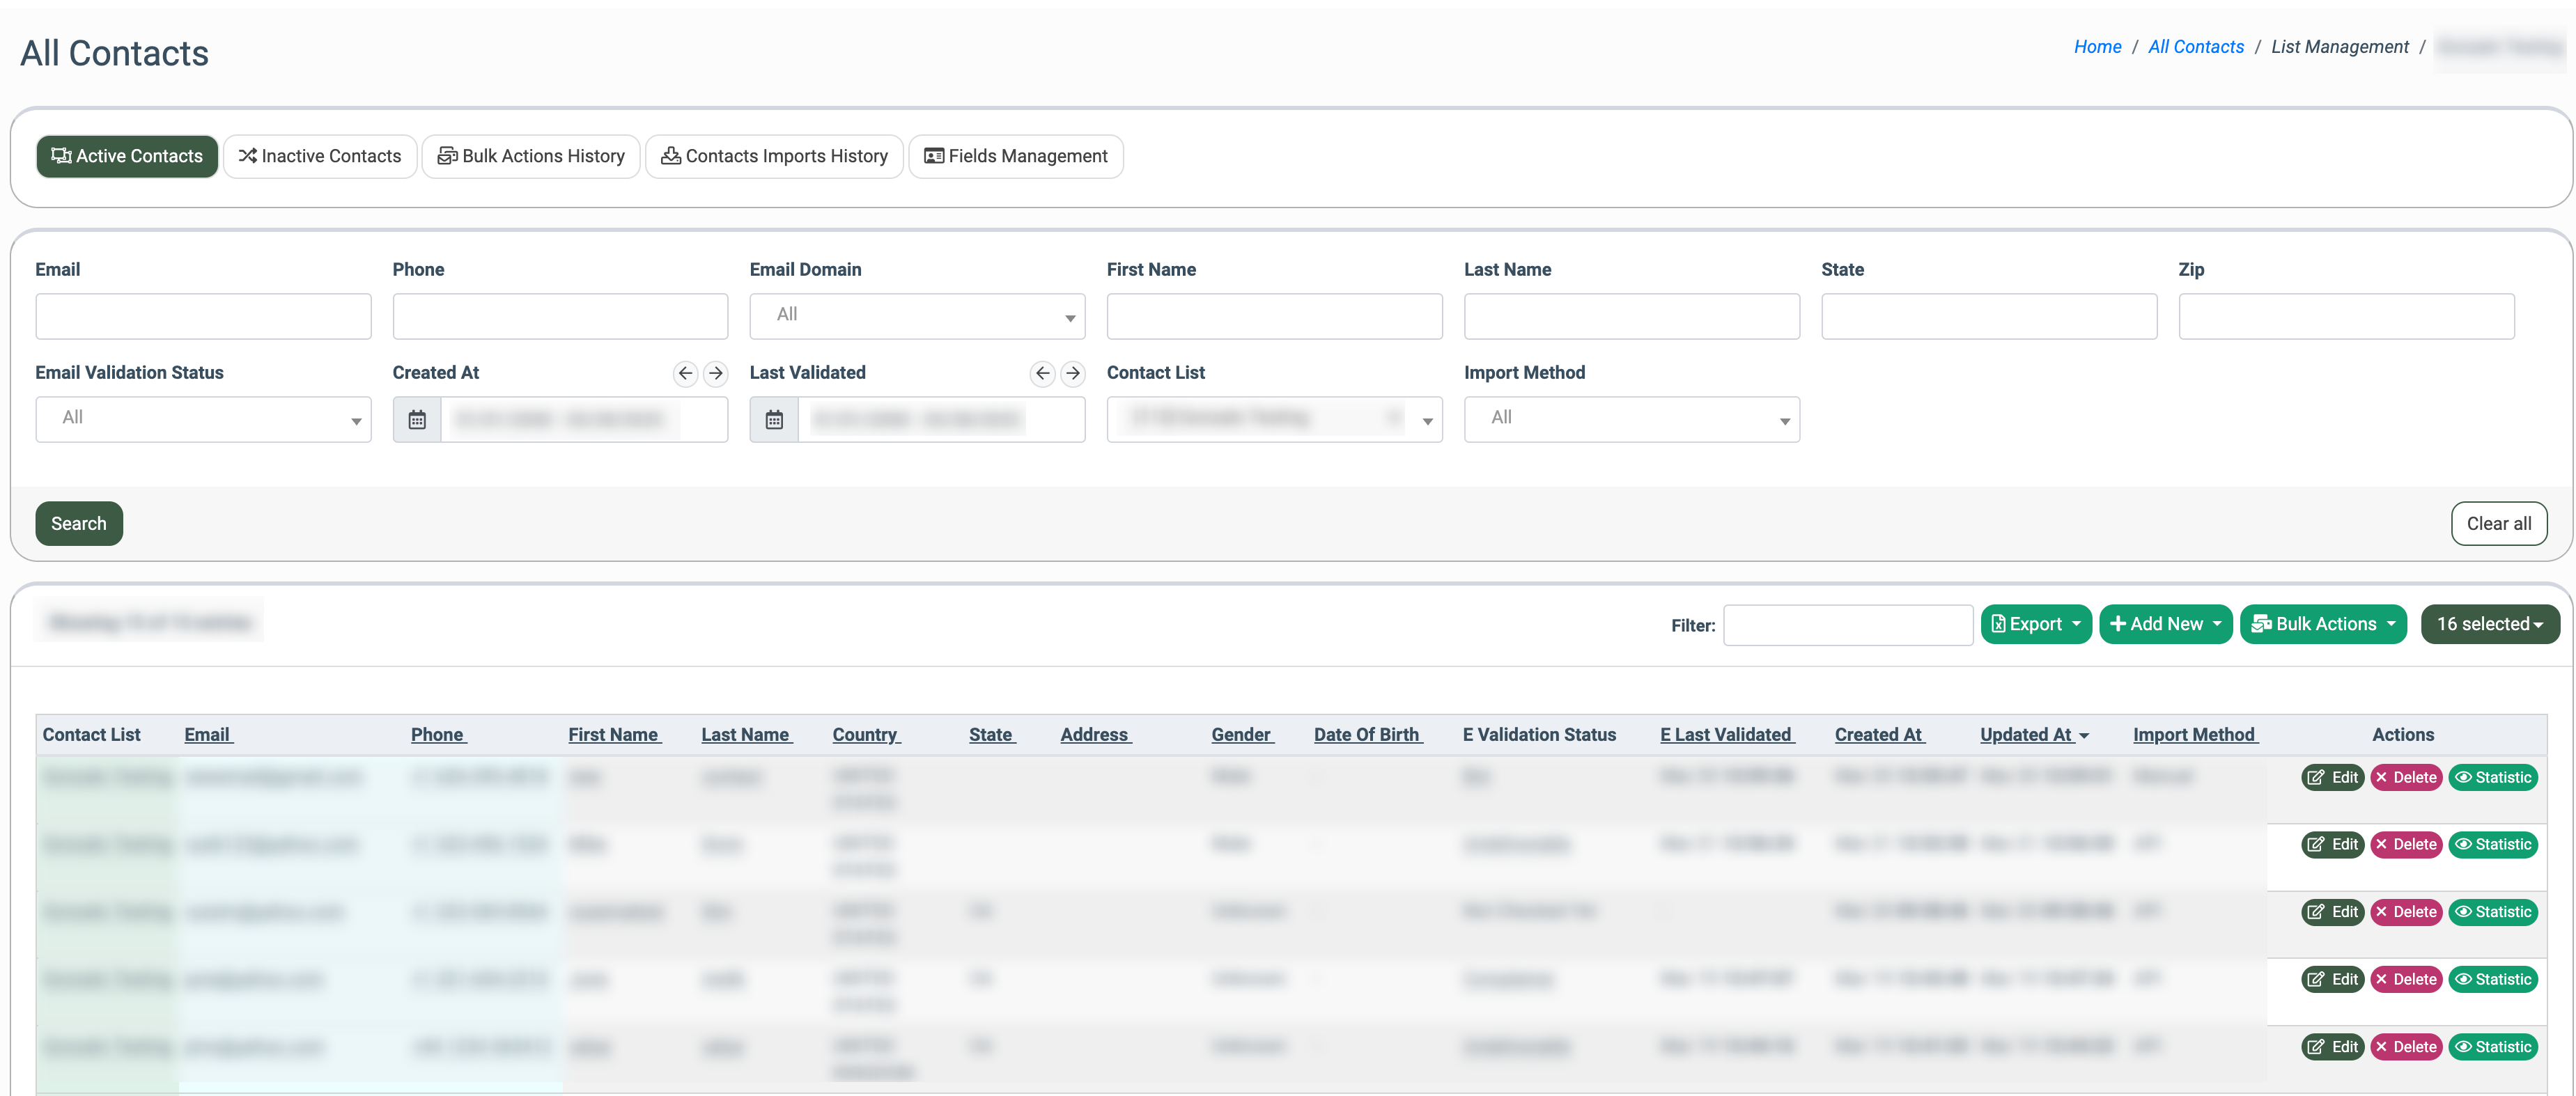
The “Active Contacts” tab contains information about all active contacts in the system.
You can narrow down the search results by using the following filters:
- Email: Enter the contact's email address.
- Phone: Enter the phone number of the contact.
- Email Domain: Select the email domain from the existing one (gmail.com, hotmail.com, etc.).
- First Name: Enter the first name of the contact.
- Last Name: Enter the last name of the contact.
- State: Enter the name of the state.
- Zip: Enter the zip code.
- Email Validation Status: Select the validation status (Not Checked Yet, Verified, Undeliverable, Catch All, Role Or Distribution Group, Malformed, SpamTrap, Complainer, Bot, Seed Account, Unknown, Unauthorized, Disposable Email, Error).
- Created At: Select the date range when the Contact was created.
- Last Validated: Select the date range when the Campaign was last validated.
- Contact List: Select the specific contact list in which the contact is included.
- Import Method: Select the import method (Manual, CSV File, Old API, API).
The list of active contacts contains the following information:
- Contact List: The name of the list the contact is included in.
- Email: The email address of the contact.
- Phone: The phone number of the contact.
- First Name: The first name of the contact.
- Last Name: The last name of the contact.
- Country: The contact’s country.
- State: The contact’s state.
- City: The contact’s city.
- Address: The contact’s address.
- Zip: The contact’s ZIP code.
- Gender: The contact’s gender.
- Date Of Birth: The contact’s date of birth.
- E Validation Status: The Validation status of the Contact (Not Checked Yet, Verified, Undeliverable, Catch All, Role Or Distribution Group, Malformed, SpamTrap, Complainer, Bot, Seed Account, Unknown, Unauthorized, Disposable Email, Error).
- E Last Validated: The date of the last Contact validation.
- Created At: The date when the сontact was created.
- Updated At: The date when the contact was last updated.
- Import Method: The Contact import method (Manual, CSV File, Old API, API).
To perform an action on multiple contacts, use the “Bulk Actions” button.
- Bulk Delete: Select to delete multiple contacts.
- Status Change: Select to change the status of multiple contacts.
- Email Validation: Select to validate multiple emails.
Click the “Statistics” button in the “Actions” column to view detailed information about the contact activity in the “Contact Statistic” section.
Note: Read more about Contact Statistics in this Knowledge Base article.
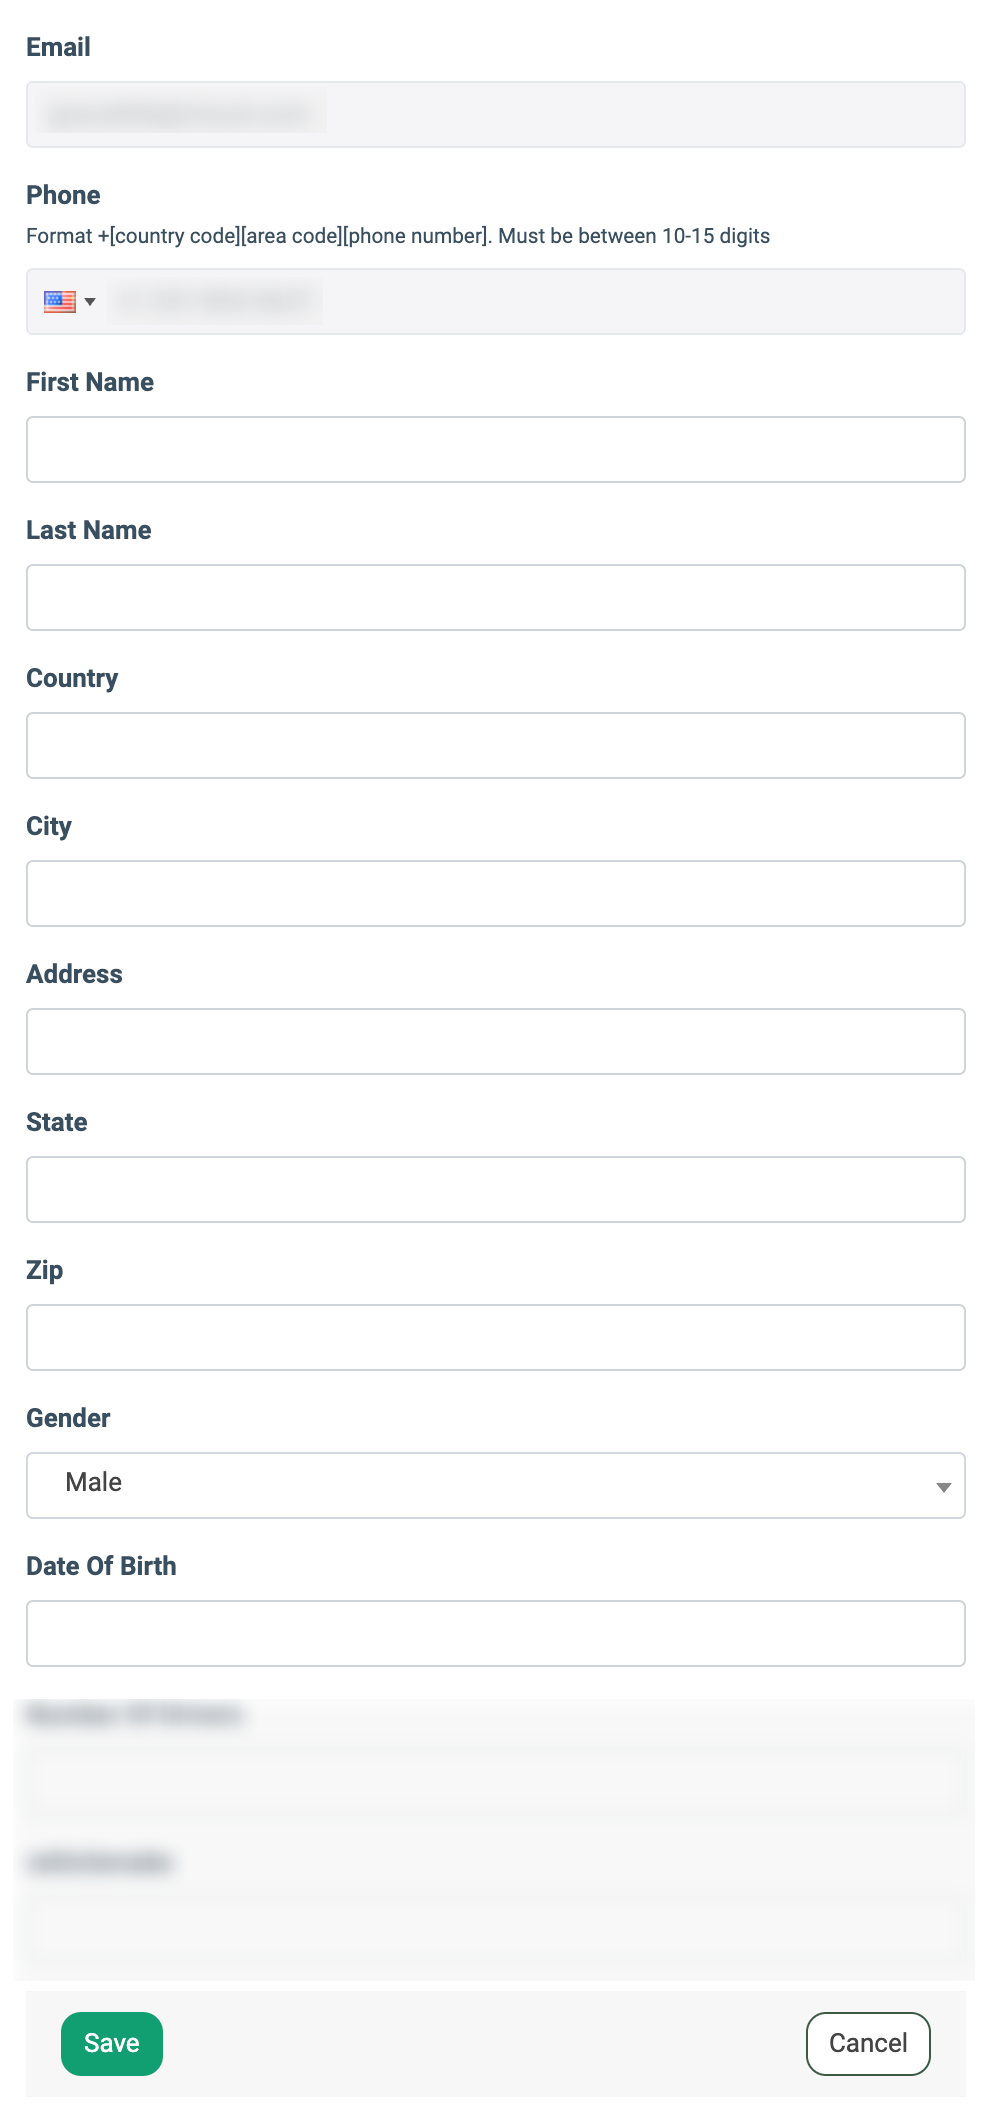
Click the “Edit” button in the “Actions” column to change the existing contact settings and fill in the following fields in the “Edit” pop-up window:
- Email: Enter the email address of the contact.
- Phone: Enter the phone number of the contact.
- First Name: Enter the first name of the contact.
- Last Name: Enter the last name of the contact.
- Country: Enter the contact’s country.
- City: Enter the contact’s city.
- Address: Enter the contact’s address.
- State: Enter the contact’s state.
- Zip: Enter the contact’s ZIP code.
- Gender: Select the contact’s gender.
- Date Of Birth: Enter the contact’s date of birth.
Click the “Save” button to confirm.
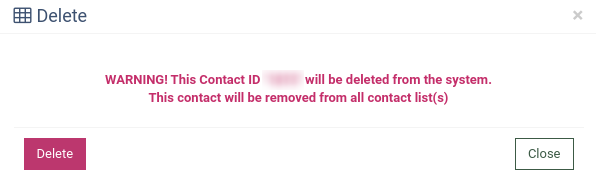
Click the “Delete” button in the “Actions” column to delete the contact. Click the “Delete” button to confirm.
Inactive Contacts
The “Inactive Contacts” tab contains information about all the inactive contacts in the system.
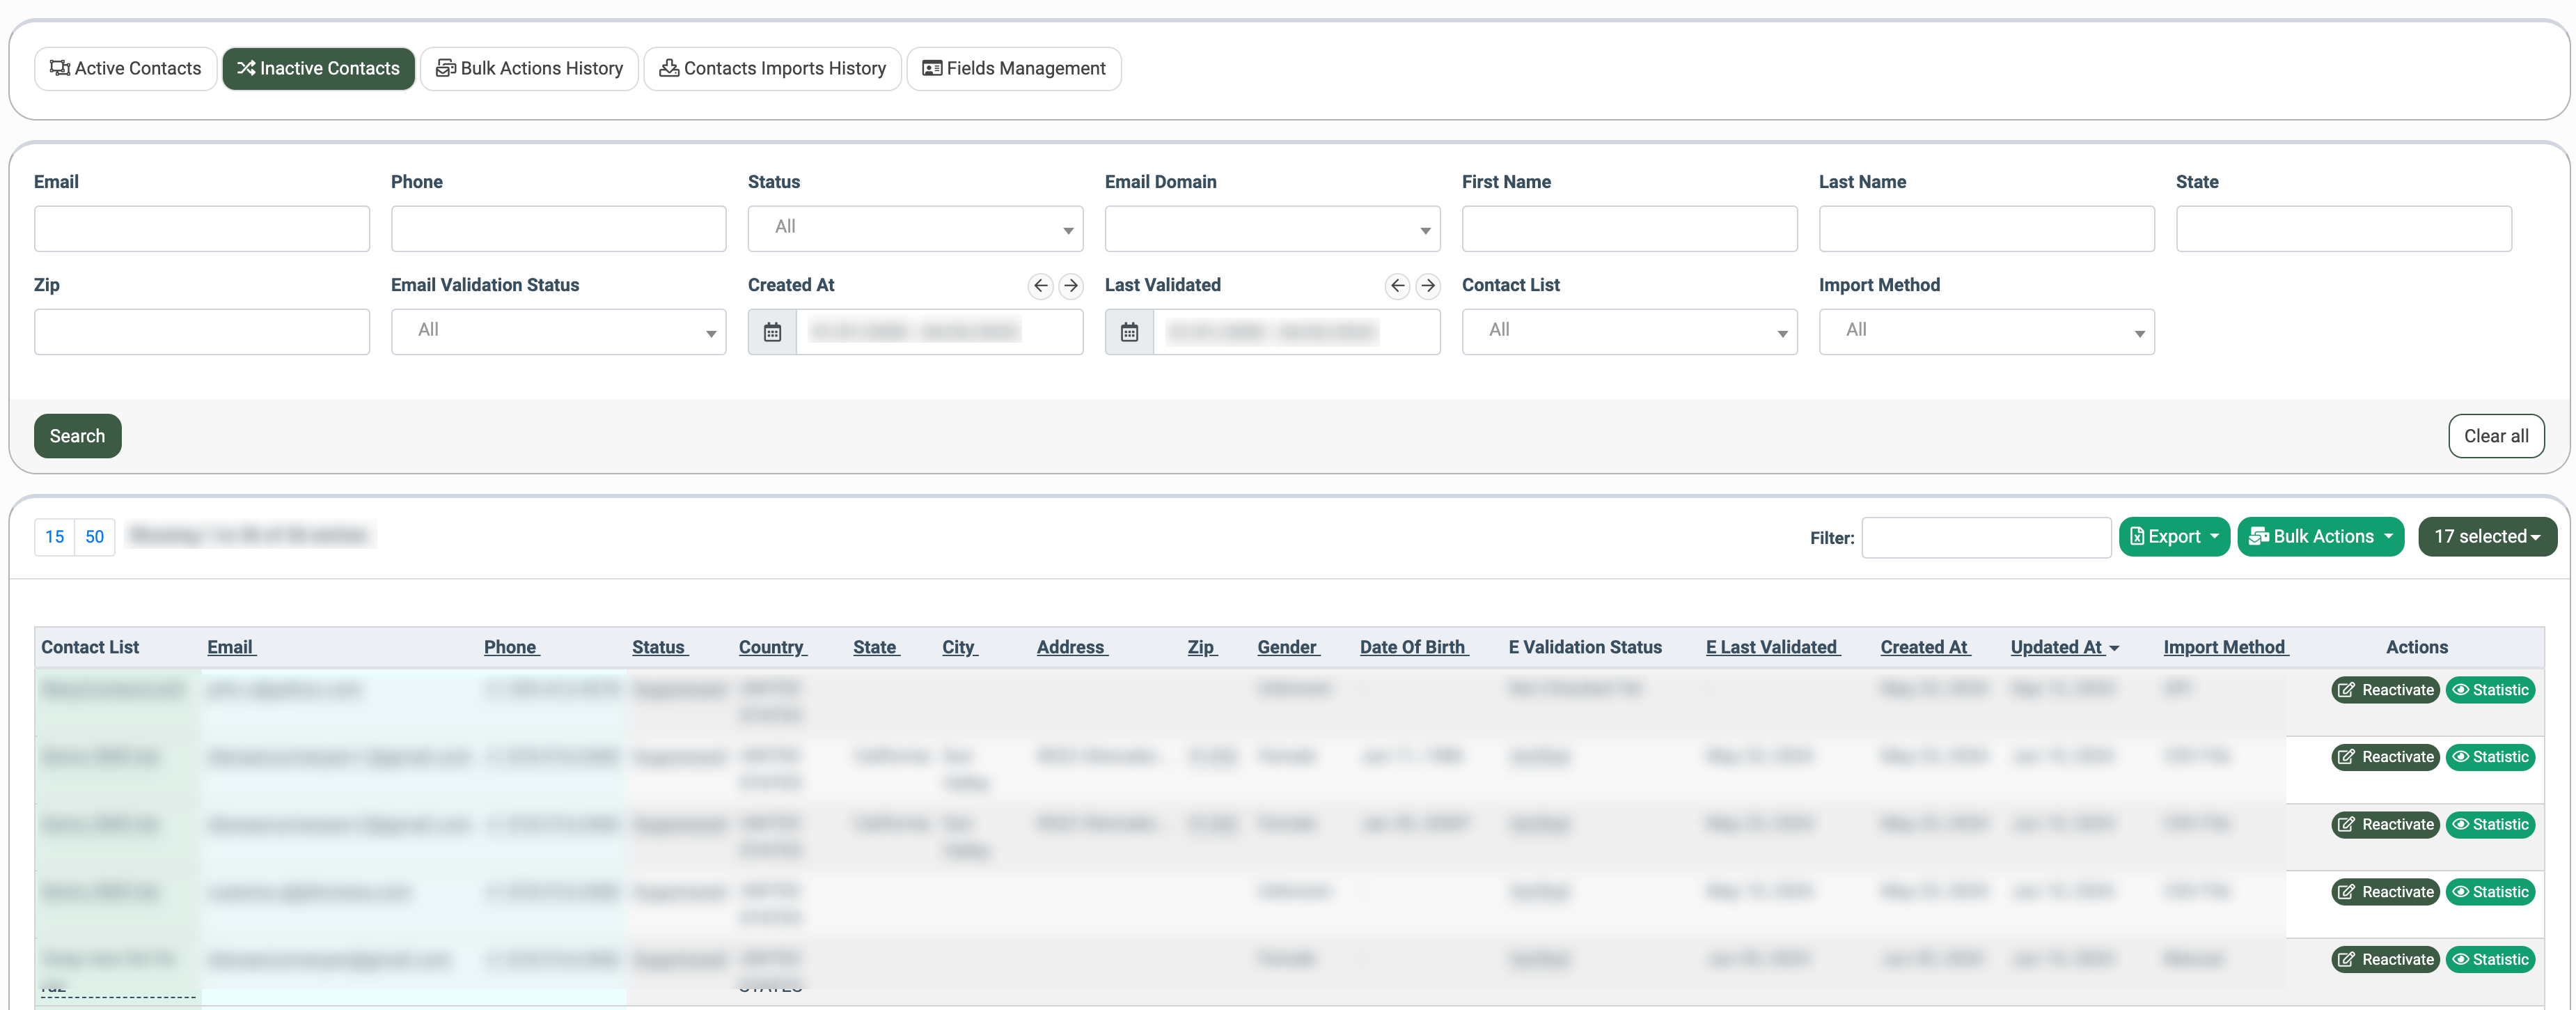
You can narrow down the search results by using the following filters:
- Email: Enter the contact's email address.
- Phone: Enter the phone number of the contact.
- Status: Select the contact’s status (Deleted / Suppressed / Unsubscribed / Bounced / Inactive / Filtered).
- Email Domain: Select the email domain from the existing one (gmail.com, hotmail.com, etc.).
- First Name: Enter the first name of the contact.
- Last Name: Enter the last name of the contact.
- State: Enter the name of the state.
- Zip: Enter the zip code.
- Email Validation Status: Select the validation status (Not Checked Yet, Verified, Undeliverable, Catch All, Role Or Distribution Group, Malformed, SpamTrap, Complainer, Bot, Seed Account, Unknown, Unauthorized, Disposable Email, Error).
- Created At: Select the date range when the Contact was created.
- Last Validated: Select the date range when the Campaign was last validated.
- Contact List: Select the specific contact list the contact is included in.
- Import Method: Select the import method (Manual, CSV File, Old API, API).
The list of inactive contacts contains the following information:
- Contact List: The name of the list the contact is included in.
- Email: The email address of the contact.
- Phone: The phone number of the contact.
- Status: The status of the contact.
- First Name: The first name of the contact.
- Last Name: The last name of the contact.
- Country: The contact’s country.
- State: The contact’s state.
- City: The contact’s city.
- Address: The contact’s address.
- Zip: The contact’s ZIP code.
- Gender: The contact’s gender.
- Date Of Birth: The contact’s date of birth.
- E Validation Status: The Validation status of the Contact (Not Checked Yet, Verified, Undeliverable, Catch All, Role Or Distribution Group, Malformed, SpamTrap, Complainer, Bot, Seed Account, Unknown, Unauthorized, Disposable Email, Error).
- E Last Validated: The date of the last Contact validation.
- Created At: The date when the сontact was created.
- Updated At: The date when the contact was last updated.
- Import Method: The Contact import method (Manual, CSV File, Old API, API).
To perform an action on multiple contacts, use the “Bulk Actions” button.
- Bulk Reactivate: Select to reactivate multiple contacts.
Note: This action is applied to all contacts displayed in the list. To apply the action on a certain contact or contacts list, use the filter block first.
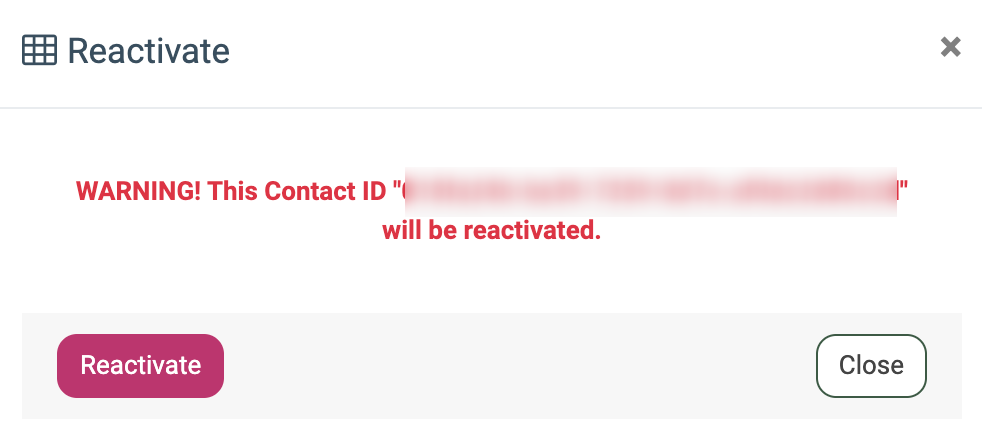
To reactivate a specific contact from the list, click the “Reactivate” button in the “Actions” column. Click the “Reactivate” button in the pop-up window to confirm the action.
Click the “Statistics” button in the “Actions” column to view detailed information about the contact activity in the “Contact Statistic” section.
Note: Read more about Contact Statistics in this Knowledge Base article.
Bulk Actions History
The “Bulk Actions History” tab allows you to view all tasks applied to the contacts, including their status and information about the user who completed each task.
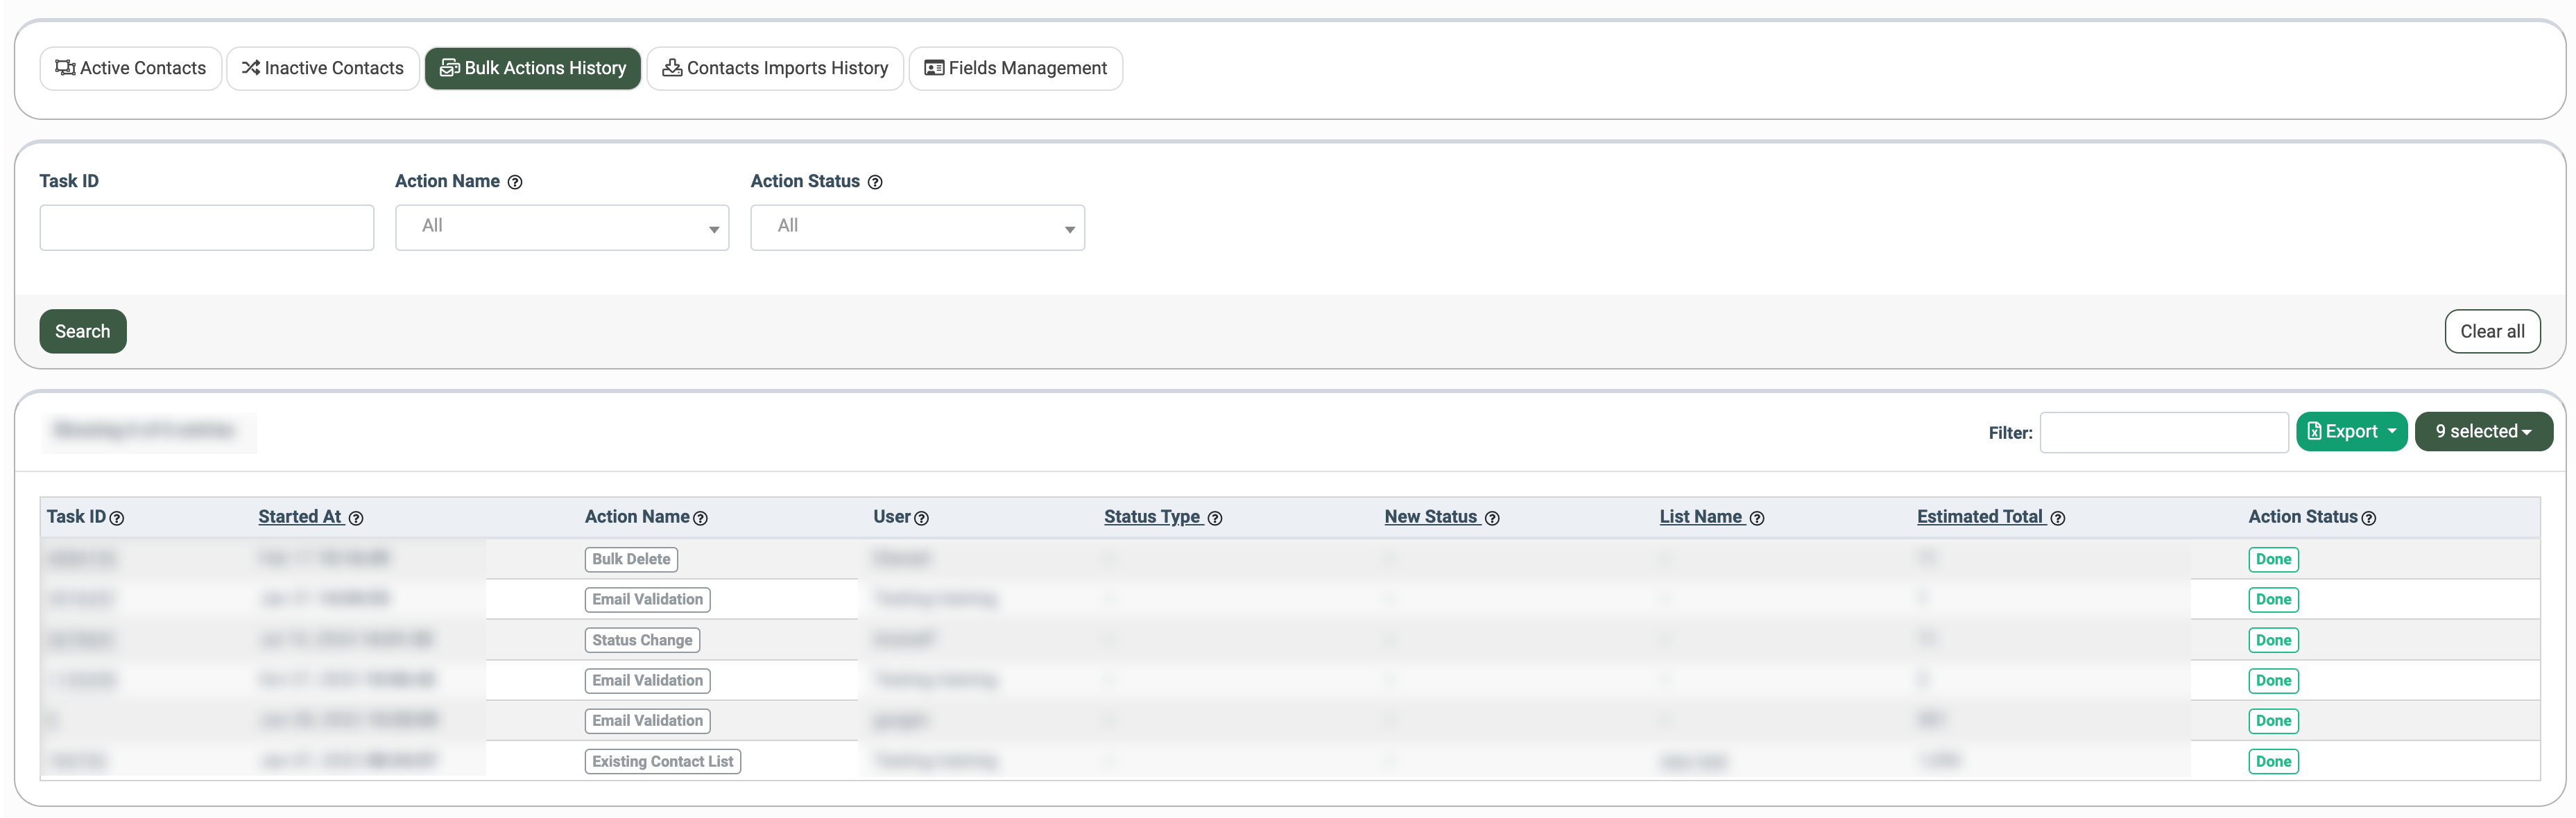
You can narrow down the search results by using the following filters:
- Task ID: Enter the identification number of the task.
- Action Name: Select the name of the action (Bulk Delete, Status Change, Email Validation, Existing Contact List, New Contact List).
- Action Status: Select the status of the task (Pending, In Progress, Done, Failed).
The Bulk Actions History list contains the following information:
- Task ID: The unique identification number of the task in the list.
- Started At: The date and time when validation was started.
- Action Name: The name of the action (Bulk Delete, Status Change, Email Validation, Existing Contact List, New Contact List).
- User: The name of the user.
- Status Type: The type of the status (Email, Phone).
- New Status: The status of the task after completion (Active, Inactive).
- List Name: The name of the list the contact was assigned to. The List name appears only when Bulk Actions “+ Existing Contact List” or “+ New Contact List” were performed.
- Estimated Total: The number of contacts in the task.
- Action Status: The status of the task (Pending, In Progress, Done, Failed).
Contact Imports History
The “Contact Imports History” tab allows you to view the contact import log and the status of the recent contact imports.
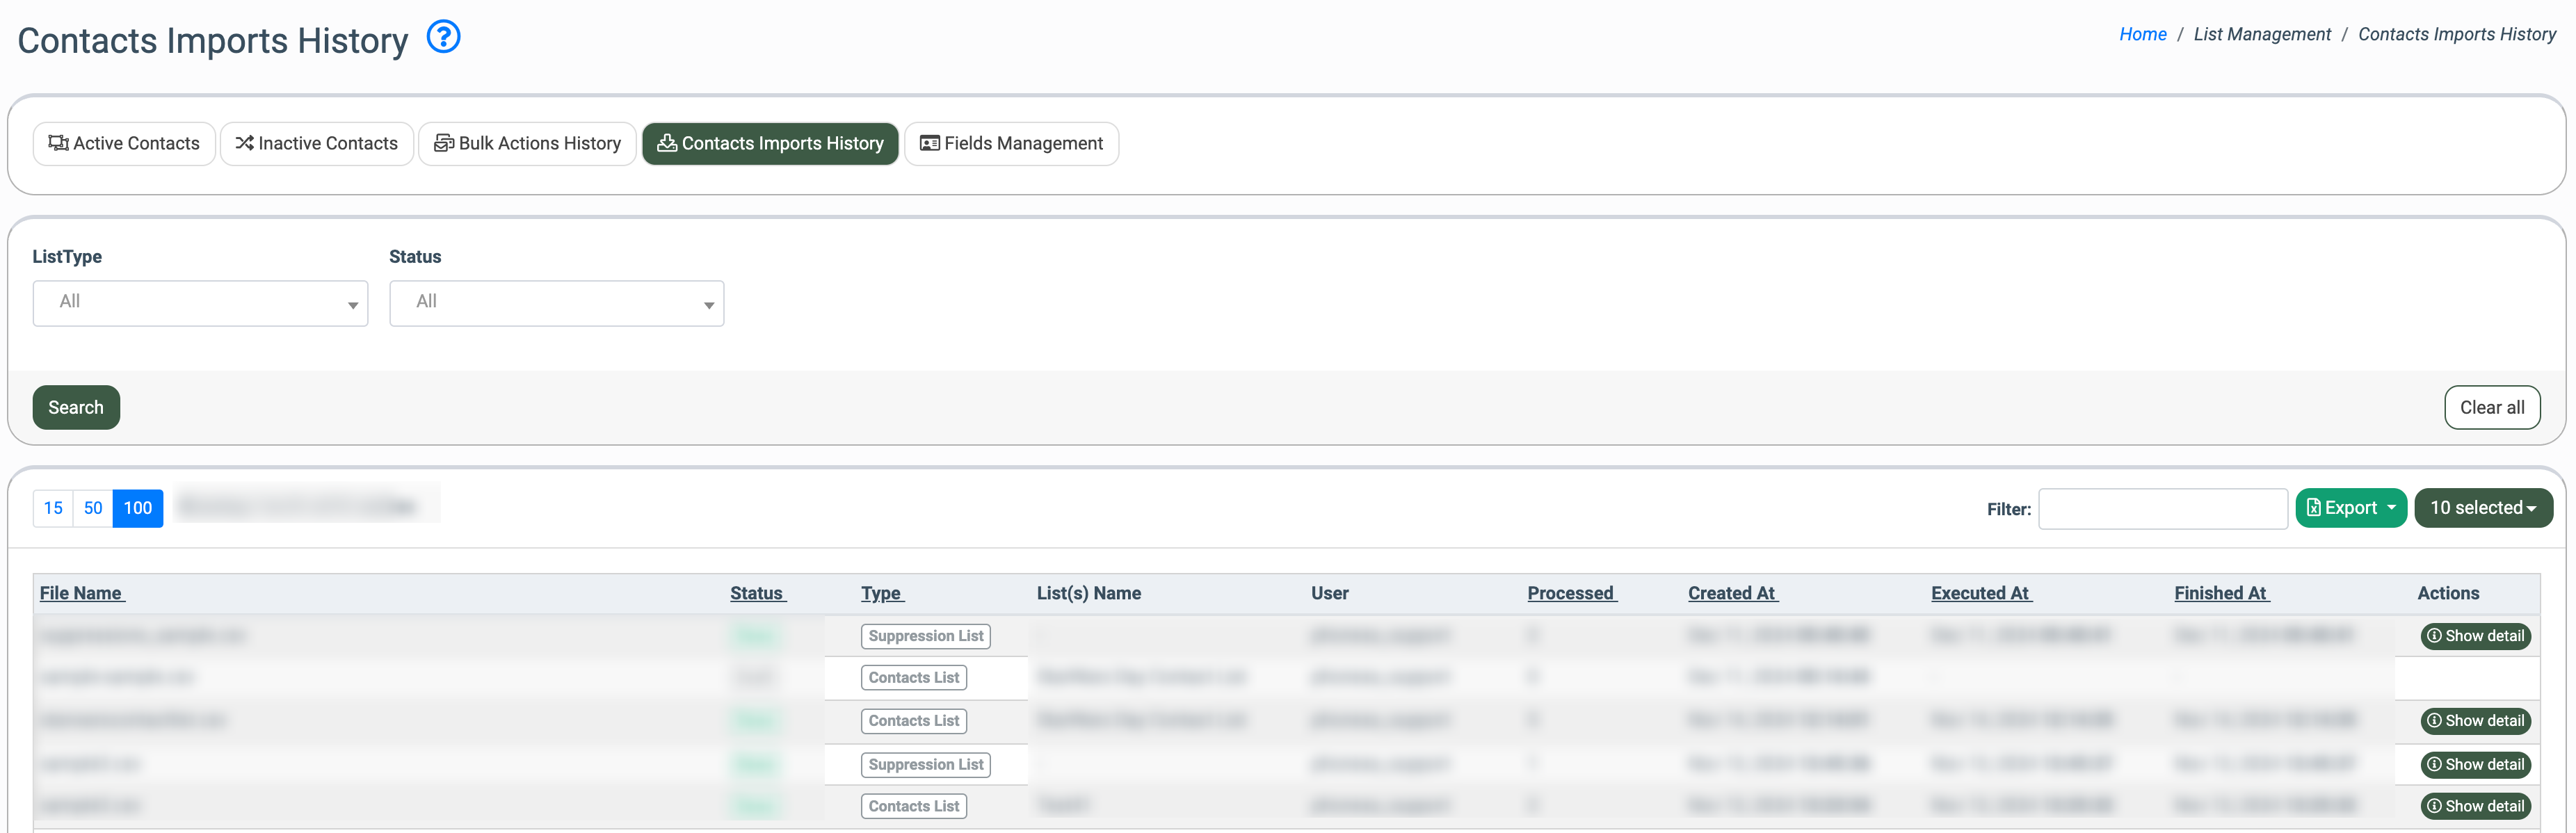
You can narrow down the search results by using the following filters:
- ListType: Select the list type (Unknown, Contacts List, Suppression List, SMS Suppression List, Unsubscribe List, Unsubscribe MD5 List).
- Status: Select the import status (Pending, In Progress, Done, Failed).
The import list contains the following information:
- File Name: The file name used for the contacts import.
- Status: The import status of the file (Pending, In Progress, Done, Failed).
- Type: The list type (Unknown, Contacts List, Suppression List, SMS Suppression List, Unsubscribe List, Unsubscribe MD5 List).
- List(s) Name: The name of the contact list.
- User: The name of the list creator.
- Processed: The number of processed contacts.
- Created At: The date and time when the list was created.
- Executed At: The date and time when the list was executed.
- Finished At: The date and time when the list creation was finished.
Note: Read more details about Creating Contact List Groups in this Knowledge Base article.
Fields Management tab
The “Fields Management” tab allows you to add and manage custom fields. These fields can be used for the contact records in the “Active Contacts” tab.
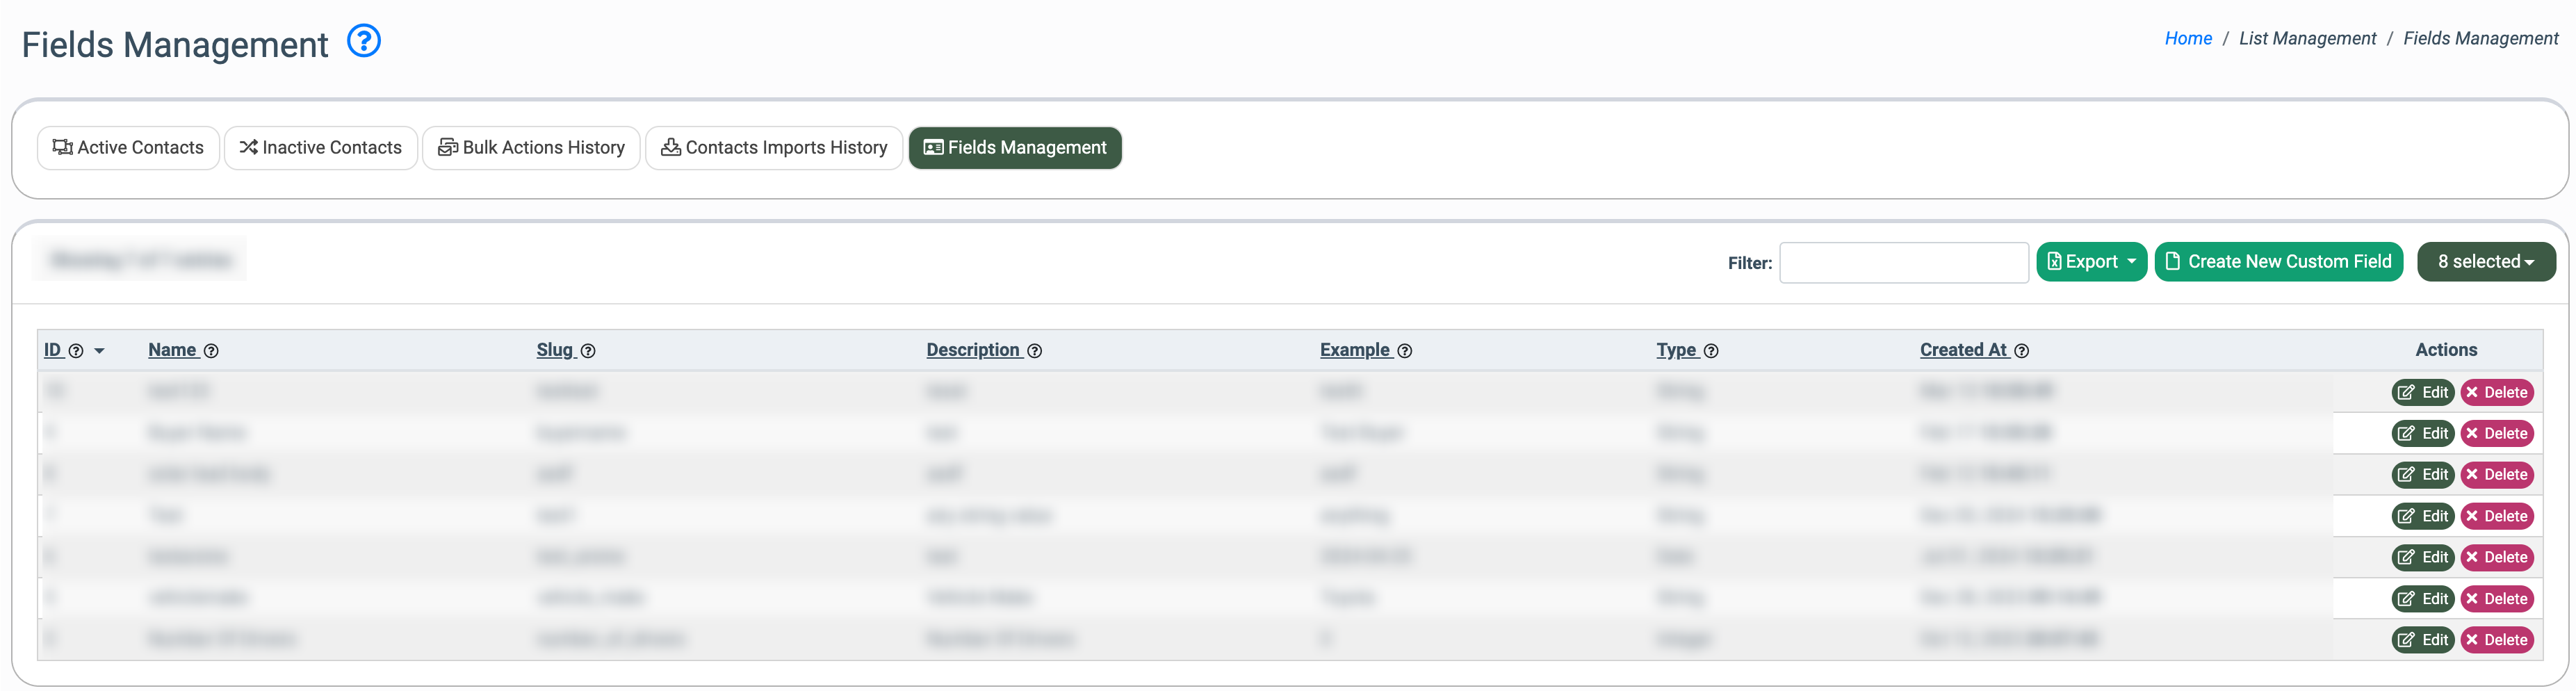
The list of custom fields contains the following information:
- ID: The number of the record on the list.
- Name: The name of the custom field.
- Description: The field description.
- Example: The value example of the field.
- Type: The custom field type.
- Created At: The date and time when the custom field was created.
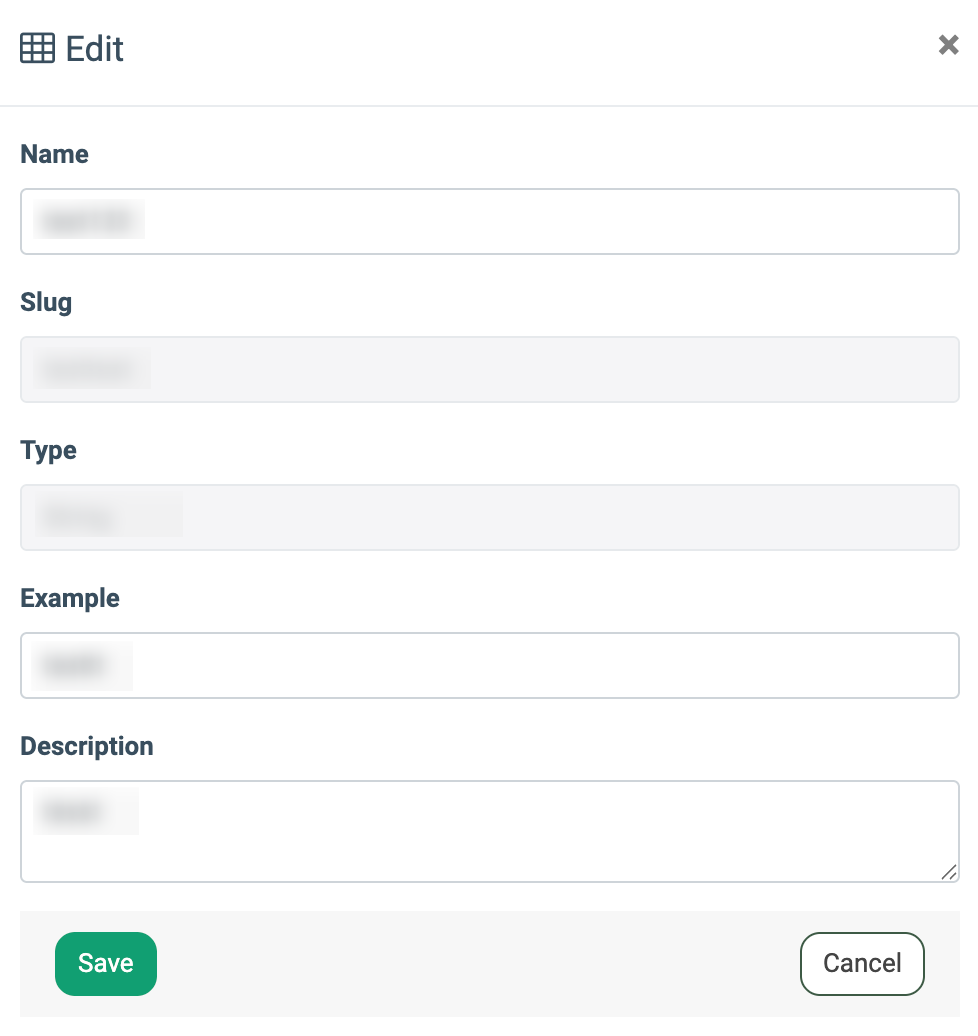
Click the “Edit” button in the “Actions” column to modify the custom field record. In the “Edit” pop-up window, fill in the following data fields:
- Name: Enter the name of the field.
- Slug: The specific field name that you can use for the system placeholder and with the API fields. Note: The field cannot be edited.
- Type: The custom field type (Decimal, Integer, String, Date). Note: The field cannot be edited.
- Example: Enter an example of a value for the field.
- Description: Enter the description of the field.
Click the “Save” button to confirm.
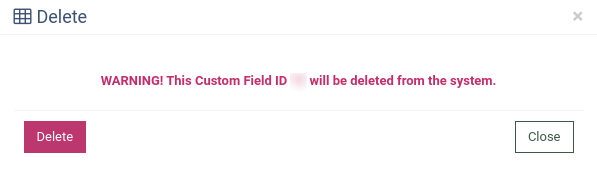
Click the “Delete” button in the “Actions” column to delete the custom field. Click the “Delete” button to confirm.
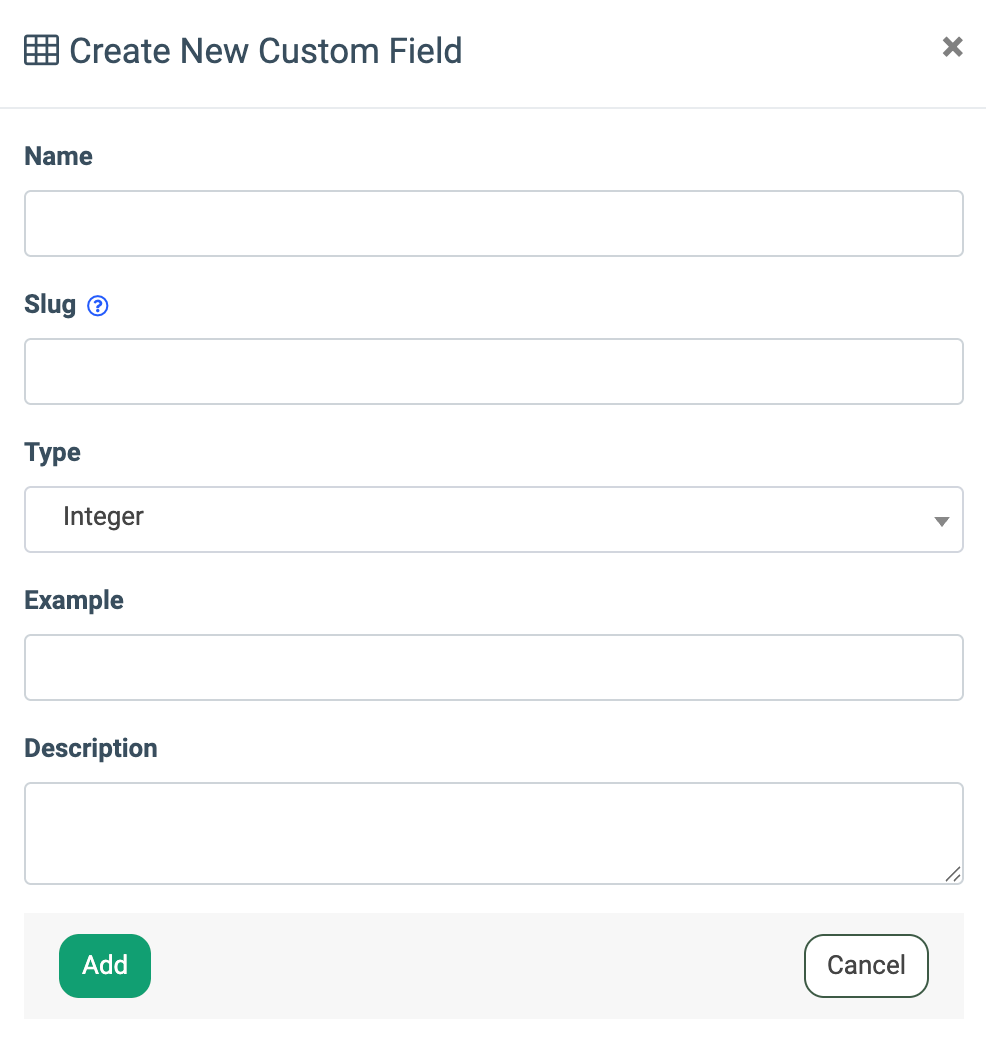
Click the “Create New Custom Field” button to add a new custom field. Fill in the following fields in the “Create New Custom Field” pop-up window:
- Name: Enter the field name.
- Slug: Enter the specific field name you can use for the system placeholder and the API fields.
- Type: Select the custom field type (Decimal, Integer, String, Date).
Note: Depending on the selected custom field type, the Segment Definition will consist the different criteria. Go to the List Management > Contact List Builder section, and click the “Edit” button in the “Actions” column. In the Contact list editor, click the “+” button in the “Segment Definition” field and select the custom field from the “Contact Fields Filtration” list.
Read more about How to Segment Contacts with Contact List Builder in this Knowledge Base article. - Example: Enter the example value for the field.
- Description: Enter the description of the field.
Click the “Add” button to confirm.
The custom fields can be used in the SMS and Email campaigns as placeholders for the email or message name.
To use the custom field for the Email Campaign, go to the Email Campaigns > Campaigns section, click the “Configure” button in the “Actions” column, and select the “Template Setting” tab. The custom fields can be added to the email name in the “Subject” field from the “Email Fields” drop-down list.
Another way to add a custom field to the Email Campaign is through the Email Template Builder. Go to the Email Campaigns > Templates section, and click the “Edit” button in the “Actions” column. In the “Drag & Drop Editor” section, you can add the custom field to the “Subject” and “Pre-header” fields by selecting the option from the “Email Fields” drop-down list.
To use the custom field in the SMS campaign, go to the SMS Campaigns > Templates section and click the “Edit” button in the “Actions” column. The custom fields can be added to the message in the text field from the “Contact Fields” drop-down list.
Custom fields can also be used to create rules in the Contact list builder. Go to the List Management > Contact List Builder section, and click the “Edit” button in the “Actions” column. In the Contact list editor, click the “+” button in the “Segment Definition” field and select the custom field from the “Contact Fields Filtration” list.