To view the Email Campaigns list, go to the Email Campaigns > Campaigns section.
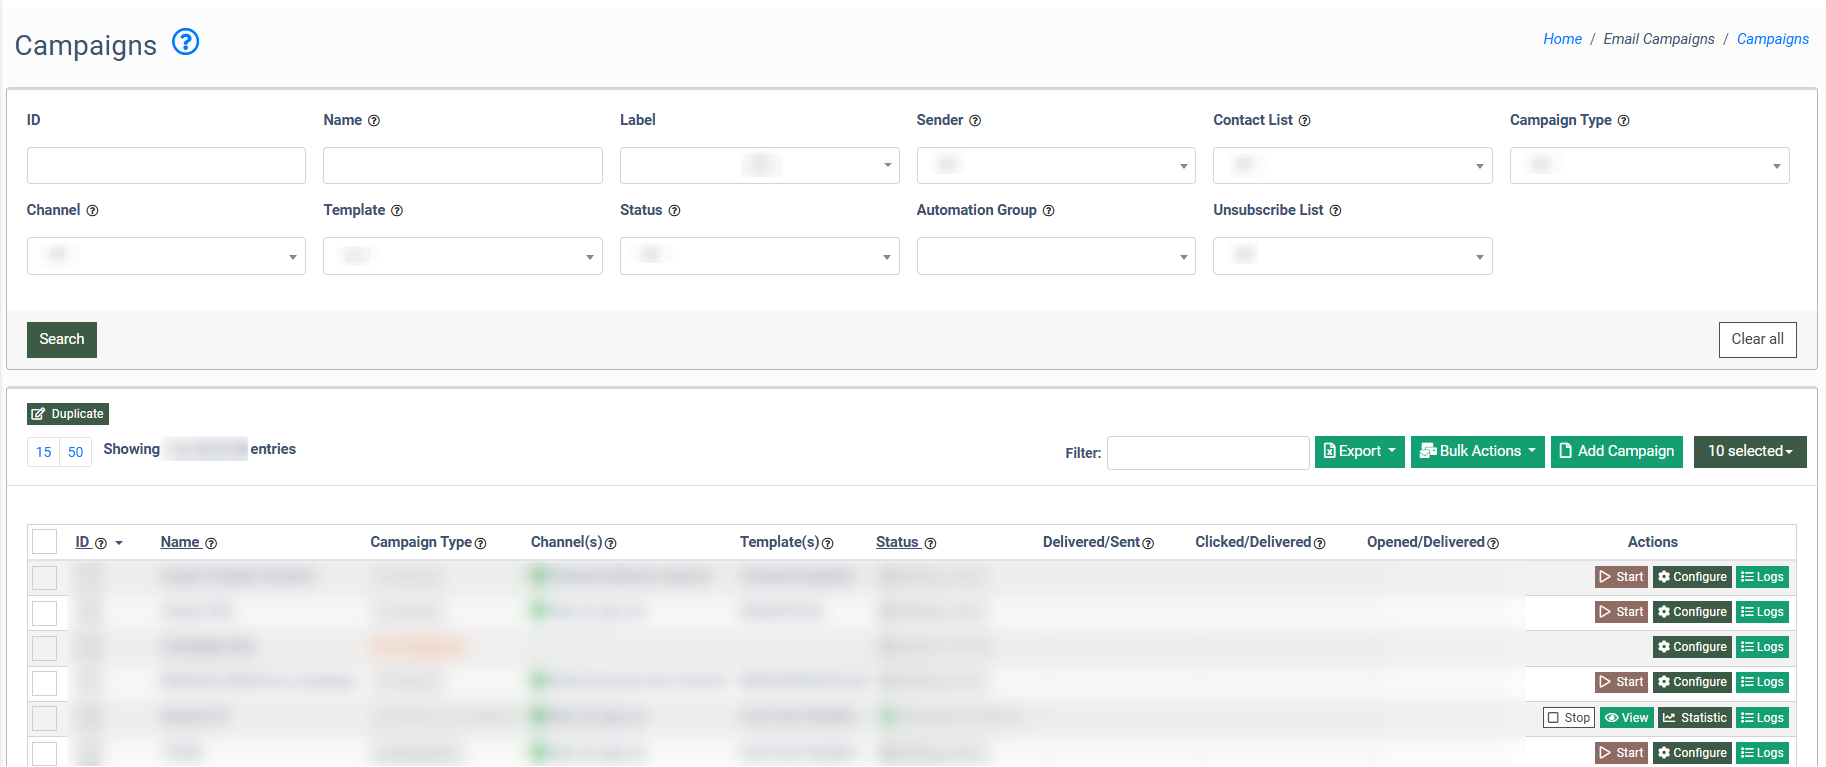
The list of available email Campaigns contains the following information:
- ID: The unique identification number of the Campaign.
- Created Date: Date and time when the campaign was created.
- Name: The name of the Campaign.
- Label(s): The name of label(s) that are attached to the Campaign.
- Automation Group: The name of the automation group.
- Contact List(s): The name of the corresponding contact list.
- Campaign Type: The name of the campaign type.
- Channel(s): The name of the Channel. Read more about How to Create Email/SMS Delivery Channels (ESP Integrations and SMTP Delivery Channels in this Knowledge Base article.
- Template(s): The name of the Template. Read more about the Templates in this Knowledge Base article.
- Status: The status of the Campaign (Ready for Set Up, Waiting to Start, Creating Campaign, Scheduled for Delivery, Sending, Delivered, Stop by User, Wait for Event, Wait A/b Testing Winner, Sending to A/b Testing Winner, Sending limit reached/expired, Deleted, Scheduled).
- Delivered/Sent: The number of delivered/sent emails.
- Clicked/Delivered: The number of clicked/delivered emails.
- Opened/Delivered: The number of opened/delivered emails.
- Actions: Start/Configure/Logs.
You can narrow down the search results by using the following filters:
- ID: Enter the unique identification number of the Campaign:
- Name: Enter the name of the Campaign.
- Label: Enter the label of the Campaign.
- Sender: Select the sender of the Campaign.
- Unsubscribe List: Select the unsubscribe list.
- Contact List: Select the contact list.
- Campaign Type: Select the type of the Campaign (On-Demand, By Schedule, By Event, Drip Campaign (online), By Count In List (online)).
- Channel: Select the channel.
- Template: Select the template.
- Status: Select the status of the Campaign (Ready for Set Up, Waiting to Start, Creating Campaign, Scheduled for Delivery, Sending, Delivered, Stop by User, Wait for Event, Wait A/b Testing Winner, Sending to A/b Testing Winner, Sending limit reached/expired, Deleted, Scheduled).
- Automation Group: Select the automation group. (The unique name of the Campaign that gets duplicated into the Reports. If there is no selection in the filter tab, there are no configured Campaigns.)
To view the Automation Configuration of the corresponding Email Campaign, click the “View” button in the “Actions” column, and select the “Campaign Automation” tab.
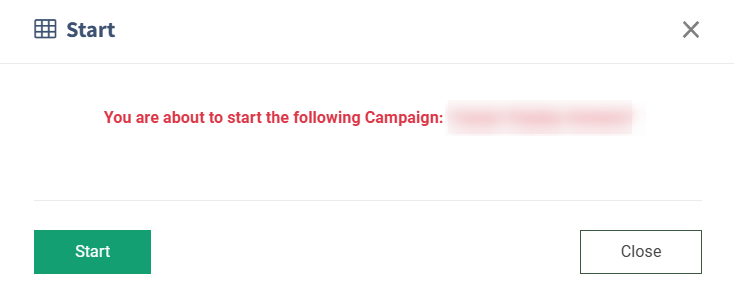
To start the Campaign, click the “Start” button in the “Actions” column. Click the “Start” button in the pop-up window to confirm.
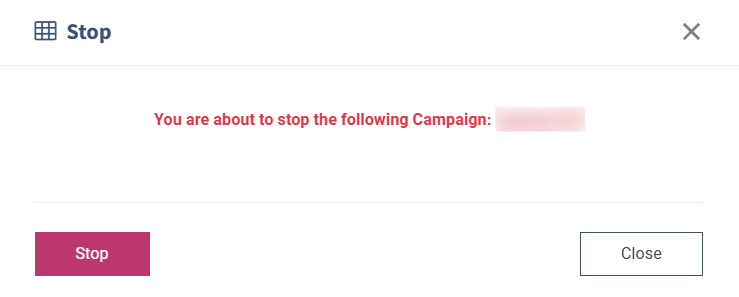
To stop the Campaign, click the “Stop” button in the “Actions” column. Click the “Stop” button in the pop-up window to confirm.
To view the Campaign statistics, click the “Statistic” button in the “Actions” column.
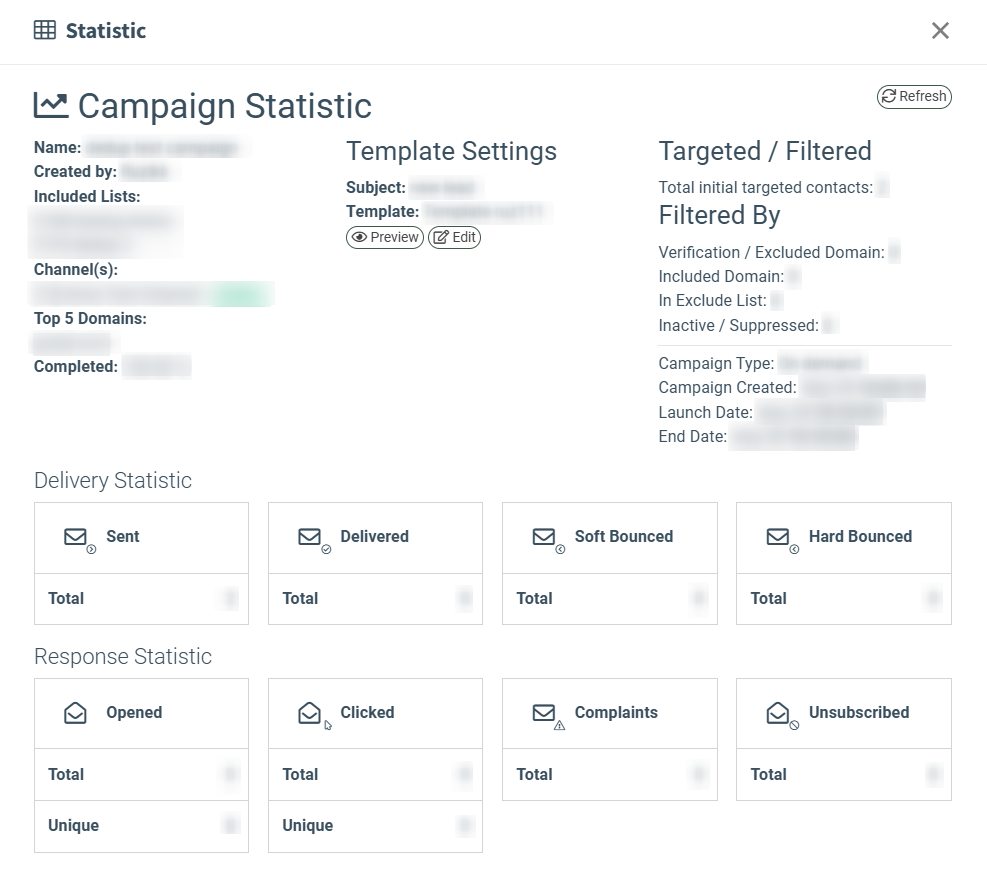
The pop-up window contains three sections:
- Campaign Statistic: The Campaign overview. Click the “Refresh” button to update the data. To view the Template page, click the “Preview” button. To edit the Template Settings, click the “Edit” button. The system will redirect you to the Email Templates settings page. Read about how to create an Email Template in this Knowledge Base article.
- Delivery Statistic: The total number of Sent, Delivered, Soft Bounced, Hard Bounced, Opened, Clicked, Complained, and Unsubscribed emails.
- Targeted/Filtered: The total number of targeted and filtered email addresses.
- Filtered By: The total numbers breakdown of filtered email addresses based on the email verification and excluding or including domain settings, exclude list settings, and the current status of the email address suppression or inactivity.
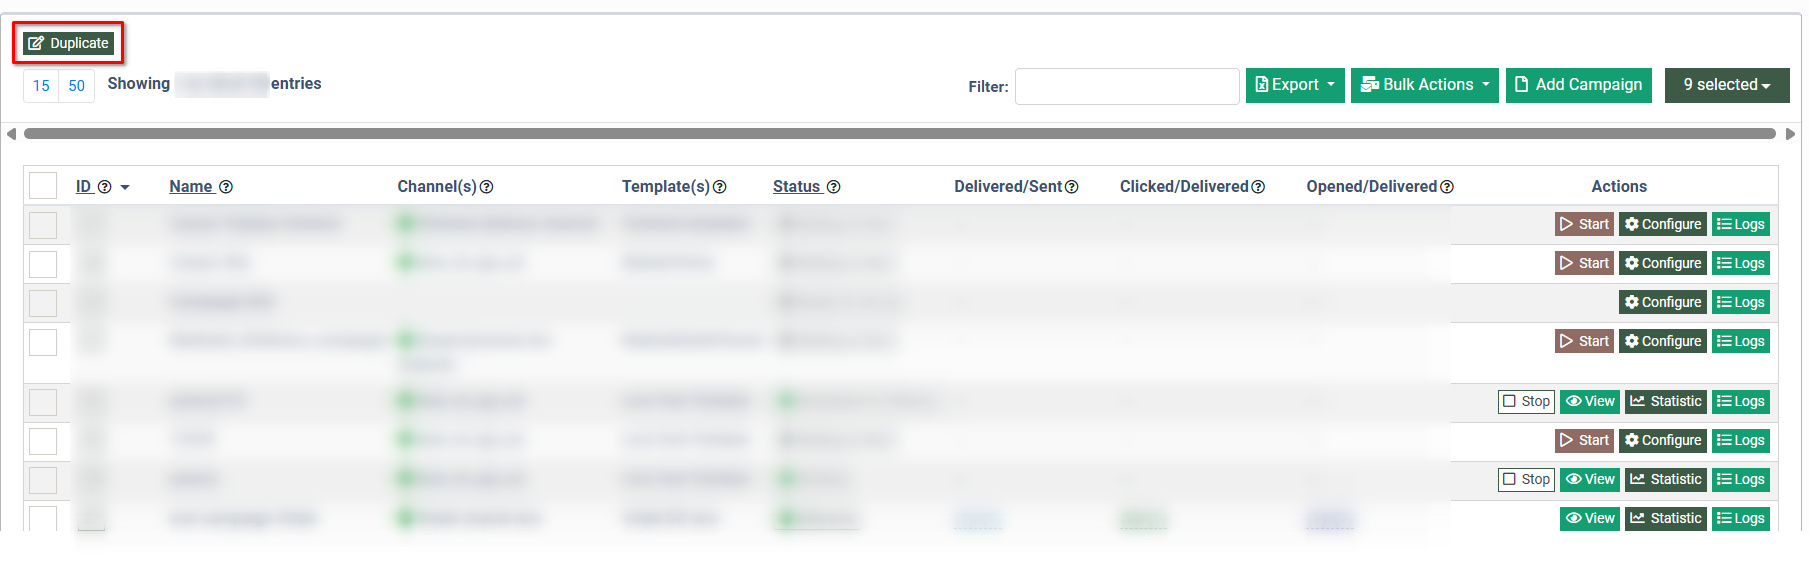
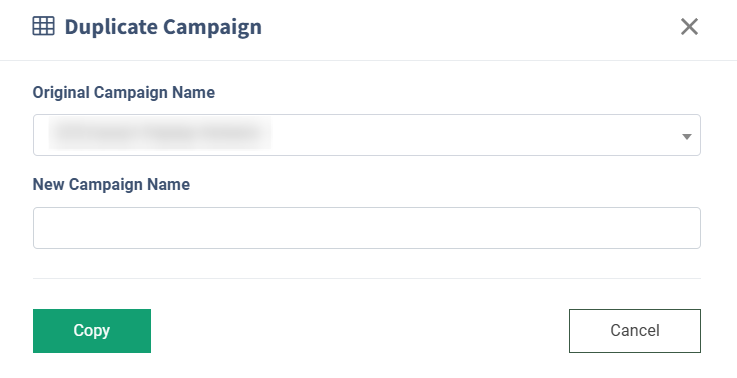
To duplicate the existing Campaign, click the “Duplicate” button. Select the name of the existing Campaign in the “Original Campaign Name” field in the pop-up window, and fill in the name for the new Campaign in the “New Campaign Name” field. Click the “Copy” button to complete the action.
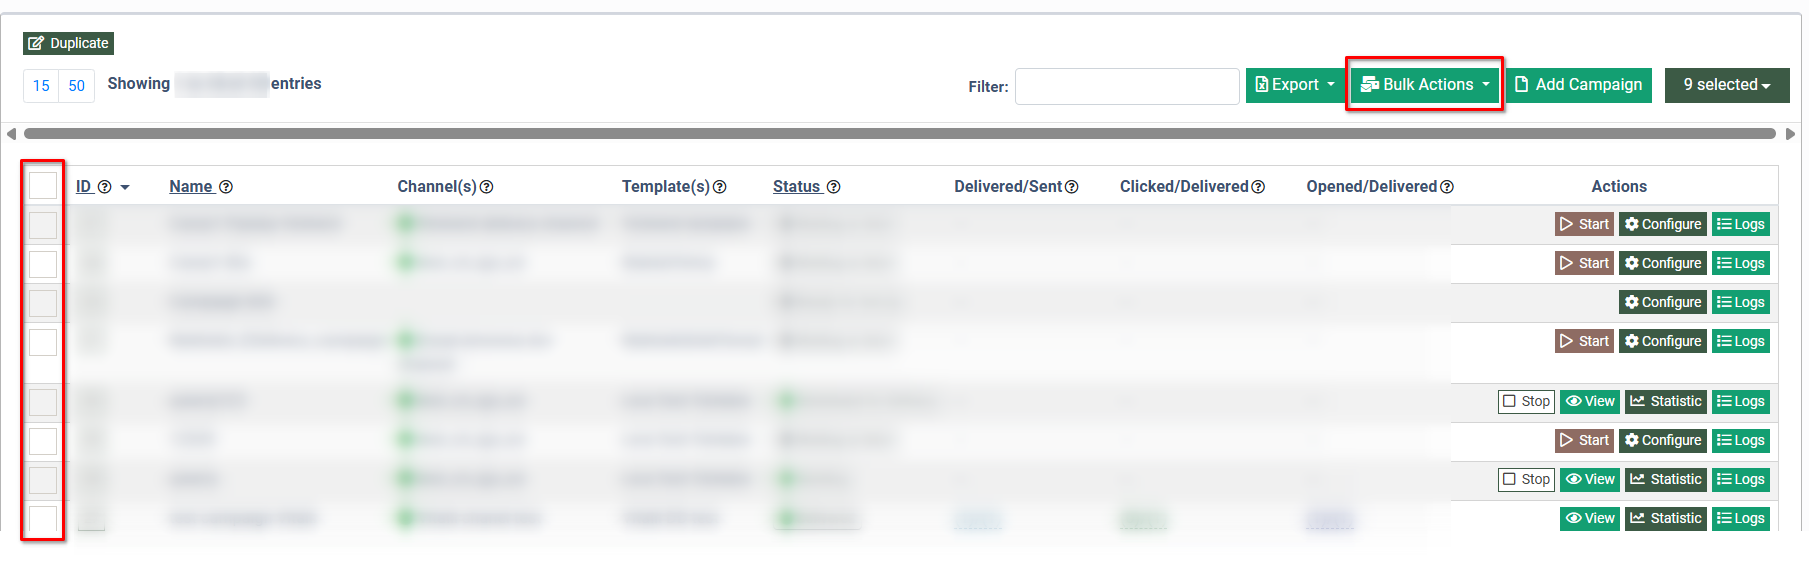
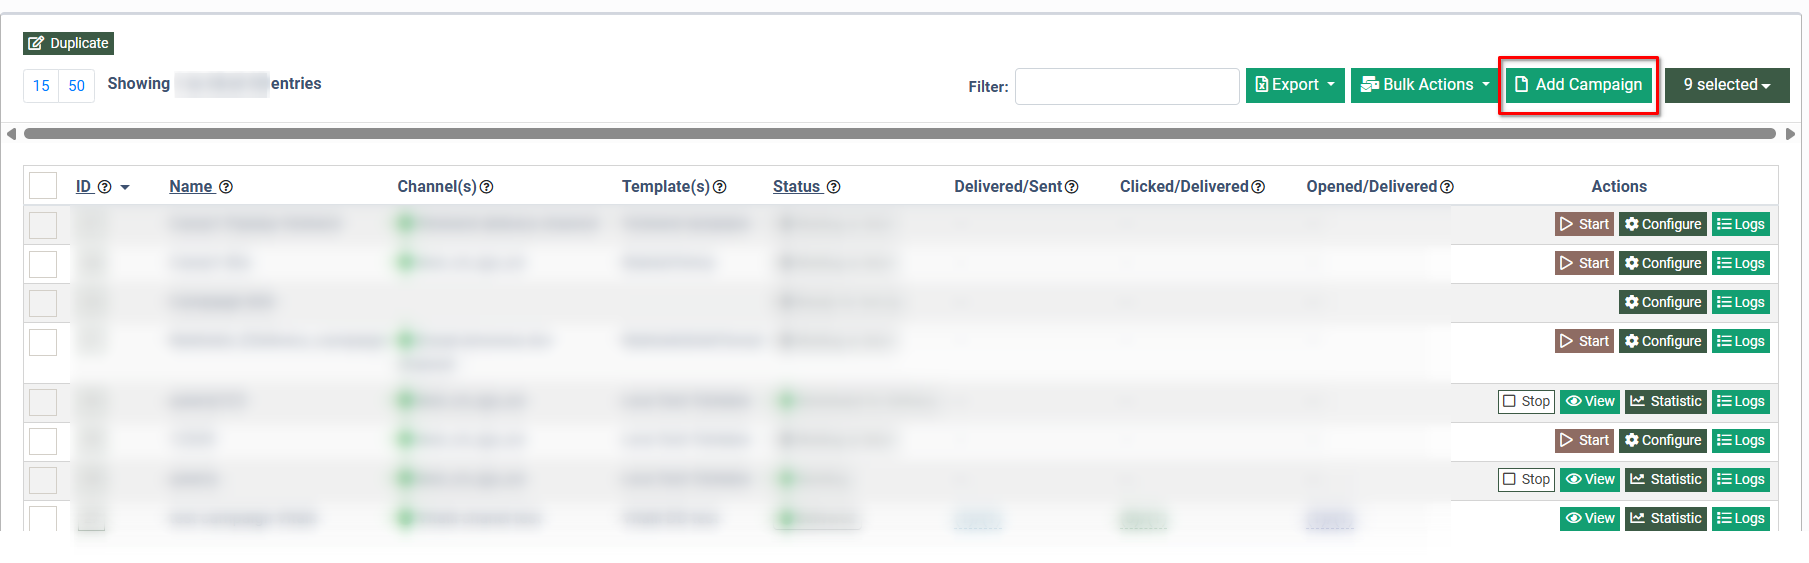
To perform an action to several Campaigns at once, mark the checkboxes on the left side of the list and click the “Bulk Action” button and select the corresponding action.
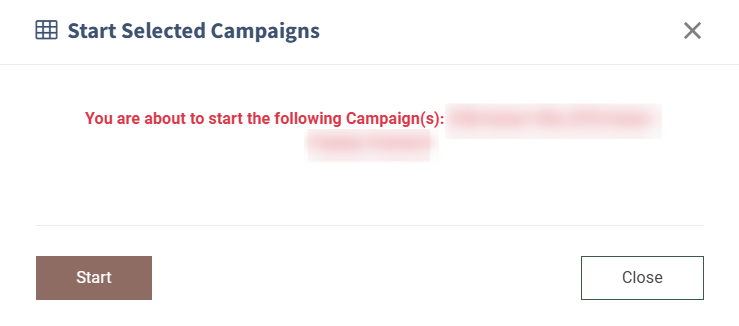
To start the selected Campaigns, click the “Start Selected” button. Click the “Start” button in the pop-up window to confirm.
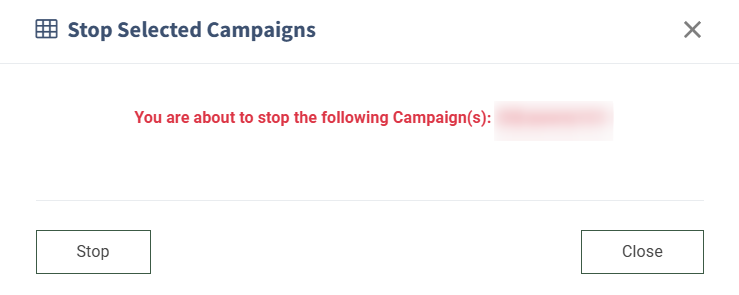
To stop the selected Campaigns, click the “Stop Selected” button. Click the “Stop” button in the pop-up window to confirm.
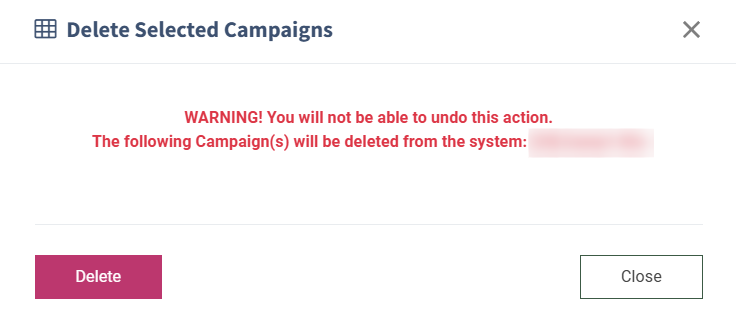
To delete the selected Campaigns, click the “Delete Selected” button. Click the “Delete” button in the pop-up window to confirm.
Note: Depending on the current status of the Campaign, you can’t perform some actions. For example: if the Campaign is started, you can’t delete it.
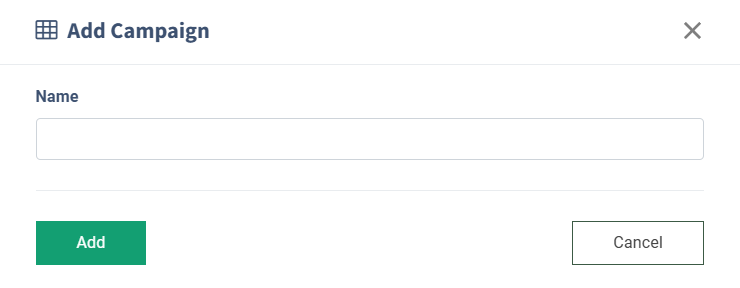
To add a new Campaign to the list, click the “Add Campaign” button. Fill in the Campaign name in the “Name” field in the pop-up window, and click the “Add” button to complete the action.
To view the Campaign settings, click the “View” button in the “Actions” column. The system will redirect you to the Campaign Settings page, but the settings will be non-editable.
Сlick the “Configure” button in the “Actions” column to manage the Campaign settings. Read more about how to set up an Email Campaign in the following Knowledge Base article.