The Google Click ID (GCLID) is a tracking parameter that allows you to gather information about the efficiency of Google Ads usage for engaging phone leads. This is an integration with the Google Ads services via GCLID. The efficiency can be increased by sending feedback to Google about the visitors-to-leads conversion.
Follow these steps to set up Phonexa to process GCLID and ping conversion back to the Google Ads platform.
- Create and configure a new Tracking Pool.
- Place the widget on the website.
- Set up the integration rule on the Publisher level.
- Set up the integration rule on the Product level.
- Check the GCLID results.
1. Create and configure a new Tracking Pool
Go to the Call Logic > Publisher Management > Promo Materials > Call Tracking section.
![]()
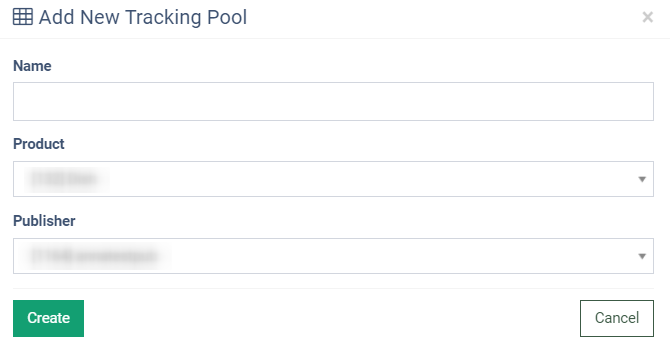
To create a new tracking pool, click the “Add New Tracking Pool” button and fill in the following fields in the pop-up window:
-
Name: Enter the name of the tracking pool.
-
Product: Select the related Product.
-
Publisher: Select the related Publisher.
Click the “Create” button to complete the action.
To open the list of phone numbers added to the tracking pool list, click the “Phone Number List” button in the “Actions” column.
![]()
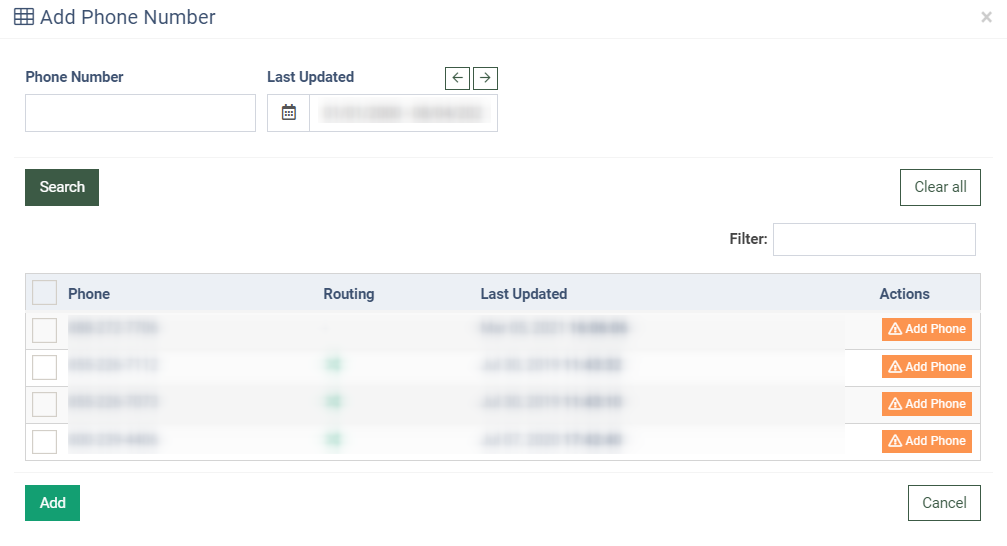
To add a phone number to the tracking pool list, click the “Add Phone Number” button and select the phone number you want to add in the “Add Phone Number” pop-up window.
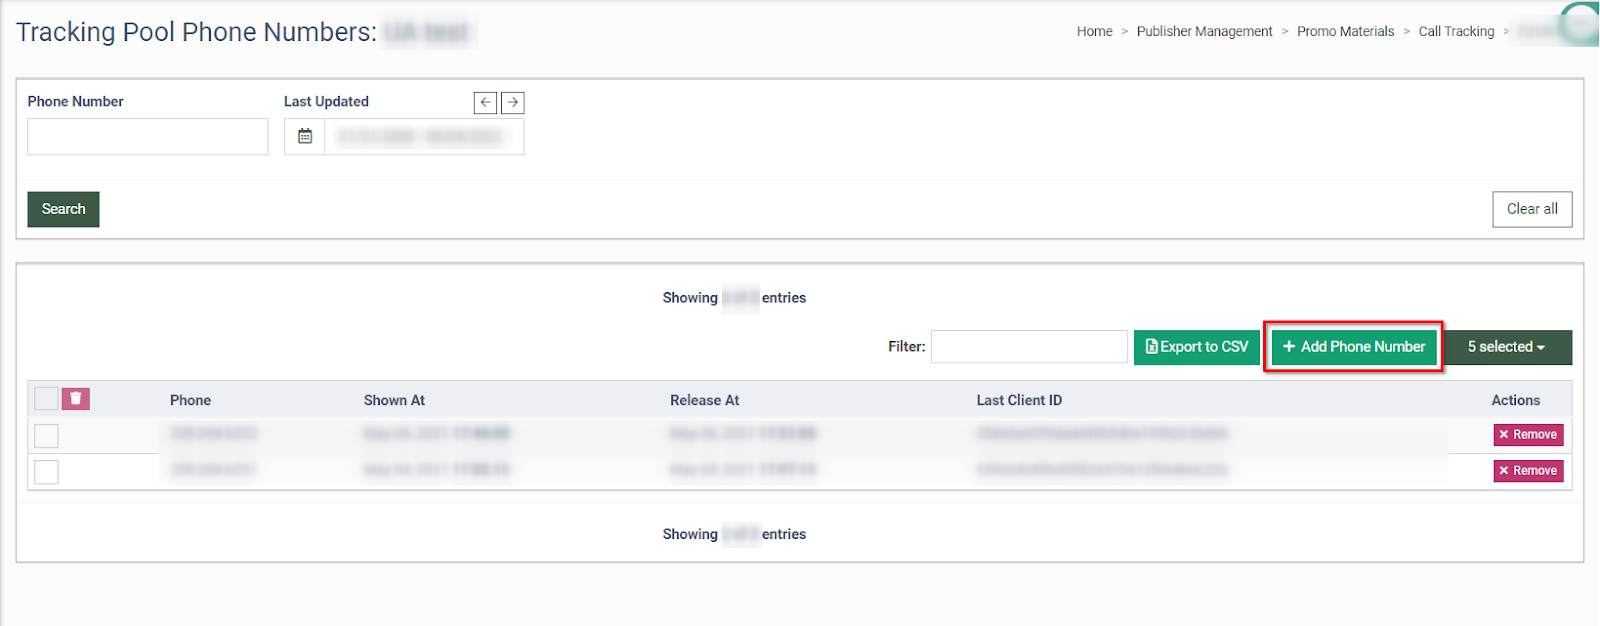
In the pop-up window, select a phone number from the list and click the “Add Phone” button in the “Actions” column. To add multiple phone numbers, select the checkboxes next to the phone numbers and click the “Add” button to complete the action.
Note: You must have reserved phone numbers before adding them to the pool.
To set up settings for the tracking pool, click the “Tracking Widget Settings” button in the “Actions” column.
![]()
Complete the widget's settings according to your preferences and credentials from Google. Read more about the Call Tracking setup and widgets in our Knowledge Base article.
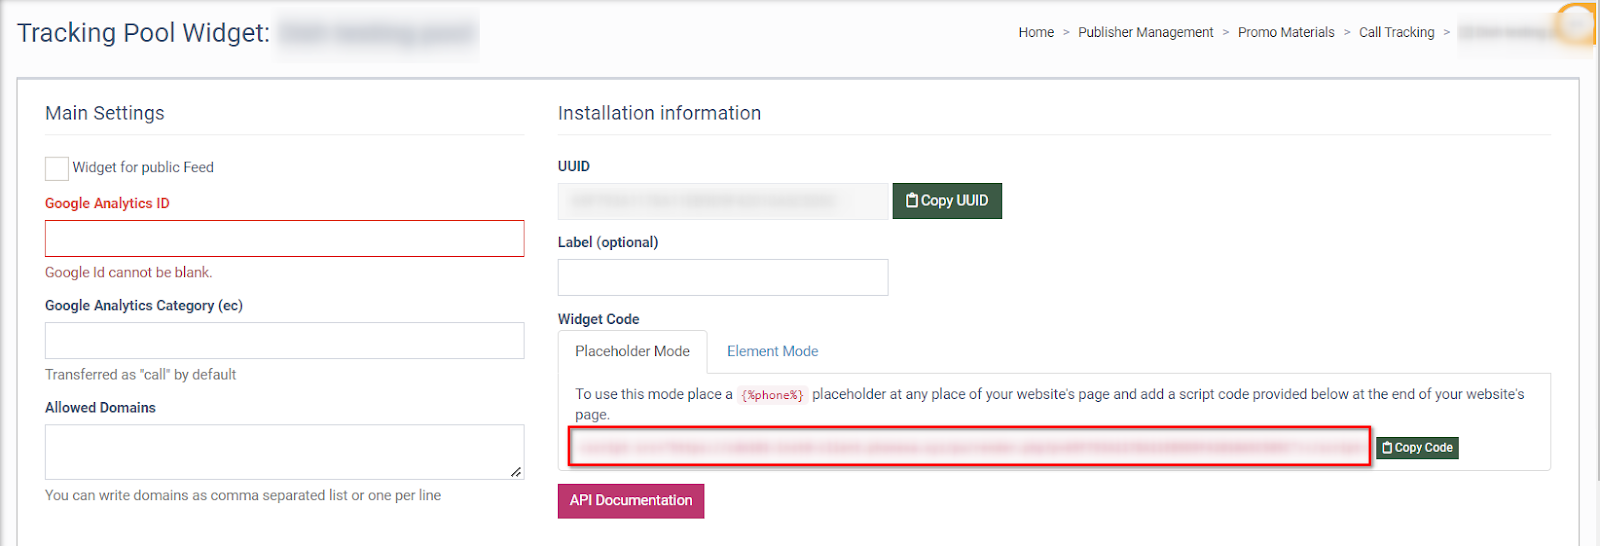
2. Place the widget on the website
Go to the Tracking Pool Widget section and copy the widget's code from the “Widget Code” field. Then place this code on your website.
3. Set up the integration rule on the Publisher level
To set up and configure the integration rule for the Publisher, go to the Publisher Management > Publishers section. Select the Publisher from the list, and click the “View” button in the “Actions” or “ID” column.


Select the “Tracking” tab in the “View” section of the Publisher.
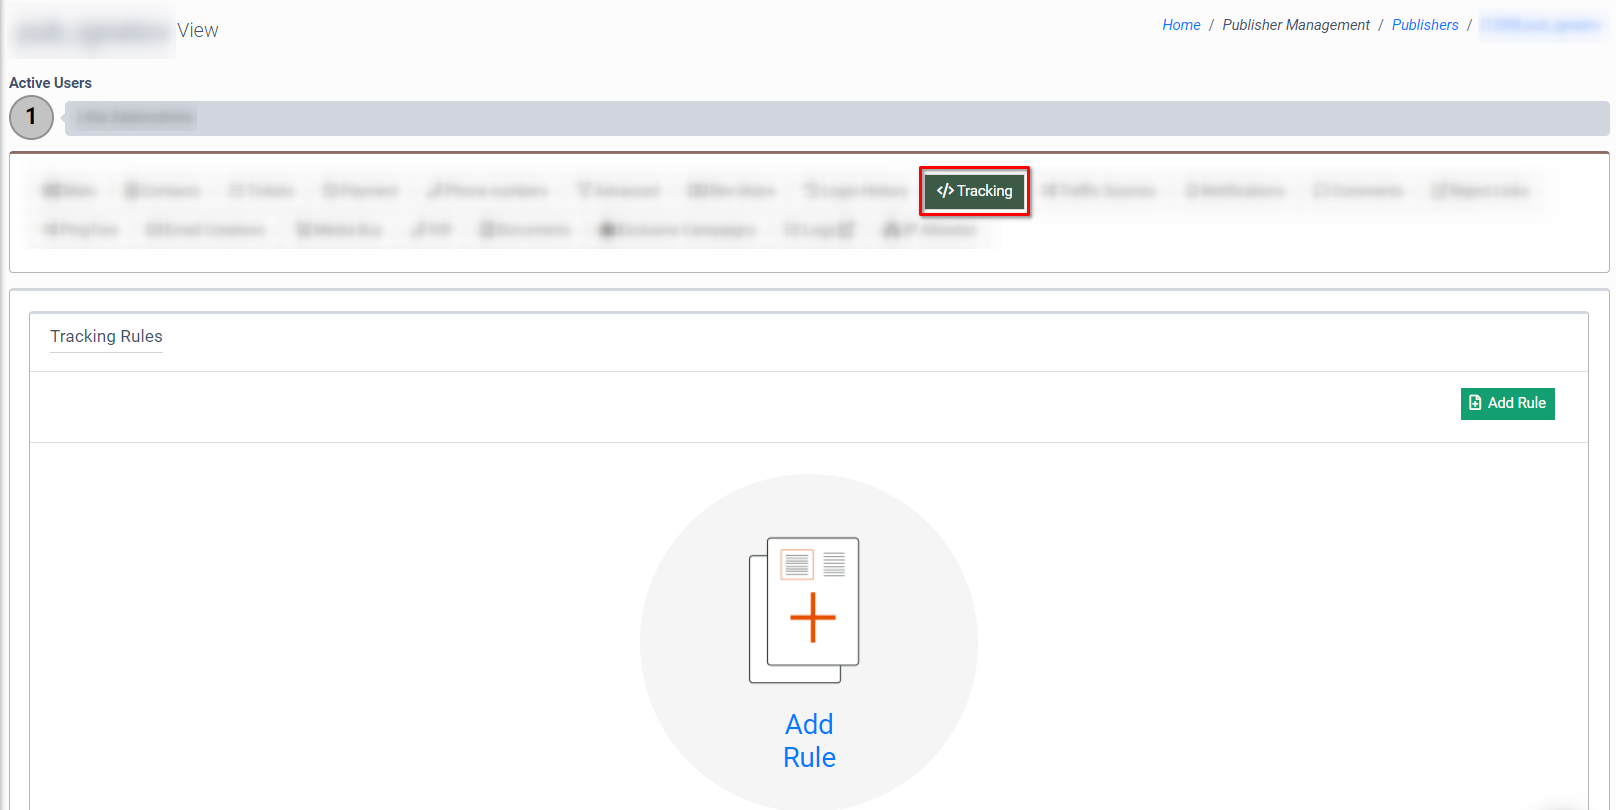
Read more about the further rule configuration in the Knowledge Base article.
4. Set up the integration rule on the Product level
To set up and configure the integration rule for the Product, go to the System Management > Products section. Select the Product from the list, and click the “Settings” button in the “Actions” column.
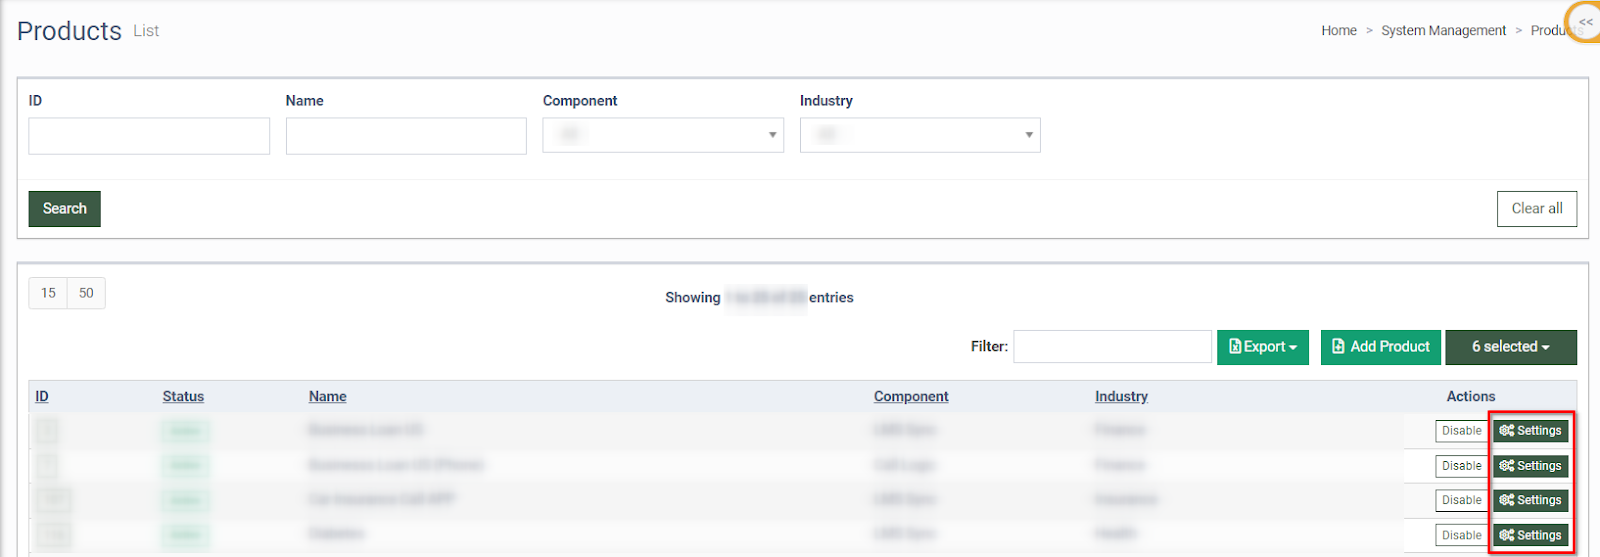
Select the “Tracking” tab in the “Product Setup” section and click the “Add Rule” button.
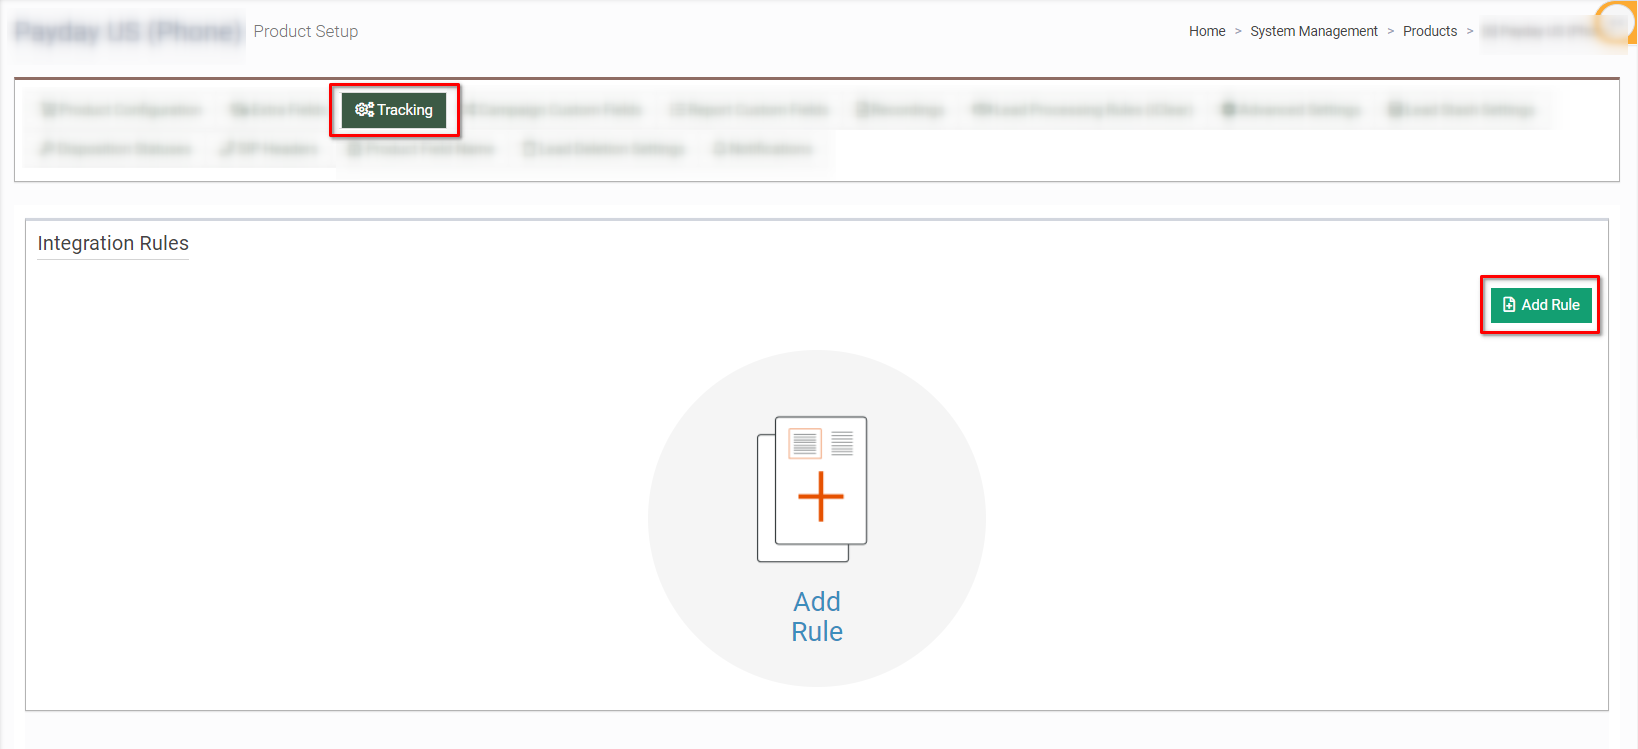
Read more about the further rule configuration in the Knowledge Base article.
5. Check the GCLID results
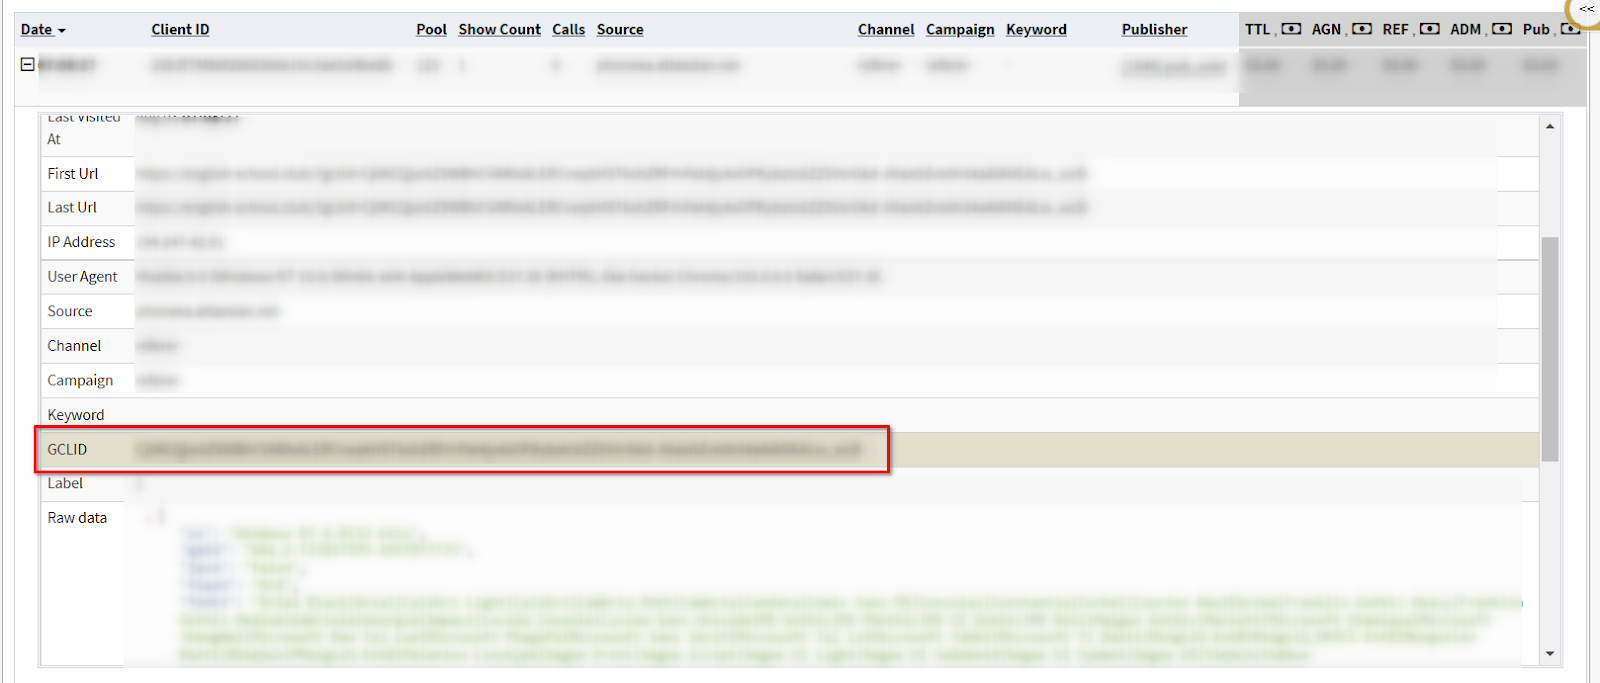
To check the GCLID results, go to the Analytics and Optimization > Publisher Analytics > Call Tracking Summary section and select the “Sessions” tab.
Click the “+” icon in the “Date” column. The GCLID value will be displayed in the “GCLID” field.
Read more about the Call Tracking Summary report in the Knowledge Base article.
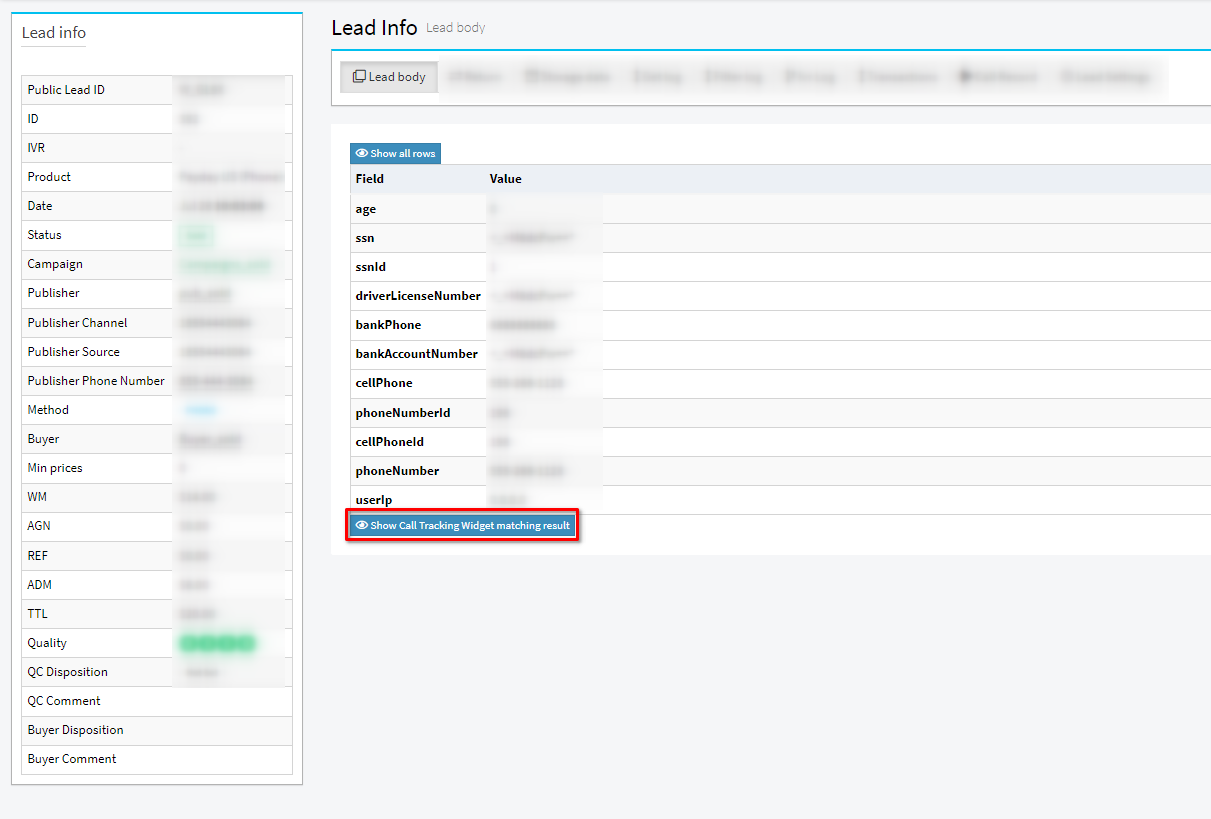
To check the GCLID results via the Lead Details, go to the All Reports > Publisher Reports > Call Details section. Select the “Call Details” tab and click the “Lead ID” button in the “Lead ID” column.
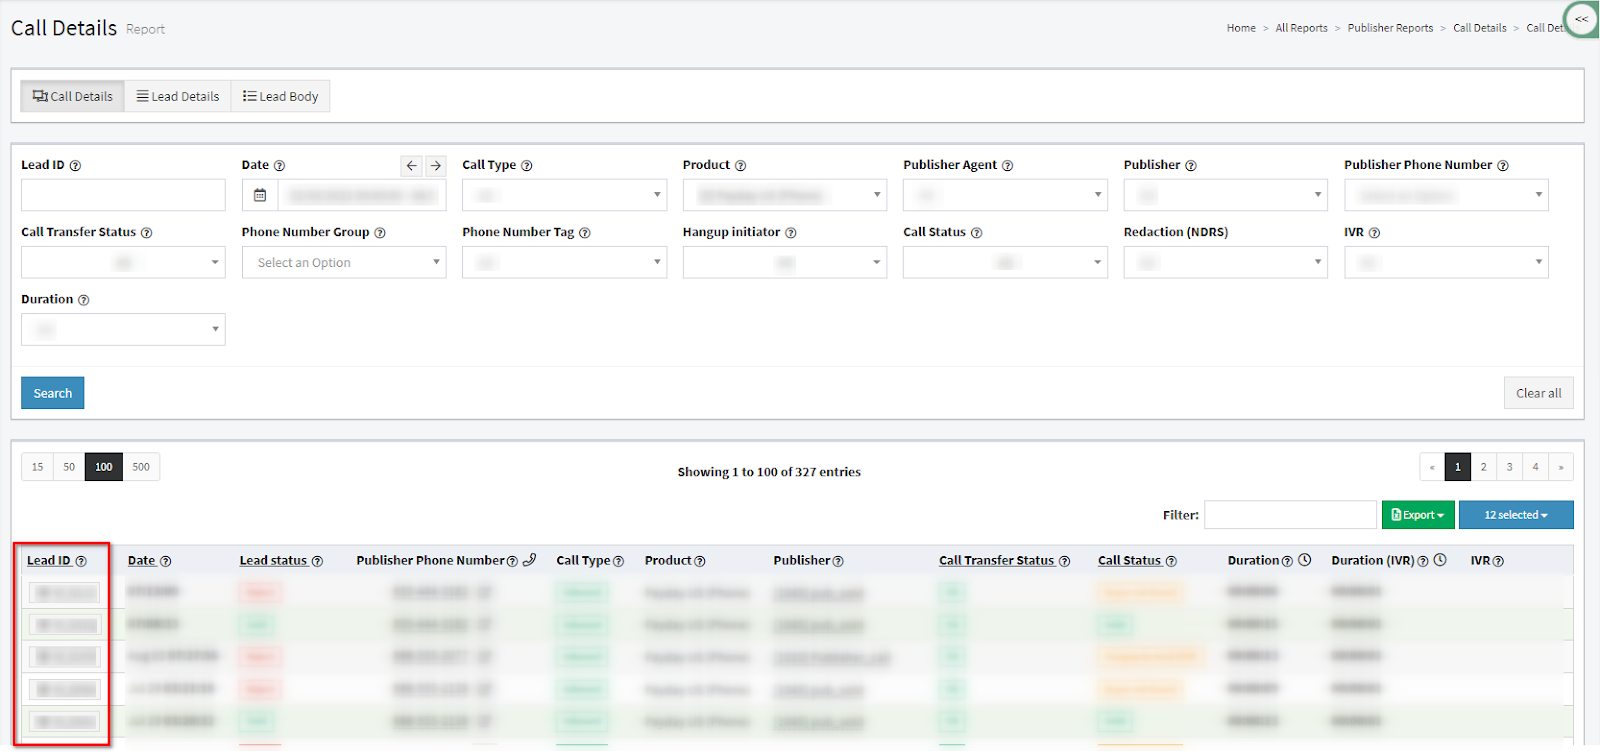
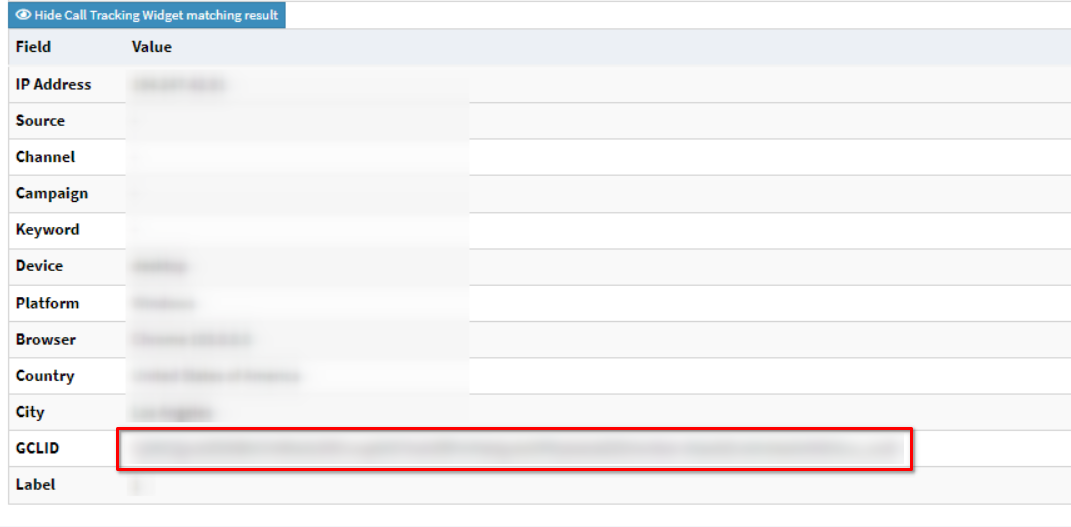
In the “Lead Info” section, select the “Lead Body” tab and click the “Show Call Tracking Widget matching result” button. The GCLID value will be displayed in the “GCLID” field.