The “Call Recording” feature helps to optimize the inbound and outbound calls by allowing management and employees to revisit conversations for quality assurance. This feature is available on-demand and can be enabled or disabled on any Call Logic Product.
Note: The "Call Recording" option is disabled, the "Speech to Text", "Keyword Search" and "Numerical Data Redaction" features will also be disabled.
You can use the automated setup within the System Subscription section or manually configure the feature at the Product level.
To enable the “Call Recording” feature, go to the System Management > System Subscription section and click the “Additional features” tab to expand the list of additional features.
.png?hsLang=en) In the list of additional features, find the “Call Recording” option and click the “Activate” button.
In the list of additional features, find the “Call Recording” option and click the “Activate” button.
.png?hsLang=en) Check the following boxes to set the feature:
Check the following boxes to set the feature:
- Auto setup for existing products: Sets the “Record X percent of total calls” to 100 for all active Products in the Product Setup section.
- Auto setup for selected products: Sets the “Record X percent of total calls” to 100 for the selected Products in the Product Setup section. Select the Products from the drop-down list. Note: There is no possibility to select already configured Products.
- Auto setup for existing and future products: Sets the “Record X percent of total calls” to 100 for all active and future Products in the Product Setup section.
.png?hsLang=en) Click the “Activate” button in a pop-up window to enable the option.
Click the “Activate” button in a pop-up window to enable the option.
Click the “Product Setup” in the pop-up window or go to the System Management > Products section and click the “Configure” button for the Call Logic Product.
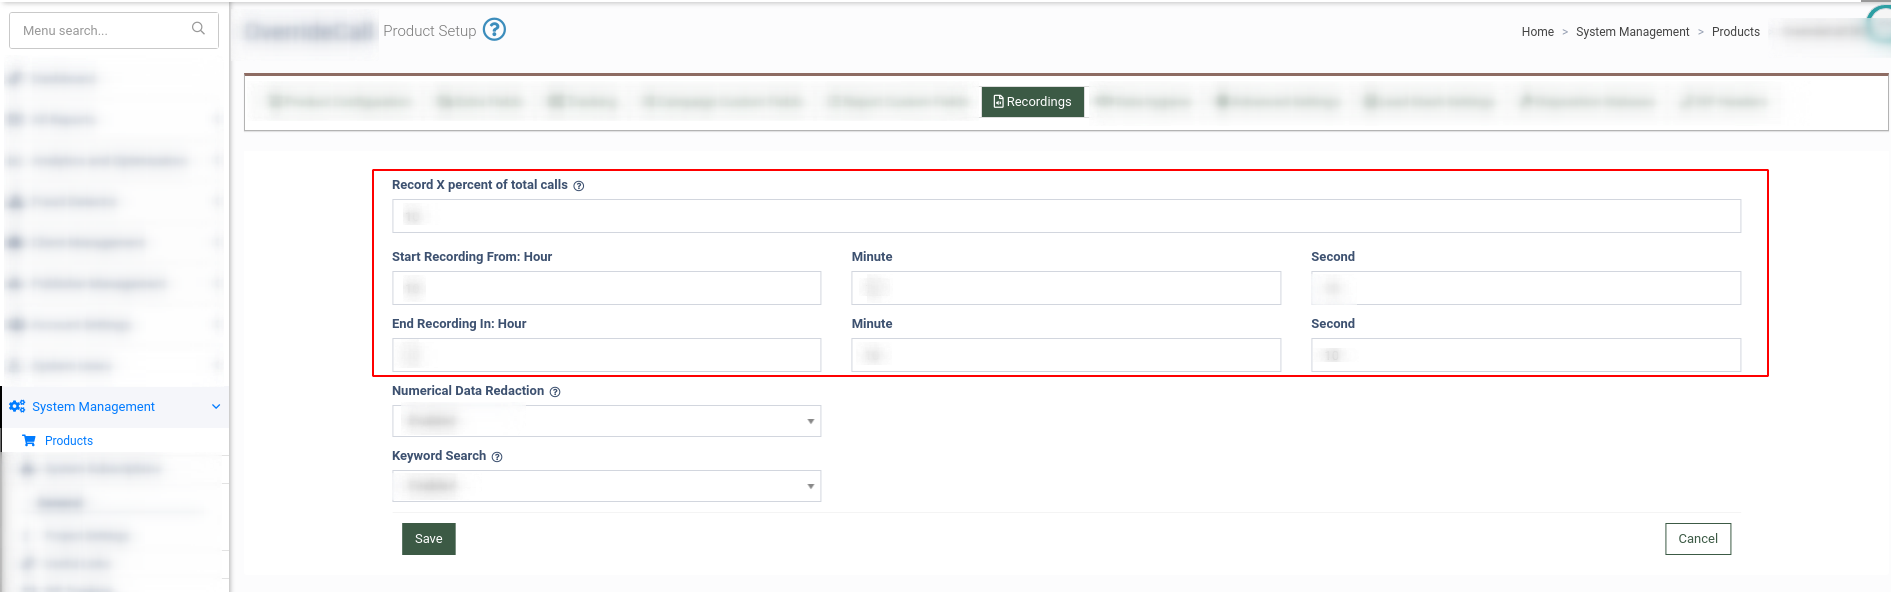
 From the Product Setup page, go to the Recording tab and fill in the following fields:
- Record X percent of total calls: Enter the percentage ratio of total calls you would like to record.
- Start Recording From: Enter the time in the hour, minute, and second fields to start recording the calls.
- End Recording In: Enter the time in the hour, minute, and second fields to end recording the calls.
- Numerical Data Redaction: Select the status of the numerical data redaction (Disabled, Enabled, Disabled (Strict), Enabled (Strict)).
Note: Call Logic users who utilize the Call Recordings option can now edit numerical information such as phone number, credit card number, ZIP code, and SSN from the audio recording of the conversation.
- Keyword Search: Select the status of the keyword search (Disabled, Enabled, Disabled (Strict), Enabled (Strict)).
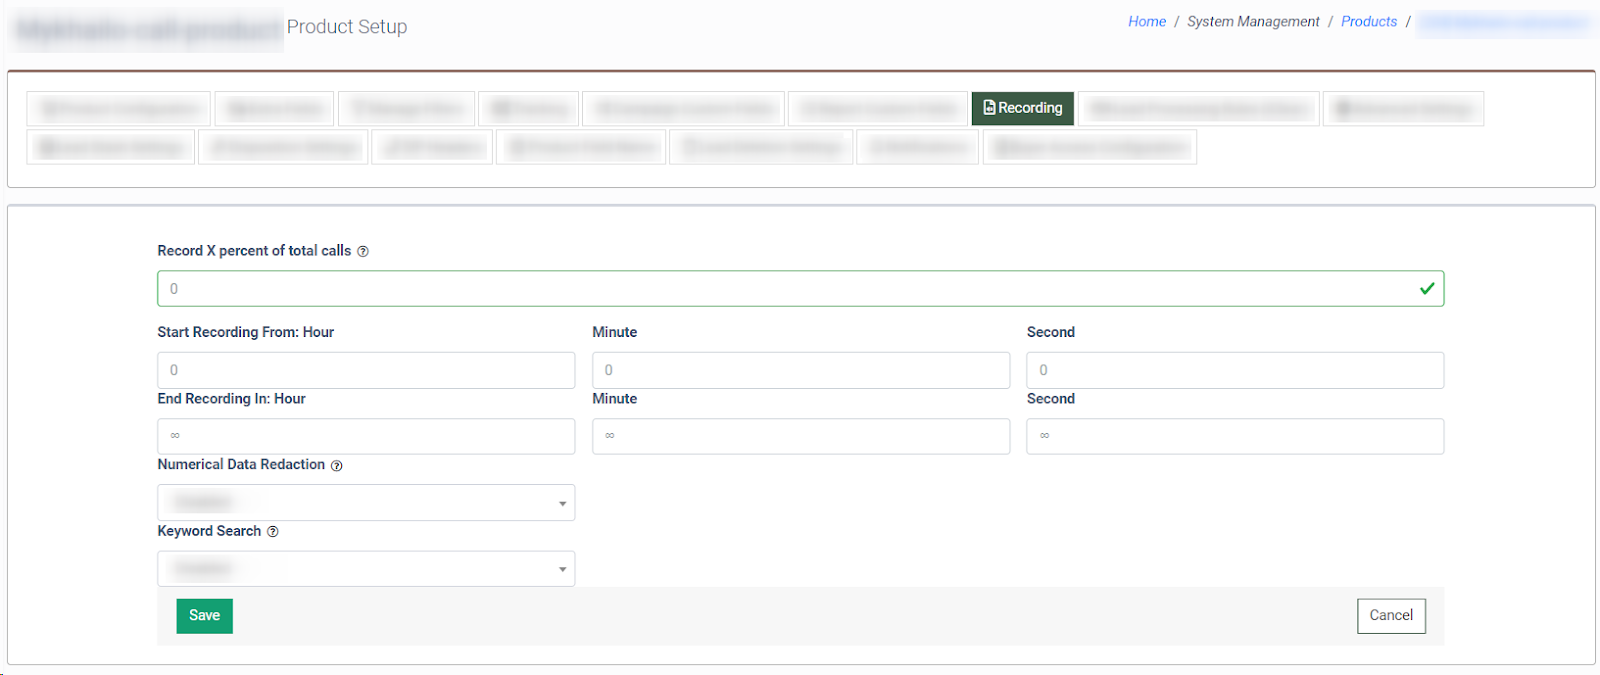 Click the “Save” button to apply the recording settings.
Read more about the Numerical Data Redaction and Keyword Search features in our Knowledge Base articles.
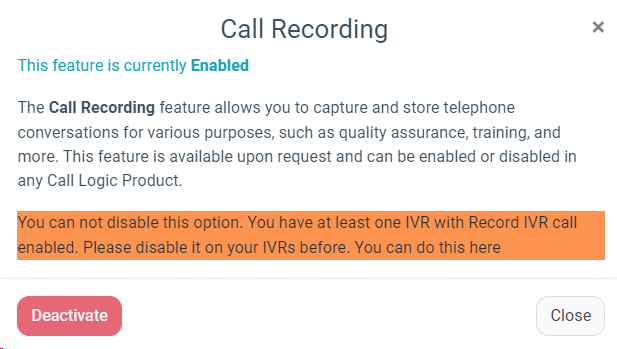
To turn off the feature, go to the System Management > System Subscription section and click the “Additional features” button. Click the “View/Edit” button in the Action column and click the “Deactivate” button.
Note: Make sure there are no active IVRs with Record IVR calls; otherwise, you won’t be able to disable the feature.
How to Listen to Call Recordings
To listen to the recorded file, go to the All Reports > Publisher Reports (Buyer Reports) > Call Details section, select the “Lead Details” tab, and click the “Play” button in the “Duration (Buyer)" column of the report.

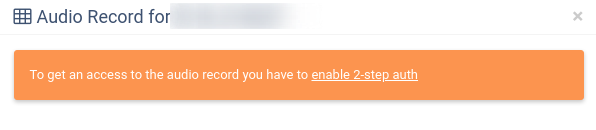
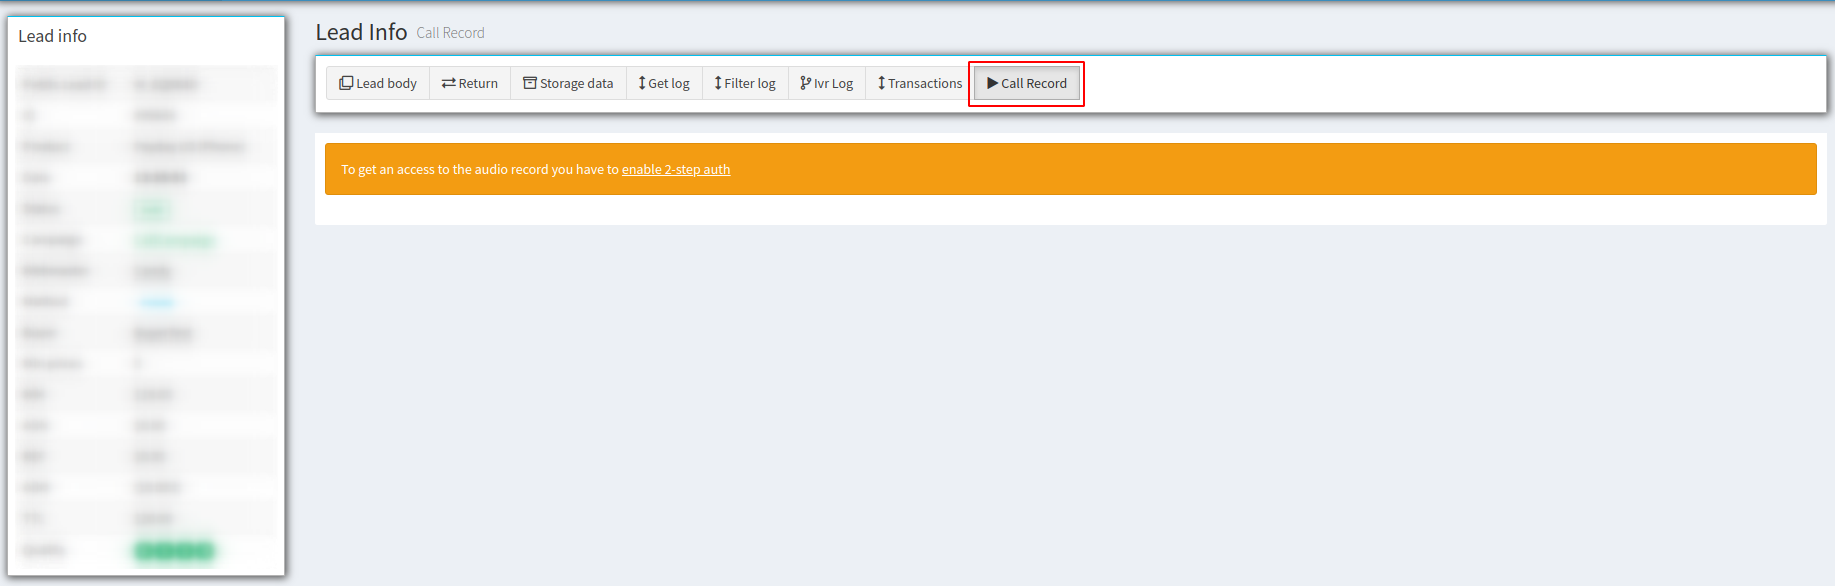
To listen to the record, make sure to enable the two-factor authentication. If the authentication is disabled, you will see the corresponding message in the pop-up window. Read about how to set up the Two Factor Authentication in the Knowledge Base article.
You can listen to the record in the “Lead Info” section, and the “Call Record” tab as well. To be able to listen to the record, make sure to enable the two-factor authentication.
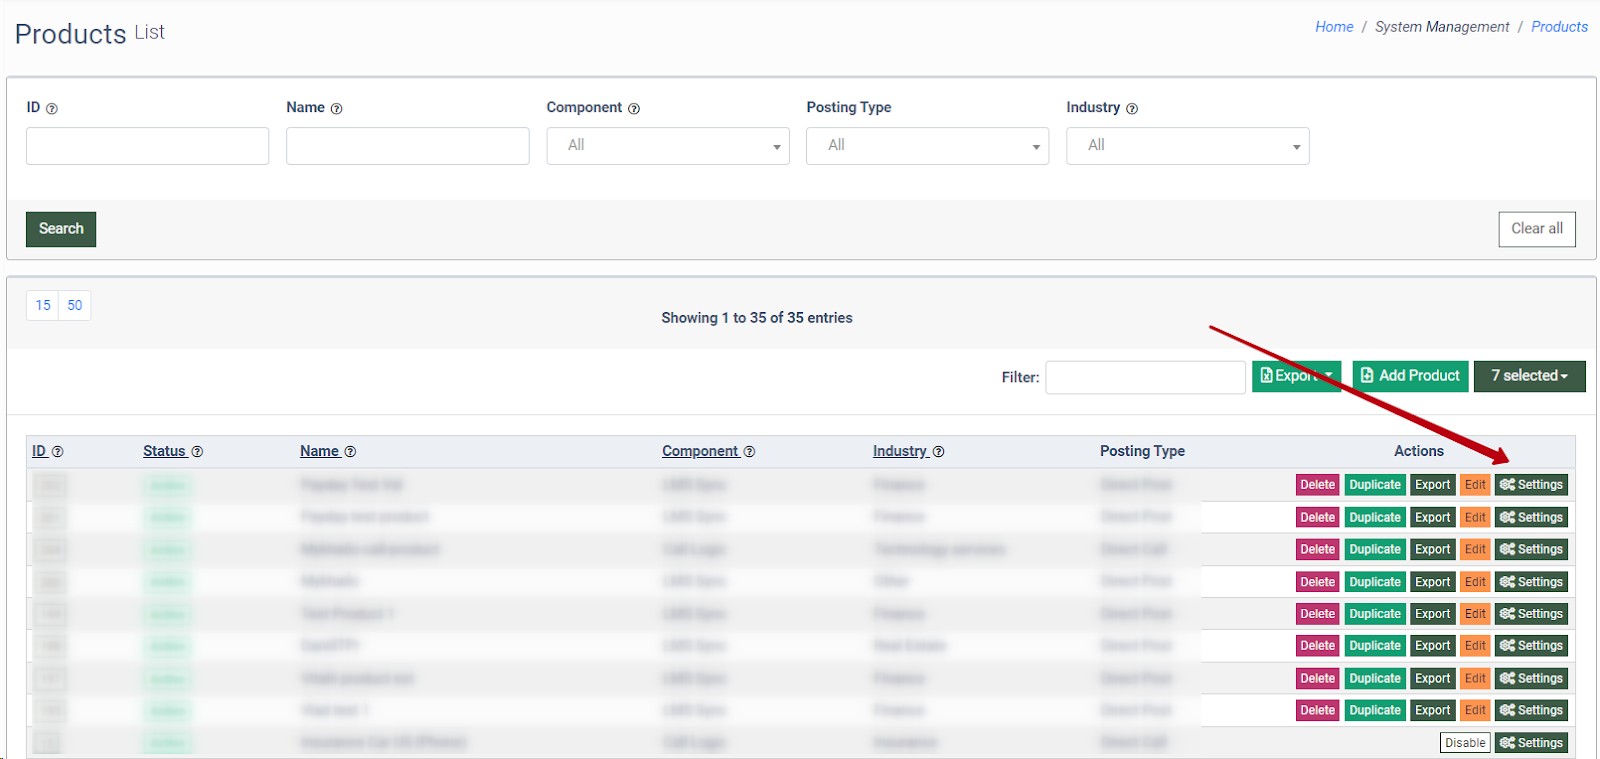
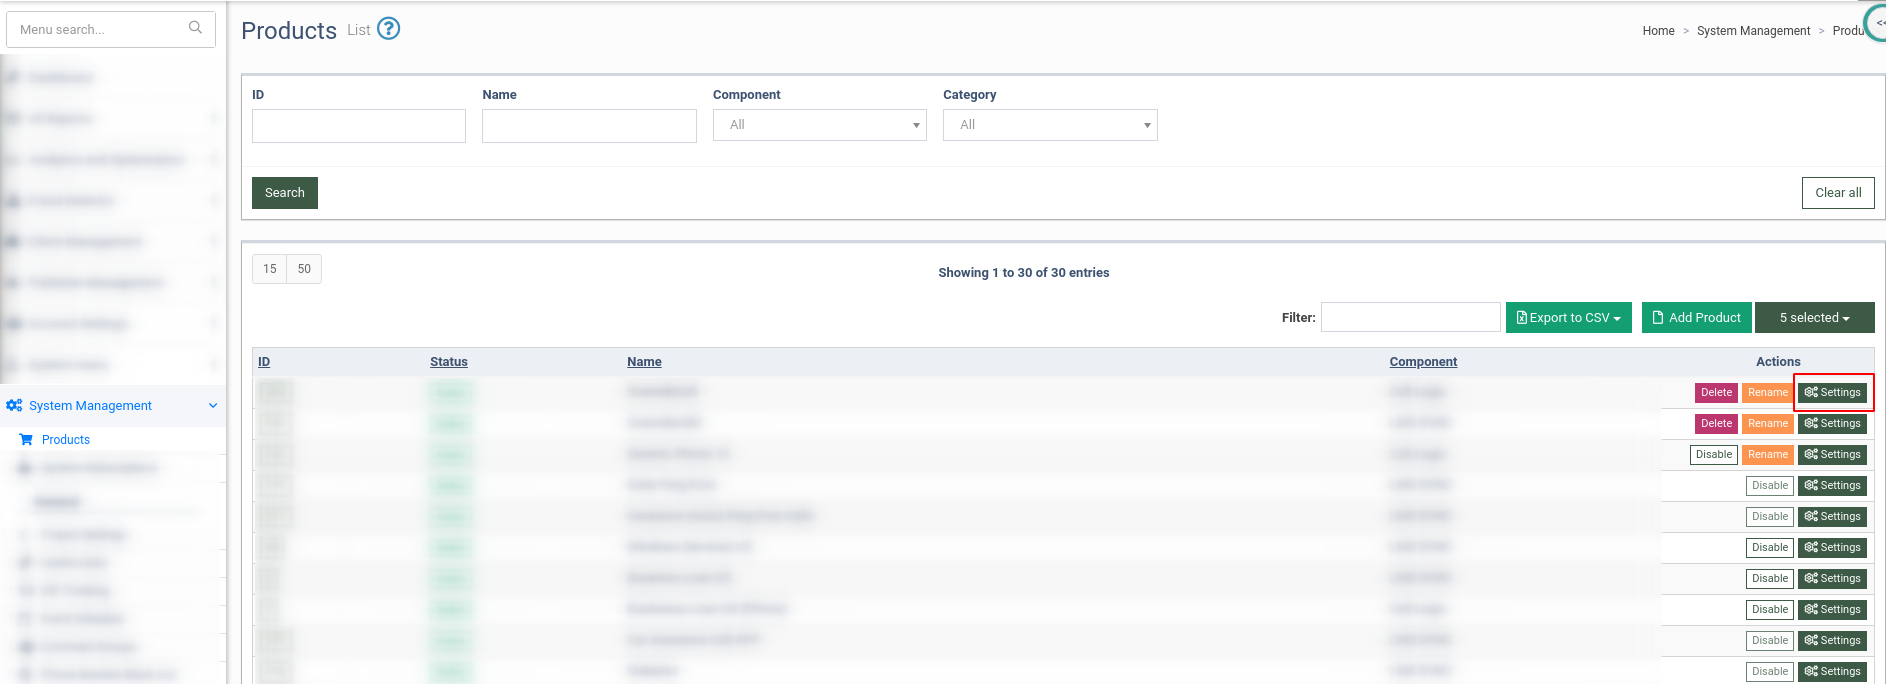
To effect the percentage of recorded calls for the product, go to the System Management > Products section, and click the “Settings” button next to the product.
Select the “Recordings” tab and enter 100 in the “Record X percent of total calls” field to record all calls for the product. To record fewer calls, enter the value under 100. The calls will be recorded randomly.
To set up the moment when the system starts the call recording, enter the required value in the “Start Recording From: Hour, Minute and/or Second” fields. To set up the moment when the system finishes the call recording, enter the required value in the “End Recording In: Hour, Minute and/or Second fields.
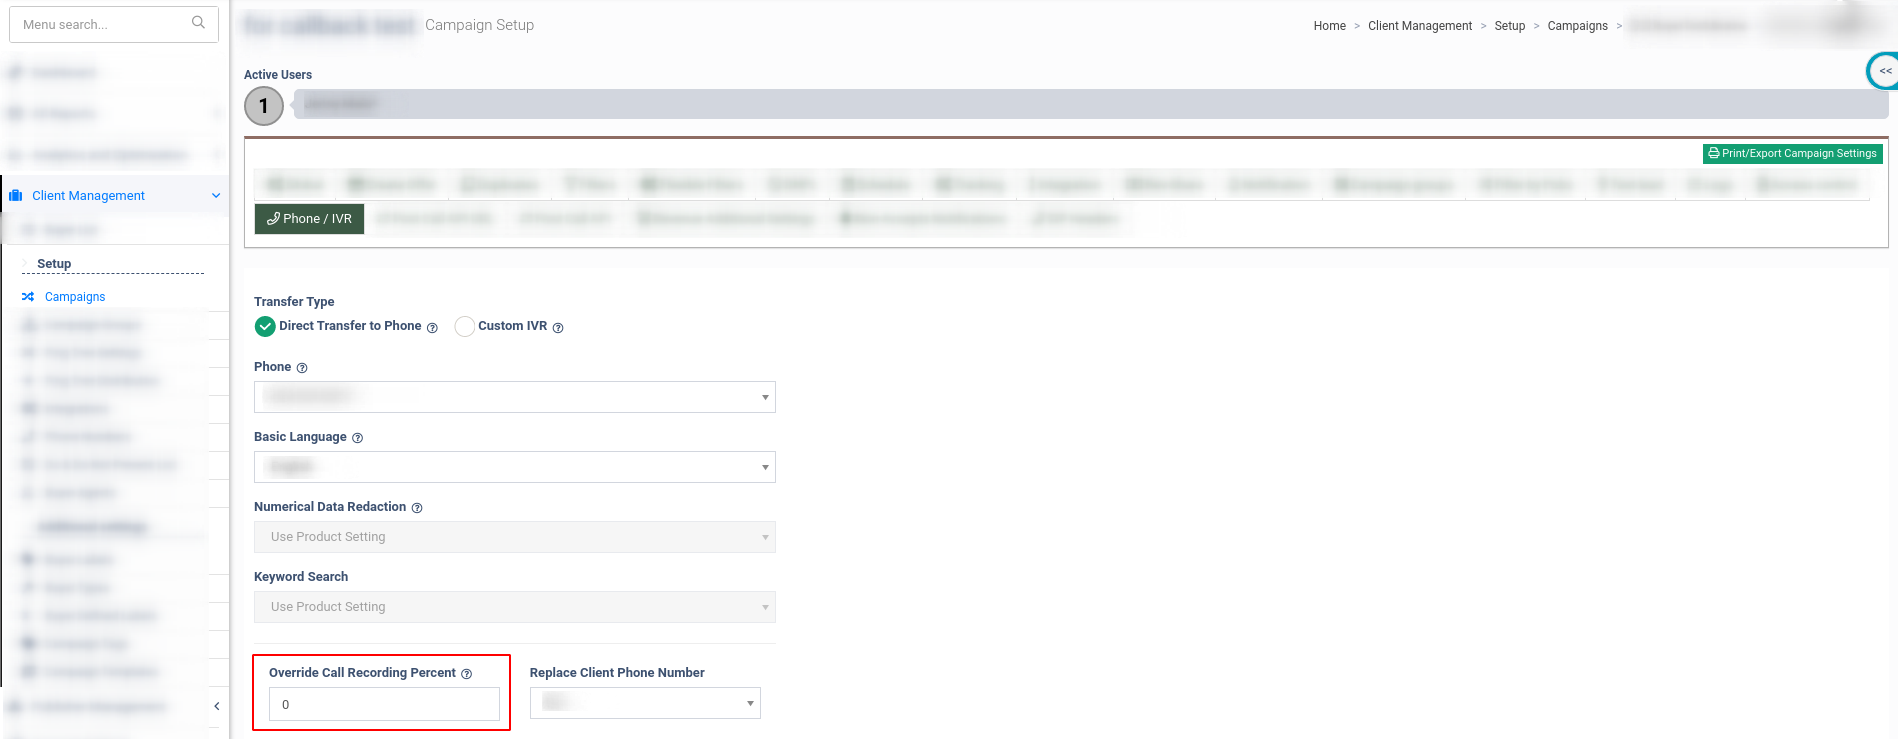
To prevent the call recording for a specific Campaign, go to the Client Management > Setup > Campaigns section, click the “Configure” button, select the “Phone/IVR” tab, and enter the “0” value in the “Override Call Recording Percent” field. To override the call recording percent set on a product level, enter the value that will define the percentage of calls to be recorded for the campaign in the “Override Call Recording Percent” field.