The “Add Do/Do Not Present Lists” feature allows you to add lead data to the Do or Do Not Present Lists based on the lead disposition. Read more information about the Do and Do Not Present Lists section in the Knowledge Base article.
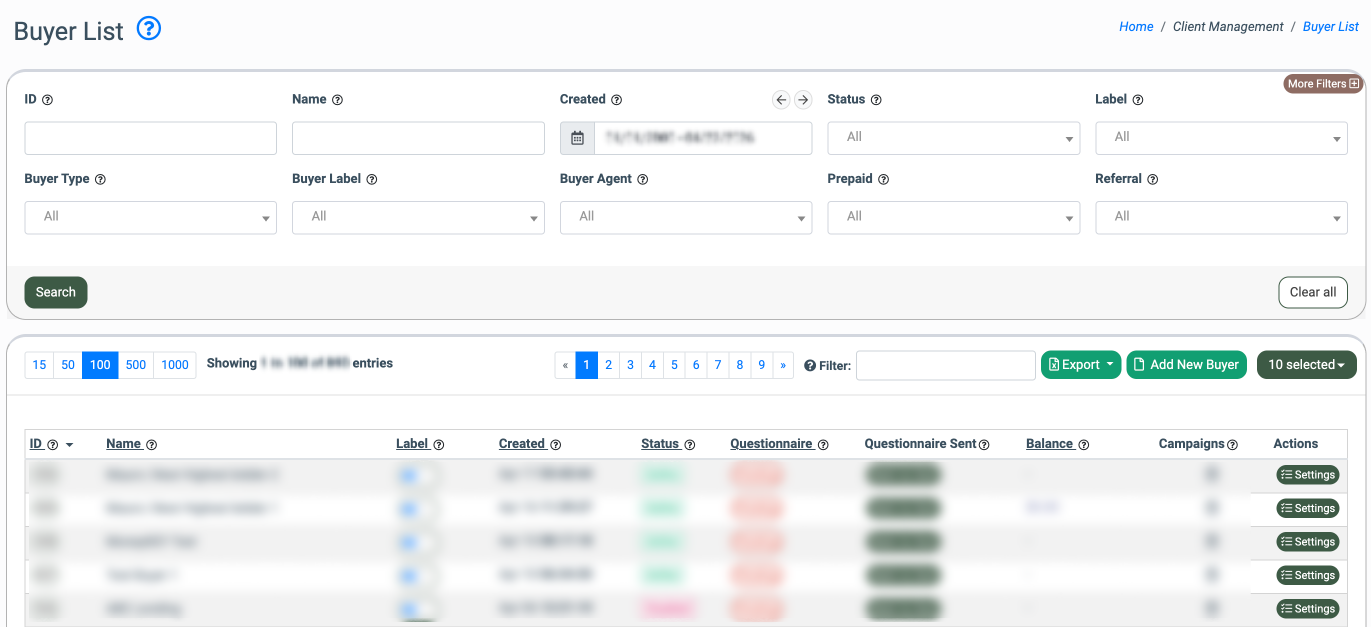
To view this setting, go to the Client Management > Buyer List section, click the “Configure” button in the “Action” column and select the “Integration” tab. Read more information about this tab in the Knowledge Base article.
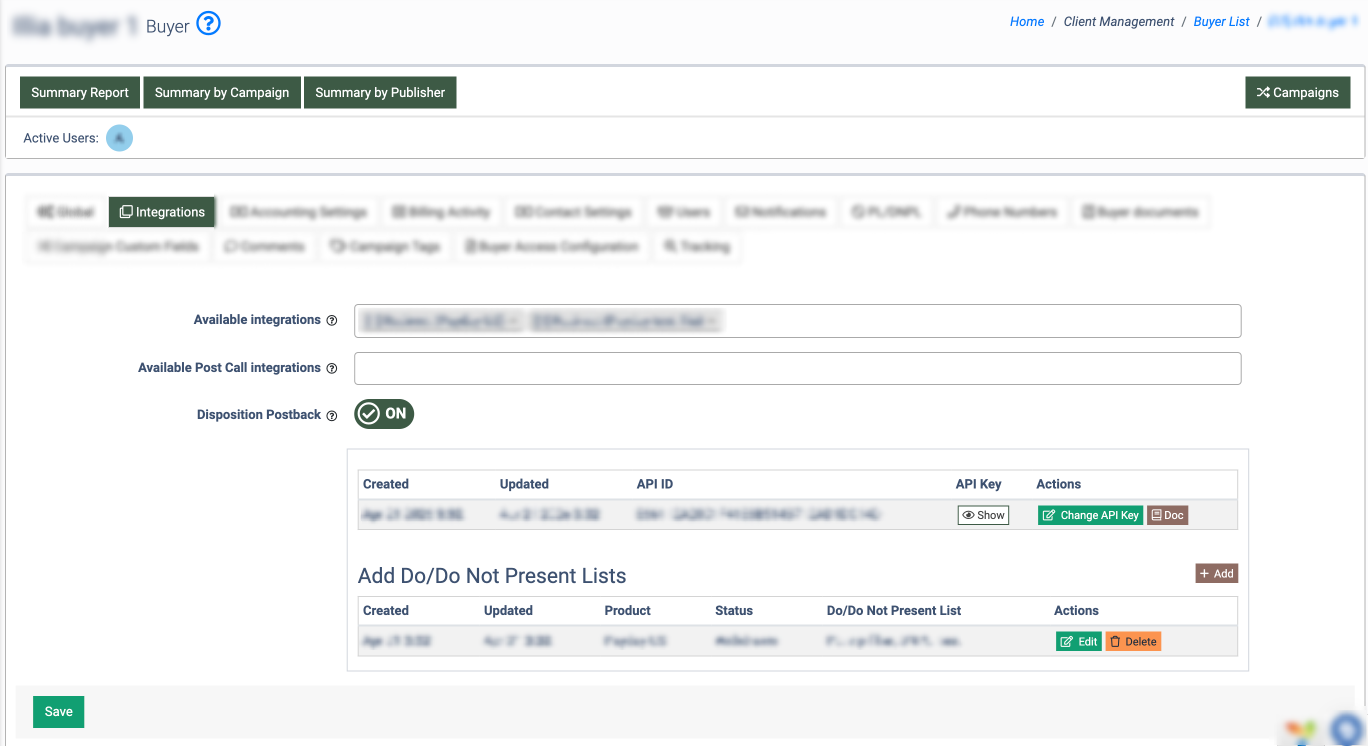
To enable the disposition ping back feature for the Buyer, set the “ON” value in the “Disposition Ping Back” field. Read more information about the Buyer’s Disposition feature in the Knowledge Base article.
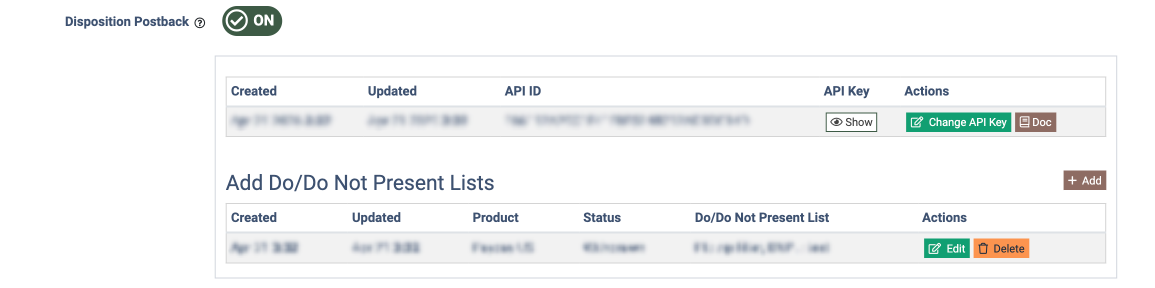
The “Add Do/Do Not Present Lists” block contains the following information:
-
Created: The date and time when the setting was created.
-
Updated: The date and time of the last update of the setting.
-
Product: The name of the Product.
-
Status: The disposition that triggers leads to be added to the Do or Do Not Present List.
-
Do/Do Not Present List: The name of the Do or/and Do Not Present List.
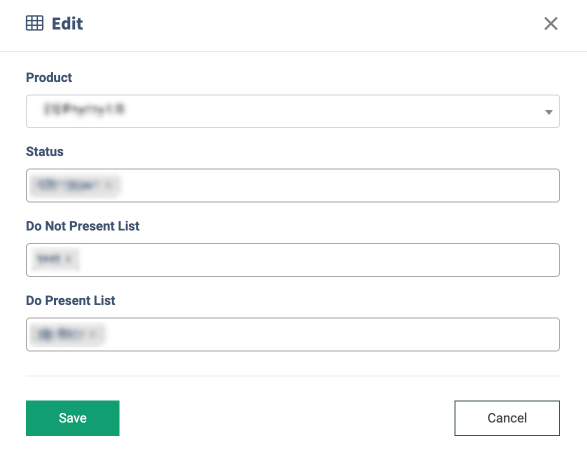
To add a new PL&DNPL setting, click the “Add” button and fill in the following fields in the “Add” pop-up window:
-
Product: Select the Product.
-
Status: Select the disposition (Converted, Bad Contact, Never Applied, Withdrawn, Pending, or any custom disposition set on the product).
-
Do Not Present List: Select the Do Not Present list to add leads to.
-
Do Present List: Select the Present List list to add leads to.
Note: As the Do and Do Not Present lists are created for the specific product fields, only values for the corresponding fields will be added to the list.
Click the “Save” button to complete the action.
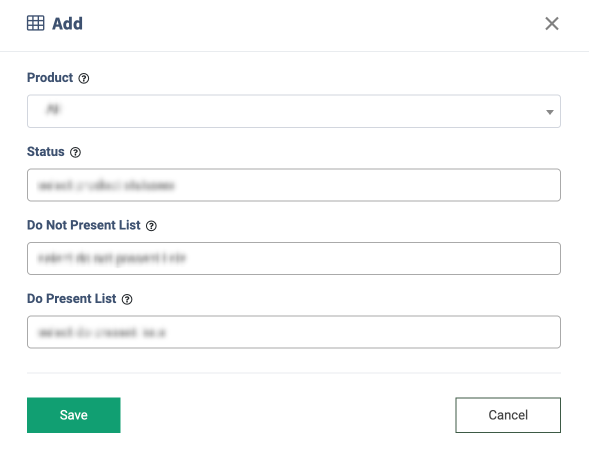
Note: You can create only one setting per disposition that can contain up to 3 Do and Do No Present Lists.
To manage an existing PL&DNPL disposition ping back setting, click the “Edit” button in the “Action” column. Click the “Save” button to apply the changes.
To remove the record from the list, click the “Delete” button in the “Action” column.