To configure the Buyer settings go to the Client Management > Buyer List section and click the “Settings” button in the “Actions” column for the related buyer.
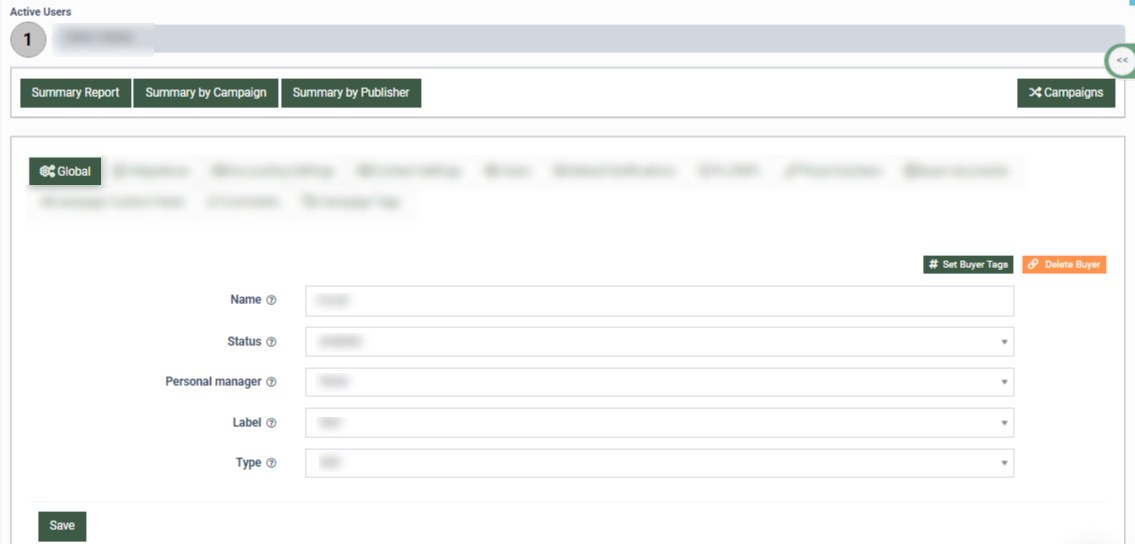
To view detailed buyer report data, click the “Summary Report”, “Summary by Campaign”, or “Summary by Product” buttons. To review the list of Buyers’ Campaigns, click the “Campaigns” button.
The Buyer settings module contains the following tabs:
Global
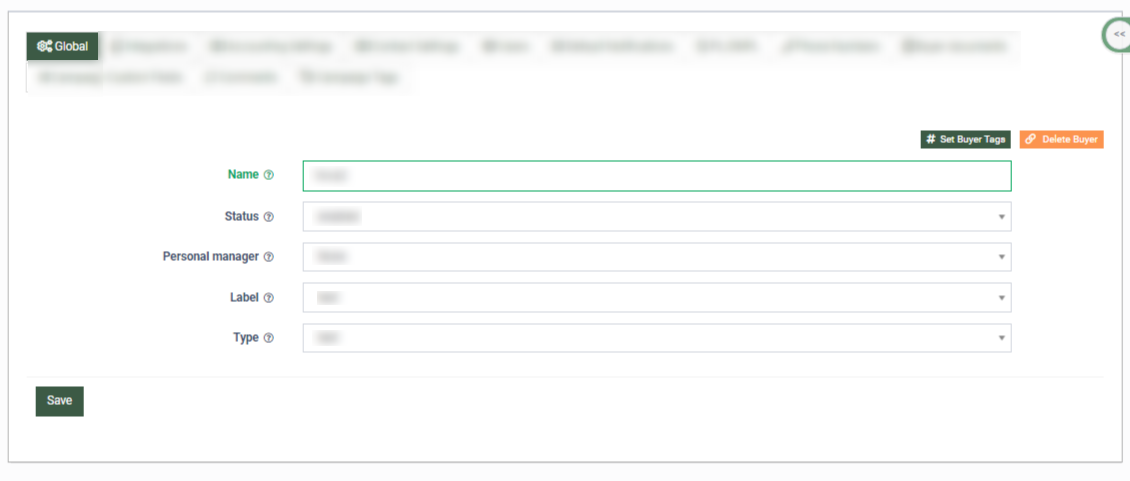
The ”Global” tab allows you to configure basic buyer data. The ”Global” tab contains the following data fields:
-
Name: Enter the name of the buyer.
-
Status: Select the status of the buyer (Disabled/Enabled).
-
Personal Manager: Select the manager related to the buyer.
-
Label: Select the Buyer’s label.
-
Type: Select the Buyer’s type.
To set up the buyer tags, click the “Set Buyer Tags” button.
To delete the Buyer, click the “Delete Buyer” button in the upper right corner.
Click the “Save” button to complete.
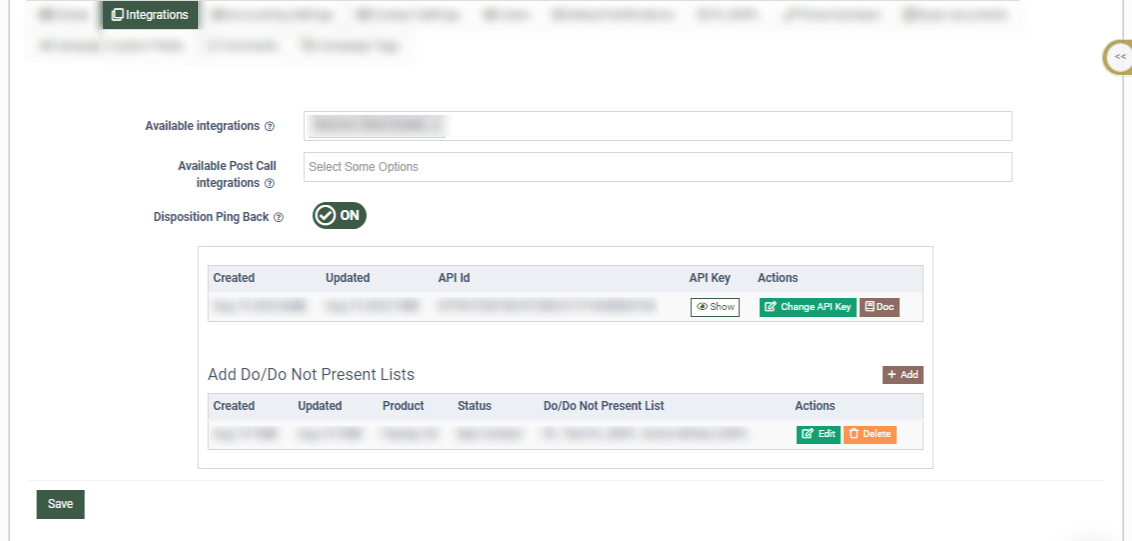
Integrations
The “Integrations” tab allows you to manage available active integrations for the buyer. The ”Integrations” tab contains the following data fields:
-
Available Integrations: The list of all active integrations of the buyer.
-
Available Post Call Integration: The list of all active Post Call Integrations of the buyer.
-
Disposition Ping Back: Click to enable or disable the Disposition Ping Back (ON/OFF).
The “Disposition Ping Back” block contains the following information:
-
Created: The date when the integration was created.
-
Updated: The date when the integration was updated last time.
-
API Id: The identification number for the integration.
-
API key: The key for the API.
Note: Read more about the Disposition Ping Back in this Knowledge Base article.
In the “Actions” column, you can click the “Change API key” button to change the API key and click the “Doc” button to download the data as a document.
The “Add Do/Do Not Present Lists” block contains the following information:
-
Created: The date and time when the setting was created.
-
Updated: The date and time of the last update of the setting.
-
Product: The name of the Product.
-
Status: The disposition status that triggers leads to be added to the Do or Do Not Present List (Converted, Bad Contact, Never Applied, Withdrawn, Pending, or any custom disposition set on the product).
-
Do/Do Not Present List: The name of the Do or/and Do Not Present List.

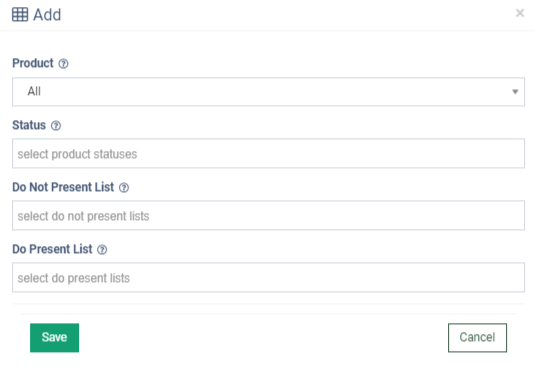
To add a new PL&DNPL setting, click the “Add” button and fill in the following data fields in the “Add” pop-up window:
-
Product: Select the Product.
-
Status: Select the disposition status (Converted, Bad Contact, Never Applied, Withdrawn, Pending, or any custom disposition set on the product).
-
Do Not Present List: Select the Do Not Present list to add leads to.
-
Do Present List: Select the Present List list to add leads to.
Click the “Save” button to complete the action.
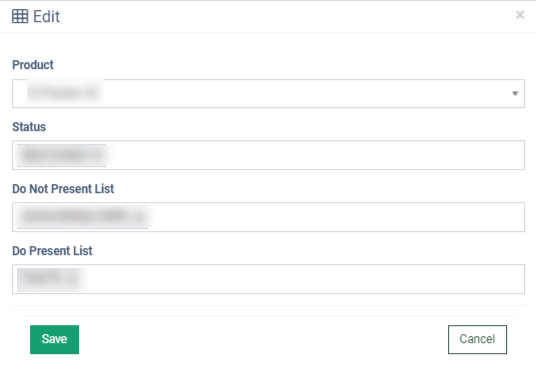
To manage the existing PL&DNPL disposition pingback setting, click the “Edit” button in the “Actions” column and fill in the following data fields in the “Edit” pop-up window:
-
Product: Select the Product.
-
Status: Select the disposition status (Converted, Bad Contact, Never Applied, Withdrawn, Pending, or any custom disposition set on the product).
-
Do Not Present List: Select the Do Not Present list to add leads to.
-
Do Present List: Select the Present List list to add leads to.
Click the “Save” button to complete the action.
To remove the record from the list, click the “Delete” button in the “Actions” column.
Accounting Settings
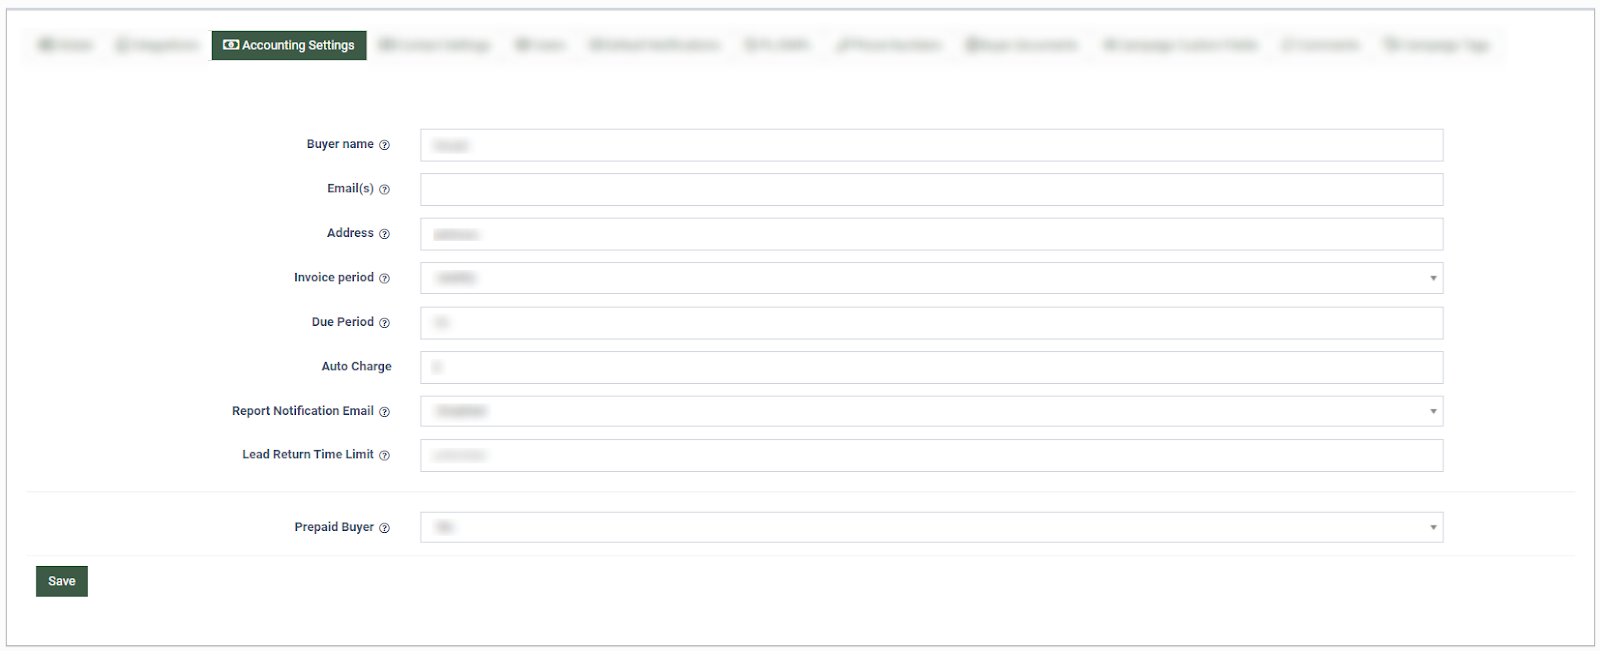
The “Accounting Settings” tab allows you to view the Buyer’s invoice frequency and allows you to edit the invoice settings. The feature is available only if the “Books 360” service is enabled. The ”Accounting Settings” tab contains the following information:
-
Buyer’s name: Enter the name of the buyer.
-
Email(s): Enter the email address.
-
Address: Enter the physical address of the buyer.
-
Invoice Period: Select the frequency of the invoices to be sent to the buyer.
-
Due Period: Enter the number of days provided for the buyer to make the payment.
-
Auto Charge: Specify the duration of time during which the payment will be automatically charged from the Buyer.
-
Report Notification Email: Select the frequency of the report notification emails (Disabled, Weekly, Semi-Monthly, Monthly).
-
Lead Return Time Limit: Enter the lead return period (Enter the value between 1 and 90 days).
-
Prepaid Buyer: Select the prepaid from the buyer (no/yes).
Click the “Save” button to complete the action.
Contact Settings
The “Contact Settings” tab allows you to view, edit and delete the contact information of the Buyer. The “Contact Settings” tab contains the following information:
-
Type: The type of the contact (email, cell phone, landline, physical address, Skype, Id Before Migration, WebSite).
-
Value: The contact information appropriate to the type.
-
Descriptions: The brief description of the contact.

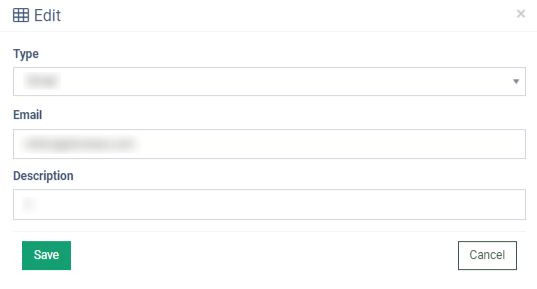
To manage an existing Contact Settings, click the “Edit” button in the “Actions” column and fill in the following data fields in the “Edit” pop-up window:
-
Type: Select the type of contact (email, cell phone, landline, physical address, Skype, Id Before Migration, Website).
-
Value: Enter the contact information appropriate to the type.
-
Descriptions: Enter a brief description of the contact.
Click the “Save” button to complete the action.
To remove the record from the list, click the “Delete” button in the “Actions” column.
Users
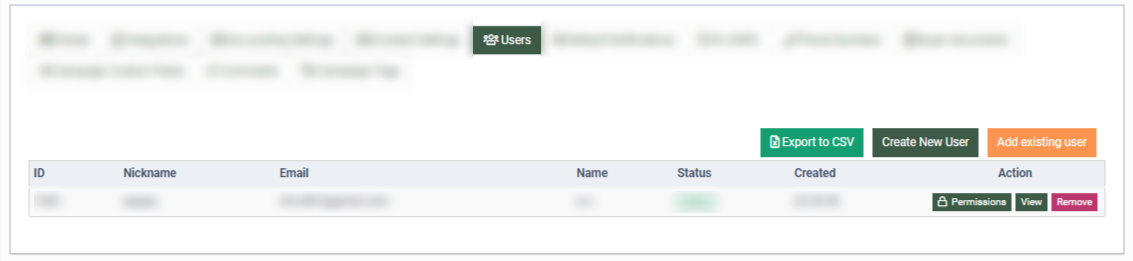
The “Users” tab allows you to manage the list of all the Buyer Representatives added for the Buyer. The “Users” tab contains the following information:
-
ID: The unique identification number of the user.
-
Nickname: The name of the user in the system.
-
Email: The email address of the user.
-
Name: The name of the user.
-
Status: The user's status (Active, Deleted, Disabled).
-
Created: Exact time when the user was created.


To add a new user, click the “Create New User” button and fill in the data fields in the “Add New” pop-up window:
-
Email: Enter the email address of the user.
-
Nick Name: Enter the name of the user in the system.
-
New Password: Enter the password used to log into the system.
-
Repeat password: Enter the confirmation for the password.
-
First Name: Enter the first name of the user.
-
Last Name: Enter the last name of the user.
Click the “Add” button to create a new user.

To add an existing user, click the “Add existing user” button and select the user from the “Add existing user” pop-up window.

To add or remove permissions for the user, click the “Permission” button in the “Actions” column.
The “View” button allows you to see the main details about the user.
The “Remove” button allows you to delete the user from the Buyer’s user list.
Default Notification
The “Default Notification” tab allows you to manage the presets for the default notifications according to the volume of the leads.
Read more about the notification settings on the Buyer level for the LMS platform in our Knowledge Base article and for the Call Logic platform in this Knowledge Base article.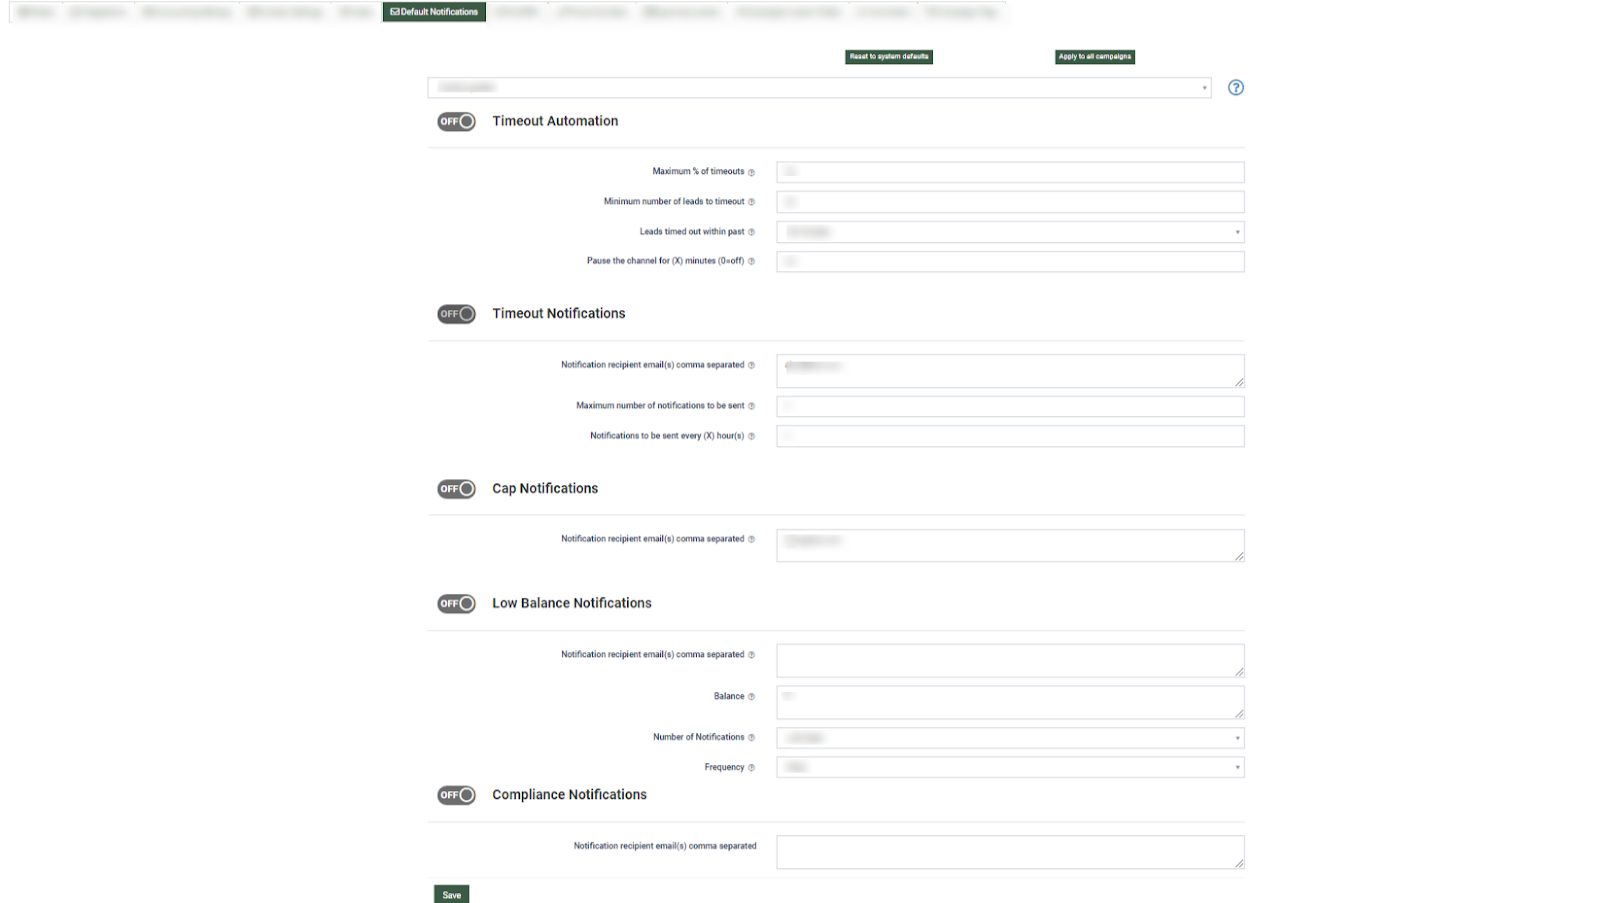
PL/DNPL
The PL/DNPL tab allows you to view the list of present or do not present lists applied on the Buyer level to all Campaigns created for this buyer. The “PL/DNPL” tab contains the following information:
-
Select PL/DNPL to apply to this buyer: Select Present & Do Not Present Lists (This list/lists will be applied to the specific buyer).
-
Copy Pl/DNPL settings to other Buyers: Click the checkbox to copy PL/DNPL settings of the current Buyer to the list of the selected Buyers.
-
Xerox Ids: Select the Buyers.

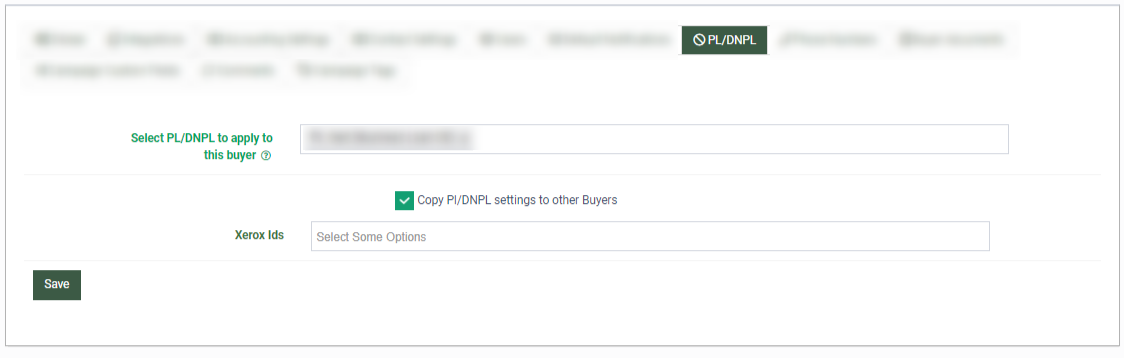
Click the “Save” button to complete.
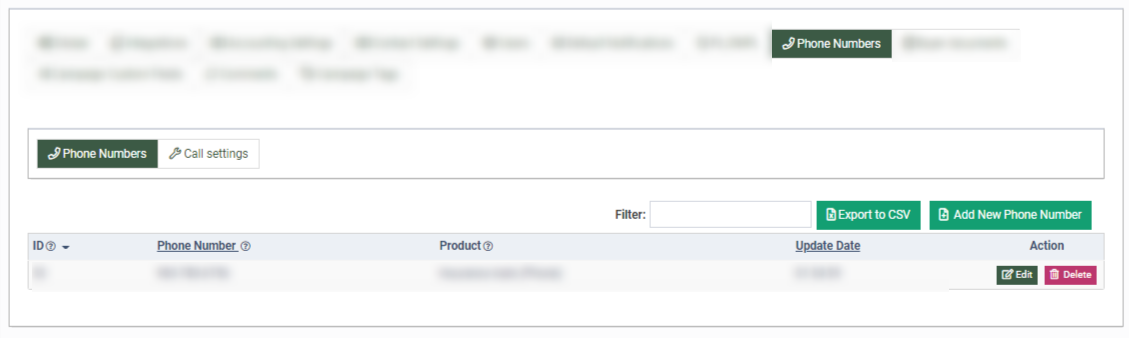
Phone numbers
The “Phone numbers” tab allows you to manage the list of phone numbers and configure calls in the “Call settings” section. The “Phone numbers” tab contains the following information:
-
ID: The identification number of the record in the system.
-
Phone number: The phone number.
-
Product: The name of the chosen product in the system.
-
Update Date: The date and time the record appeared or changed in the system.

To add a new phone number, click the “Add New Phone Number” button and fill in the data fields in the “Add New” pop-up window:
-
Destination: Select the destination to which the phone number will belong (External Phone Number, SIP Trunk, PBX Phone Number).
-
Phone number: Enter the phone number.
-
Product: Select the product to which the number will be assigned.
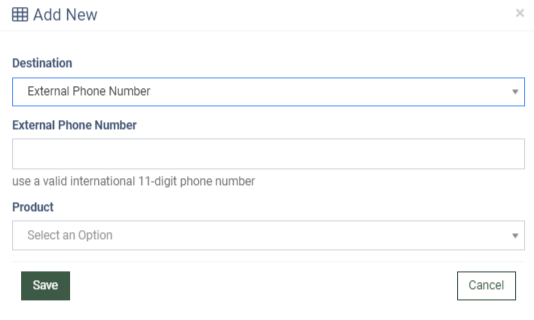
Click the “Save” button to complete.
In the “Actions” column, click the “Edit” button to change the number or click the “Delete” button to delete the phone number.
The “Call Settings” section contains the following information:
-
Product: Select the product (The name of the product the settings are applied to).
-
Add per minute cost: Select the option (Disabled, Active, Use Product Setting).
-
Status for accounting per minute cost: Select the option (All, Rejected, Sold, Use Product Setting).
Note: The Buyer will be charged the cost per minute fee only for the leads with the chosen status.
-
Per minute cost price: Enter the price to be charged for each minute of the buyer’s call.
-
Ring Time: Enter the ring length in second determines the length of the ring before the Buyer’s Agent picks up the incoming call (The default is set to 60 seconds).
-
Number for call attempts for "No Response" calls: Enter the number of attempts the system will make to reach the Buyer if there is no response during the “Ring Time” period (The default number of attempts is set to “0”).
-
Number of ring attempts for Busy/Error calls: Enter the number of attempts the system will make to reach a Buyer if “Busy” signal was received (The call was dropped/ the line is busy).
-
Interval between call attempts: Enter the duration of time between call attempts (The default duration is set to “0”).
-
Interval between Busy/Error call attempts: Enter the duration of time between call attempts if the system receives the “busy” signal (The call was dropped/ the line is busy. The default is set to “0”).
-
Play intro to answered buyer: Select the “Yes” option to enable (Use Product Setting, Yes, No).
-
Intro file for answered buyer: Upload the intro file for the answered buyer.

Click the “Add” button to confirm the changes.
Click the “Save” button to complete.
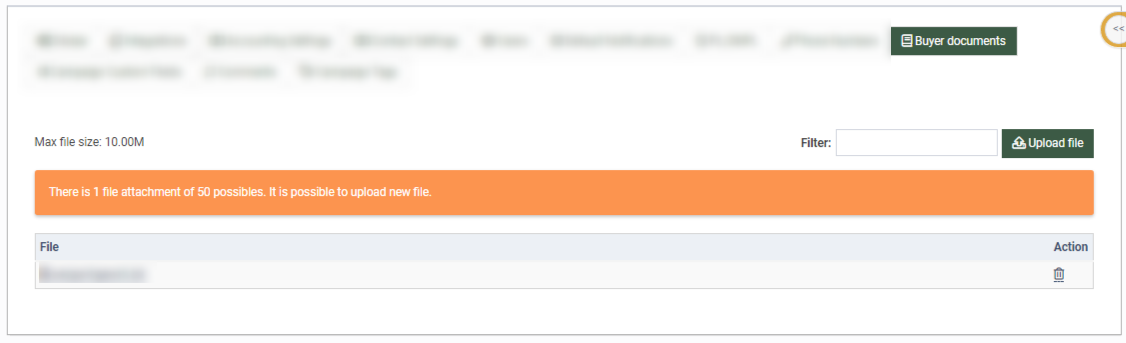
Buyer’s Documents
The “Buyer’s Documents” tab allows you to view and upload the documentation for the Buyer.
To add a new document, click the “Upload File” button in the right corner and select it from your pc.
To delete the file, click the “Bin” icon in the “Actions” column.
Campaign Custom Field
The “Product Custom Field” tab allows you to set the default values for the Campaigns of the chosen Product. To set the default settings for the custom fields, select the tab with the preferred Product and fill in the data in the fields according to your choice.
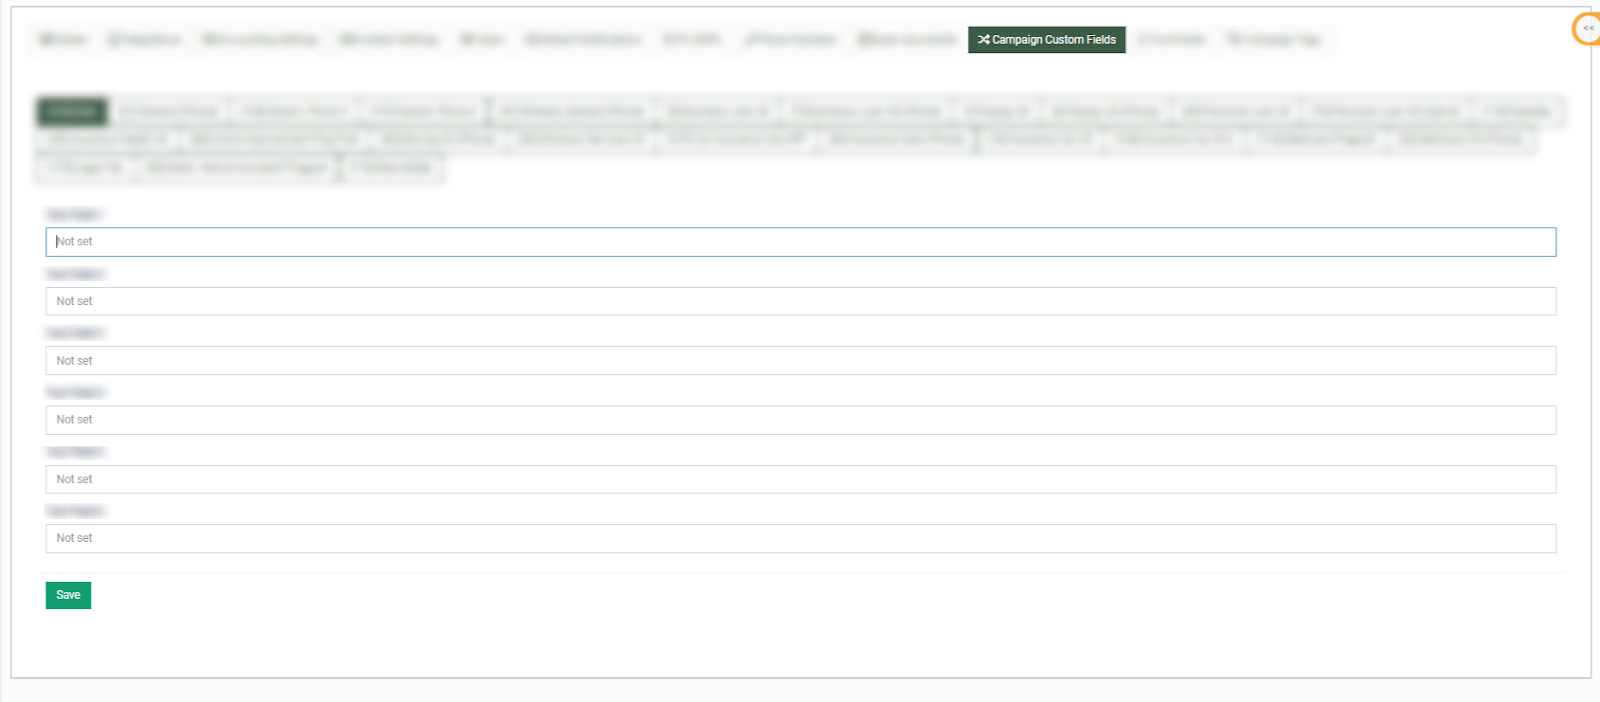
Click the “Save” button to complete.
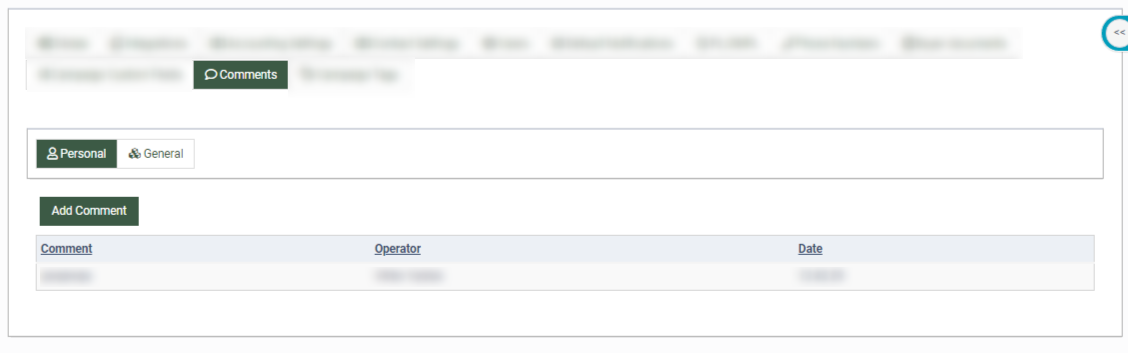
Comments
The "Comments" tab allows you to manage and add Personal or General comments. The “Personal” section contains the following information:
-
Comment: Comment that belongs to this buyer.
-
Operator: The name of the user who wrote this comment.
-
Date: The date when this comment was added.
The “General” section contains the following information:
-
Comment: The comment that belongs to this buyer.
-
Operator: The name of the user who wrote this comment.
-
Date: The date when this comment was added.
Campaign Tags
The "Campaign Tags" tab allows you to manage Campaign tags that belong to a specific Buyer. The "Campaign Tags" tab contains three blocks:
-
Default Campaign Tag
-
Set Campaign Tags
-
Change Campaign Tags
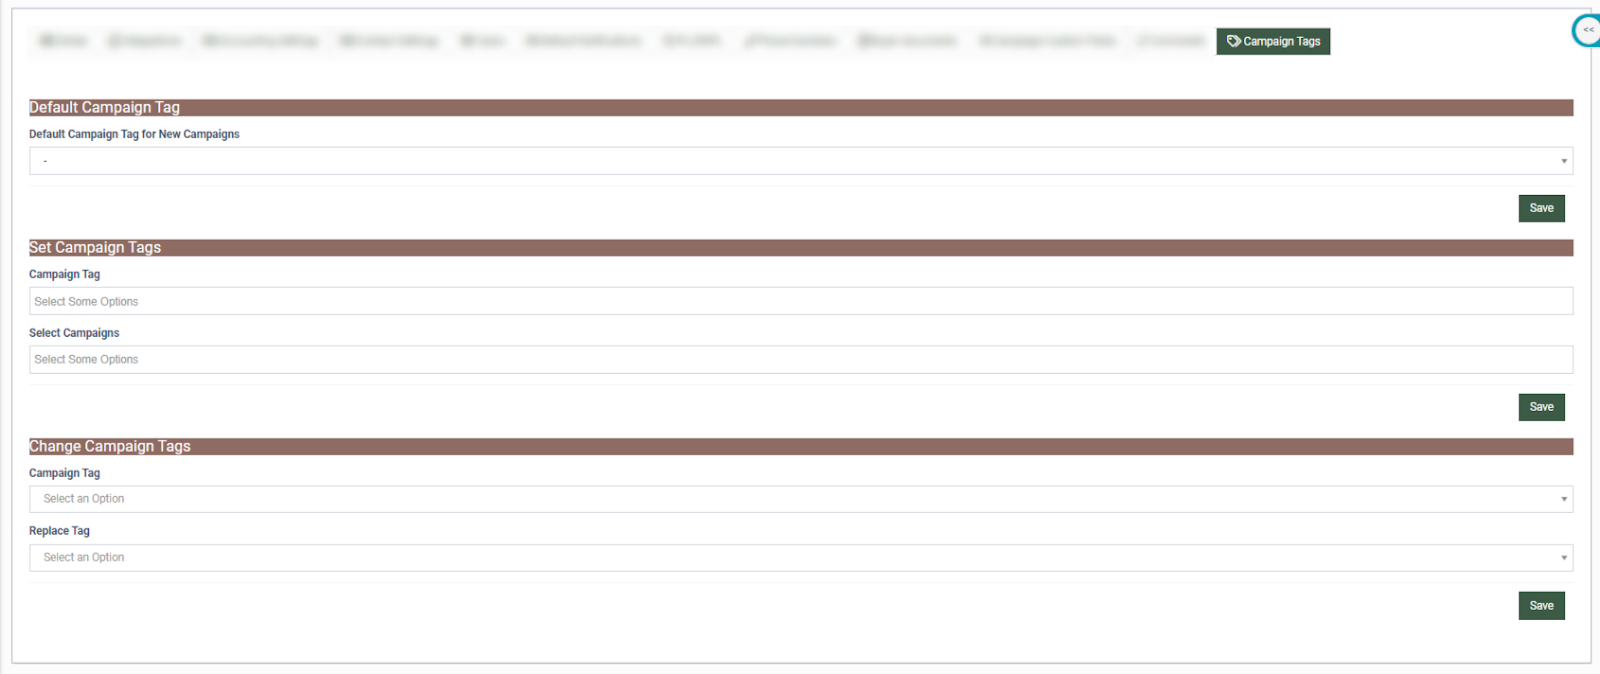
The “Default Campaign Tag” block allows you to set the default campaign tag for the new campaigns. Select the campaign tag and click the “Save” button to complete.
The “Set Campaign Tags” block allows you to set the campaign tag for the campaigns. Select the campaign tag and then select the campaign to which this tag will be assigned.
Click the “Save” button to complete.
The “Change Campaign Tags” block allows you to change the campaign tag for the campaigns. Select the campaign tag and then select the tag that you want to replace.
Click the “Save” button to complete.
Note: Read more about the Campaign Tags in this Knowledge Base article.