- How to Create a New Buyer User
- How to Add an Existing User to the Buyer
- How to Unassign the Buyer User
- How to Configure the Buyer User’s System Permissions
- How to view the Buyer User information
To open the “Users” tab, go to Client Management > Buyer List section and click the “Settings” button in the “Actions” column. On the Buyer`s Setup page, go to the “Users” tab.
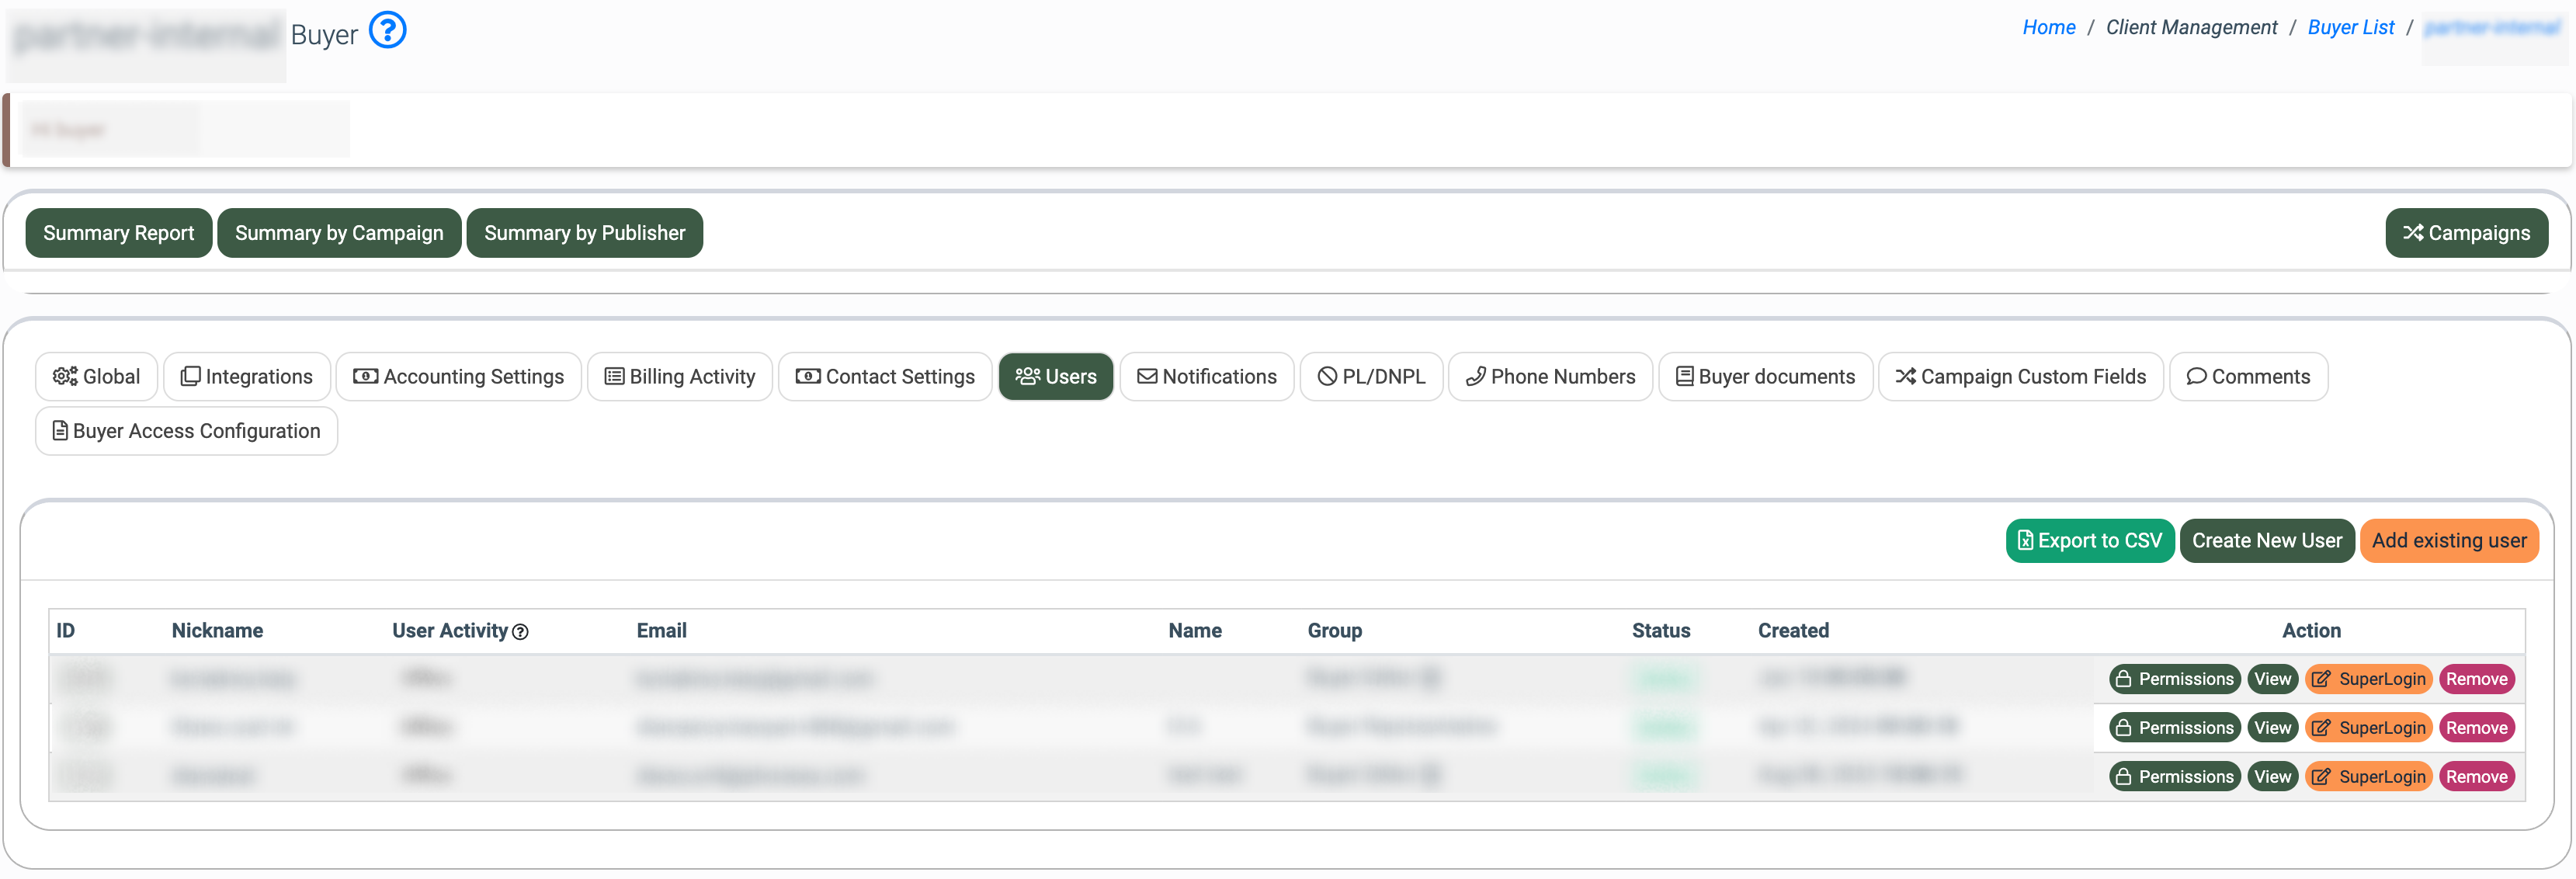
The “Users” tab contains the following information:
- ID: The unique identification number of the user.
- Nickname: The unique nickname of the user.
- User Activity: The activity status of the user:
- Online: The last activity was less than 10 minutes ago.
- Recently Online: The last activity was less than 30 minutes ago.
- Away: The last activity was less than 1 hour ago.
- Offline: The last activity was more than 1 hour ago.
- Email: The email address of the user.
- Name: The name of the user.
- Group: The employee group(s) the user belongs to.
- Status: The status of the user (Active, Disabled).
- Created: The date and time of the user`s creation.
Click the “Export to CSV” button to export all data to the “CSV” file.
How to create a new Buyer User
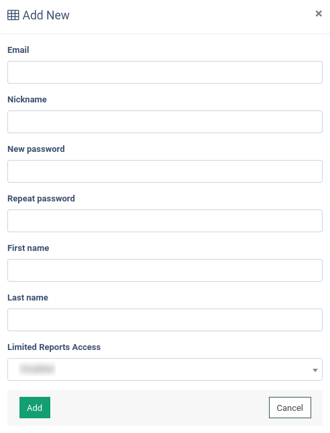
To create a new user, click the “Create New User” button.
.png?hsLang=en) Fill in the following fields in the “Add New” pop-up window:
Fill in the following fields in the “Add New” pop-up window:
- Email: Enter the email address of the new user.
- Nickname: Enter the nickname for the new user.
- New Password: Enter the password for the new user.
- Repeat password: Repeat the password for the new user.
- First Name: Enter the first name of the new user.
- Last Name: Enter the last name of the new user.
- Limited Reports Access: Select the user`s access level to the “All reports” section:
- Disabled: Disabled Limited Reports Access status allows users to see the Performance Summary report and the Lead Details report. Read more about the Performance Summary report in this Knowledge Base article.
- Enabled: Enabled Limited Reports Access status limits users to see only the Lead Details report in the All Reports section. Read more about the Lead Details Report in this Knowledge Base article.
Сlick the “Add” button to save.
How to Add an Existing User to the Buyer
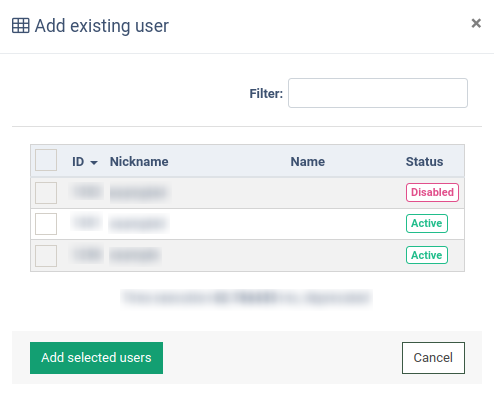
To assign the existing Buyer User to the Buyer, click the “Add existing user” button.
.png?hsLang=en) In the “Add existing user” pop-up window use the “Filter” field to find the required users. Use the checkboxes on the left side of the “ID” column to select one or more users to assign them to the Buyer.
In the “Add existing user” pop-up window use the “Filter” field to find the required users. Use the checkboxes on the left side of the “ID” column to select one or more users to assign them to the Buyer.
The “Add existing user” pop-up window contains the following information:
- ID: The unique identification number of the user.
- Nickname: The unique nickname of the user.
- Name: The name of the user.
- Status: The status of the user (Active, Disabled).
Click the “Add selected users” button to save.
How to unassign the Buyer User
To remove the assigned Buyer User from the selected Buyer, click the “Remove” button in the “Action” column.
.png?hsLang=en) Click the “Remove” button to confirm the action.
Click the “Remove” button to confirm the action.
.png?width=461&height=180&name=unnamed%20(29).png)
How to configure Buyer User`s System Permissions
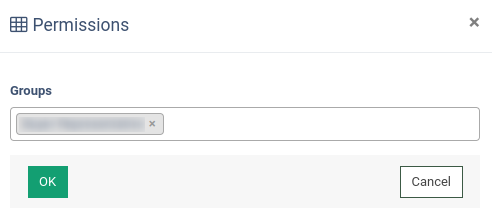
To manage the System Permissions for the Buyer User, click the “Permissions” button in the “Action” column.
.png?hsLang=en) In the “Permissions” pop-up window, select the preferable system role(s) (Buyer Editor, Buyer Representative, Call Recording Listener [Masked], Call Recording Listener [Origin]) for the Buyer User. Read more information about system roles in this Knowledge Base article.
In the “Permissions” pop-up window, select the preferable system role(s) (Buyer Editor, Buyer Representative, Call Recording Listener [Masked], Call Recording Listener [Origin]) for the Buyer User. Read more information about system roles in this Knowledge Base article.
Click the “OK” button to confirm the action. Note: At least one group should be selected.
How to view the Buyer User information
To view additional information about the Buyer User, including general data, contact details, existing tickets, login history, and user logs, click the "View" button in the "Action" column.
.png?hsLang=en)
The “Main” tab allows you to view the general information about the Buyer User and contains the following information:
- Nickname: The unique nickname of the user.
- Main email: The primary email of the user.
- Status: The user's status (Active, Deleted, Disabled). To change the user`s status, click the button with the “Gear” icon. In the “Change Status” pop-up window, select the status in the “Status” field and leave a comment. To complete, click the “Save” button. Note: if you select the “Deleted” status for the Buyer`s user, the user will be deleted from the system.
- Name: The name of the user.
- Registration Date: The date and time of the user’s profile registration.
- Expiration Date: The user`s expiration date.
- Groups: The assigned system role(s).
Click the “Export to CSV” button to export all data to the “CSV” file.
.png?hsLang=en)
The “Contacts” tab allows you to view, add, and remove the contact details for the Buyer User. The list of contacts contains the following information:
- Type: The type of contact (Email, Cell Phone, Landline, Physical Address, Skype, Web Site).
- Status: The status of the user (Active, Deleted, Disabled).
- Value: The contact details.
- Verify: The contact status (Primary, Verified, Not Verified).
.png?hsLang=en)
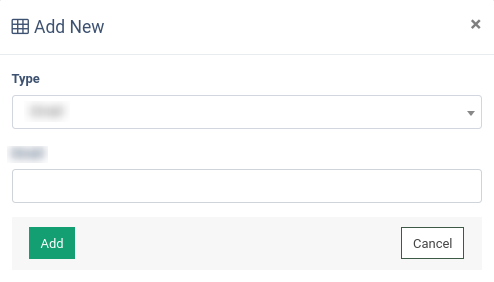
To add a new contact for the Buyer User, click the “Add New Record” button and fill in the following fields in the “Add New” pop-up window:
- Type: Select the type of contact information (Email, Cell Phone, Landline, Physical Address, Skype, Web Site).
- Value: Fill in the contact details. Note: The name of the field depends on the selected contact type.
Click the “Add” button to confirm.
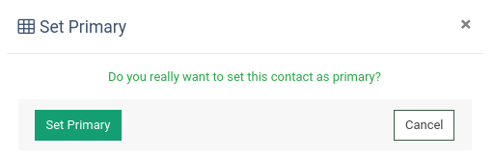
To set the contact as primary, click the “Set Primary” button.
.png?hsLang=en) To confirm, click the “Set Primary” button in the pop-up window.
To confirm, click the “Set Primary” button in the pop-up window.
The “Tickets” tab displays all the tickets created by the user in the system and contains the following information:
-
ID: The unique identification number of the ticket.
-
Status: The processing status of the ticket.
-
Updated: The date and time of the last changes.
-
Subject: The subject of the ticket.
-
User: The name of the user.
-
Group: The ticket category.
-
Messages: The number of messages in a thread.
- Manager: The manager assigned to the ticket.
.png?hsLang=en) You can narrow down the search results by using the following filters:
You can narrow down the search results by using the following filters:
- Ticket ID: Enter the unique identification number of the ticket.
- Ticket status: Select the current status of the ticket.
- Group: Select the group of the ticket.
- Manager: Enter the name of the assigned manager.
To view the ticket messaging history, click the “Show Thread” button.
To edit the ticket’s status, category, or reassign it to another manager, click the “Change Status” button.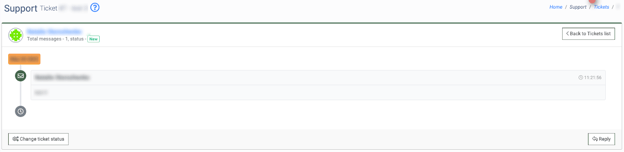
Read more about the Tickets in the Knowledge Base article.
The “Login History” tab allows you to view the user’s login history and contains the following information:
- Date: The date and time of the user login.
- IP: The IP address of the user.
- Auth Type: The authorization type.
- Browser: The name and type of the browser.
.png?width=688&height=158&name=unnamed%20(36).png)
The “IP Allowlist” tab allows you to create and manage your trusted IP addresses, so your employees can skip two-factor authentication or pin code when logging into the system from the IP address from the allowlist..png?hsLang=en) This tab contains the following information:
This tab contains the following information:
- IP Address: The Internet Protocol address.
- Created At: The date and time the IP address was added to the allowlist.
- Expiration Date: The date and time the IP address allowlist access expires.
To add a new IP to the allowlist, click the “Add New Record” button and fill in the required fields:
- IP Address: Enter the IP address.
- Expire this value on: Select the date and time for the IP address time expiration.
.png?width=461&height=262&name=unnamed%20(38).png)
Click the “Add” button to finish.
To configure the IP address added to the allowlist, click the “Edit” button in the “Actions” column.
.png?width=463&height=263&name=unnamed%20(39).png)
In a pop-up window, click the “Update” button to apply changes.
To delete the IP address from the allowlist, click the “Delete” button in the “Actions” column.
.png?width=463&height=247&name=unnamed%20(40).png) Enter the ID number of the record in a pop-up window, and click the “Yes” button to confirm your intention.
Enter the ID number of the record in a pop-up window, and click the “Yes” button to confirm your intention.
The “Signed Documents” tab allows you to view the documents signed by the corresponding user.
.png?hsLang=en)
This tab contains the following information:
- Sign Date: The date and time the user signed the document.
- IP Address: The IP address from which the document was signed.
- Browser: The browser name and version from which the document was signed.
You can narrow down the search results by using the following filters:
- Sign date: Select the date and time range the user signed the document.
- IP Address: Enter the IP address from which the document was signed.
- Browser: Enter the browser name and version from which the document was signed.
To view the document signed by the user, click the “View Consent Agreement” button in the “Actions” column.
Click the “Logs” button, and the system will redirect you to the “User Manipulation Log” report with preset search parameters.
.png?hsLang=en) The “User Manipulation Log” section allows you to view detailed information about all actions applied to the system by the user. Read more about the User Manipulation Log report in this Knowledge Base article.
The “User Manipulation Log” section allows you to view detailed information about all actions applied to the system by the user. Read more about the User Manipulation Log report in this Knowledge Base article.