The “Global Settings” tab allows you to view and configure the general information for the LMS Campaign.
Read about Call Logic Campaign's Global settings in the Knowledge Base article.
Read how to configure Silent Campaign in the Knowledge Base article.
To view the “Global” tab, go to the Client Management>Campaigns section and click the “Configure” button in the “Actions” column.
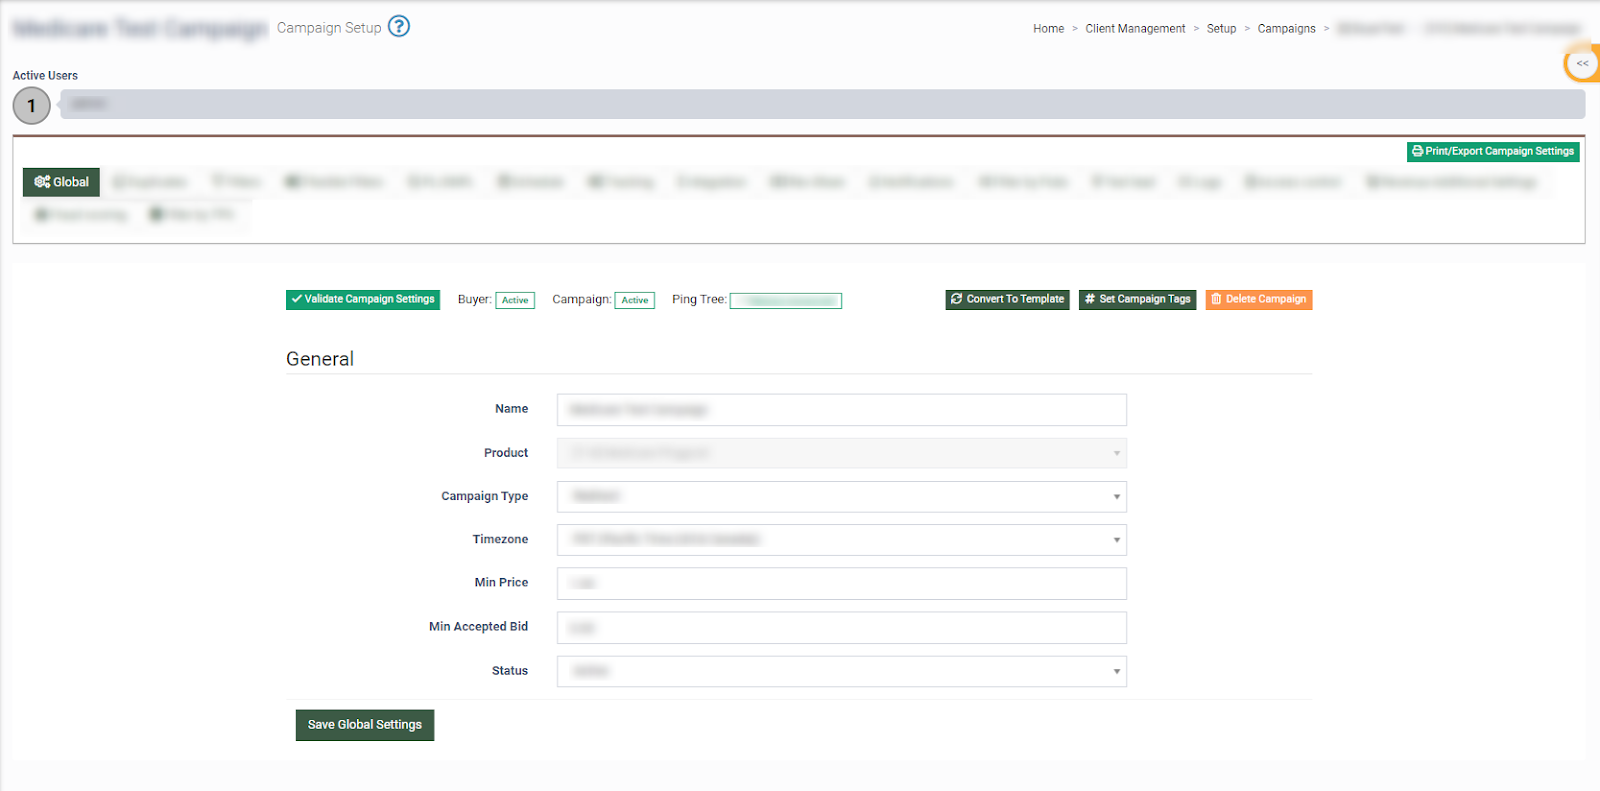
The “Global” tab contains the following information:
-
Name: Enter the name of the campaign.
-
Product: The name of the product (unchangeable field).
-
Campaign Type: Select the campaign type (Redirect, Silence).
Read more about Campaign Types in this Knowledge Base article.
-
Delay Scheduling: Select the amount of time (1 minute / 3 minutes / 6 minutes / 10 minutes / 30 minutes / 1 hour / 2 hours / 6 hours / 1 day / 2 days / 3 days) before the lead is processed on the silent campaign (available only for the “Silence” campaign type).
-
Timezone: Select the timezone related to the campaign.
-
Min Price: Enter the minimum price for lead purchasing.
-
Min Accepted Bid: Enter the price for the lead that will be considered a minimum bid for acceptance. If the buyer responds on the ping with a lower price, the lead will be rejected. Note: If the “0” value is entered, the setting will not be applied.
-
Status: Select the current status of the campaign (Disabled, Active, Paused).
Read more about Campaign Pause/Unpause Notification Emails in this Knowledge Base article.
Click the “Save Global Settings” button to save the settings.
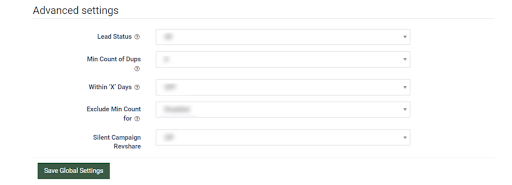
The “Advanced Settings” block contains the following settings:
-
Lead Status: The leads will be checked for Sold or Reject statuses.
-
If the “Sold” option is selected, the campaign will only see leads with Sold status.
-
If the “Reject” option is selected, the campaign will only see leads Reject status.
-
If the “All” option is selected, the campaign will see leads with both Sold and Reject statuses.
-
-
Min Count of Dups: The leads will be checked for duplicates that came from different sources based on the count number set in the field. For example, if it's set to five, the system will process leads that have been in the system more than five times. The count number in this field does not include duplicate leads from one source.
-
Within ‘X’ Days: Set the number of days for the “Min Count of Dups” configuration. Note: “Within ‘X’ Days” and “Min Count of Dups” need to be configured simultaneously.
-
Exclude Min Count for: A filter for Form and Post dups.
-
If the “FORM” option is selected, the “Min Count of Dups” rule will not apply to FORM leads.
-
If the “POST” option is selected, the “Min Count of Dups” rule will not apply to POST leads.
-
If the “All” option is selected, the “Min Count of Dups” rule will apply to FORM and POST leads.
-
-
Silent Campaign RevShare: Allows you to make a payout to the publisher from the silent campaign according to the publisher’s rev-share settings.
Click the “Save Global Settings” button to save the settings.
To delete the Campaign click the “Delete Campaign” button and enter the ID number of the Campaign in the “Delete Campaign” pop-up window.
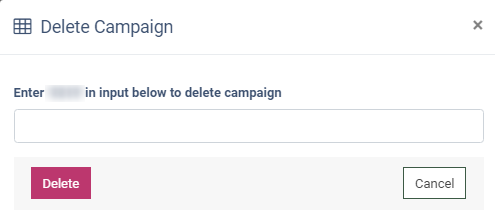
Click the “Delete” button to confirm.
To set the Campaign tags click the “Set Campaign Tags” button and select the Campaign tags from the existing ones in the “Set Campaign Tags” pop-up window.
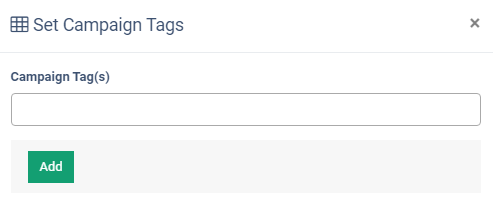
Click the “Add” button to confirm.
To convert the Campaign to the template click the “Convert To Template” button and fill in the following fields in the “Convert To Template” pop-up window:
- Activate Campaign Name: Enter the name of the Template.
- Description: Enter the Template description.
- Order: Enter the order number.
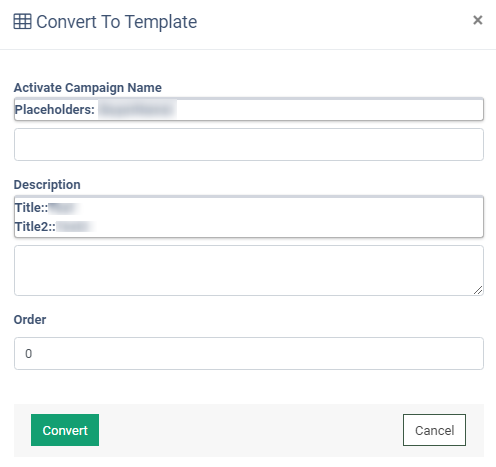
Click the “Convert” button to confirm.
Note: The Campaigns that have existing traffic can not be converted to a template. You need to duplicate the Campaign first and then convert the duplicated Campaign into a template.