IVR (Interactive Voice Response) solutions is an automated system that interacts with callers, gathers input via voice or keypad, and routes calls to the appropriate operator or department. It enhances customer service by streamlining call handling and reducing wait times.
The IVR section allows you to view and manage the list of your IVR Flows. You can create a new IVR flow, configure settings, and manage the IVR Constructor.
Read more about the IVR section of the Call Logic platform in the following Knowledge Base article.
The IVR section contains two tabs:
The “IVR List” tab
To view the list of the IVR Flows, go to the PBX Management > Setup > IVR section and select the "IVR" tab.
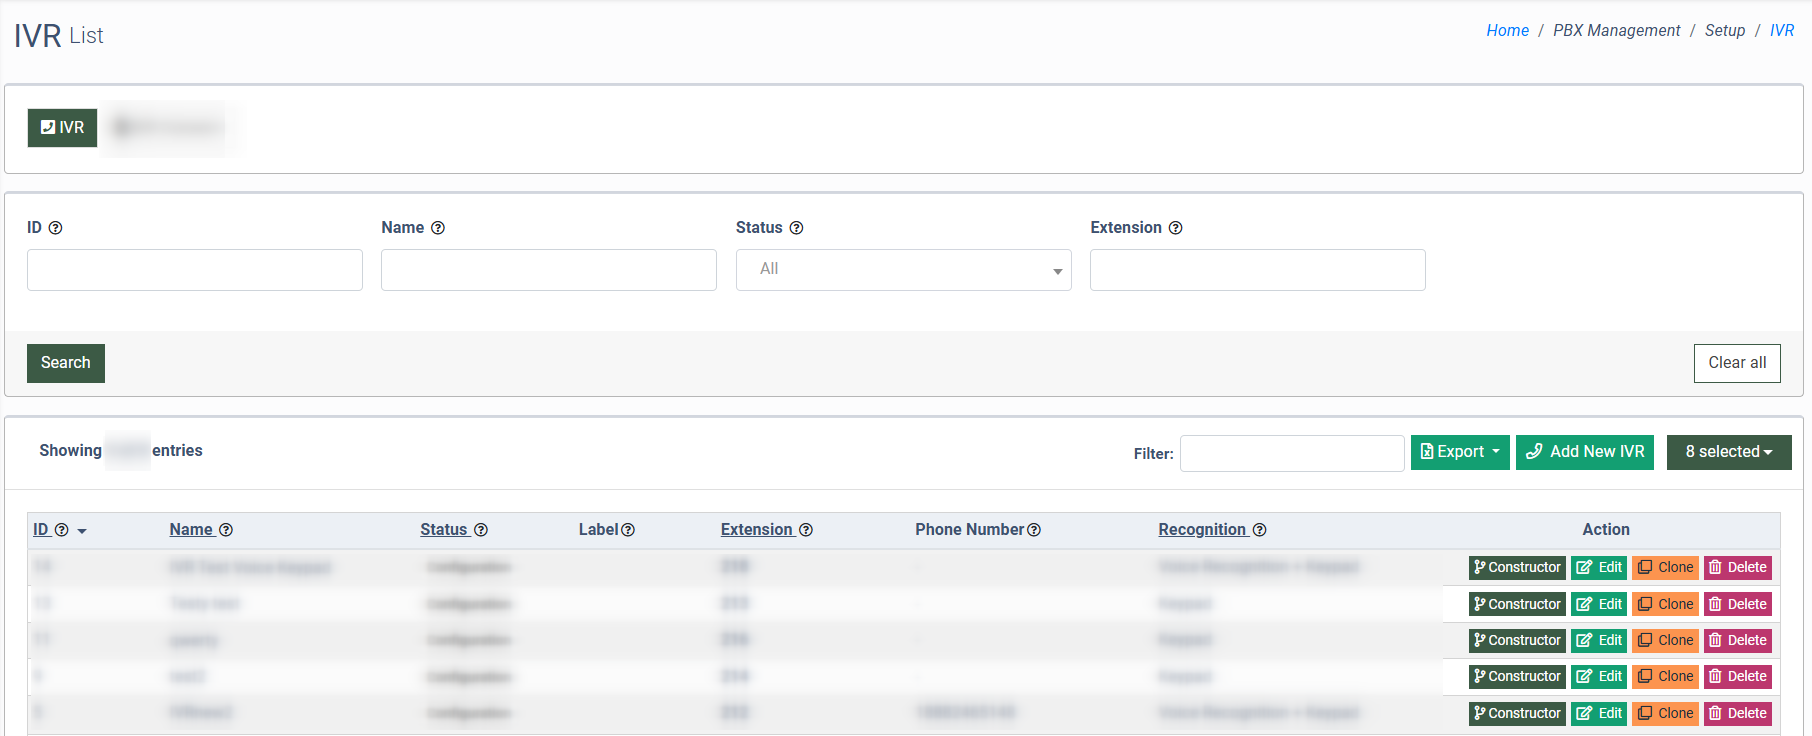
You can narrow down the search results by using the following filters:
- ID: Enter the unique identification number of the IVR Flow.
- Name: Enter the unique name of the IVR Flow.
- Status: Select the status of the IVR Flow (Configuration, Deleted, In Audio Recording, Preparing for Test, Ready for Use).
- Extension: Enter the internal extension of the IVR Flow.
The “IVR List” section contains the following information:
- ID: The unique identification number of the IVR Flow.
- Name: The name of the IVR Flow.
- Status: The ongoing status of the IVR Flow (Configuration, Deleted, In Audio Recording, Preparing for Test, Ready for Use).
- Label: The particular label attached to the IVR Flow.
- Extension: The internal extension of the IVR Flow.
- Phone Number: The phone number attached to the IVR Flow.
- Recognition: The recognition (the ability to interpret and process input from the user) type of the IVR Flow (Voice Recognition + Keypad (allows users to interact using voice commands or keypad inputs), Keypad (allows users to navigate using only keypad inputs)).
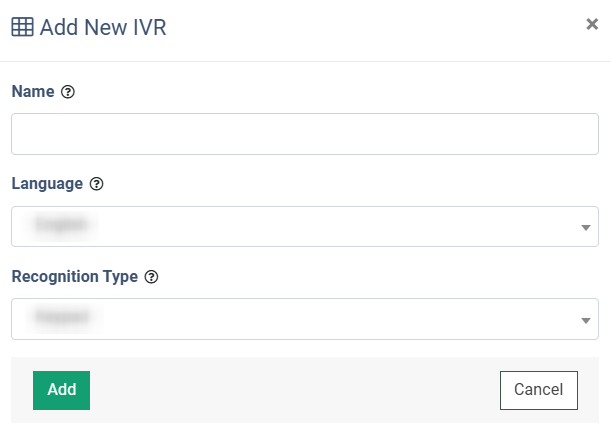
To create a new IVR Flow, click the “Add New IVR” button and fill in the required fields in the “Add New IVR” pop-up window:
- Name: Enter the name of the IVR Flow.
- Language: Select the language applied to the IVR Flow.
- Recognition Type: Select the input recognition type (Voice Recognition + Keypad, Keypad).
Click the “Add” button to complete the action.
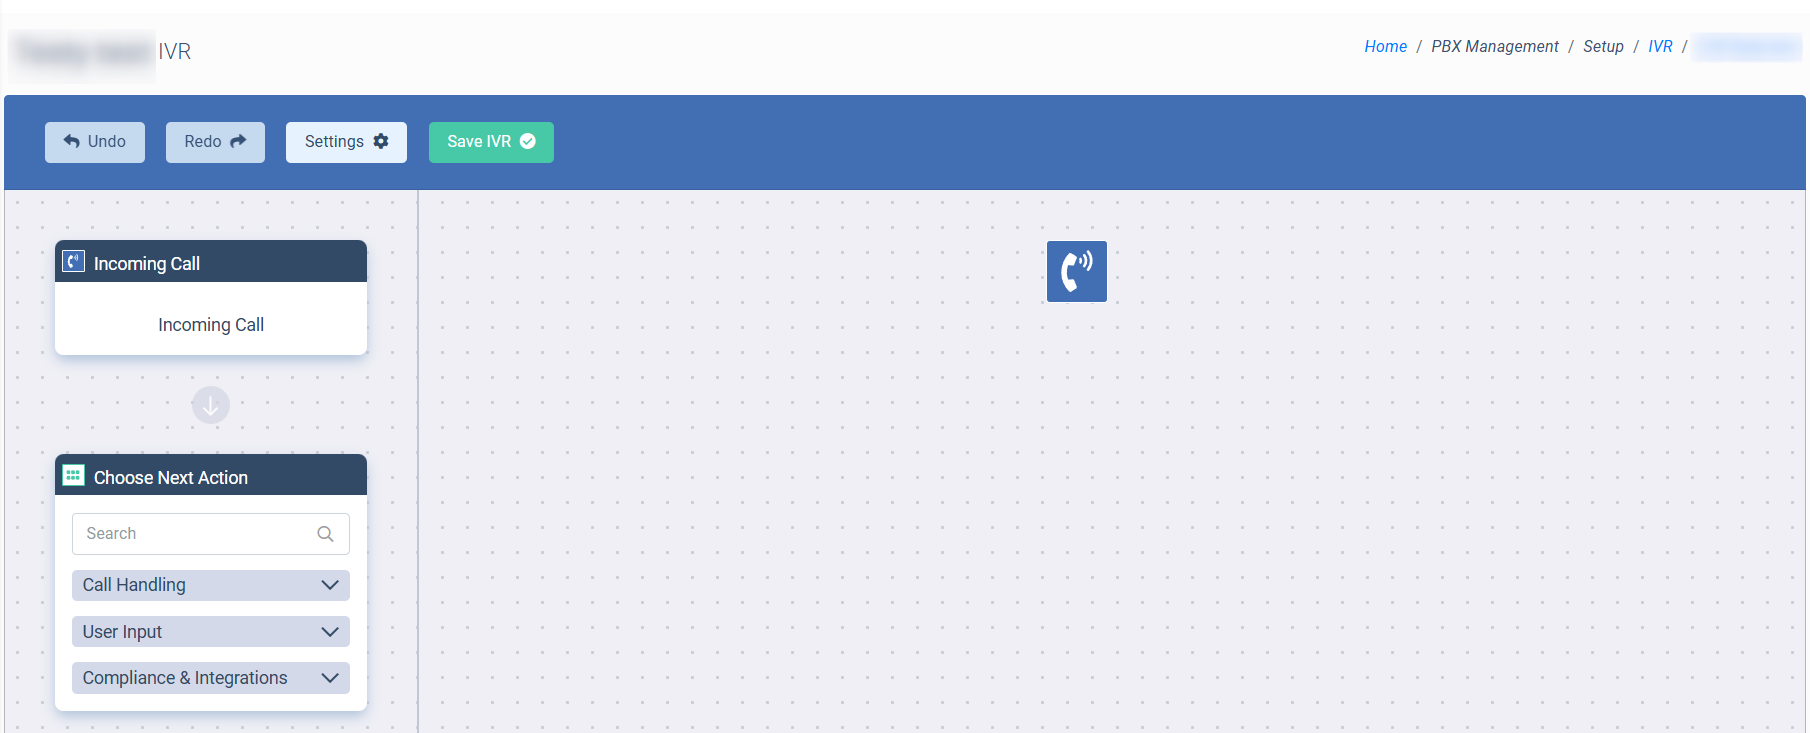
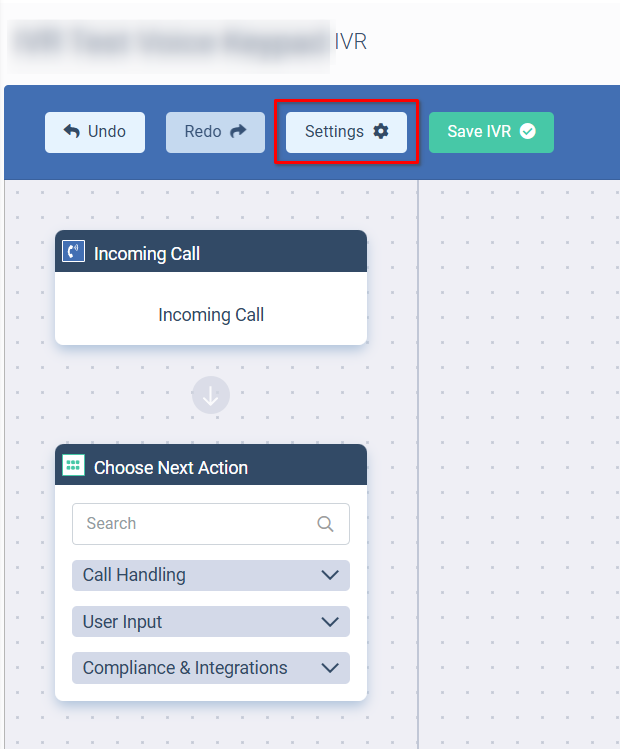
To build a flow for the created or existing IVR, click the “Constructor” button in the “Action” column. You will be redirected to the IVR Constructor section, where you can build up the IVR Flow using available blocks and manage default settings via the “Settings” feature.
The Additional Settings of the IVR
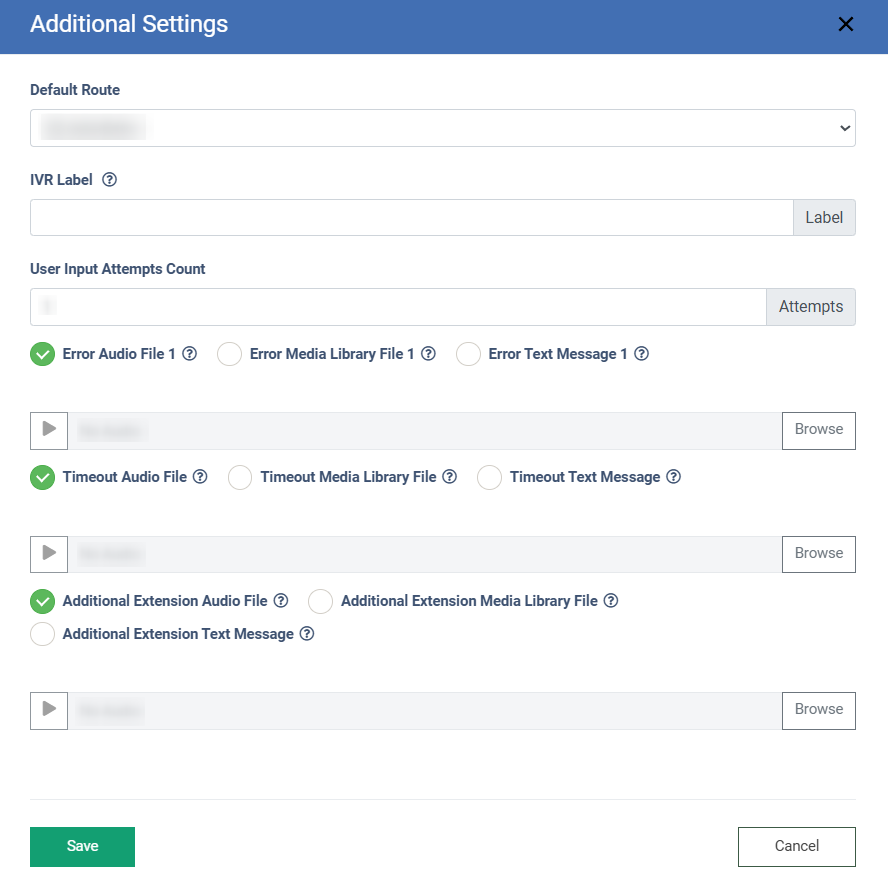
To set some extra features and settings for the IVR Flow, click the “Additional Settings” button and fill in the required fields in the “Additional Settings” pop-up window:
- Default Route: Select the default route for the IVR. The default route will be used for the call transfer in case of reaching the number of unsuccessful input attempts (the number set in the “User Input Attempts Count”) on the branching block.
- IVR Label: Set the label to allow the called operator to see which IVR the call came from. The IVR label field will be updated after the IVR is configured.
- User Input Attempts Count: Set the user's attempts for the data input. The value is only a number from one to three. This value allows you to set the particular number of the user’s unsuccessful input attempts on branching, by reaching which he will be transferred according to the route set in the “Default Route” field.
For example, the number of unsuccessful input attempts is set as 3. The caller reaches the branching where the input range is from 1 to 5. The user presses the “6”, “7”, and “8” buttons. After the third unsuccessful attempt, the call will be transferred to the route that is set as the default route.
- Error Audio File 1-3 (Error Text Message 1-3): The audio file will be played after the incorrect user input. The number of uploaded audio files should match the value set in the "User Input Attempts Count" field.
- Timeout Audio File 1-3 (Timeout Text Message 1-3): The audio file will be played after five seconds of inaction. The number of uploaded audio files should match the value set in the "User Input Attempts Count" field.
- Additional Extension Audio File (Additional Extension Message 1-3): The audio file will be played when additional extension is required. The number of uploaded audio files should match the value set in the "User Input Attempts Count" field.
Click the “Save” button to complete the additional IVR settings.
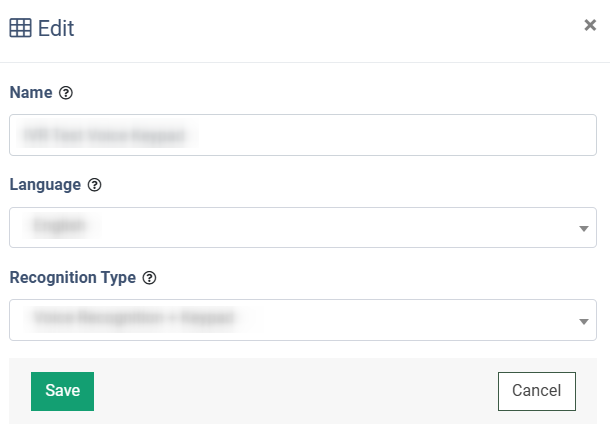
To edit the general settings of the existing IVR Flow, click the “Edit” button in the “Action” column. You can change the following settings in the “Edit” pop-up window:
- Name: Edit the name of the IVR Flow.
- Language: Change the language applied to the IVR Flow.
- Recognition Type: Change the input recognition type (Voice Recognition + Keypad, Keypad).
Click the “Save” button to complete the changes.
To make a copy of the existing IVR Flow, click the “Clone” button in the “Action” column. Confirm the operation by clicking the “Clone” button in the “Clone” pop-up window.
To delete the existing IVR Flow, click the “Delete” button in the “Action” column. Enter the comment that will be attached to the deletion operation in the “Comment” field, and confirm the operation by clicking the “Delete” button in the pop-up window.
The “IVR Consent” tab
The “IVR Consent” feature allows you to collect and record the caller’s voice Consent in IVR, and ping a caller’s phone number to E-Delivery when the Consent is obtained.
Read more information about the IVR Consent usage for the Call Logic platform in the following Knowledge Base article.
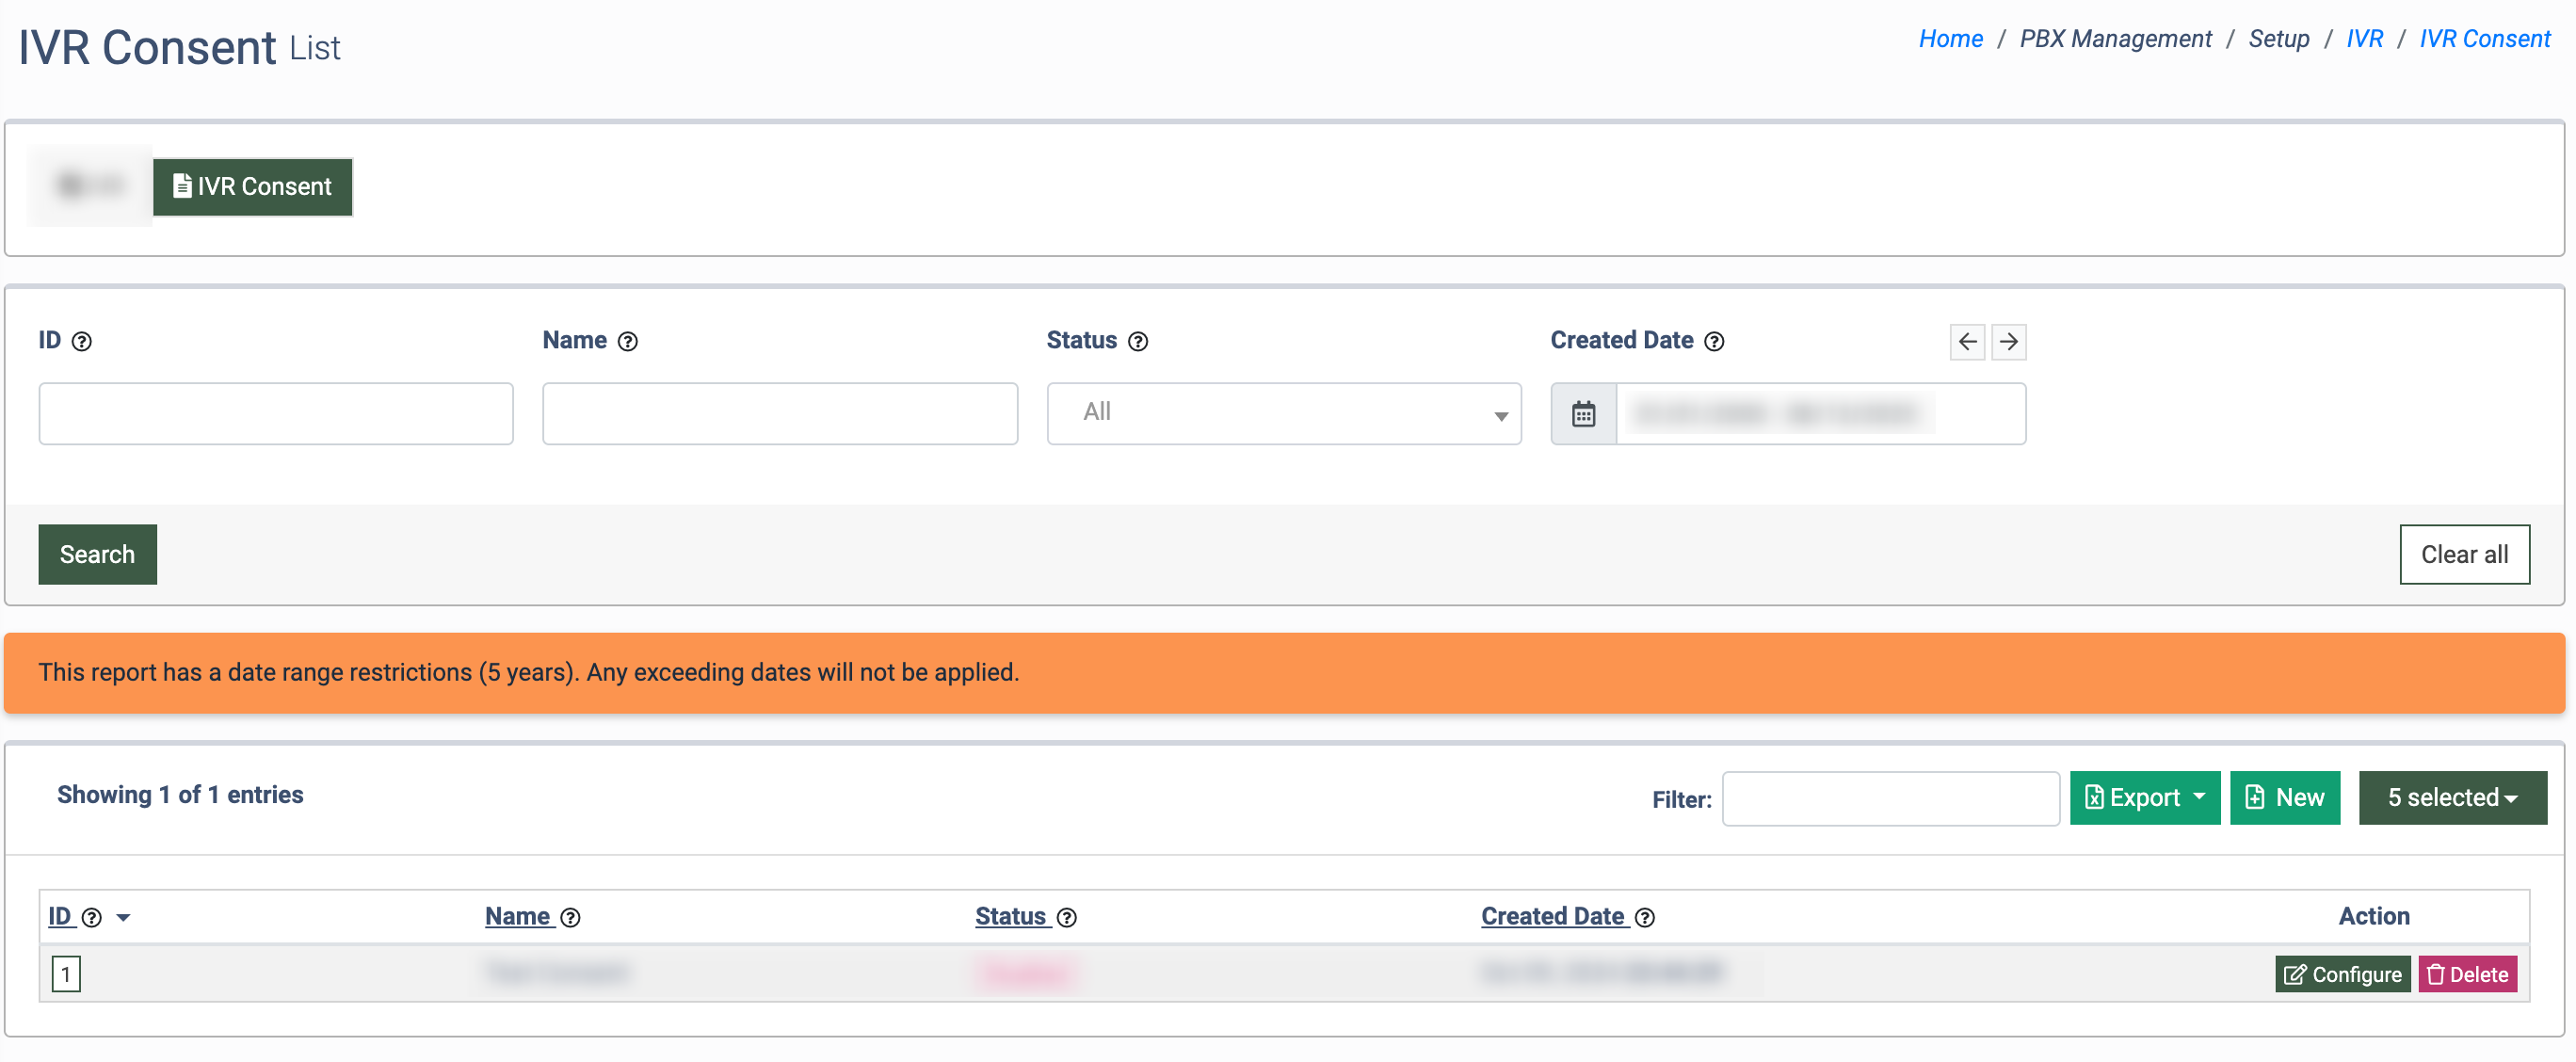
You can narrow down the search results by using the following filters:
- ID: Enter the unique identification number of the IVR Consent.
- Name: Enter the unique name of the IVR Consent.
- Status: Select the status of the IVR Consent (Active, Disabled).
- Created Date: Select the date range for the IVR Consent creation.
The list of IVR Consents contains the following information:
- ID: The unique identification number of the IVR Consent.
- Name: The unique name of the IVR Consent.
- Status: The ongoing status of the IVR Consent (Active, Disabled).
- Created Date: The date and time of the IVR Consent creation.
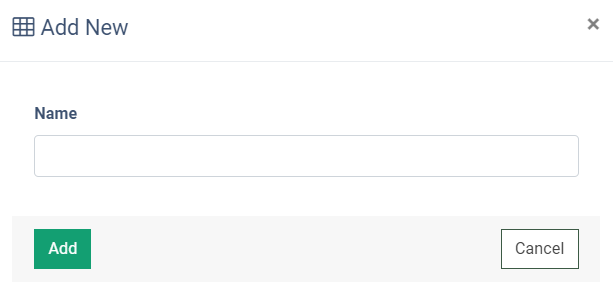
To create a new IVR Consent, click the “New” button, enter the name of the IVR Consent in the “Name” field, and complete the creation operation by clicking the “Add” button in the “Add New” pop-up window.
To configure the existing IVR Consent, click the “Configure” button in the “Action” column or the “ID” button in the “ID” column.
The IVR Consent Configuration section contains two tabs:
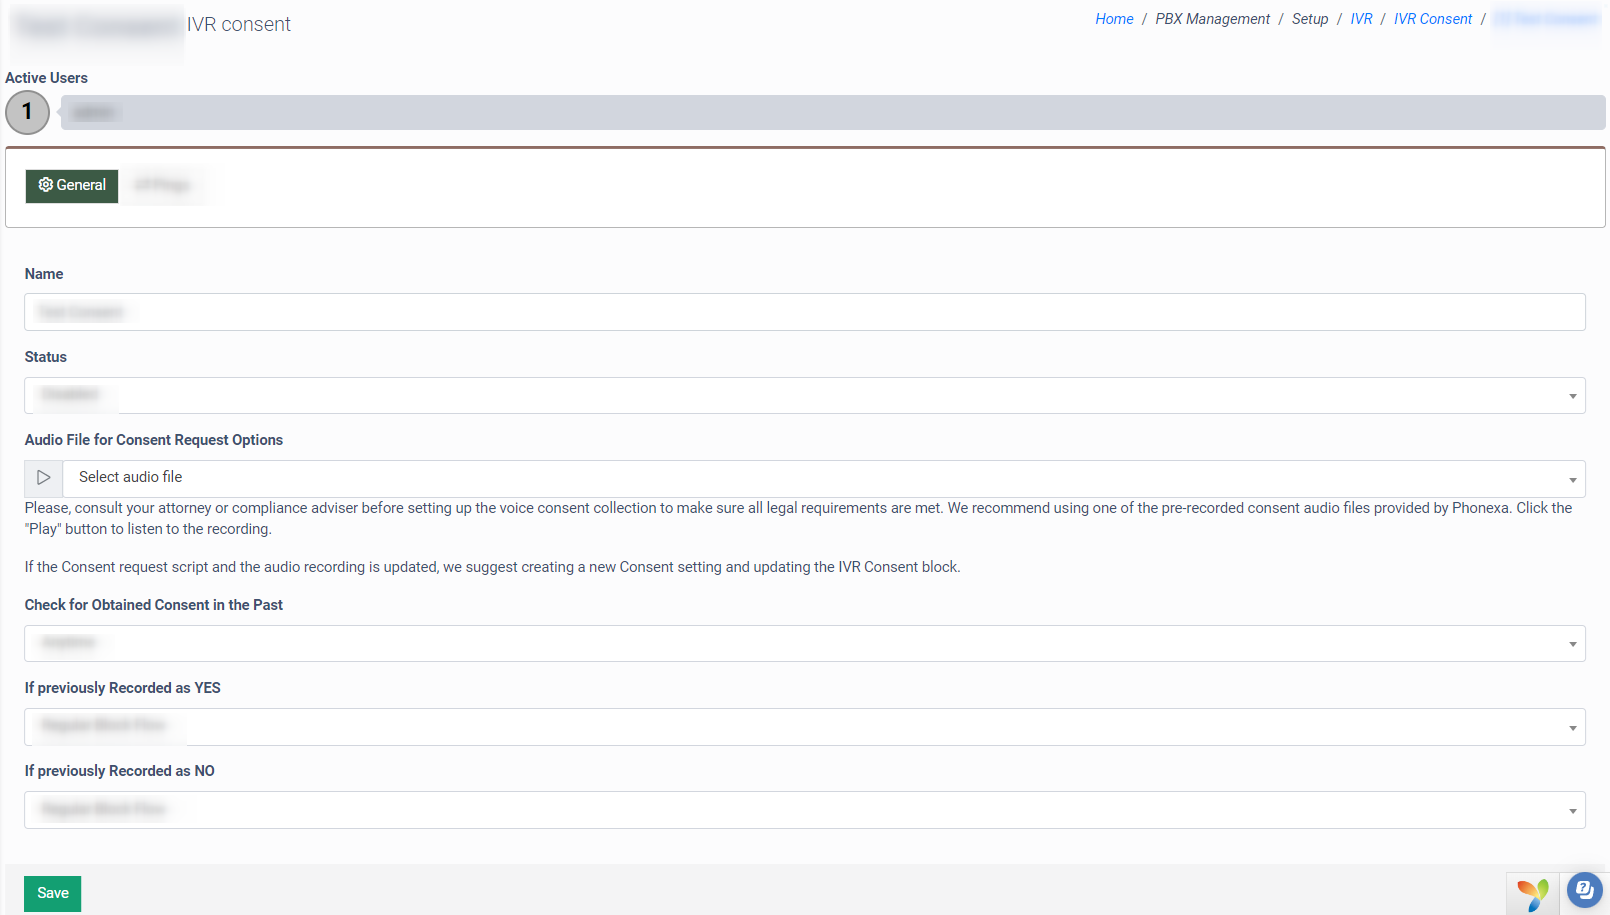
The “General” tab
The “General” tab contains the following general settings of the IVR Consent:
- Name: The field displays the Consent name, which will be displayed in the “Consent” block afterward.
- Status: Select the status from the drop-down list (Active, Disabled). By default, the Consent is created with the “Disabled” status. Change the status to “Active” to enable it.
- Audio File for Consent Request Options: The Consent audio files that are pre-recorded by Phonexa (Default consent, Regular consent, Accelerated Regular Consent). You can select one of the pre-recorded files that will be used as a Consent request language. Then, click the "Play" button to listen to the recording. Note: Please consult your attorney or compliance advisor before setting up the Voice Consent Collection to ensure all legal requirements are met. We recommend using one of the pre-recorded Consent audio files provided by Phonexa.
- Check for Obtained Consent in the Past: The time period for the system to check if Consent was requested in the past (Anytime, 1 day, 7 days, 14 days, 30 days, 60 days, 90 days, 180 days).
- If previously Recorded as YES: Set up the IVR “Consent” block flow when the Consent for the same phone number was obtained within the period specified in the "Check for Obtained Consent in the Past" block (Regular Block Flow, Skip and Go to YES Branch, Skip and Go to NO Branch).
- If previously Recorded as NO: Set up the IVR “Consent” block flow when the Consent for the same phone number was obtained within the period specified in the "Check for Obtained Consent in the Past" block (Regular Block Flow, Skip and Go to YES Branch, Skip and Go to NO Branch).
The “Pings” tab
The “Pings” tab allows you to configure the integration with E-Delivery so that when Consent is obtained, data is pinged to E-Delivery if defined conditions are met.
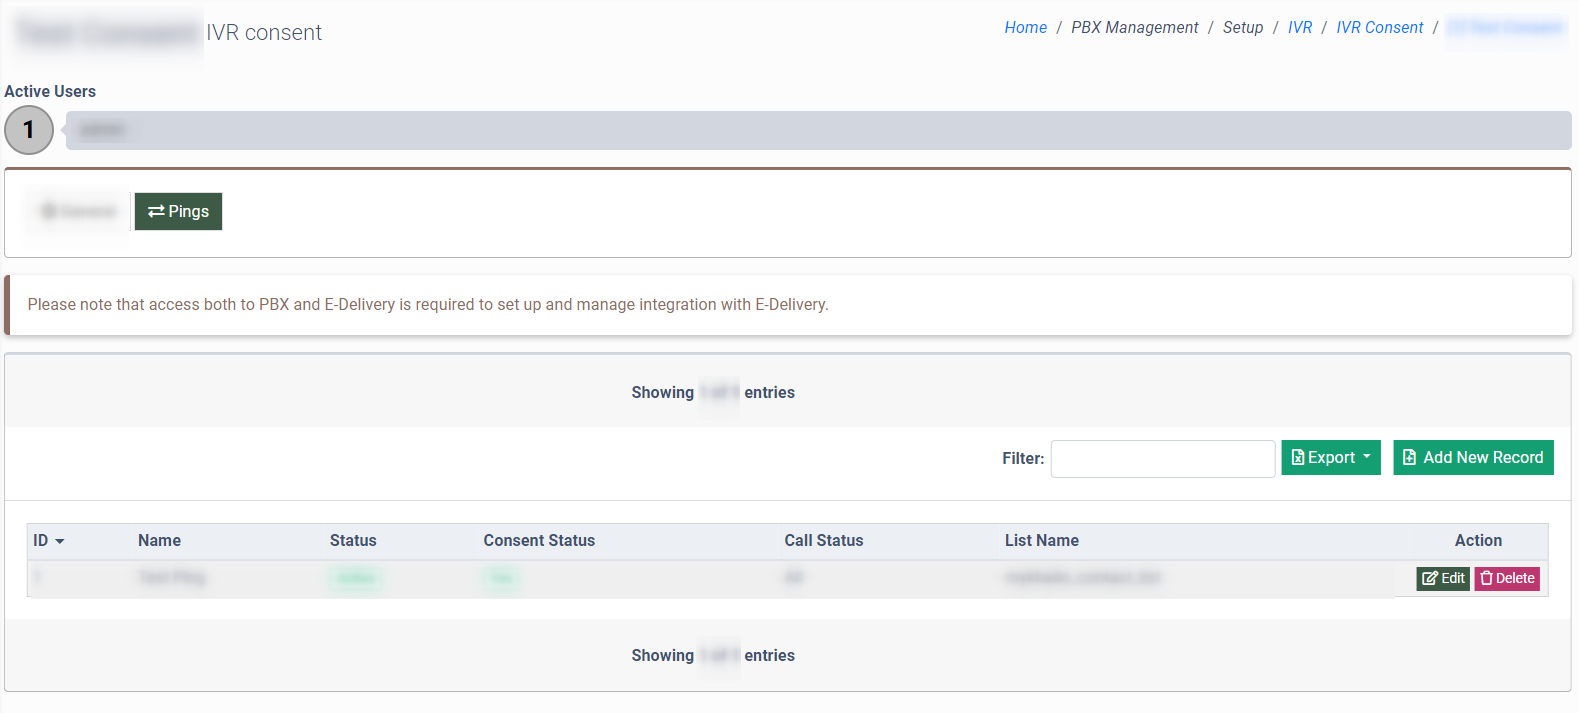
The list of Pings contains the following information:
- ID: The unique identification number of the ping setting.
- Name: The name of the ping setting.
- Status: The ongoing status of the ping setting.
- Consent Status: The Consent status that defines the first condition to ping (Yes, No), for the Consent obtained in the past (Obtained Earlier), for the dissent obtained in the past (No (Previously)).
- Call Status: The call status defines the second condition to ping (All, Answered, Not Answered).
- List Name: The E-Delivery contact list name.
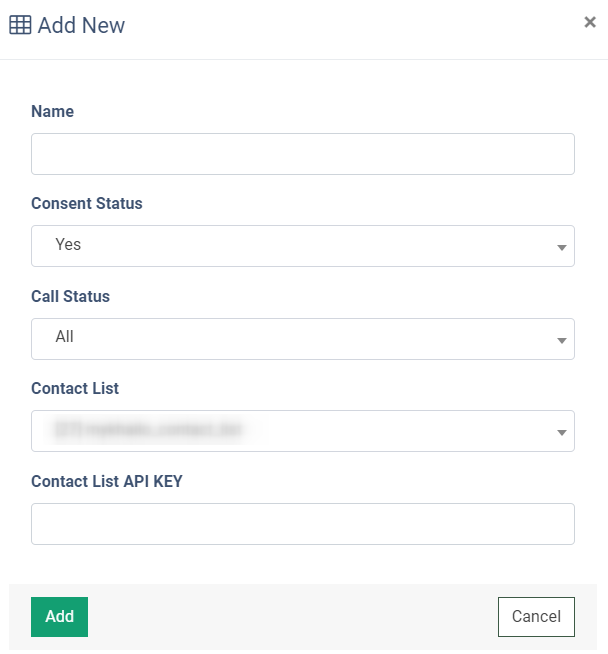
To add a new Ping record, click the “Add New Record” button and fill in the following fields in the “Add New” pop-up window:
- Name: Enter the name of the ping setting.
- Consent Status: Select the Consent status that defines the first condition to ping (Yes, No), for the Consent obtained in the past (Obtained Earlier), for the dissent obtained in the past (No (Previously)).
- Call Status: Select the call status that defines the second condition to ping (All, Answered, Not Answered).
- Contact List: Select the E-Delivery contact list.
- Contact List API KEY: Enter the E-Delivery contact list API Key.
Click the “Add” button to complete the action.
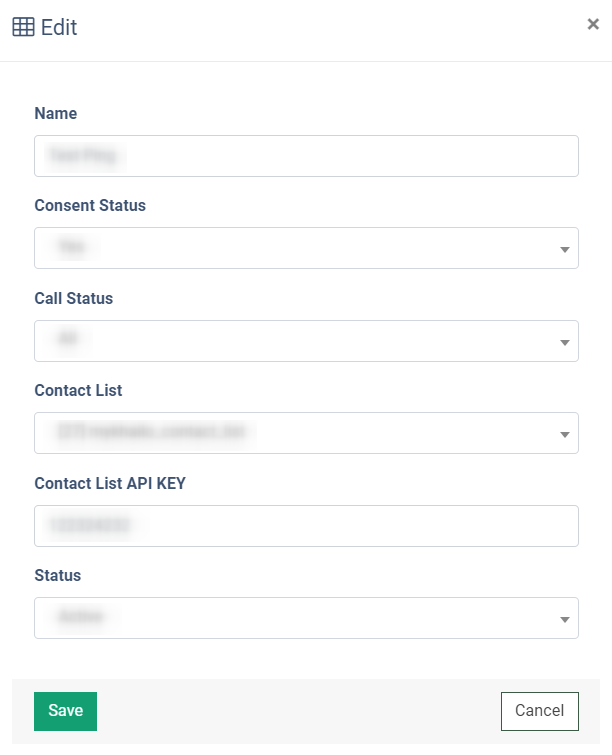
To edit the existing Ping record, click the “Edit” button in the “Action” column. Change the following settings in the “Edit” pop-up window:
- Name: Edit the name of the ping setting.
- Consent Status: Change the Consent status that defines the first condition to ping (Yes, No), for the Consent obtained in the past (Obtained Earlier), for the dissent obtained in the past (No (Previously)).
- Call Status: Change the call status that defines the second condition to ping (All, Answered, Not Answered).
- Contact List: Change the E-Delivery contact list.
- Contact List API KEY: Edit the E-Delivery contact list API Key.
- Status: Change the ongoing status of the ping setting.
Click the “Save” button to complete the changes.
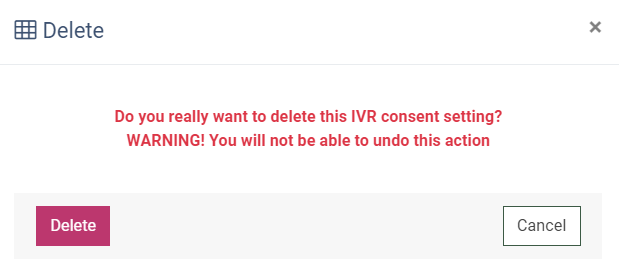
To delete the existing Ping setting, click the “Delete” button in the “Action” column. Confirm the deletion operation by clicking the “Delete” button in the pop-up window.