The Lead Tags are used as an additional filter in the Lead Details report and help users see what type of lead enters the system. Tags are assigned to a lead if a corresponding rule is configured within the iClear service. Read more about the iClear services in this Knowledge Base article. When the tag is assigned to the lead, it is displayed in the Lead info > Tags # field.
The Lead Tags report is available for the Global Admin, LMS Admin, Call Logic Admin, and Support system roles.
Filtration by Lead Tags is available in the following reports depending on the used component:
- LMS: Publisher’s Lead Details, Buyer’s Lead Details.
- Call Logic: Publisher’s Call Details.
Note: The Lead Tag column will be displayed when the Show Lead Tags box is checked in the corresponding report.
To view the Lead Tags report, go to the All Reports > Extras > Lead Tags section.
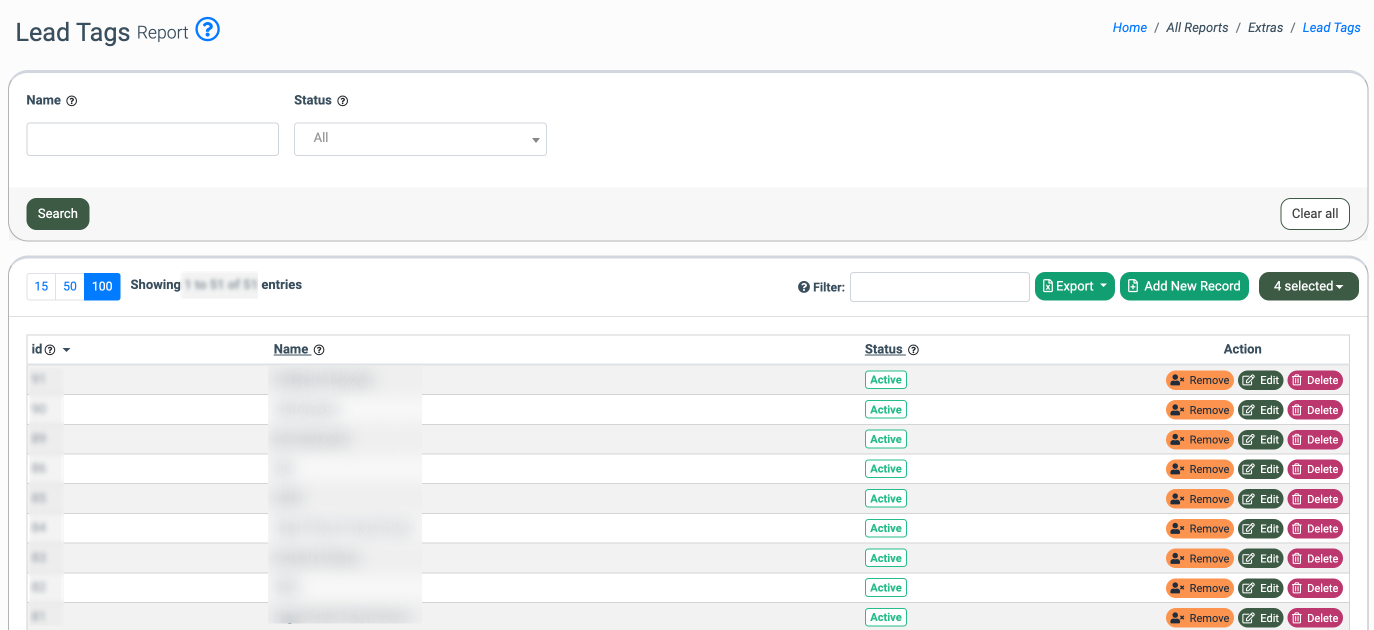
You can narrow down the search results by using the following filters:
- Name: Enter the tag`s name.
- Status: Select the tag`s status (Active, Disabled).
- Filter: Enter the tag`s ID or any string value related to the tag`s name.
The Lead Tags list contains the following information:
- id: The unique identification number of the tag.
- Name: The tag`s name.
- Status: The tag`s status (Active, Disabled).
There are two types of tags in the Lead Tags report:
- Default Tags: Default tags are displayed in the report with a negative identification number(Possible fraud, iClear Reject Global, iClear Reject Rule, Not Posted, TPS Reject, Fraud Reject, Sold CPF, To many Tags, Short Call, Bad Email (Score >= 91), Email with dots and plus, Bad Email, Disconnected Phone, DNC - Listed Phone, Bad Country, Bad IP (75), Compliance, VoIP Phone, AMD, AI Agent, Abandoned Call). These tags cannot be edited or deleted and are visible only for users with Global Admin, LMS Admin, Call Logic Admin, and Support system roles.
- Custom Tags: Custom tags are created by the users. These tags can be configured or deleted.
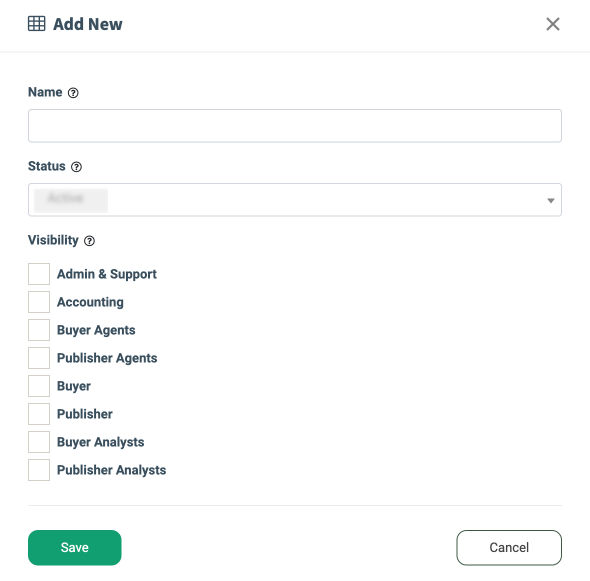
To create a new tag, click the “Add New Record” button.
Fill in the following fields in the “Add New” pop-up window:
- Name: Enter the tag`s name.
- Status: Select the tag`s status (Active, Disabled).
- Visibility: Check the box to enable tag visibility for the user with the corresponding role (Admin & Support, Accounting, Buyer Agents, Publisher Agents, Buyer, Publisher, Buyer Analysts, Publisher Analysts).
Click the “Save” button to complete the action, or click the “Cancel” button to close the window.
To configure the tag, click the “Edit” button in the “Action” column.
Complete the configuration in the “Edit” pop-up window and click the “Save” button to proceed with the changes, or click the “Cancel” button to discard the changes.
To delete the tag, click the “Delete” button in the “Action” column.
In the “Delete” pop-up window, click the “Delete” button to confirm the action or click the “Cancel” button to close the window.
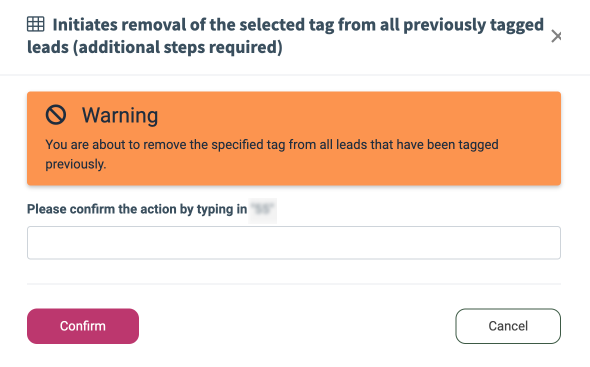
To remove the specified tag from all leads tagged with it previously, click the “Remove” button in the “Action” column.
In the “Remove” pop-up window, enter the required value in the “Please confirm the action by typing in “...” ” field, and click the “Confirm” button to complete the action or click the “Cancel” button to close the window.
Note: Tags are assigned to the leads for 13 months. After this period, the tag won’t be displayed on the Lead info page, and the lead itself won’t be filtered out in the corresponding reports by this tag.
To export the report`s data, click the “Export” button and select the “Current Page” or “All Pages” type from the drop-down list.