To view the list of available third-party services and event tracking types, go to the System Management > Integrations > All Integrations section. You can narrow down the search results by entering the name of the necessary integration or the name of the required event.
To get brief information on how to start the setup process, click the service icon.
Note: The All Integrations section is available for the Global Admin, LMS Admin, Call Logic Admin, and Support system roles.
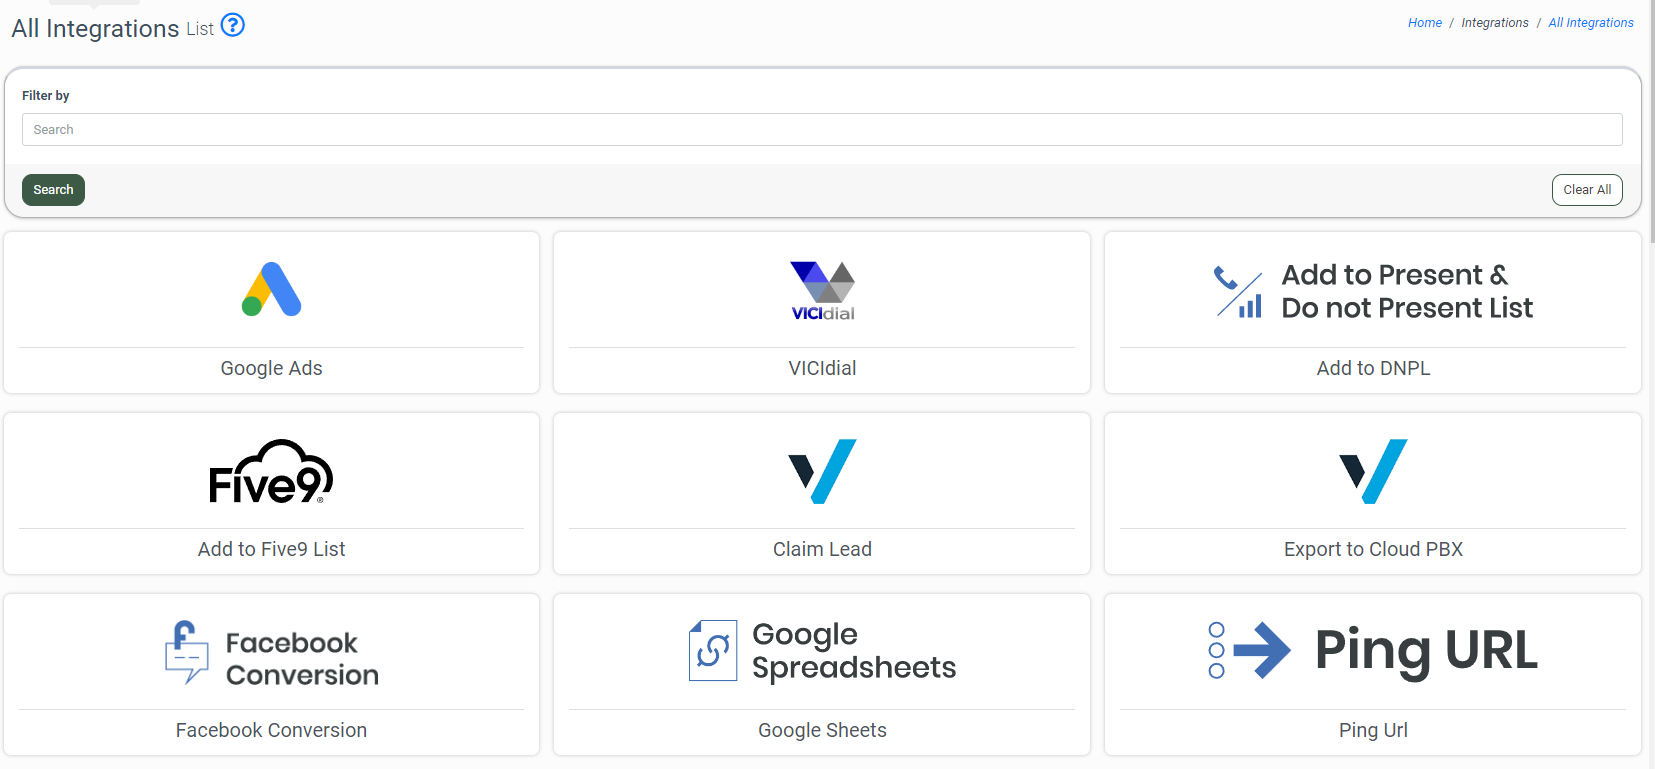
The All Integrations section contains the following integrations and the following event tracking type:
Google Ads
The Google Ads third-party service allows you to track various system events (e.g., lead sold, lead rejected, etc.) and set actions to be automatically triggered by them. Click the Google Ads icon to start the setup.
 Follow the step-by-step instructions provided in the Google Ads Integration pop-up window.
 Read more about the Google Ads integration setup in this Knowledge Base article.
Read more about the Call-Only Ads Configuration for Google Ads setup in this Knowledge Base article.
VICIdial
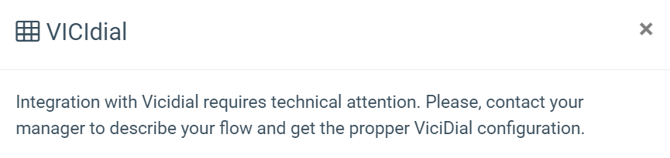
The VICIdial third-party service allows you to set up inbound and outbound calls, call routing, email integration, online chat, and call recording. VICIdial combines inbound and outbound phone calls with inbound email and customer website chat in a single web-based interface. Click the VICIdial icon to start the setup.
 Note: Integration with Vicidial requires technical attention. Please contact your manager to describe your flow and get the ViciDial configuration.
Add to DNPL
The Add to DNPL tracking type allows you to add data to the existing DNPL list when the selected trigger event occurs. Click the Add to DNPL icon to start the setup.
 Note: The Add to DNPL tracking type can be configured only on the Product level.
Select the Tracking Product, and click the “Config rule” button in the Add to DNPL pop-up window to proceed to the next step.
 Read more about the Add to DNPL tracking type setup in this Knowledge Base article.
Add to Five9 List
The Add to Five9 List tracking type allows you to send a lead data record to the Five9 cloud contact center software. Click the Add to Five9 List icon to start the setup.
 Select the Tracking Setup Level (Product, Campaign, Publisher), and depending on your choice, the system will offer you the option to select the specific Product, Campaign, or Publisher. Click the “Config rule” button in the Add to Five9 List pop-up window to proceed to the next step.
 Read more about the Add to Five9 List tracking type setup in this Knowledge Base article.
Claim Lead
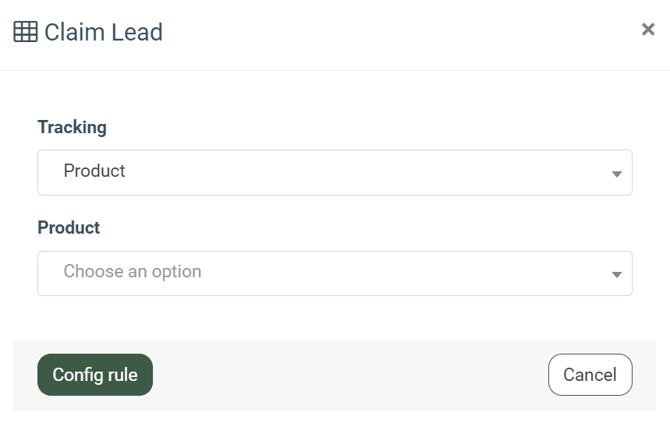
The Claim Lead tracking type allows you to claim the lead when the selected trigger event occurs. Click the Claim Lead icon to start the setup.
 Select the Tracking Setup Level (Product, Campaign, Publisher), and depending on your choice, the system will offer you the option to select the specific Product, Campaign, or Publisher. Click the “Config rule” button in the Claim Lead pop-up window to proceed to the next step.
Export To Cloud PBX
The Export to Cloud PBX tracking type allows you to add the lead details to the selected dialing list in the Cloud PBX component when the selected trigger event takes place. Click the Export to Cloud PBX icon to start the setup.
 Select the Tracking Setup Level (Product, Campaign, Publisher), and depending on your choice, the system will offer you the option to select the specific Product, Campaign, or Publisher. Click the “Config rule” button in the Export To Cloud PBX pop-up window to proceed to the next step.
 Read more about the Export To Cloud PBX tracking type setup in this Knowledge Base article.
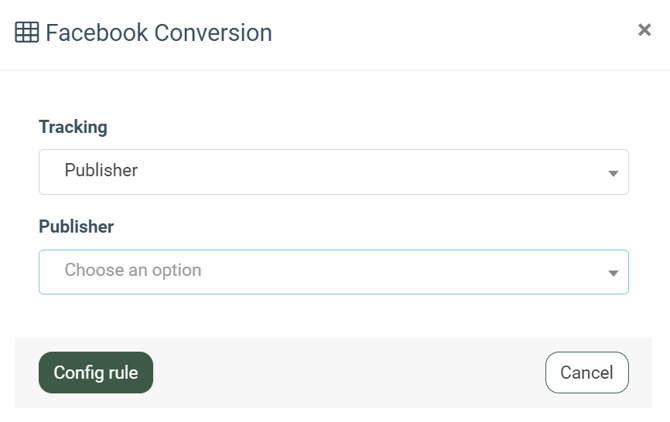
Facebook Conversion

Select the Tracking Setup Level (Campaign, Publisher), and depending on your choice, the system will offer you the option to select the specific Campaign or Publisher. Click the “Config rule” button in the Facebook Conversion pop-up window to proceed to the next step.
Google Sheets
The Google Sheets tracking type allows you to add data as a record to Google Sheets using placeholders when the selected trigger event occurs. Click the Google Sheets icon to start the setup.
 Select the Tracking Setup Level (Product, Campaign), and depending on your choice, the system will offer you the option of selecting the specific Product or Campaign. Click the “Config rule” button in the Google Sheets pop-up window to proceed to the next step.
 Read more about the Google Sheets tracking type setup in this Knowledge Base article.
Ping Url
The Ping URL integration allows you to send a GET or POST request to the third-party server when the selected trigger event occurs. Click the Ping Url icon to start the setup.
Select the Tracking Setup Level (Product, Publisher, Campaign, Call Group, Dialing Config, Operator, IVR), and depending on your choice, the system will offer you to select the specific Product, Publisher, Campaign, Call Group, Dialing Config, Operator or IVR. Click the “Config rule” button in the Ping Url pop-up window to proceed to the next step.
Read more about the Ping Url integration setup in this Knowledge Base article.
Pixel
The Pixel integration allows you to inject JS code into Phonexa’s forms when the selected trigger event occurs. Click the Pixel icon to start the setup.
![]() Select the Tracking Setup Level (Product, Publisher), and depending on your choice, the system will offer you to select the specific Product or Publisher. Click the “Config rule” button in the Pixel pop-up window to proceed to the next step.
Select the Tracking Setup Level (Product, Publisher), and depending on your choice, the system will offer you to select the specific Product or Publisher. Click the “Config rule” button in the Pixel pop-up window to proceed to the next step.
![]() Read more about the Pixel integration setup in this Knowledge Base article.
Read more about the Pixel integration setup in this Knowledge Base article.
SMTP
The SMTP tracking type allows you to send an email automatically when the selected trigger event occurs. Click the SMTP icon to start the setup.
 Select the Tracking Setup Level (Product, Campaign), and depending on your choice, the system will offer you the option of selecting the specific Product or Campaign. Click the “Config rule” button in the SMTP pop-up window to proceed to the next step.
 Read more about the SMTP tracking type setup in this Knowledge Base article.
Send Slack Message
The Send Slack Message tracking type automatically sends Slack messages to a particular user or channel when a specific event takes place, ensuring timely alerts. Click the Send Slack Message icon to start the setup.
 Select the Tracking Setup Level (Product, Campaign, Publisher, Campaign, Call Group, Dialing Config, Operator, IVR). Depending on your choice, the system will offer you the option to select the specific Product, Campaign, Publisher, Campaign, Call Group, Dialing Config, Operator, or IVR. Click the “Config rule” button in the Ping Url pop-up window to proceed to the next step.
 Read more about the Send Slack Message tracking type setup in this Knowledge Base article.
Send to E-delivery Contact List
The Send to E-delivery Contact List tracking type allows you to add an email address and/or phone number to the existing Contacts List in E-Delivery when the selected trigger event occurs. Click the Send to E-delivery Contact List icon to start the setup.
 Note: The Send to E-delivery Contact List tracking type can be configured only on the Product level.
Select the specific Tracking Product, and click the “Config rule” button in the Send To E-delivery Contact List pop-up window to proceed to the next step.
 Read more about the Send To E-delivery Contact List tracking type setup in this Knowledge Base article.
Send to Opt Intel
The Send to Opt Intel tracking type allows you to add an email address or phone number to the existing Email Opt-out List/Phone Number Opt-out List in Opt-Intel when the selected trigger event occurs. Click the Send to Opt Intel icon to start the setup.
 Note: The Send to Opt Intel tracking type can be configured only on the Product level.
Select the Tracking Product, and click the “Config rule” button in the Send to Opt Intel pop-up window to proceed to the next step.
 Read more about the Send to Opt Intel tracking type setup in this Knowledge Base article.
Trusted Form Claim
The Trusted Form Claim tracking rule allows you to check the TrustedForm certificate in the lead data to verify its legitimacy. Click the Trusted Form Claim icon to start the setup.
 Select the Tracking Setup Level (Product, Publisher, Campaign), and depending on your choice the system will offer you to select the specific Product, Publisher, or Campaign. Click the “Config rule” button in the Trusted Form Claim pop-up window to proceed to the next step.
 Read more about the Trusted Form Claim tracking type setup in this Knowledge Base article.
Twilio
The Twilio tracking type allows you to set Twilio integration to send SMS automatically when the selected trigger event occurs. Click the Twilio icon to start the setup.
 Select the Tracking Setup Level (Product, Publisher), and depending on your choice, the system will offer you to select the specific Product or Publisher. Click the “Config rule” button in the Twilio pop-up window to proceed to the next step.
 Read more about the Twilio integration setup in this Knowledge Base article.
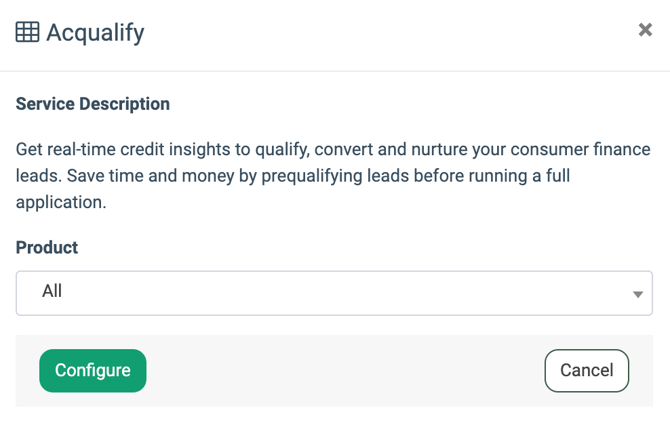
Acqualify
The Acqualify is a third-party service that allows you to provide real-time credit insights to qualify, convert, and nurture your consumer finance leads allowing you to save time and money by prequalifying leads before running a full application.
 Read the brief Service Description and select the Product from the list. Click the “Configure” button in the Acqualify pop-up window to proceed to the next step.
Address Validation
This Address Validation is a third-party service that allows you to check and validate the lead's address and either correct or reject the lead with an invalid address. Click the Address Validation icon to start the setup.
 Read the brief Service Description and select the Product from the list. Click the “Configure” button in the Address Validation pop-up window to proceed to the next step.
 Read more about the Address Validation integration setup in this Knowledge Base article.
Anura
The Anura third-party service allows you to prevent fraudulent activity such as bots, malware, and human fraud when processing leads. Click the Anura icon to start the setup.
 Read the brief service description and select the Product from the list. Click the “Configure” button in the Anura pop-up window to proceed to the next step.
 Read more about the Anura integration setup in this Knowledge Base article.
Basic Phone Number Validation
The Basic Phone Number Validation third-party service allows you to check the validity of a phone number according to its format, region, type, etc. Click the Basic Phone Number Validation icon to start the setup.
 Read the brief service description and select the Product from the list. Click the “Configure” button in the Basic Phone Number Validation pop-up window to proceed to the next step.
 Read more about the Basic Phone Number Validation integration setup in this Knowledge Base article.
Phone Number Analysis Do Not Call check
The Phone Number Analysis Do Not Call check third-party service allows you to ensure quick user verification and chargeback defense on a global scale by analyzing phone numbers to verify their risk score, country of origin, carrier, validity, and line connection status while detecting fraudulent activity in real time. Click the Do Not Call check icon to start the setup.
 Read the brief service description and select the Product from the list. Click the “Configure” button in the Do Not Call check pop-up window to proceed to the next step.
 Read more about the Phone Number Analysis integration setup in this Knowledge Base article.
Email Hygiene
The Email Hygiene third-party service allows you to perform real-time validation of the lead email address and assigns it into three categories — valid, risky, and toxic. Click the Email Hygiene icon to start the setup.
 Read the brief service description and select the Product from the list. Click the “Configure” button in the Email Hygiene pop-up window to proceed to the next step.
 Read more about the Email Hygiene integration setup in this Knowledge Base article.
Geo By Phone
The Geo by Phone third-party service allows you to define the country and area code based on the phone number value and set lead processing rules. Click the Geo By Phone icon to start the setup.
 Read the brief service description and select the Product from the list. Click the “Configure” button in the Geo By Phone pop-up window to proceed to the next step.
 Read more about the Geo By Phone integration setup in this Knowledge Base article.
iClaim
The iClaim is a third-party service that captures and stores visitor interactions on web forms as lead events. It provides records for web leads, ensuring compliance with legal standards such as the TCPA by documenting consent and offering insights into their origin and authenticity. Click the iClaim icon to start the setup.
 Read the brief service description and select the Product from the list. Click the “Configure” button in the Geo By Phone pop-up window to proceed to the next step.
 Read more about iClaim integration setup in this Knowledge Base article.
iClear: Caller Identity
The iClear: Caller Identity service allows you to perform real-time validation of an individual’s first name, last name, address, and other identity-related details by a provided phone number using a third-party database. Click the iClear: Caller Identity icon to start the setup.
 Read the brief service description and select the Product from the list. Click the “Configure” button in the iClear: Caller Identity pop-up window to proceed to the next step.
 Read more about iClear: Caller Identity integration setup in this Knowledge Base article.
ImpressionWise Email Lookup
The ImpressionWise Email Lookup third-party service allows you to perform real-time validation of the lead email address using the ImpressionWise third-party service and process leads based on the response. Click the ImpressionWise Email Lookup icon to start the setup.
 Read the brief service description and select the Product from the list. Click the “Configure” button in the ImpressionWise Email Lookup pop-up window to proceed to the next step.
 Read more about the ImpressionWise Email Lookup integration setup in this Knowledge Base article.
IP Analysis
The IP Analysis third-party service allows you to perform real-time validation of the lead IP address and receive a fraud score based on 25 risk analysis data points. The service scores user data based on an IP address, device, email address, and phone number. Click the IP Analysis icon to start the setup.
 Read the brief service description and select the Product from the list. Click the “Configure” button in the IP Analysis pop-up window to proceed to the next step.
 Read more about the IP Analysis integration setup in this Knowledge Base article.
iClear: IP Analysis with Client Credentials
The IP Analysis with Client Credentials service allows you to perform real-time validation of the lead IP address and receive a fraud score based on 25 risk analysis data points. The service scores user data based on an IP address, device, email address, and phone number. Click the IP Analysis with Client Credentials icon to start the setup.
 Read the brief service description and select the Product from the list. Click the “Configure” button in the IP Analysis with Client Credentials pop-up window to proceed to the next step.
 Read more about the IP Analysis with Client Credentials integration setup in this Knowledge Base article.
Jornaya Authentication API
The Jornaya Authentication API third-party service allows you to verify the validity of the lead’s Jornaya LeadID token before sending it to buyers. Click the Jornaya Authentication API icon to start the setup.
 Read the brief service description and select the Product from the list. Click the “Configure” button in the Jornaya Authentication API pop-up window to proceed to the next step.
 Read more about the Jornaya Authentication API integration setup in this Knowledge Base article.
Jornaya Lead Age
The Jornaya Lead Age third-party service allows you to verify lead age. Click the Jornaya Lead Age icon to start the setup.
 Read the brief service description and select the Product from the list. Click the “Configure” button in the Jornaya Lead Age pop-up window to proceed to the next step.
 Read more about the Jornaya Lead Age integration setup in this Knowledge Base article.
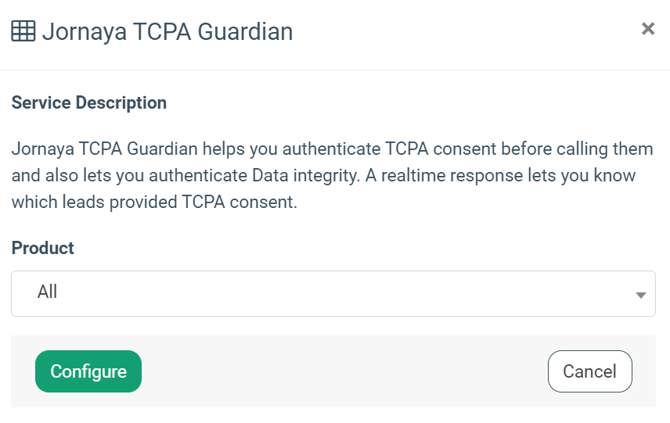
Jornaya TCPA Guardian
The Jornaya TCPA Guardian third-party service allows you to authenticate TCPA consent before calling them and also lets you authenticate Data integrity. A real time response lets you know which leads provided TCPA consent.
 Read the brief service description and select the Product from the list. Click the “Configure” button in the Jornaya TCPA Guardian pop-up window to proceed to the next step.
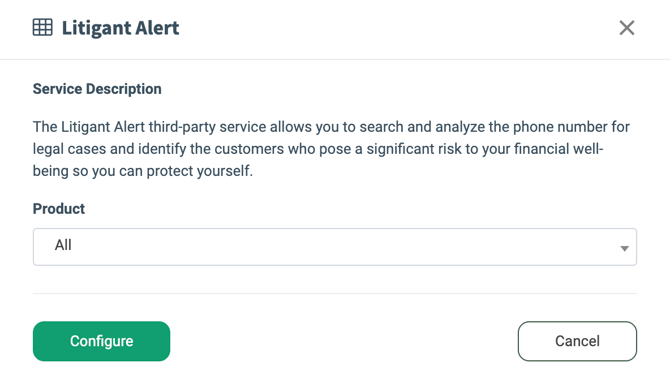
Litigant Alert
The Litigant Alert third-party service allows you to search and analyze phone numbers for legal cases and identify the customers who pose a significant risk to your financial well-being so you can protect yourself. Click the Litigant Alert icon to start the setup.
Read the brief service description and select the Product from the list. Click the “Configure” button in the Litigant Alert pop-up window to proceed to the next step.
Read more about the Litigant Alert integration setup in this Knowledge Base article.
Litigant Alert (Client Credentials)
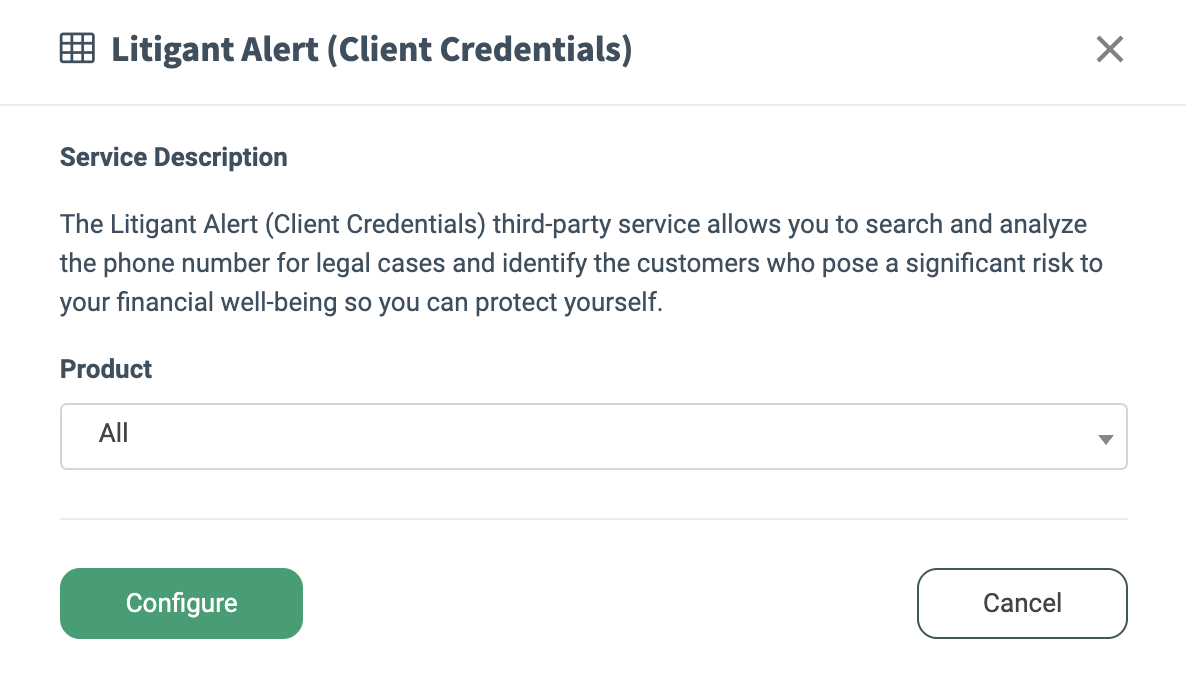
The Litigant Alert (Client Credentials) third-party service allows you to search and analyze the phone number for legal cases and identify the customers who pose a significant risk to your financial well-being, so that you can protect yourself. Use your Litigant Alert service client credentials to integrate with Phonexa and activate the service. Click the Litigant Alert (Client Credentials) icon to start the setup.
Read the brief service description and select the Product from the list. Click the “Configure” button in the Litigant Alert (Client Credentials) pop-up window to proceed to the next step.
Read more about the Litigant Alert (Client Credentials) integration setup in this Knowledge Base article.
Litigator Database Lookup
The Litigator Database Lookup third-party service allows you to identify leads as TCPA plaintiffs and litigators. Based on the service response, you can set up lead processing rules (e.g., reject or add leads to DNPL). Click the Litigator Database Lookup icon to start the setup.

Read the brief service description and select the Product from the list. Click the “Configure” button in the Litigator Database Lookup pop-up window to proceed to the next step.
 Read more about the Litigator Database Lookup integration setup in this Knowledge Base article.
Phone Number Analysis
The Phone Number Analysis third-party service allows you to ensure quick user verification and chargeback defense on a global scale by analyzing phone numbers to verify their risk score, country of origin, carrier, validity, and line connection status while detecting fraudulent activity in real time. Click the Phone Number Analysis icon to start the setup.
 Read the brief service description and select the Product from the list. Click the “Configure” button in the Phone Number Analysis pop-up window to proceed to the next step.
 Read more about the Phone Number Analysis integration setup in this Knowledge Base article.
Phone Number Analysis with Client Credentials
The Phone Number Analysis with Client Credentials third-party service allows you to ensure quick user verification and chargeback defense and detect fraudulent activity in real-time. Click the Phone Number Analysis with Client Credentials icon to start the setup.
 Read the brief service description and select the Product from the list. Click the “Configure” button in the Phone Number Analysis with Client Credentials pop-up window to proceed to the next step.
 Read more about the Phone Number Analysis with Client Credentials integration setup in this Knowledge Base article.
The Blacklist Alliance
The Blacklist Alliance third-party service allows you to identify if leads are marked as TCPA plaintiffs or litigators and reject leads based on the service response. Click The Blacklist Alliance icon to start the setup.
 Read the brief service description and select the Product from the list. Click the “Configure” button in The Blacklist Alliance pop-up window to proceed to the next step.
 Read more about The Blacklist Alliance integration setup in this Knowledge Base article.
TrustedForm
The TrustedForm third-party service allows you to automatically claim the certificate using your credentials via the API request to the TrustedForm service. In response to the API request, TrustedForm will return a URL with masked data (website URL). Click the Trusted Form icon to start the setup.
 Read the brief service description and select the Product from the list. Click the “Configure” button in the TrustedForm pop-up window to proceed to the next step.
 Read more about the TrustedForm integration setup in this Knowledge Base article.
TrustedForm Ping
The TrustedForm Ping third-party service allows you to automatically claim the certificate using your credentials via the API request to the TrustedForm service ("ping/post" model). When provided this URL, buyers cannot view the TrustedForm certificate or session replay. Click the TrustedForm Ping icon to start the setup.
 Read the brief service description and select the Product from the list. Click the “Configure” button in the TrustedForm Ping pop-up window to proceed to the next step.
 Read more about the TrustedForm Ping integration setup in this Knowledge Base article.
TrustedForm Retrieve Insights
The TrustedForm Retrieve Insights third-party service allows the account holders who need to retrieve TrustedForm metadata associated with a lead. This metadata is contained in a TrustedForm certificate and can provide vital information for analyzing the lead quality and identifying potential issues. Click the TrustedForm Retrieve Insights icon to start the setup.
 Read the brief service description and select the Product from the list. Click the “Configure” button in the TrustedForm Retrieve Insights pop-up window to proceed to the next step.
 Read more about the TrustedForm Retrieve Insights integration setup in this Knowledge Base article.
TrustedForm v4.0
The TrustedForm v4.0 third-party service allows you to verify a lead's TrustedForm certificate, save it to your account, compare the provided phone/email with the certified data, and get metadata on the certificate generation event. Click the TrustedForm v4.0 icon to start the setup.
 Read the brief service description and select the Product from the list. Click the “Configure” button in the TrustedForm v4.0 pop-up window to proceed to the next step.
 Read more about the TrustedForm v4.0 integration setup in this Knowledge Base article.
US ZIP Code validation
The US ZIP Code validation service allows you to verify the validity of the lead’s zip code through the database of zip codes and extracts the state from it (for the US region). Click the US ZIP Code validation icon to start the setup.
 Read the brief service description and select the Product from the list. Click the “Configure” button in the US ZIP Code validation pop-up window to proceed to the next step.
 Read more about the US ZIP Code validation integration setup in this Knowledge Base article.
XVerify Email Lookup
The XVerify Email Lookup third-party service allows you to perform real-time validation of the lead email address through XVerify and reject leads based on the service response. Click the XVerify Email Lookup icon to start the setup.
 Read the brief service description and select the Product from the list. Click the “Configure” button in the XVerify Email Lookup pop-up window to proceed to the next step.
 Read more about the XVerify Email Lookup integration setup in this Knowledge Base article.